Jump to content


Photo
- - - - -

Project 'lesbian Rose'


  • Please log in to reply
347 replies to this topic

#151 evil ewok

evil ewok

    Speeding Along Now

  • Members
  • PipPipPipPipPip
  • 354 posts
  • Location: Stevenage
  • Local Club: A's of Herts

Posted 02 January 2011 - 05:38 PM

well here's roughly what has happened since the last update. i may of forgotten some small things but nothing major has really happened.

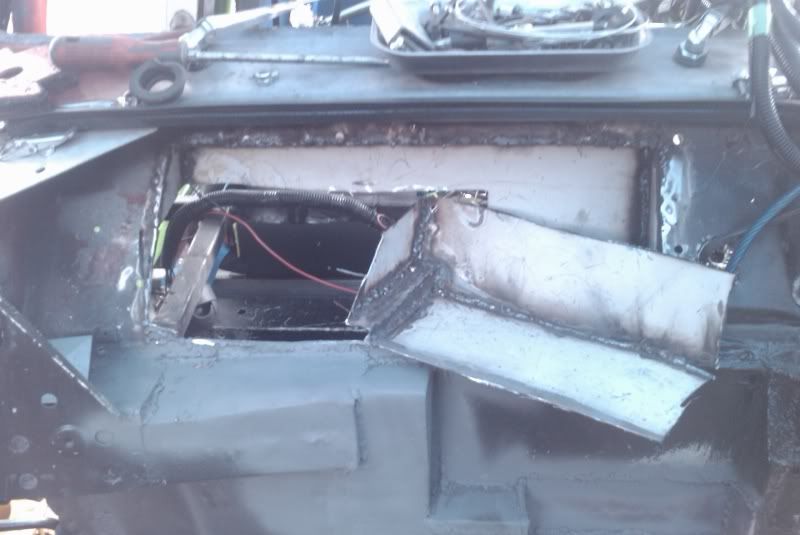
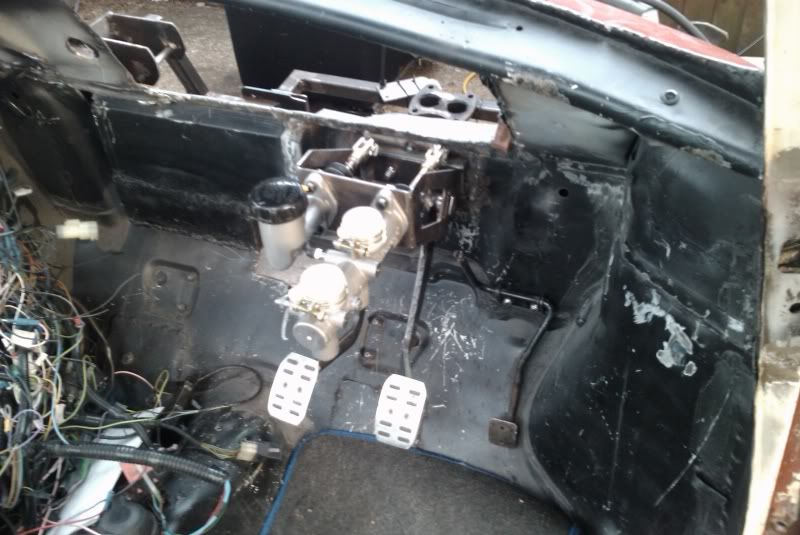
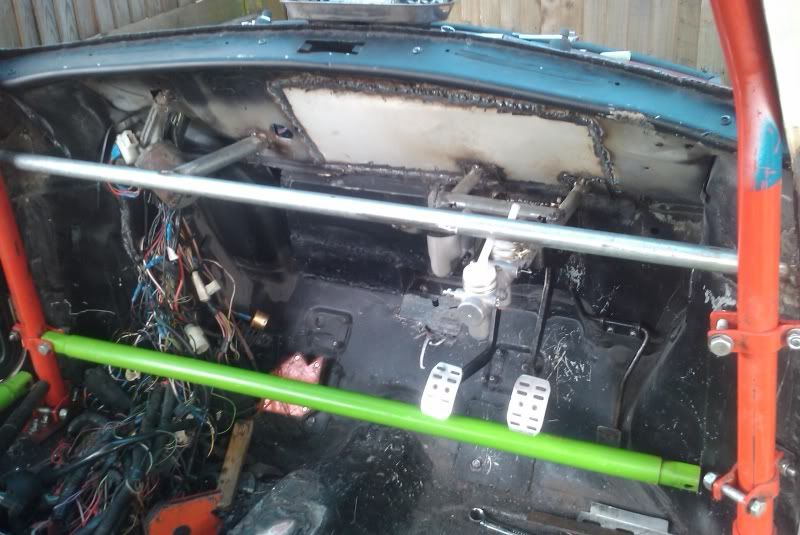
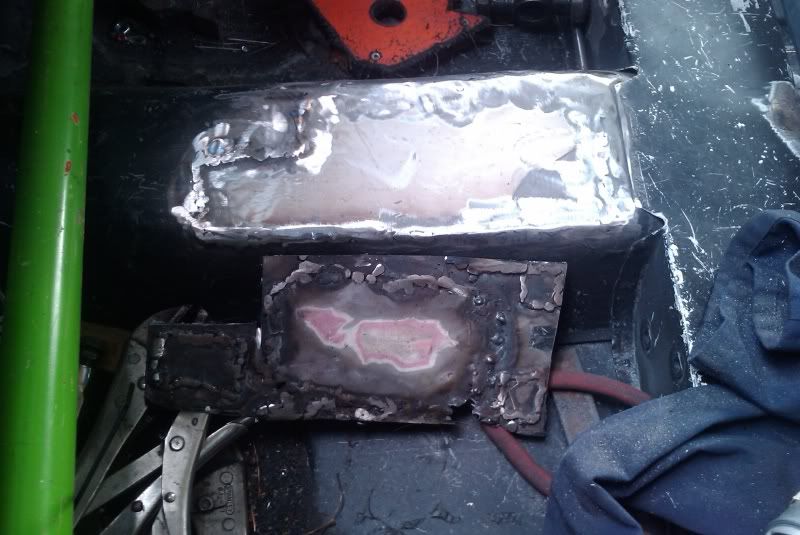
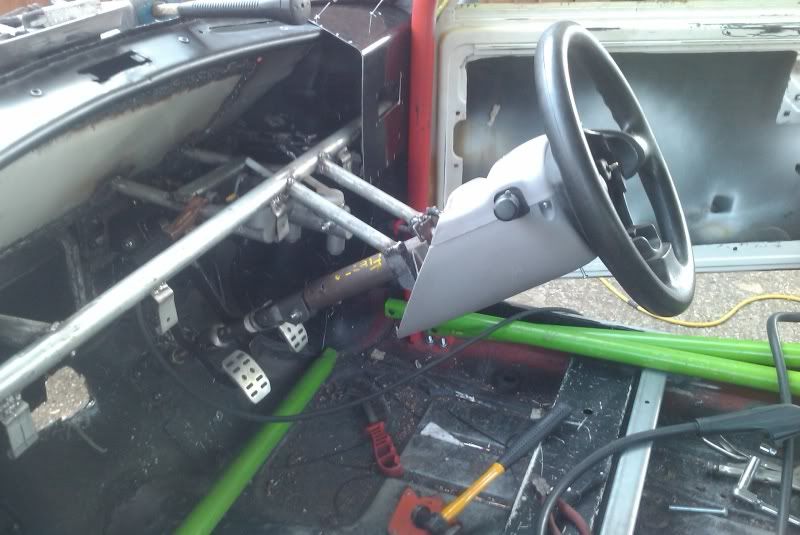
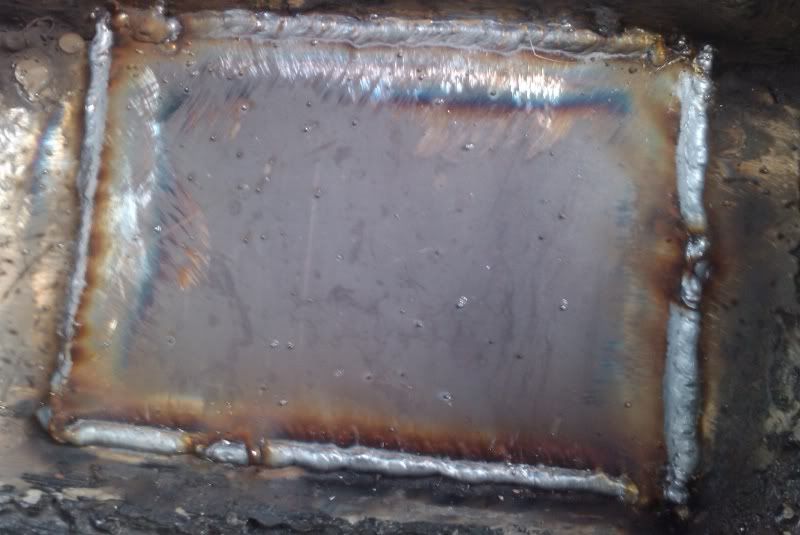
had to shorten the turbo box, remove the bulkhead box and remove the dash rail to get the pedal box to fit in place.
Posted Image
Posted Image
Posted Image

Posted Image

pedal box rear mount done
Posted Image

#152 evil ewok

evil ewok

    Speeding Along Now

  • Members
  • PipPipPipPipPip
  • 354 posts
  • Location: Stevenage
  • Local Club: A's of Herts

Posted 02 January 2011 - 05:39 PM
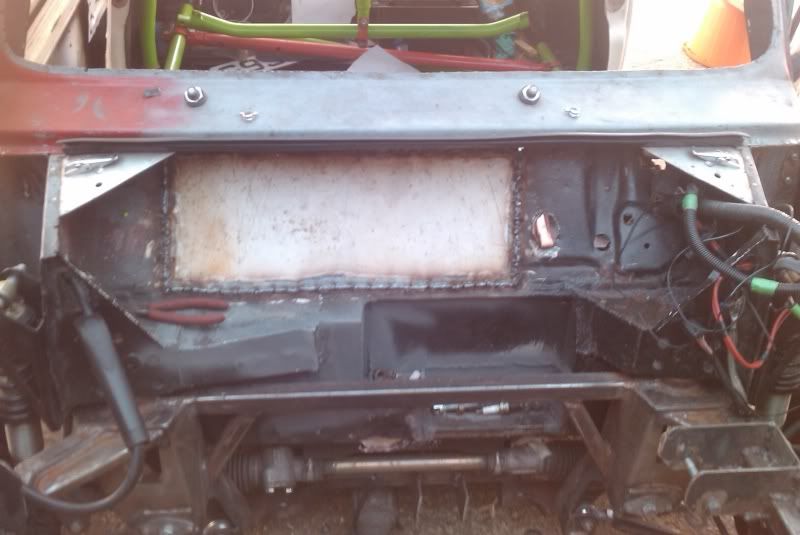
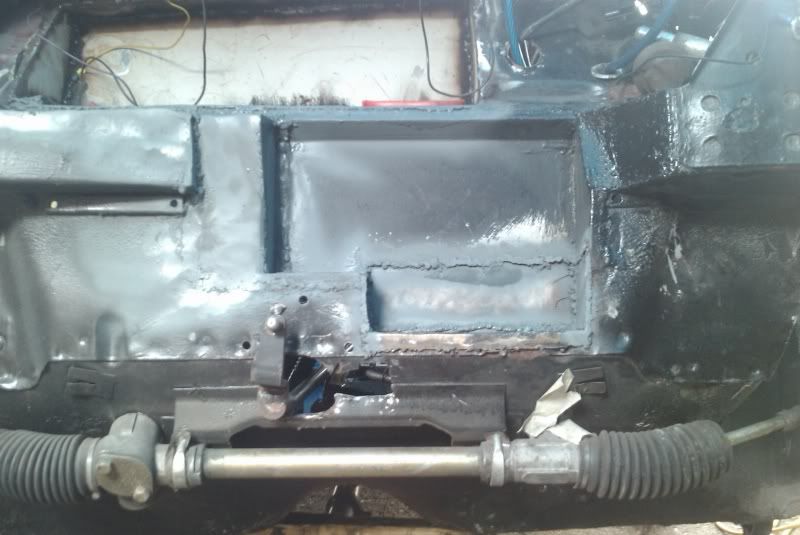
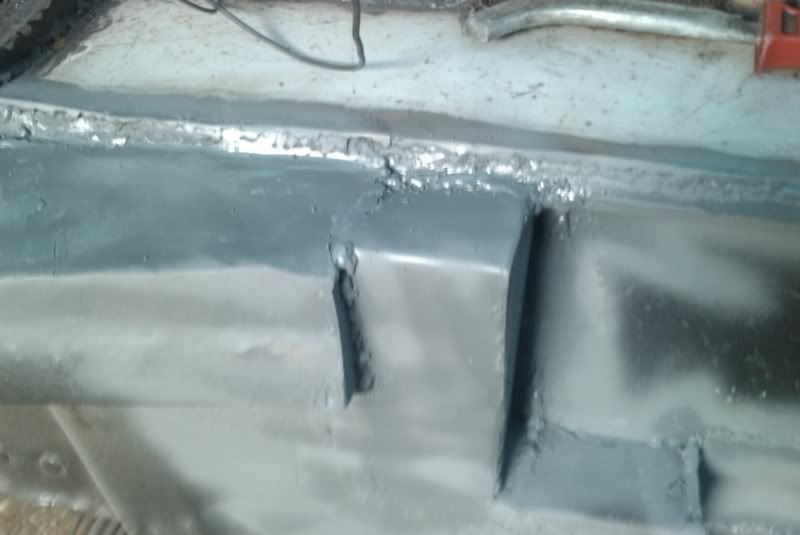
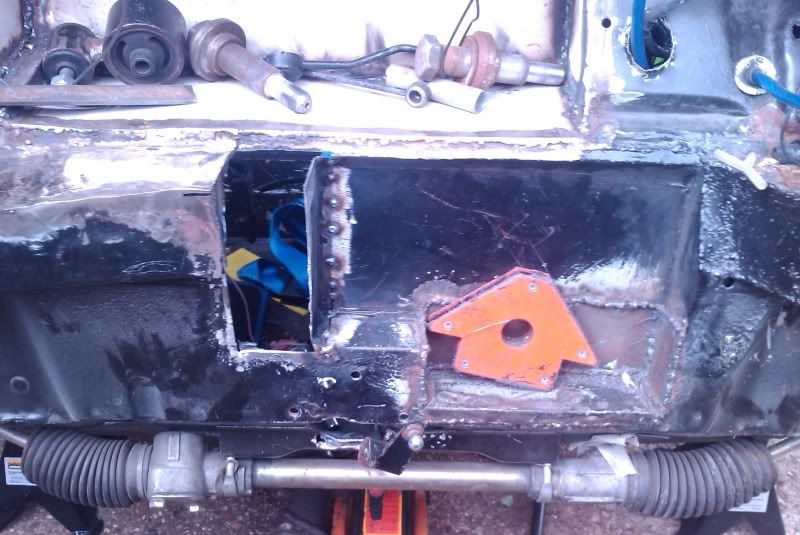
bulkhead patched
Posted Image

new lower dash rail and tope pedal box mount
Posted Image

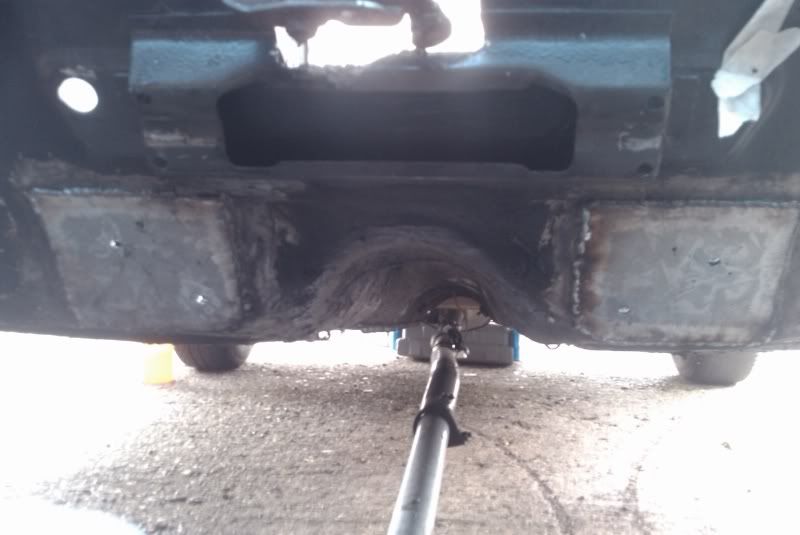
cut out the patched original gear linkage hole and replace it with a single piece. looks a lot neater
Posted Image

modified the fiesta steering column and fitted it on a temp mount
Posted Image

welded in some 3mm plate roll cage spreader plates
Posted Image

#153 evil ewok

evil ewok

    Speeding Along Now

  • Members
  • PipPipPipPipPip
  • 354 posts
  • Location: Stevenage
  • Local Club: A's of Herts

Posted 02 January 2011 - 05:40 PM
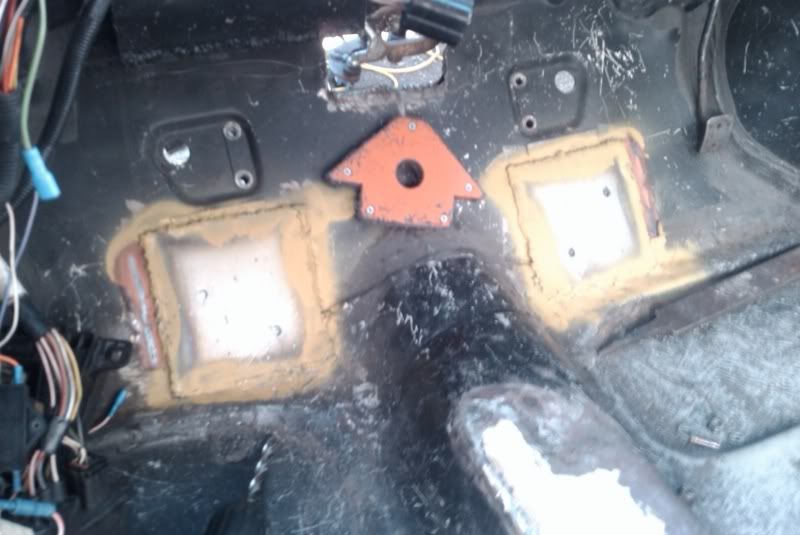
spreader plates for lower subby mounts
Posted Image
Posted Image

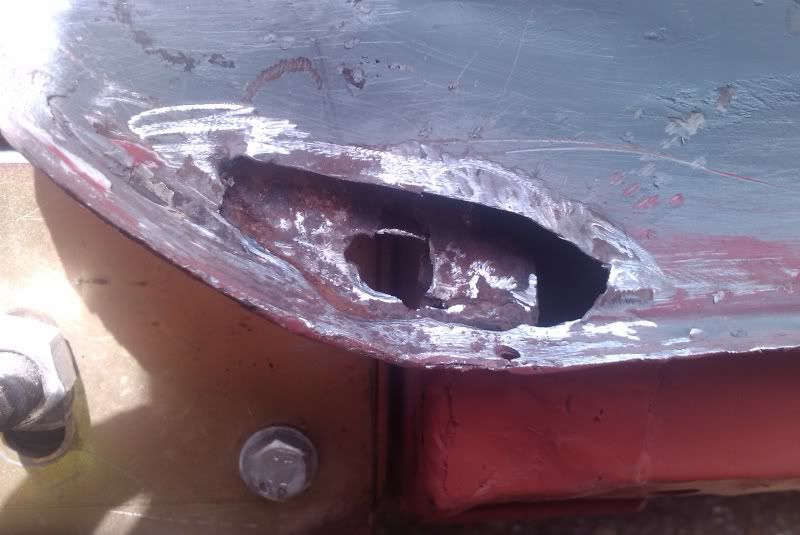
last bit of rust cut out, just need to patch it now
Posted Image

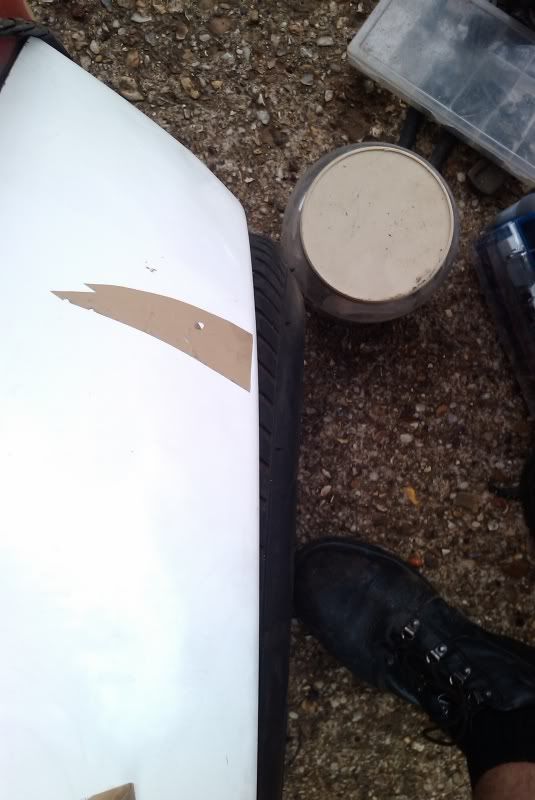
looks like i'll need some wider arches as the 5" miglias aren't enough
Posted Image

#154 evil ewok

evil ewok

    Speeding Along Now

  • Members
  • PipPipPipPipPip
  • 354 posts
  • Location: Stevenage
  • Local Club: A's of Herts

Posted 02 January 2011 - 05:41 PM
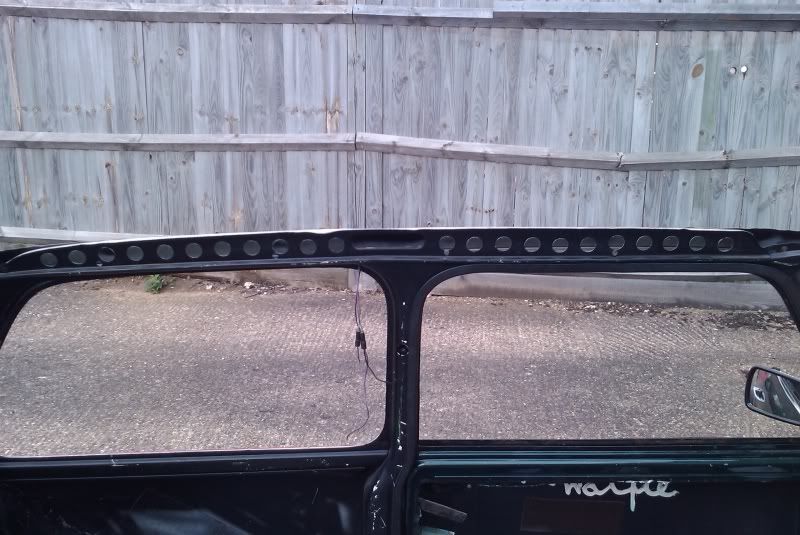
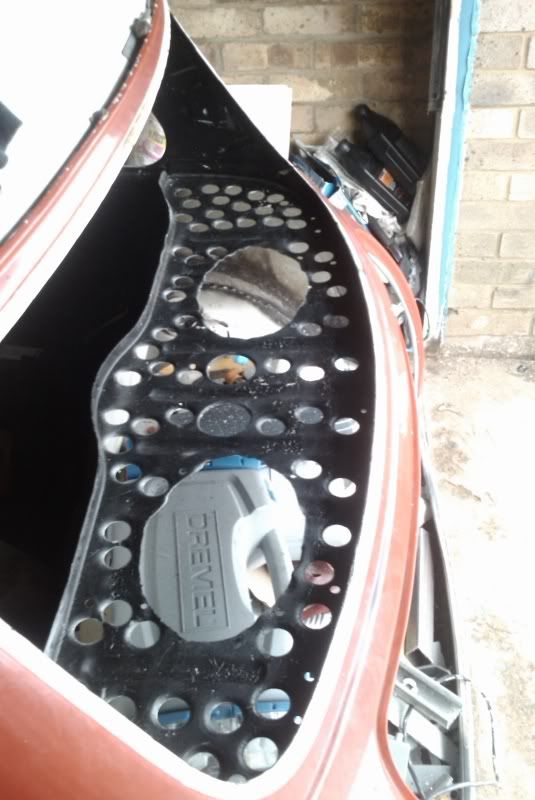
bought a 25mm hole cutter and swager and went a little crazy
Posted Image
Posted Image

Posted Image
Posted Image

these go between the inner sill and rear quarter, haven't got any pics of them fitted though
Posted Image

#155 evil ewok

evil ewok

    Speeding Along Now

  • Members
  • PipPipPipPipPip
  • 354 posts
  • Location: Stevenage
  • Local Club: A's of Herts

Posted 02 January 2011 - 05:43 PM
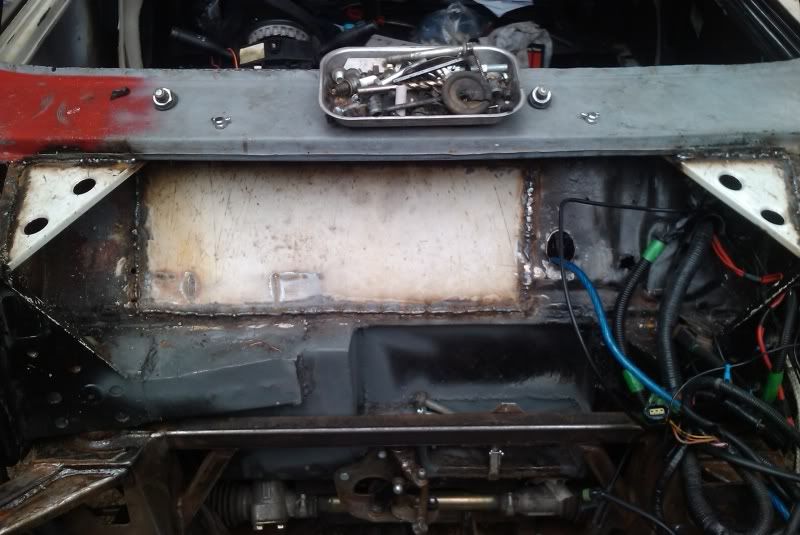
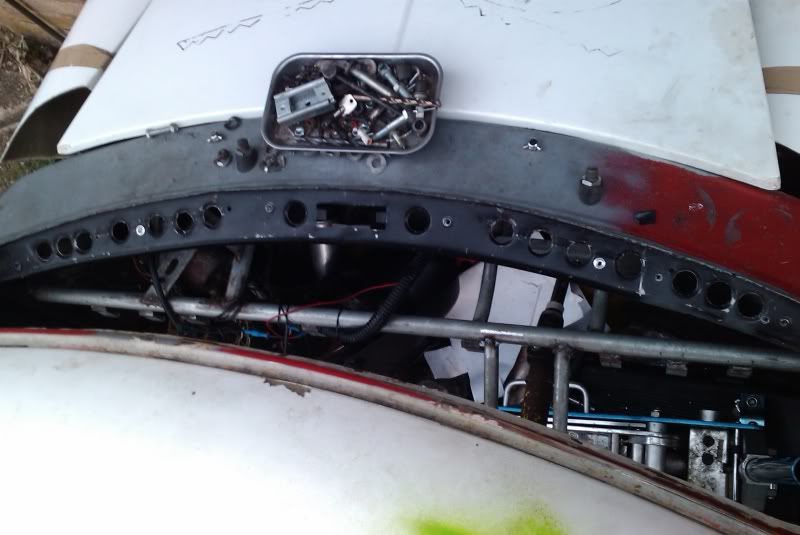
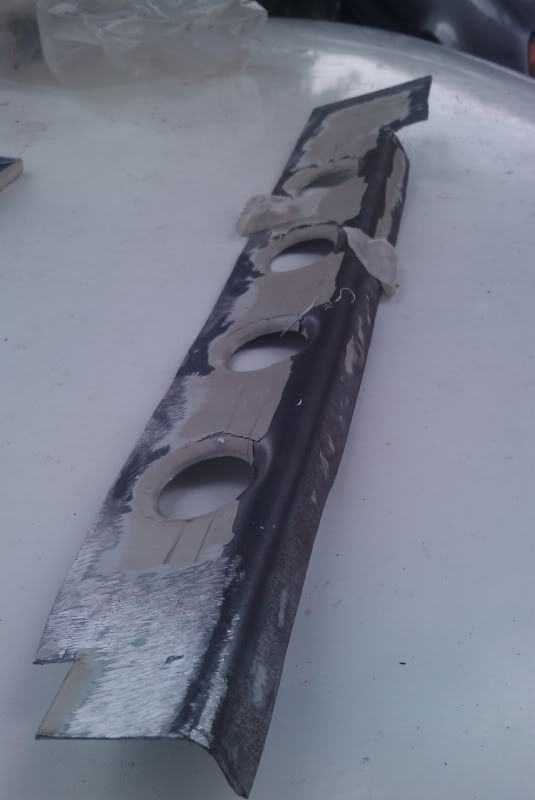
replaced the strengthening/bonnet pin panels
Posted Image

front end mounting panels
Posted Image

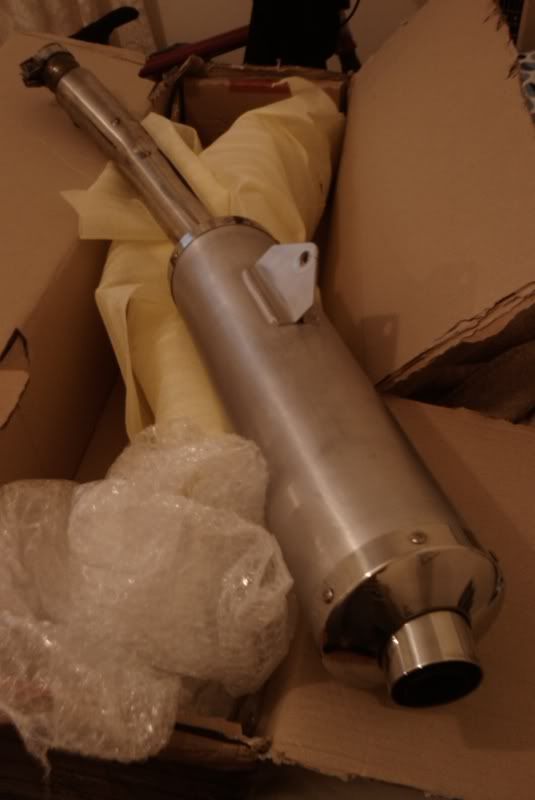
yamaha R6 back box
Posted Image

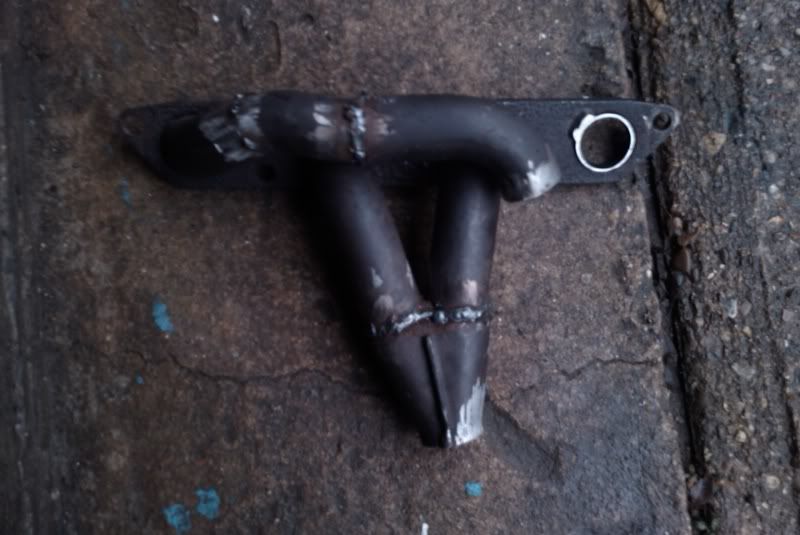
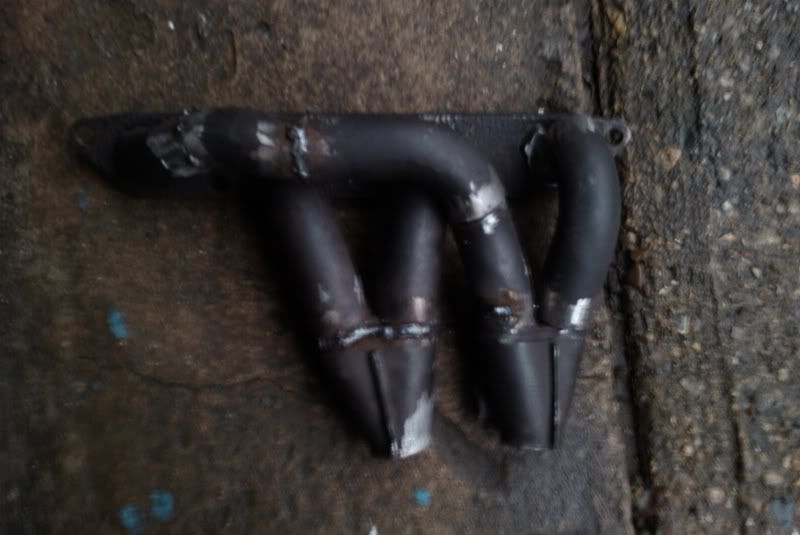
now decided i want to try and get it all under a standard length front so started modifying the exhaust manifiold
this is how it is currently
Posted Image

#156 evil ewok

evil ewok

    Speeding Along Now

  • Members
  • PipPipPipPipPip
  • 354 posts
  • Location: Stevenage
  • Local Club: A's of Herts

Posted 02 January 2011 - 05:43 PM
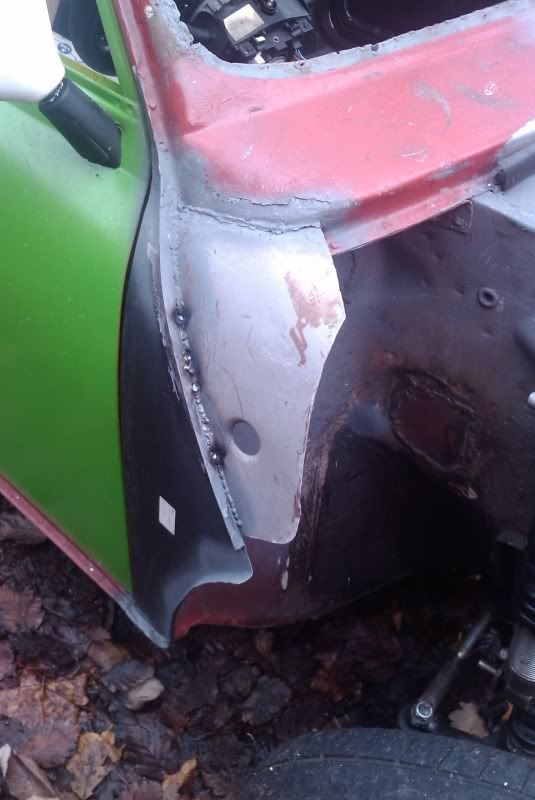
replaced the strengthening/bonnet pin panels
Posted Image

front end mounting panels
Posted Image

yamaha R6 back box
Posted Image

now decided i want to try and get it all under a standard length front so started modifying the exhaust manifiold
this is how it is currently
Posted Image

#157 evil ewok

evil ewok

    Speeding Along Now

  • Members
  • PipPipPipPipPip
  • 354 posts
  • Location: Stevenage
  • Local Club: A's of Herts

Posted 02 January 2011 - 05:44 PM
and how it should end up roughly
Posted Image
its about half the depth of the original

also bought one of these off ebay
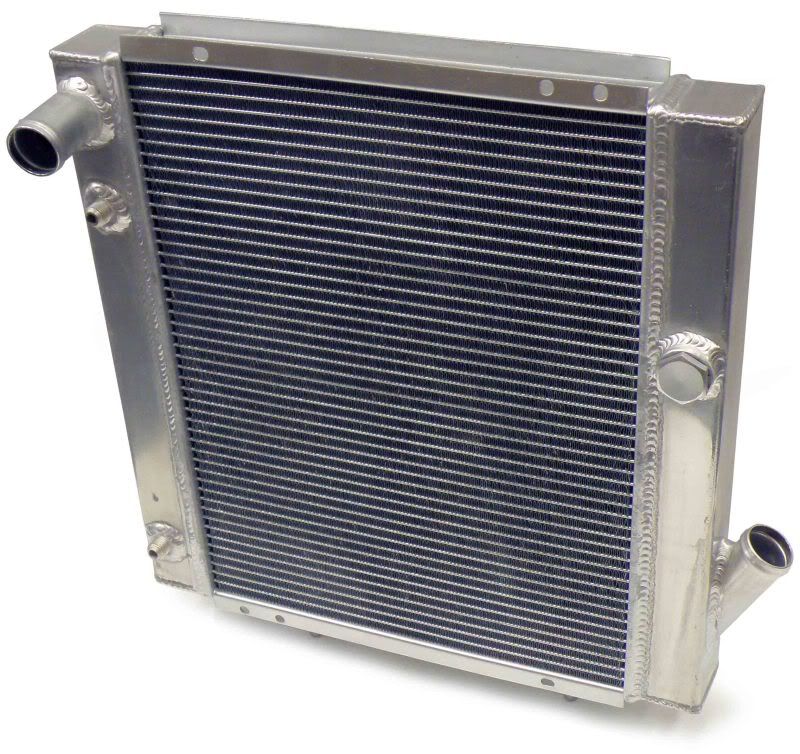
Posted Image
its a renault 5 gt ally rad. has outlets for turbo water cooling system so should come in useful later :D

well thats all i can find photos for so thats it for now

#158 tedmcedd

tedmcedd

    Up Into Fourth

  • Traders
  • PipPipPipPipPipPipPipPipPip
  • 2,751 posts
  • Location: Huddersfield

Posted 03 January 2011 - 10:19 PM

Haven't seen this in aaaaggggesss!! looks like its getting some nice bits and pieces! good work sir! hope to see some more updates soon!

Ed

#159 se_juggles

se_juggles

    One Carb Or Two?

  • Members
  • PipPipPipPipPipPipPip
  • 1,043 posts

Posted 03 January 2011 - 10:50 PM

the clutch is off the engine!!!! finally managed to get it off, after a few hours of attacking it with an angle grinder. had to almost chop it in half to get it to release from the crank!

Posted Image

Posted Image

its a good job i'm replacing the crank as it got a little damaged lol

the u washer thingy was still in position even though i'd had to turn the crank whilst the flywheel bolt was out.

the clutch housing has been damaged even more so will def.. be needing to replace that too


just a question... did you try turning the flywheel till the closest piston was at its highest point then try to lever it off???... i thought mine was stuck till i found that out as haynes doesnt actually tell you that???


started off with the piston at TDC but when it wouldn't come off started to turn it so i could hit it evenly around the flywheel to try and release it, but had no luck either way

oh ok... its just i had the same problem spent a week trying to get the bugger off turned it round a inch and the f**ker popped straight off haha

#160 evil ewok

evil ewok

    Speeding Along Now

  • Members
  • PipPipPipPipPip
  • 354 posts
  • Location: Stevenage
  • Local Club: A's of Herts

Posted 30 January 2011 - 04:10 PM

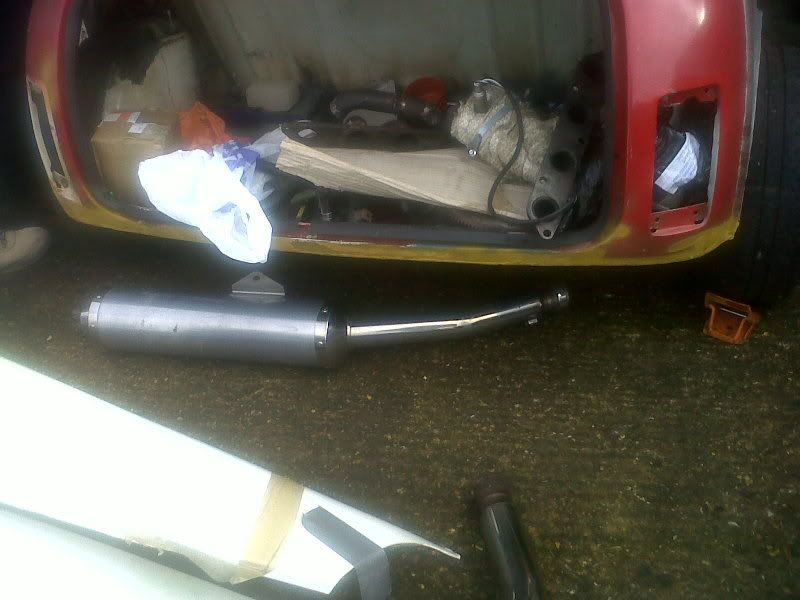
no real update as i haven't been back home since returning to uni after xmas, BUT i have been busy spending my loan over the last week or so

got another yamaha R6 back box as the second one i bought turned out to be a shortened one.
Also got a pulsar GTI plenum which should fit in nicely, but also been lent a cossie 4wd plenum by a mate at uni to see how that fits in. it came off a rally car so has been modified to run an extra 4 injectors. hmmmmm ideas......

won a brand new baileys single piston type dump valve off fleabay the other day for about half the new price.

saving the best till last...i've finally ordered my MEGASQUIRT

getting it pre built as my electronic/soldering skills are non existent. i've ordered MS2 with the extra coding, to run standard rover flywheel, sensors, fan relay, with launch control/flat shift.
Its coming from extra EFI,Phil was really helpful and even gave me the fan and launch control extras for free! highly recommend him.
just got to wait for it to be built, then im bringing my engine to uni and will be making a base map using the dyno in the labs.

no pics of any shiny bits i'm afraid. different phone now and the camera on it is rubbish

#161 evil ewok

evil ewok

    Speeding Along Now

  • Members
  • PipPipPipPipPip
  • 354 posts
  • Location: Stevenage
  • Local Club: A's of Herts

Posted 21 February 2011 - 09:18 PM

well went home last weekend but didn't get anything constructive done.

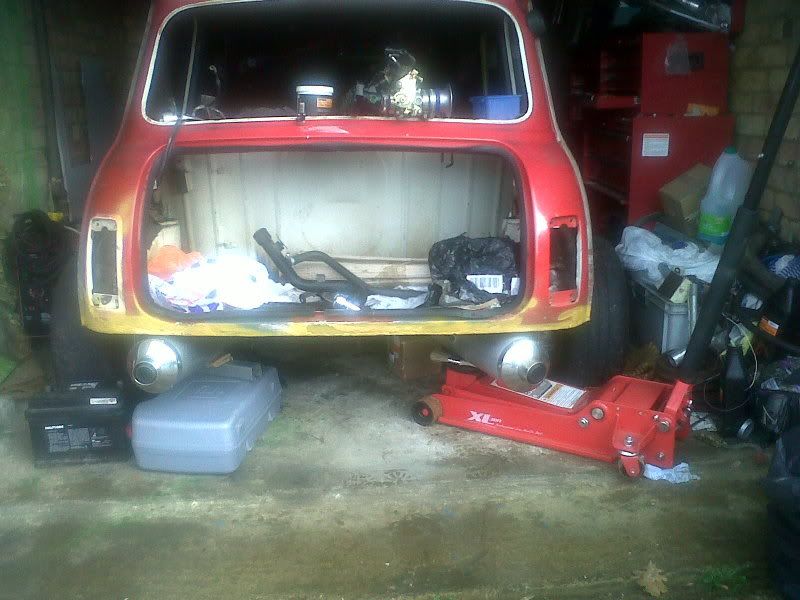
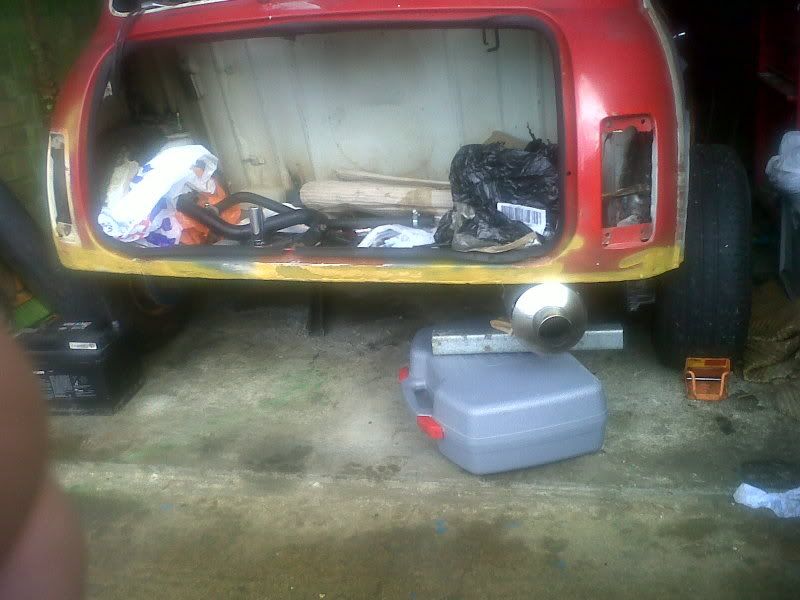
trying to decide on exhaust layout but can't make my mind up:

either double exit
Posted Image

single side exit
Posted Image

or single running along the back
Posted Image
(sorry for rubbish pics, cameras broken and my mobiles camera is useless)

pulled out the engine and stripped off the subframe hubs etc and bout it all back to uni where it sits in the lab ready to begin work on it. going to be replacing engine mounts with removable ones, sorting wiring and getting it running. will most likely start sorting bits for going turbo as well. before i can start on it, got a couple of assignments to finish off :thumbsup: all work and no play.


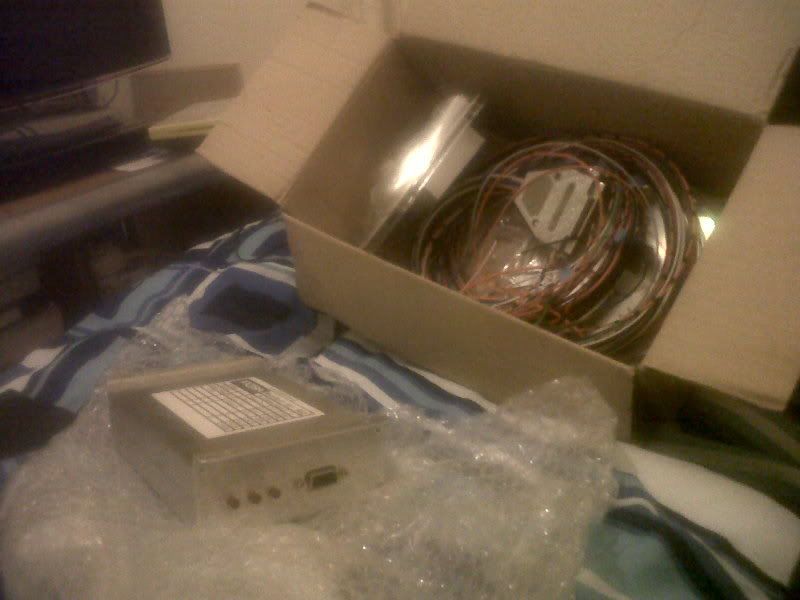
on a happy note this turned up last thursday!
Posted Image
:-

#162 evil ewok

evil ewok

    Speeding Along Now

  • Members
  • PipPipPipPipPip
  • 354 posts
  • Location: Stevenage
  • Local Club: A's of Herts

Posted 01 March 2011 - 06:08 PM

got a ford coil pack for the wasted spark setup so no just need the connector and i can make a start on the wiring once ive made some new engine mounts.

been looking on ebay and seen a subaru legacy twin turbo setup, think its a sequential setup.
does anyone know what turbos are used on this setup and where i can get flow maps for them? considering maybe using one of these instead of the T25 later on

cheers

#163 evil ewok

evil ewok

    Speeding Along Now

  • Members
  • PipPipPipPipPip
  • 354 posts
  • Location: Stevenage
  • Local Club: A's of Herts

Posted 15 March 2011 - 12:04 AM

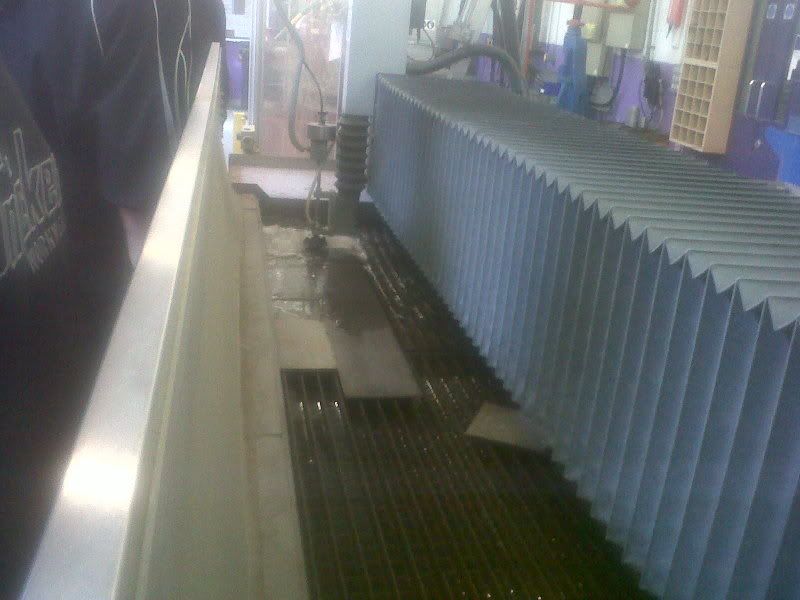
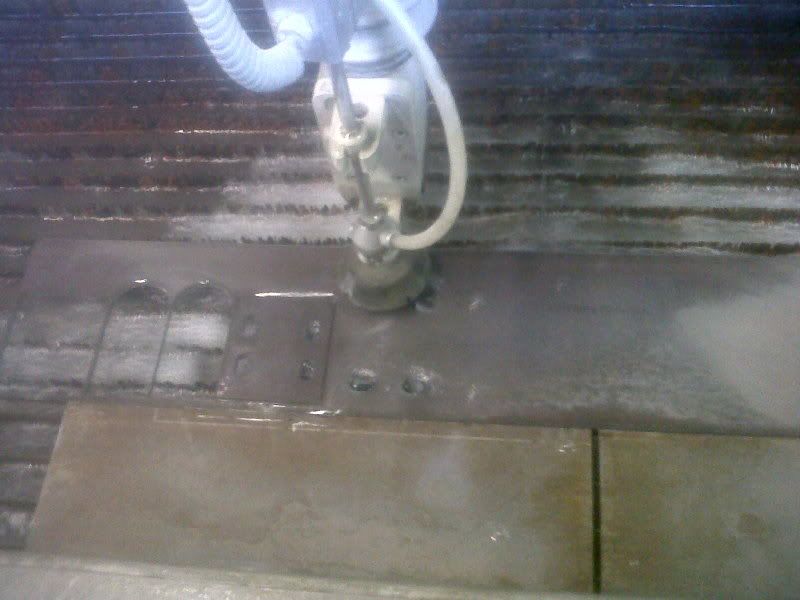
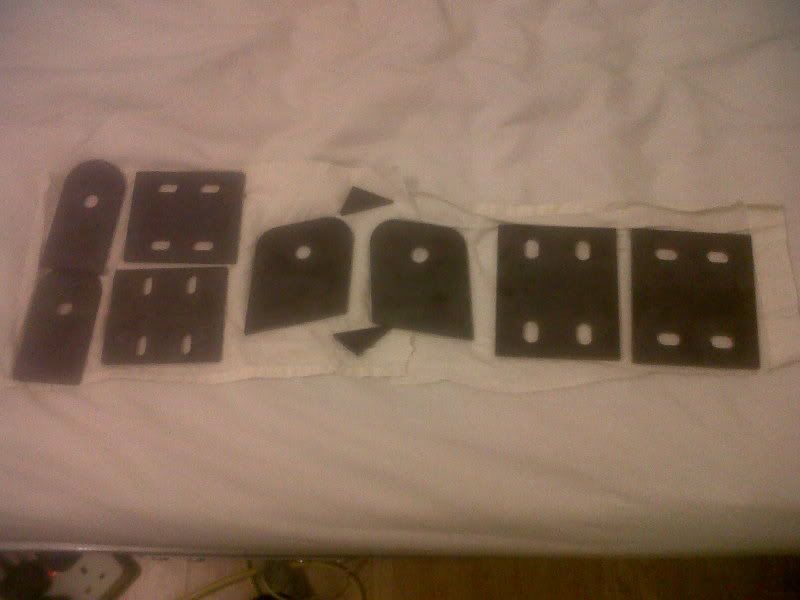
started on replacing engine mounts with removable/adjustable.

got the parts water jetted through uni, so now just need to cut the old rubbish off and build up the new ones.

Posted Image

Posted Image

Posted Image

also managed to get a set of vvc cams cheap, so have a spare vvc inlet cam if anyone needs one. just need one more vvc exhaust cam.

#164 henry marchant

henry marchant

    Stage One Kit Fitted

  • Noobies
  • PipPipPip
  • 52 posts
  • Local Club: no but want to join one

Posted 15 March 2011 - 10:21 PM

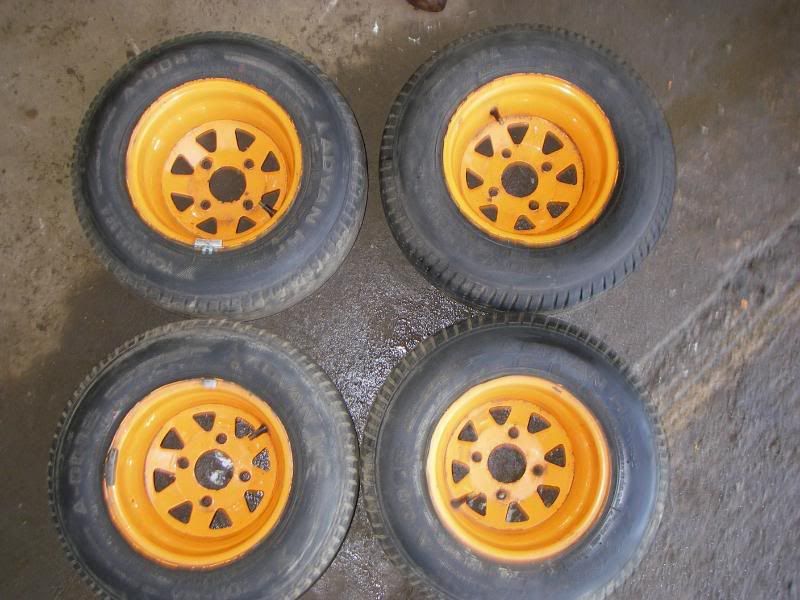
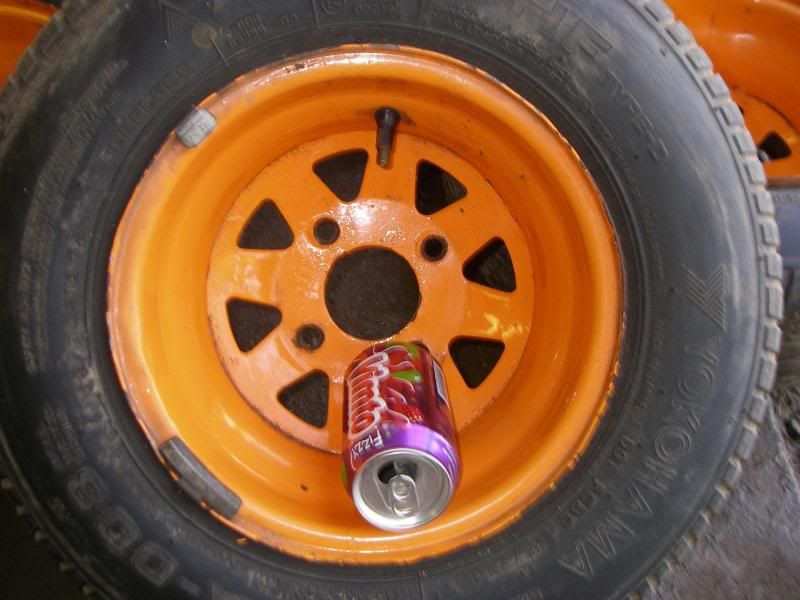
also bought these from someone on 16v mini club

Posted Image

Posted Image

should fill the miglia arches nicely without spacers
[/quote]


they are soo nice are they banded wellers?

#165 evil ewok

evil ewok

    Speeding Along Now

  • Members
  • PipPipPipPipPip
  • 354 posts
  • Location: Stevenage
  • Local Club: A's of Herts

Posted 16 March 2011 - 12:47 AM

not banded as far as i'm aware, just a rare off set i think. they are only 10 x 6" but with a 4" dish. want to get them banded on the inside in the future to 7" wide but banding is so expensive


3 user(s) are reading this topic

0 members, 3 guests, 0 anonymous users