My Mini Project - Project Snowball!
#121

Posted 30 January 2009 - 09:23 PM
#122

Posted 31 January 2009 - 09:57 PM
Ed
#123

Posted 31 January 2009 - 10:38 PM
I'll get a go at fitting the bearings in the radius arms then, and see if a local garage can ream out the brass bush to fit the new shaft kit. Not far of being on all 4 wheels now!
One slight bombshell is I might be forced to sell my McNally alloys. I'm having quite a few non-mini expenses coming up and not sure if I can justify having them. If I sell them I'll probably try to pick something up a lot cheaper and pay some bills with what's left over! I quite like the mini special alloys, so they might be an option.
#124

Posted 01 February 2009 - 08:21 AM
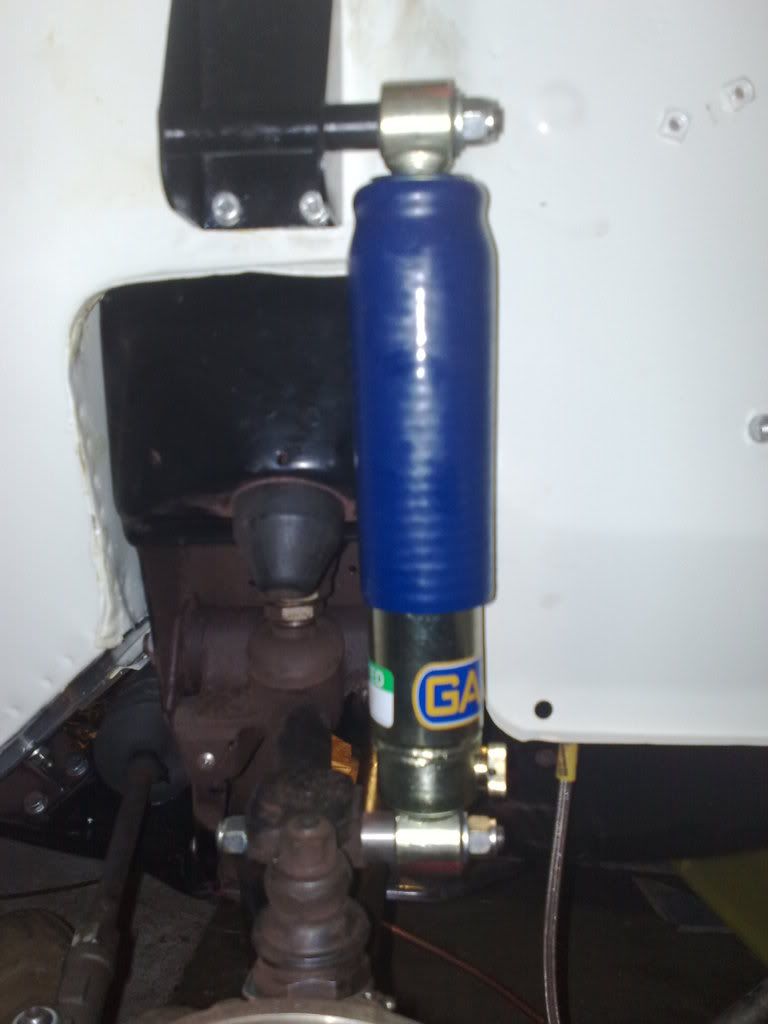
Looks like you've mixed the LH and RH brackets (upside down).First off I fitted the front top shock mounts and front shocks.
Nice build by the way, reminds me of restoring my white Mini. Keep the pics coming
Edited by CMC, 01 February 2009 - 09:03 AM.
#125

Posted 01 February 2009 - 02:28 PM
What do you mean? Do you mean the shock is upside down? Or do you mean the brackets are upside down? They are the lowered type brackets.
Cheers
Edited by scrippo, 01 February 2009 - 02:29 PM.
#126

Posted 01 February 2009 - 03:44 PM
#127

Posted 01 February 2009 - 10:50 PM
I thought the lowered pins would be lower down than the original? Could be further up I guess, so the shock goes up further into the inner arch.
#128

Posted 03 February 2009 - 12:14 PM
#129

Posted 03 February 2009 - 12:55 PM
#130

Posted 03 February 2009 - 01:48 PM
#131

Posted 06 February 2009 - 07:23 PM
Been away with work for the past 3 days so not got anything done, but I reckon my bits should be ready at the powdercoaters, so I'll have to pick that up so I can crack on. I'm keen to get it on all 4 wheels now, so I can move it around!
#132

Posted 07 February 2009 - 11:07 AM
most def. a good project
cheers mate
David
#133

Posted 14 February 2009 - 07:12 PM
After leaving the mini in the garage abandonned for the last couple of weeks due to being busy buying a house, being away with work, and not fancying going out in the snow, I finally got out and did some work on the little fella today. Things have become a little more urgent as we're moving out on the 25th and I'm stuffed if the Mini isn't on it's wheels by then!
So today I got cracking. Yesterday I picked up a load more stuff from the powdercoater. I've been using Adept finishes in Croydon, as I know the guy there, and get a mates rate with it.
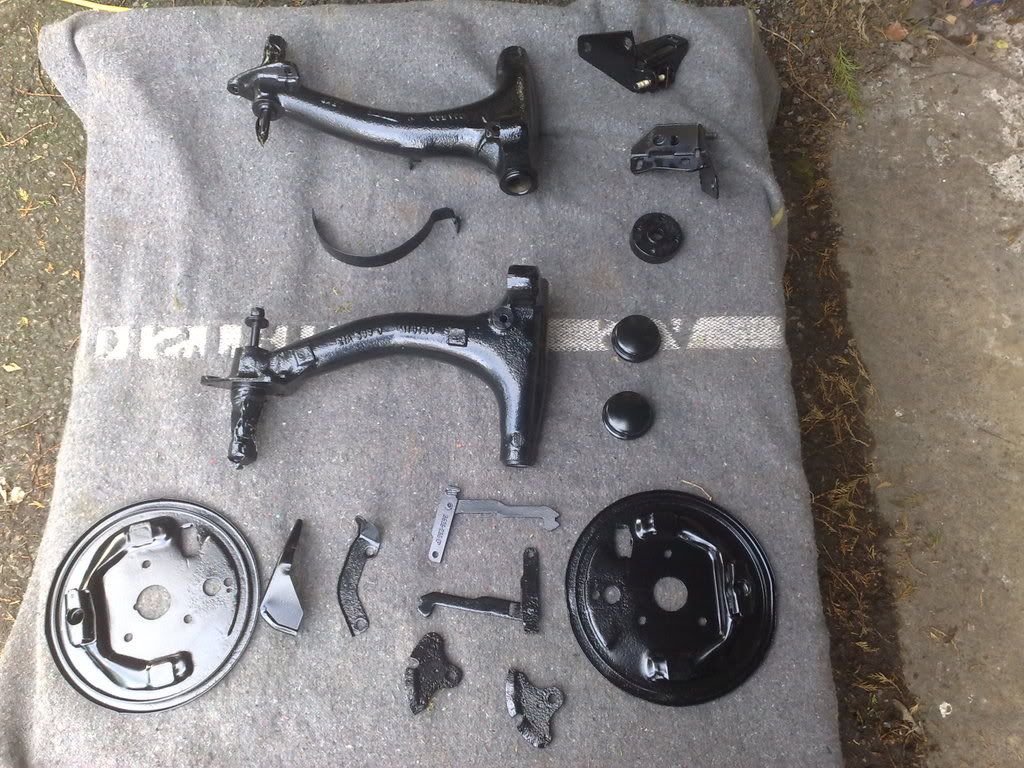
All the bits ready to be assembled.
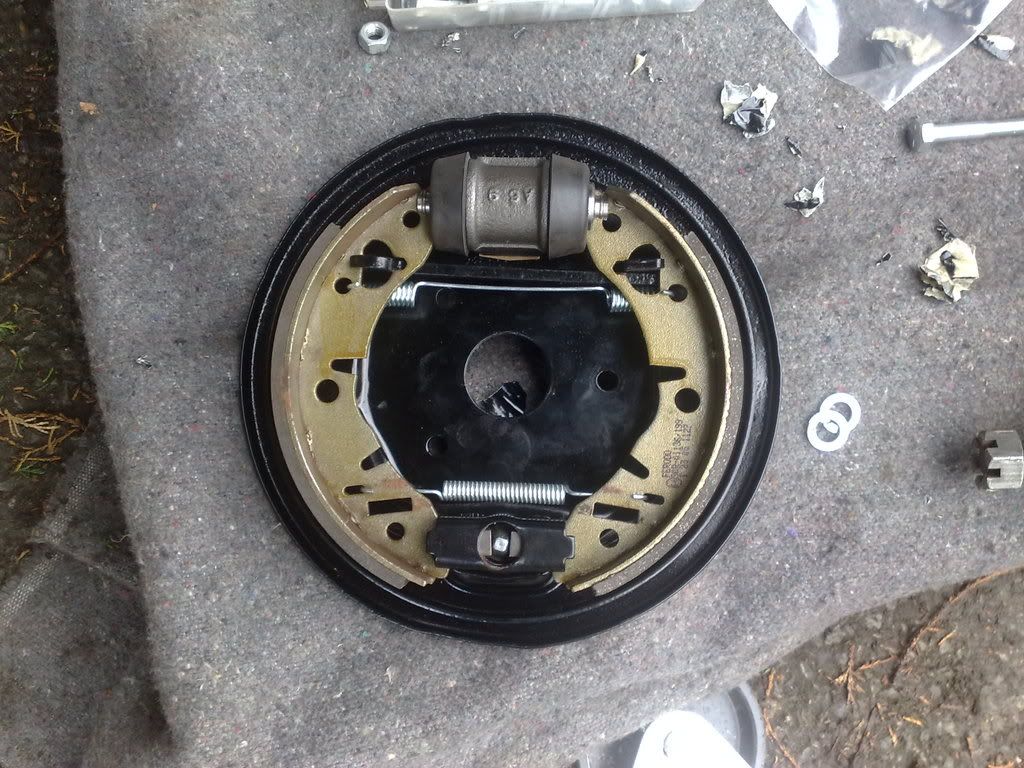
Then got busy fitting the shoes, new wheel cylinders, and springs, and brake adjuster screws. I was originally going to buy pre built kits from Minispares but I'm quite glad I did it this way now, as I know how it all fits together. I also fitted the bearing and the brass bush in the radius arms.
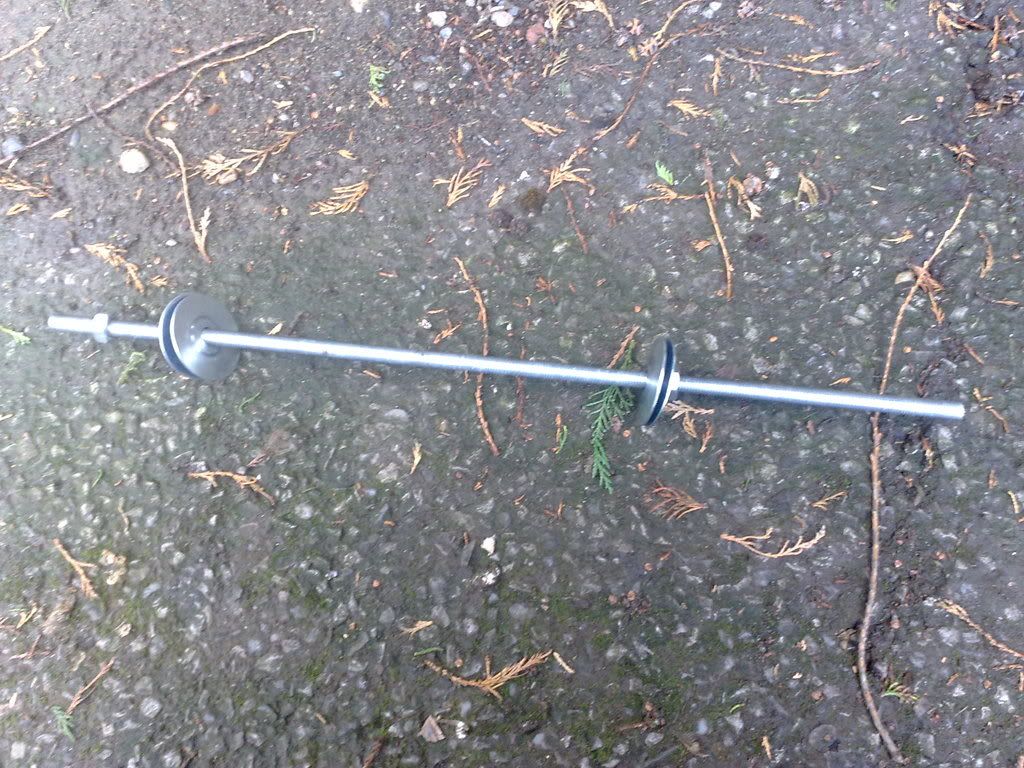
I used this to do it. I bought a length of M10 threaded rod from Wickes, with larce washers and nuts to go with it. Only cost a fiver all in, so I was prety pleased.
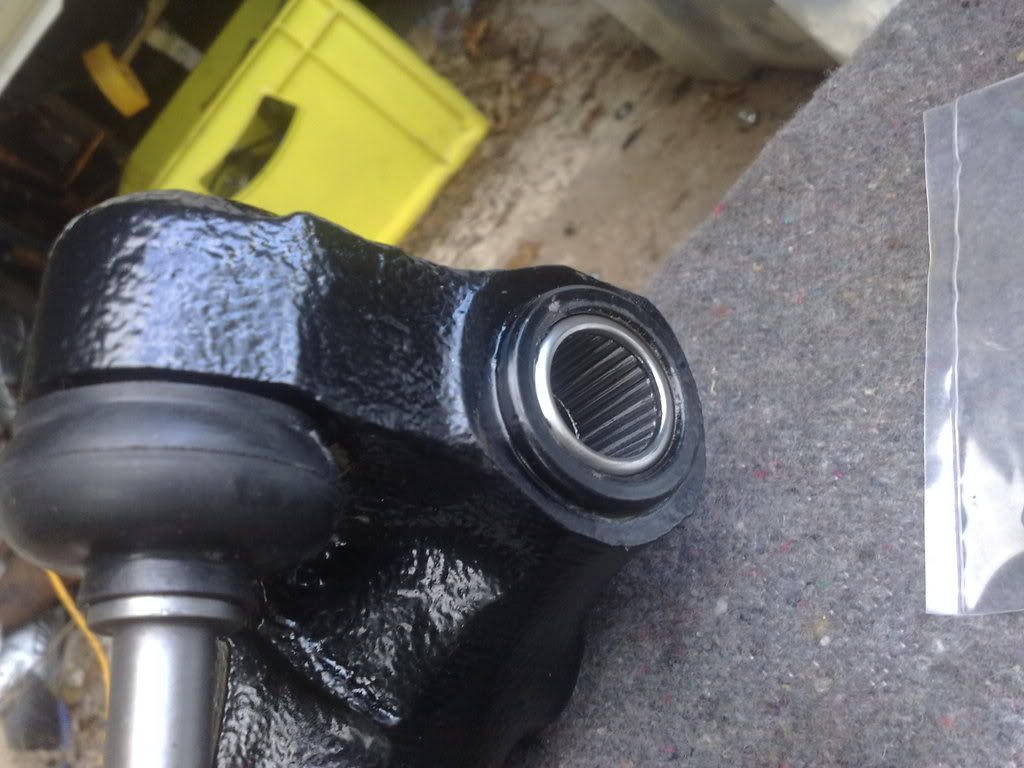
Bearing fitted nice and snug. The brass bushes were a little trickier to fit, and now I need to get them reamed at my local garage, so I can fit the shafts.
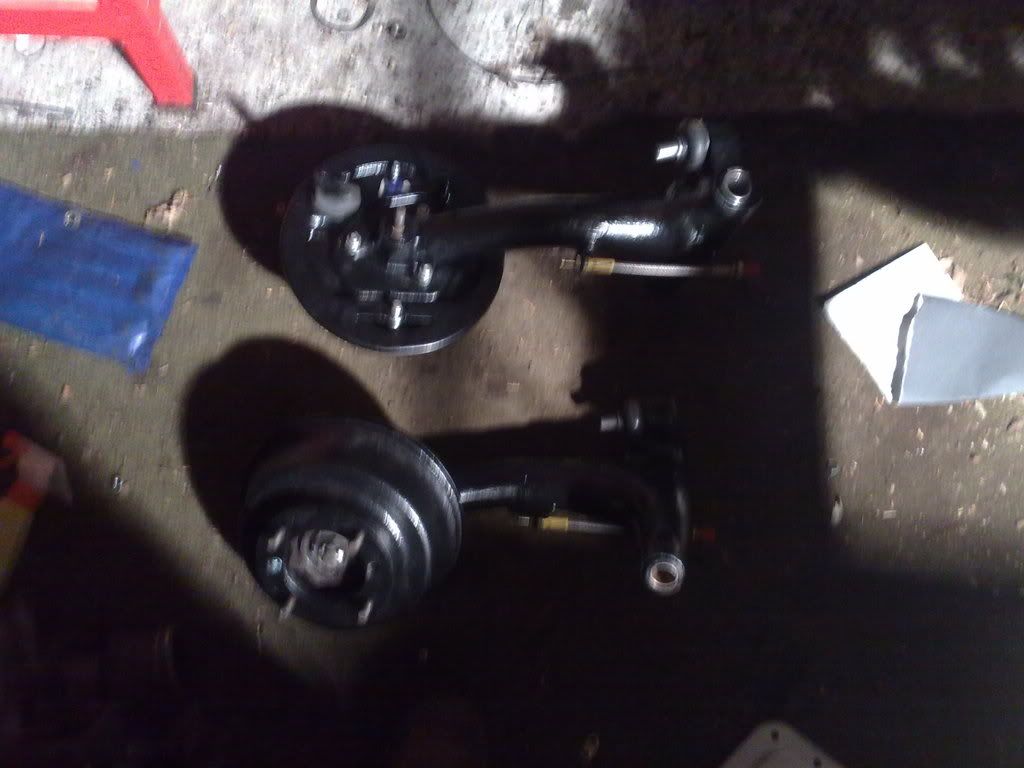
Crap pic of the radius arms rebuilt. I ran out of light and had to go in the garage. They look really smart now!
Next on the list is to fit Hilos and cones, and bolt the radius arms to the subframe. Then it should be ready for wheels! It'll be the first time in 1 1/2 years that the car will be on all 4 wheels.
Scrippo
#134

Posted 15 February 2009 - 01:08 PM
#135

Posted 16 February 2009 - 09:10 AM
Getting excited about getting the car on all four wheels, can't wait to see what it looks like.
One sad thing is it looks like my headlining is sagging around the edges again. I'll keep it in, but I think once the car is built and running that'll be on the list to get redone. I'll be getting a professional to do it next time!
1 user(s) are reading this topic
0 members, 1 guests, 0 anonymous users


