My Mini Project - Project Snowball!
#106

Posted 18 January 2009 - 10:51 PM
I've been fitting my headlining, following the steps given in the guide on the FAQ's here, I'm sure the instructions are fine, I think its just the idiot doing it that's the problem. ME! I have quite a few ripples and untidy bits in it that I just can't get out, it's not 100% finished yet so I'll see if I can improve it any. In a way I wish I'd got a professional to do it.
Also tried fitting the rear screen. The little beggar will just not go in. I was out there for at least 3 hours trying to get it in (putting the seal on the body, then trying to lever the seal over the edge of the glass). My window's having none of it.
No pics because I was too busy effing and blinding. Hopefully I'll get windscreen and rear screen in by the end of the week, and get the headlining finished. Although at one point today I was tempted to throw it all away and get someone else to do it!
Scrippo
#107

Posted 19 January 2009 - 11:03 AM
Well, today has to go down as one of the most frustrating days of my life.
I've been fitting my headlining, following the steps given in the guide on the FAQ's here, I'm sure the instructions are fine, I think its just the idiot doing it that's the problem. ME! I have quite a few ripples and untidy bits in it that I just can't get out, it's not 100% finished yet so I'll see if I can improve it any. In a way I wish I'd got a professional to do it.
Also tried fitting the rear screen. The little beggar will just not go in. I was out there for at least 3 hours trying to get it in (putting the seal on the body, then trying to lever the seal over the edge of the glass). My window's having none of it.
No pics because I was too busy effing and blinding. Hopefully I'll get windscreen and rear screen in by the end of the week, and get the headlining finished. Although at one point today I was tempted to throw it all away and get someone else to do it!
Scrippo
dude the headlining is a *melon*!! it took me so long to get mine in. if the ripples are not to bad just use a hair dryer to get them out. nice project thogh dude like the work you have done.
#108

Posted 21 January 2009 - 10:17 PM
Anyway, an update! I managed to finish the headlining, fit the rear windscreen and front screen. I've also managed to fit one side window but need to buy some self tappers to fit the other side. Its amazing how much different the car looks and feels inside now that the glass is in. I highly recommend bicycle tyre levers (plastic ones not old school metal ones) to fit the windscreen seals over the glass.
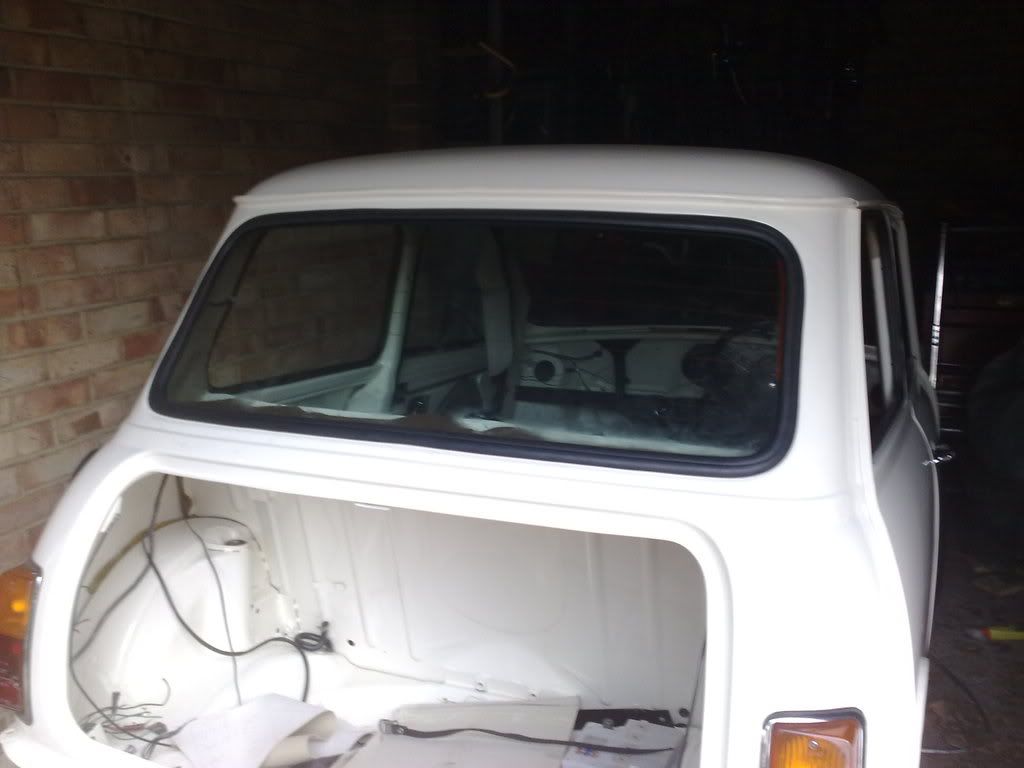
I'm pretty happy with the headlining now, fitting the courtesy light has tightened it up nicely, and a bit of pulling and grappling managed to tighten it up too. It's not perfect, and does have some ripples but it's acceptable. I still have to fit the filet strips in the windscreens which should be fun
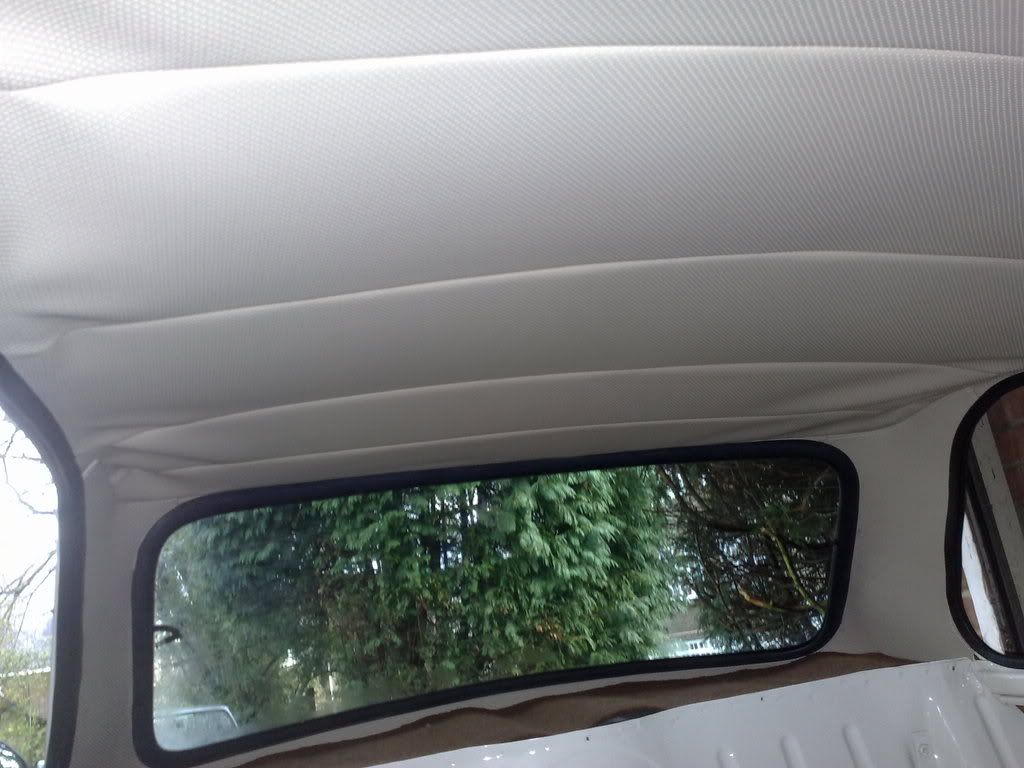
I took this pic before I fettled with the headlining a bit more, so it actually looks a lot better than this pic!
Right, I have a week off next week, I'm expecting my stuff back from the powdercoater soon as well, and I have shopping lists for various bits and pieces which I'm waiting till payday to order, so there should be loads of progress next week.
Scrippo
#109

Posted 27 January 2009 - 09:56 PM
Thought I best update this thing as I've just rescued it off the third page!
I've got a week off work this week, so I'm managing to get some big work done on the mini.
Yesterday I bought some odds and ends, a brake line, and a fuel line for the rear. I'm trying to get hold of some recon radius arms in exchange for mine, but I'm not finding it easy. Hopefully minispares have them in stock on Friday, as they said when I called. If not I think I'll get my old ones coated, and refurb them myself.
Today I got cracking with work.
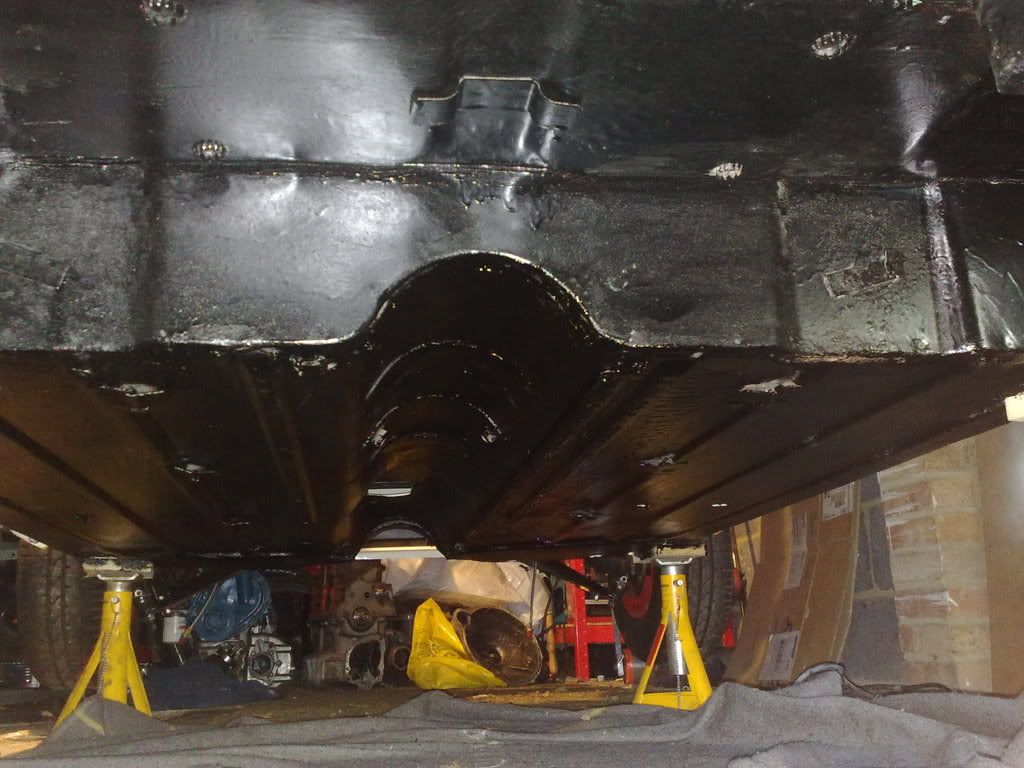
Firstly I undertook the dodgy task of putting the car on axle stands, getting rid of the pallet that had been propping up the rear. Eventually got it on the 4 stands with some careful thought. I didn't fancy the rear of the car crashing down on the floor! Once I'd done this, I gave the underside of the floor a nice coat of underseal.
Once the floor was touch dry, I fitted the fuel line and brake line. Had to carefully bend the pipes to replicate the shape of the originals, didn't get it exactly right but I'm happy how they turned out. Still got to do the front ends, but that should be reasonably straightforward. Just a bit of fettling.
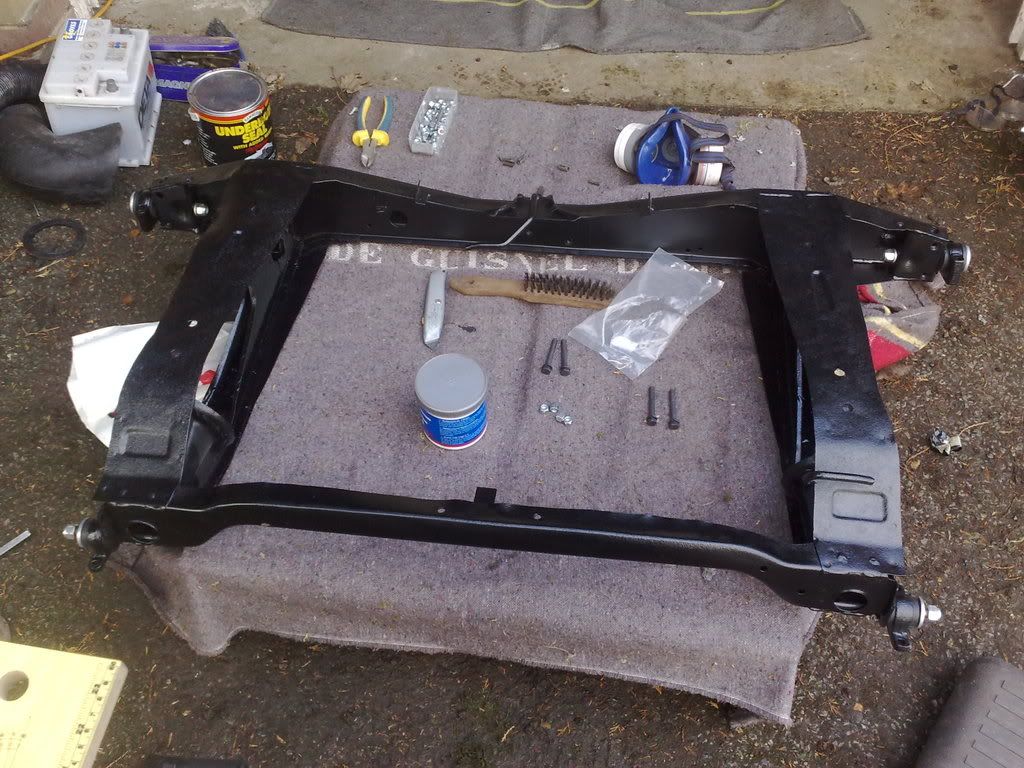
My lovely powdercoated subframe. I was really pleased how it turned out. Apparently this was a rust free example from the place I bought it, but wasn't happy fitting it on the car when I received it, as they'd just painted hammerite over rust! Its a bit pitted in places as a result of the blasting, but still solid and nice and clean now! Also had the trunnions coated and a new bolt set.
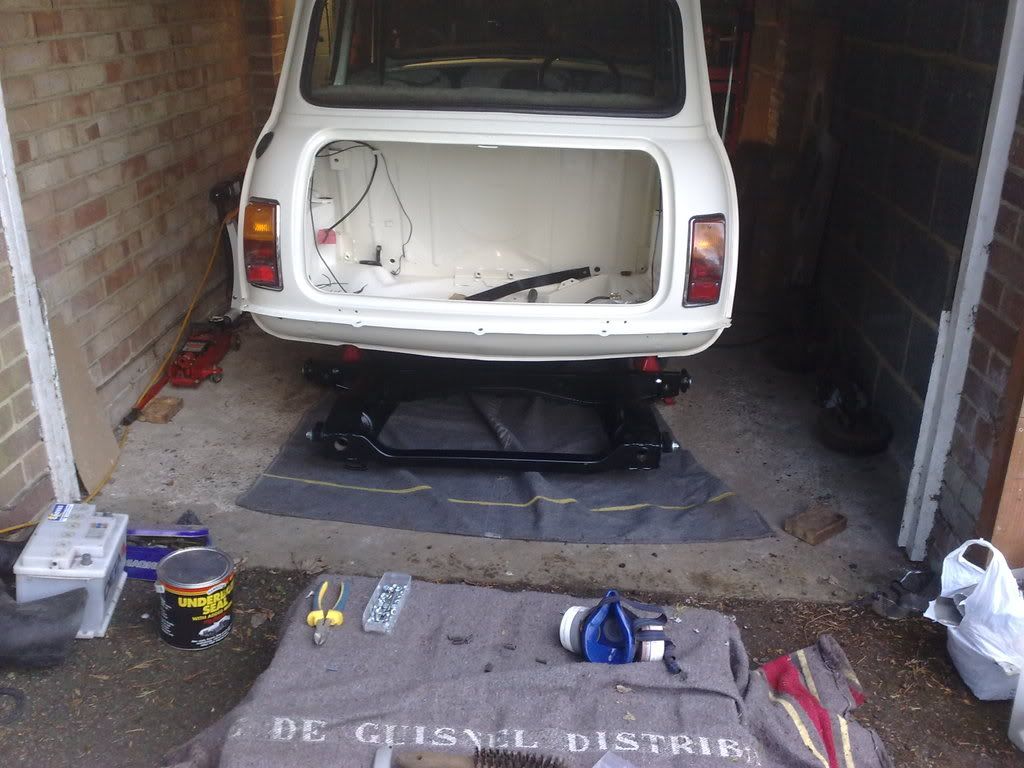
Under the car ready to fit
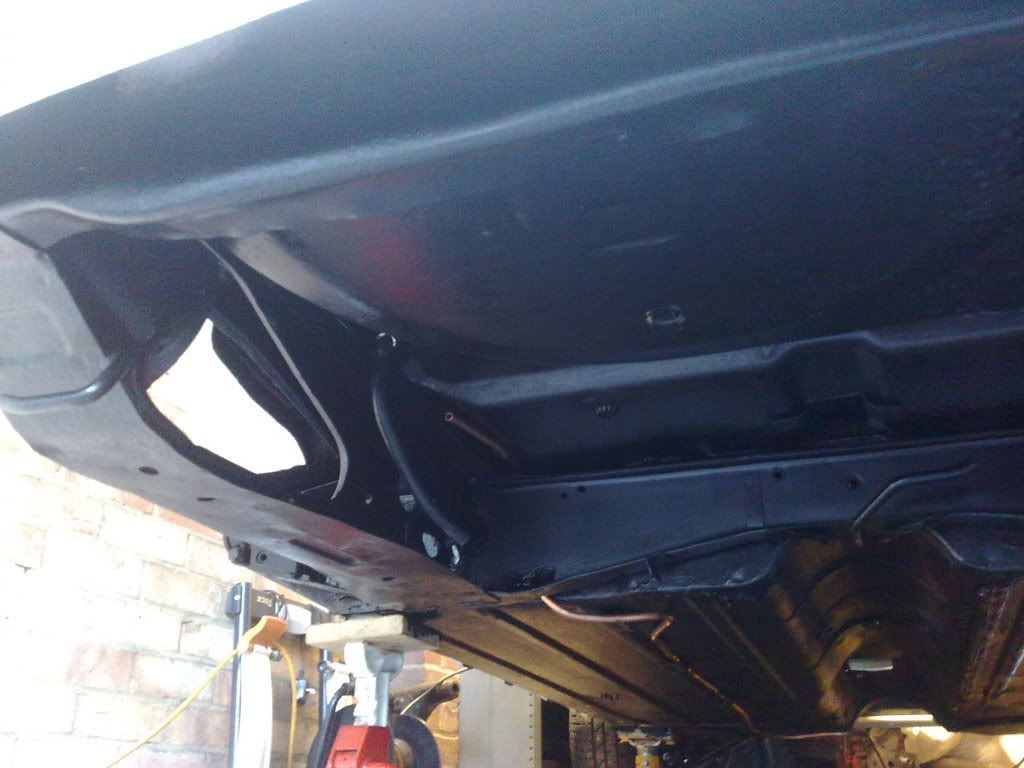
As if by magic!
It wasn't that simple. It was a bit of a pain as I only had 1 trolley jack to do it with, and all my axle stands were under the car! I managed to lift it at the front, bolt it in a bit, then raise the back of it. I was worried I'd not get the rear mount bolts lined up and end up stripping a thread, but eventually I got it all lined up and on the car.
With any luck I'll hopefully have the car on all 4 wheels by the end of the week!
Scrippo
#110

Posted 28 January 2009 - 10:44 AM
#111

Posted 28 January 2009 - 09:31 PM
Today was a bit of a frustrating one. But had it's good points!
First off I fitted the front top shock mounts and front shocks. Nice and straightforward, and ticks another job off the list. They look lovely! The top mounts are powdercoated black just like my rear subframe.
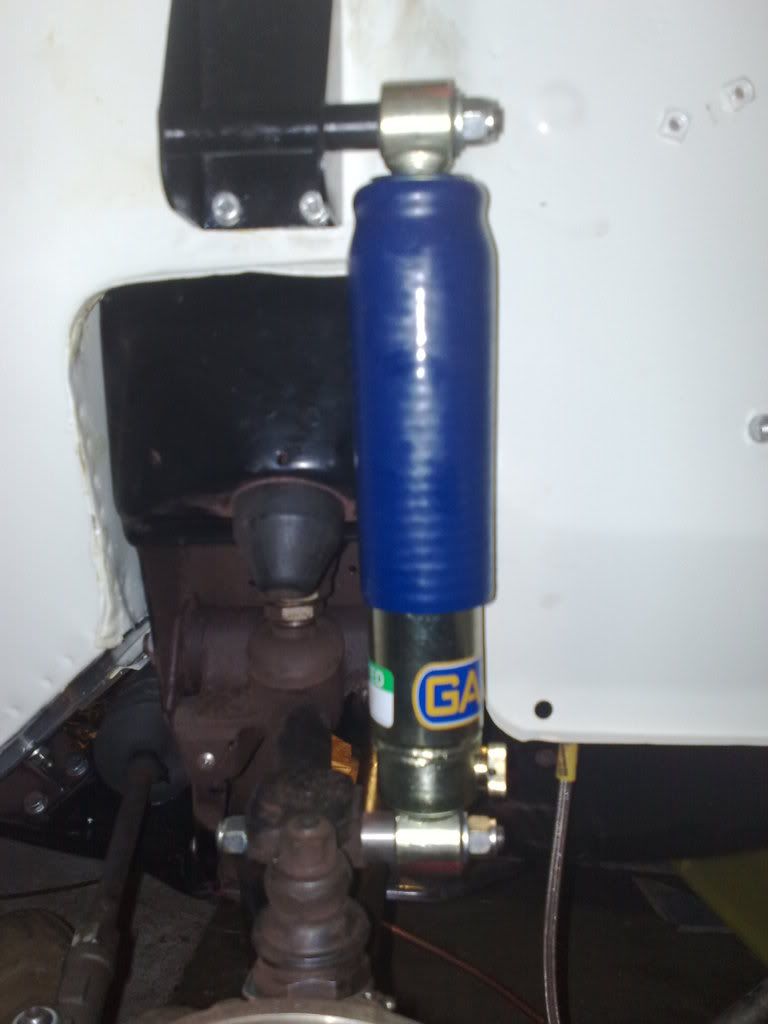
Then I decided to start fitting my air ducting, got some of the way forward with it, but I'm lacking some parts to complete it, so I had to leave it.
I then started trying to finish the brake and fuel line, so they were in the engine bay. This is where the frustration started....
WHO'S STUPID IDEA WAS IT TO HAVE ONE END OF THE BRAKE LINE METRIC, AND THE OTHER UNF!!!!!!!!
After feeding my line all the way from end to end, and making it look nice and tidy, I tried screwing the union into the cylinder, and it just wouldn't go. Fortunately I didn't strip it in the process. I looked carefully at both ends, and discovered that one end had a groove on the union, so I figured this should be at the engine bay side, just like the other unions. I had to lower the rear subframe, strip out the line, then carefully re-shape it and refit it, then refit the subframe. NOT HAPPY! After a while of faffing with this, I finally got it done again.
Fed the fuel line through to the engine bay, which went in fine. I have 2 very minor kinks in the hose, but nothing to worry about.
After this, I started stripping down my radius arms. I was going to renew the back plates, but my budget is being tightened recently, so I think I'll get them powdercoated along with a load of other bits. Same for the radius arms, I was gonna buy recon arms, but I think I'll buy the kits and do it myself, and get them coated too.
By the time I'd stripped down the second radius arm I was getting light headed from lack of food all day, so called it a day. Is there anyone else like me who just keeps on working, forgets the time and only realises when they're about to pass out with hunger?!
#112

Posted 29 January 2009 - 06:57 PM
I managed to fit the passenger side window, and sorted out the wiring to the rear heated screen. I also spent some time adjusting the doors so they shut nicely. The drivers door still sticks out no matter what I do, so it might need a trip to the body shop once the car is built.
I also completed strip down of my radius arms, ready for coating and rebuild.
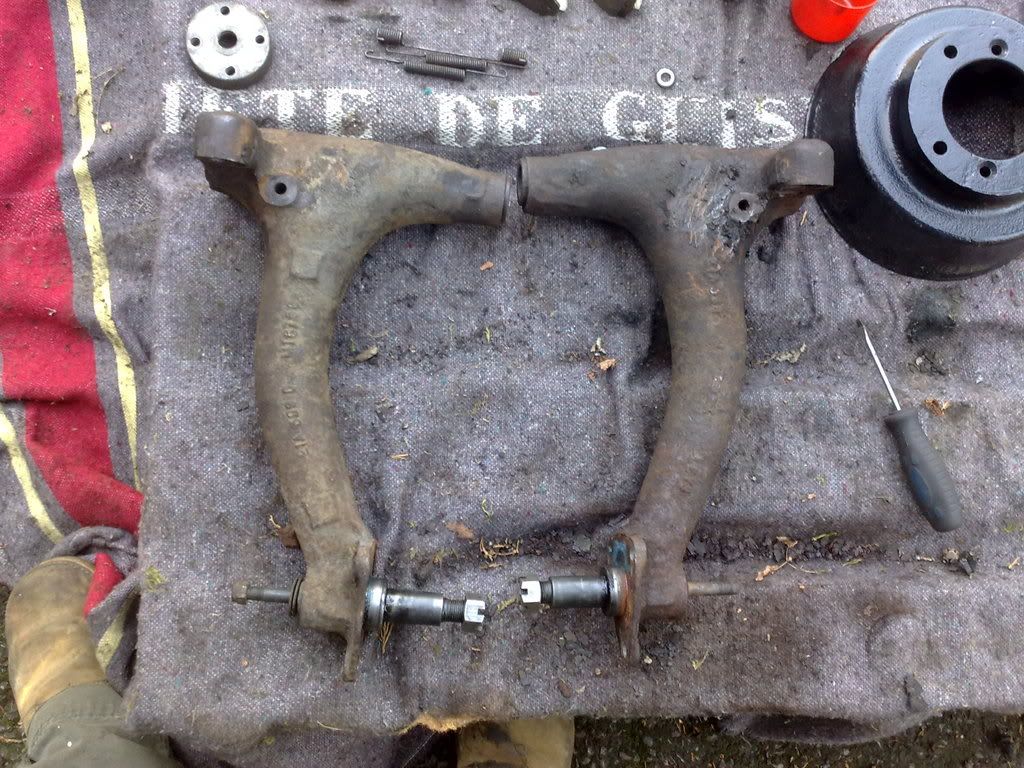
And then decided to jump in the car and buy a load of stuff from the gods of minispares.
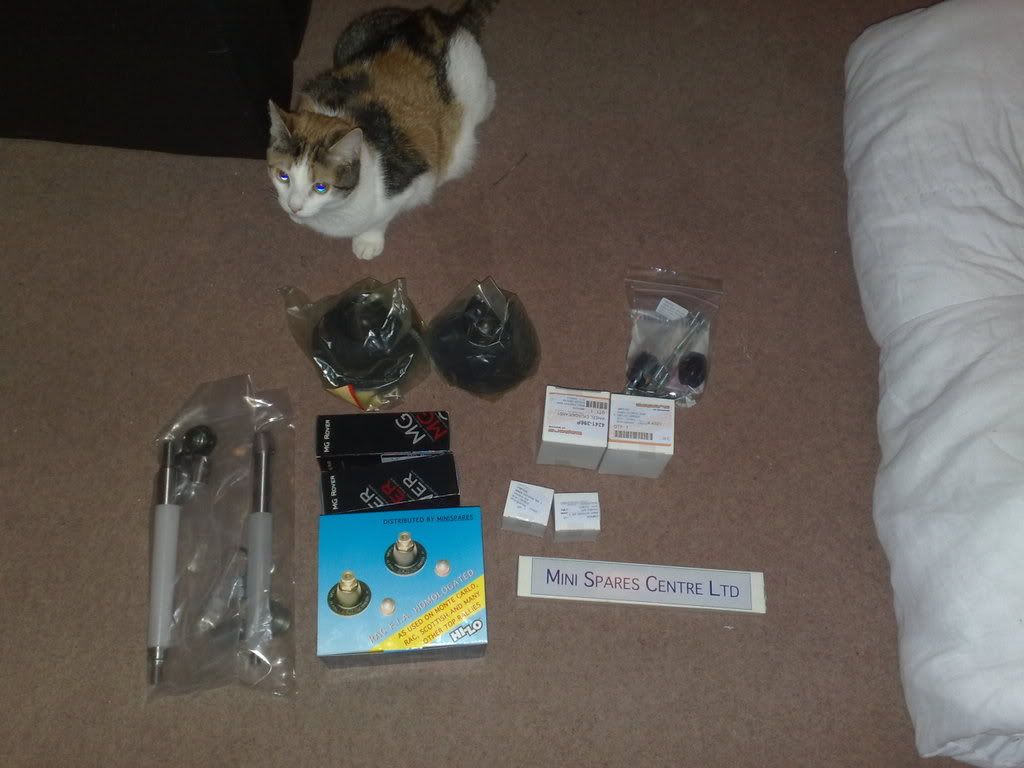
Bought wheel cylinders, knuckle joints, cones, hilos, radius arm refurb kits and a couple of other bits n bobs. Cat not included. I'm taking my radius arms and backplates to the powdercoater tomorrow.
Scrippo
#113

Posted 29 January 2009 - 07:46 PM
#114

Posted 29 January 2009 - 08:46 PM
I am new to this whole forum thing, but I am enjoying reading your posts. It gives me the inspration to get out in the garage and get cracking!
#115

Posted 29 January 2009 - 09:57 PM
Edited by Whatty, 29 January 2009 - 09:58 PM.
#116

Posted 29 January 2009 - 10:12 PM
I've had the week off this week, so there has been a fair amount of progress, next week I'm back to work so updates will unfortunately slow down
One question..... Does anyone know how to get the old plastic sleeve bits out of the radius arms, I've managed to get the bearing and the brass bush out (with a socket and the old shaft), but can't seem to get the plastic bit out!
Scrippo
#117

Posted 29 January 2009 - 10:20 PM
doing a great job, and looking through some of your pics have realy helped with my repairs.
rob
#118

Posted 29 January 2009 - 10:59 PM
its tapered and should come out easily from the roller bearing sideCheers chaps
, its good to know that updates are appreciated. I was starting to wonder if it was worth updating, but obviously it is!
I've had the week off this week, so there has been a fair amount of progress, next week I'm back to work so updates will unfortunately slow down
One question..... Does anyone know how to get the old plastic sleeve bits out of the radius arms, I've managed to get the bearing and the brass bush out (with a socket and the old shaft), but can't seem to get the plastic bit out!
Scrippo
nice job on the car, keep it up
#119

Posted 30 January 2009 - 09:28 AM
#120

Posted 30 January 2009 - 09:41 AM
1 user(s) are reading this topic
0 members, 1 guests, 0 anonymous users


