My Mini Project - Project Snowball!
#91

Posted 31 December 2008 - 06:15 PM
#92

Posted 02 January 2009 - 06:12 PM
No updates I'm afraid people, been busy with new year stuff. Hoping to get some work done over the weekend.
#93

Posted 02 January 2009 - 07:28 PM
OK Image the more I look at that pic now the more I think they need a clean!
What would clean them up well? I seem to remember trying to give them a clean a while back but couldn't shift anything.
Use some engine degreaser to remove most of the dirt. If it was me i would then give them a lick of paint. Great build by the way.
#94

Posted 02 January 2009 - 11:31 PM
Please note that my mini isn't called Snowball!! I've had a few PM's about the car and I guess my title isn't as clear as it could be! The snowball reference is for the project in that it started as a small on the road job, and snaowballed into a major rebuild.
I'm pretty anti naming cars
It's called a mini
OK I'm also a scrooge
#95

Posted 04 January 2009 - 08:14 PM
#96

Posted 04 January 2009 - 09:09 PM
Still nothing to update since the last one, hope to get a couple of bits and bobs done in the evenings next week, but should have a bigger update when my headlining arrives from retro retrims. Then I'll get all the remaining windows fitted.
Still not had the guts to tackle the passenger side door handle. The thought of filing away at new paintwork scares the jeepers out of me!
#97

Posted 10 January 2009 - 04:16 PM
Well after no updates since the 30th December, I finally managed to get out there and do something today. The freezing cold has put me off going out in the evenings and I've been back at work this week, so it's slowed progress right down.
Having said that, there's not much to report. Today I gave the underside of the boot floor a nice thick coat of Hammerite. Should keep the rust at bay! Wasn't much fun rolling around on a freezing cold floor painting it though!
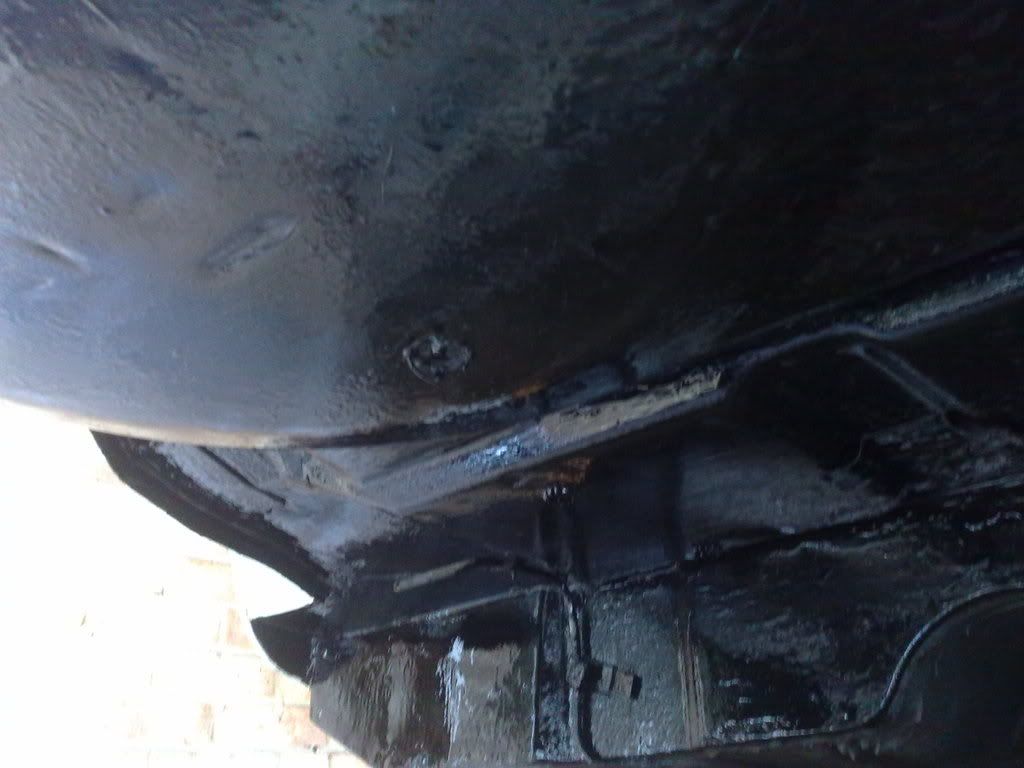
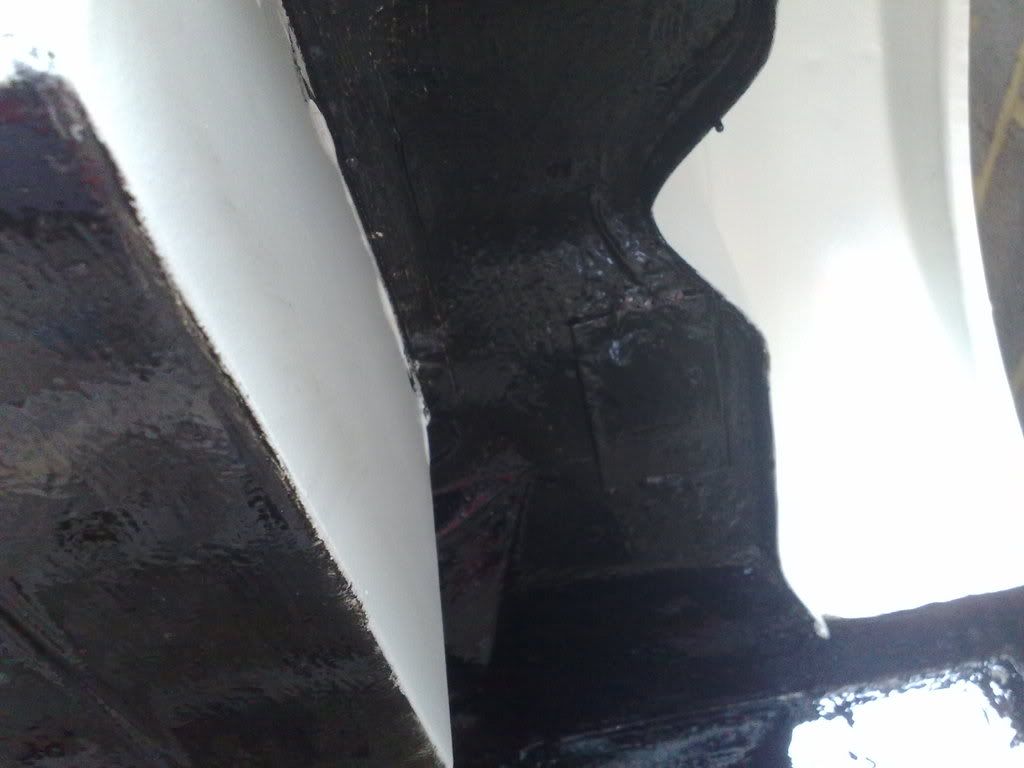
Not the best pics but you get the idea. I've gone a bit too thick in some places and the paint has a few runs in it, but I'm not too worried as they are underneath and most will be hidden by the subframe.
After that I spent a load of time faffing around. Sorted out a couple of studs for my engine that were missing, and sorted out some nuts and bolts for the mounts etc.
Then I had another go at the passenger door handle/lock linkages. After some careful filing of the door skin holes, I managed to get the screws to line up with the threads. Got the linkages in, but I'm missing bolts for the latch, so need to try and get these from somewhere. Can anyone help? I'm also missing some other bolts, so I think the best thing to do is show some pics of where I'm missing bits and hope you nice TMF peole can help!
After this I felt far too cold so I've called it a day! Should have a much more substantial update when my headlining arrives from retro retrims!
#98

Posted 12 January 2009 - 02:10 PM
Last night I gave the wiring loom a good clean up. It's amazing how much better it looks. That's defeinitely persuaded me to clean up the brake/clutch cylinders.
Also dropped off the rear subframe and some other bit's and pieces to the powdercoater. I should have them by middle of next week apparently, so then quicker build progress can be made!
Once the headlining and the subframe/other bits come back I can do the following;
Fit rear subframe
Fit fuel tank
Fit headlining
Fit windscreen, rear side windows and rear window.
Fit engine!
Still some other fiddly bits to do in the mean time!
#99

Posted 12 January 2009 - 10:11 PM
Keep up all the good work mate... the weather is a little warmer now!
Ed
#100

Posted 13 January 2009 - 08:29 PM
#101

Posted 13 January 2009 - 10:55 PM
OK, so I managed to spend a bit of time in the garage tonight. I'm really pleased with what I've done tonight. I decided to do the wiring, a job I've kept putting off. I actually quite enjoyed it! I just took my time, worked out what colour wires connected to which component with the Haynes, and spent some time tidying it up in the engine bay. I still need to refit a few connectors, a couple of grommets, and repair some of the insulation I damaged putting it in, but it's pretty much there. Like I've said earlier I'm going to get some convoluted tubing as well for additional protection.
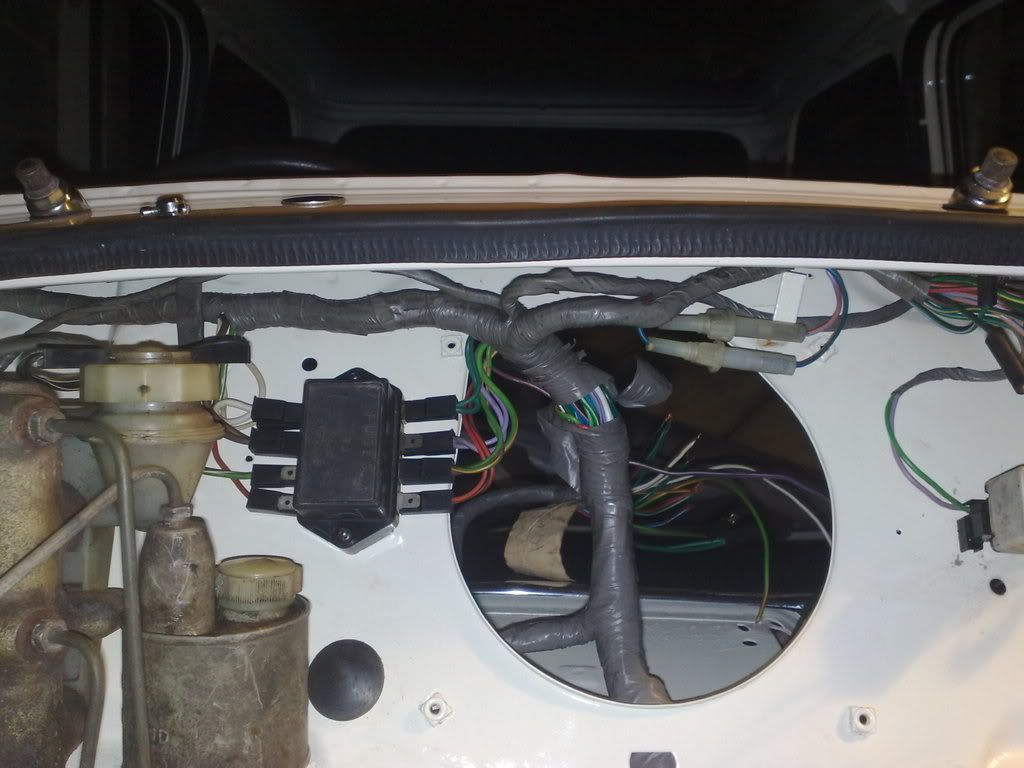
(Yes, I know the cylinders aren't clean yet!)
The one thing that did confuse me was the fuse box, at first in the Haynes manual it seemed that only one colour wire was going into it, and one coming out. After a bit of head scratching and looking at the diagram I realised that the fusebox was on the diagram 4 or 5 times
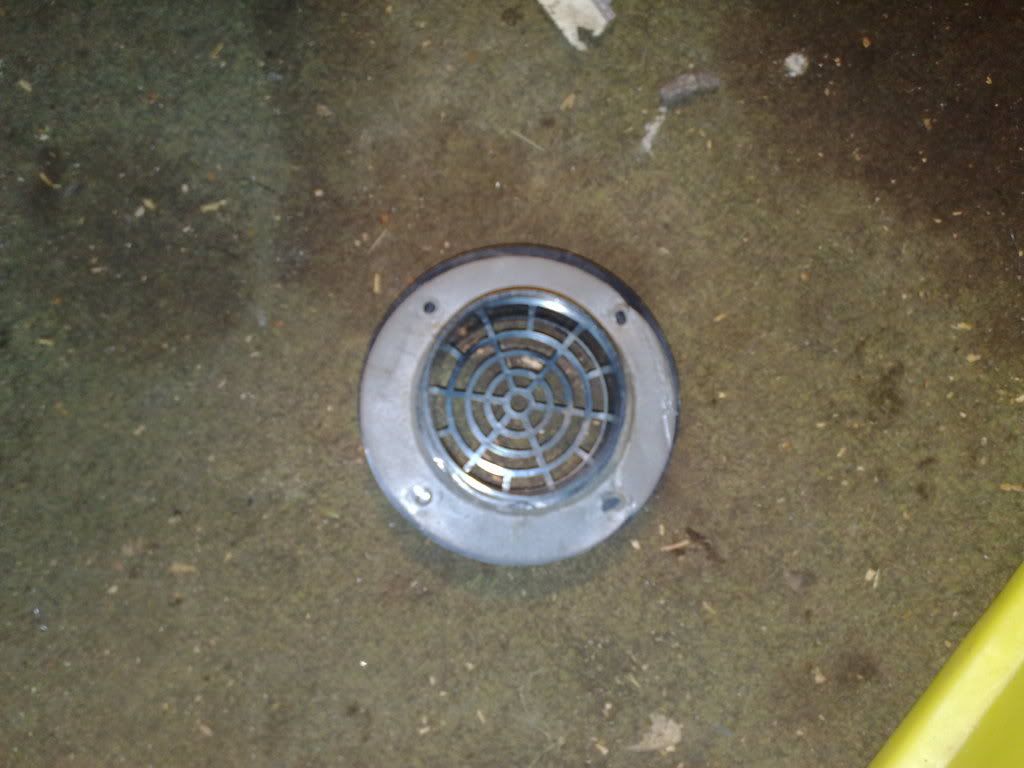
Has anyone got one of these? Its a clip for the air vent that fixes on the flitch panel. I have one good one, but the other I have is cracked and the air vents fall off. PM me if you have.
#102

Posted 14 January 2009 - 12:52 AM
#103

Posted 14 January 2009 - 01:27 AM
before you fit the rear subframe i'd run you brake/fuel lines and battery cable on the underside of the mini,it might have been easier to do this before you fitted the front subframe too.i'll eat my word's if you've already decieded somewhere that your putting them inside the car!
when you said about putting your seam covers on spray some waxoil in them first
oh and being a fussy person there should be a felt pad under the arm (internal door handle>lock)your doing such a good job why not make it perfect,
good luck and fair play working in the cold
guy
#104

Posted 14 January 2009 - 09:27 AM
I had the brake/fuel line and battery cable in mind before I put the rear subframe in, just need to buy them and the can go in.
I haven't sprayed anything in the seam trims, I should probably do something as I don't want rust coming back.
The internal handle on the drivers side does rattle on the door, so I think I'll definitely do what you suggested.
It'll be far from perfect, but hopefully a nice classic looking mini at the end, which is the result I'm hoping for.
#105

Posted 14 January 2009 - 01:09 PM
Headlining arrived today! Jolly nice it looks too!
1 user(s) are reading this topic
0 members, 1 guests, 0 anonymous users


