Lovely car
My Mini Project - Project Snowball!
#76

Posted 19 December 2008 - 07:28 PM
Lovely car
#77

Posted 22 December 2008 - 08:44 PM
and wow!
looks lovely mate
#78

Posted 27 December 2008 - 10:30 PM
Shame minispares is closed tomorrow or I'd be there getting a load of bits I need first!
#79

Posted 28 December 2008 - 06:37 PM
So here's what I've done today.
1. Fitted the rubber guides for the door windows.
2. Fitted the window wiper linkage and motor
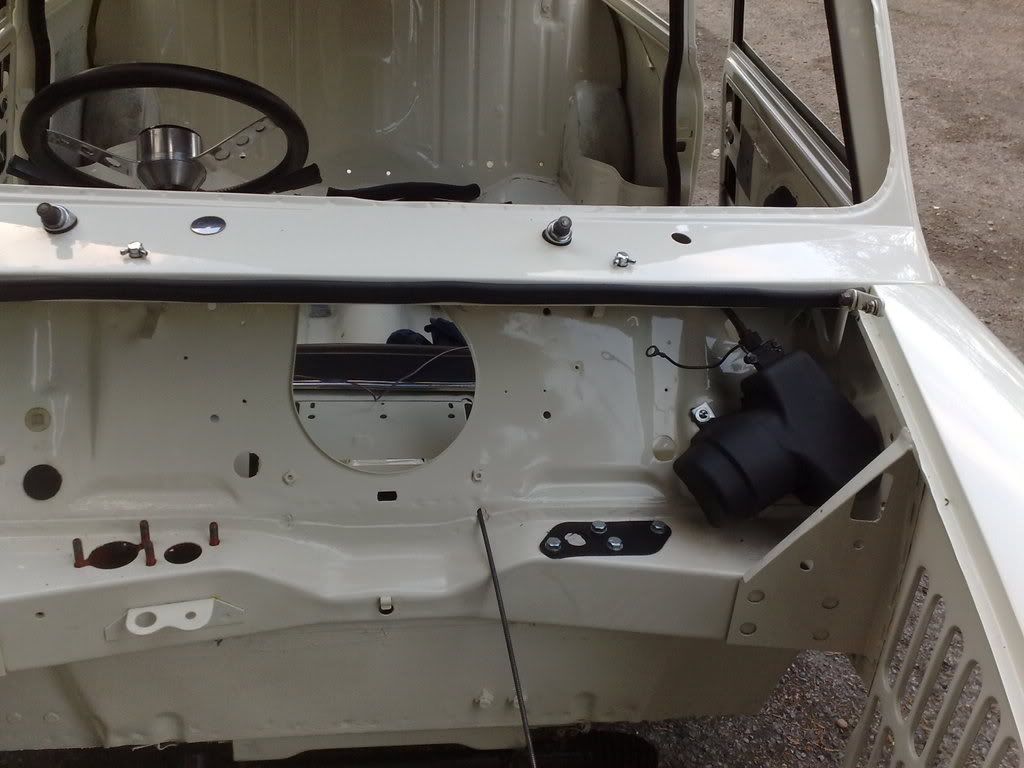
At first I fitted it the wrong way round. I thought it strange that the wipers would wipe the bonnet
3. Fitted the passenger front light bowl and light. Can't fit the drivers side until I've bought another plastic bowl to match.
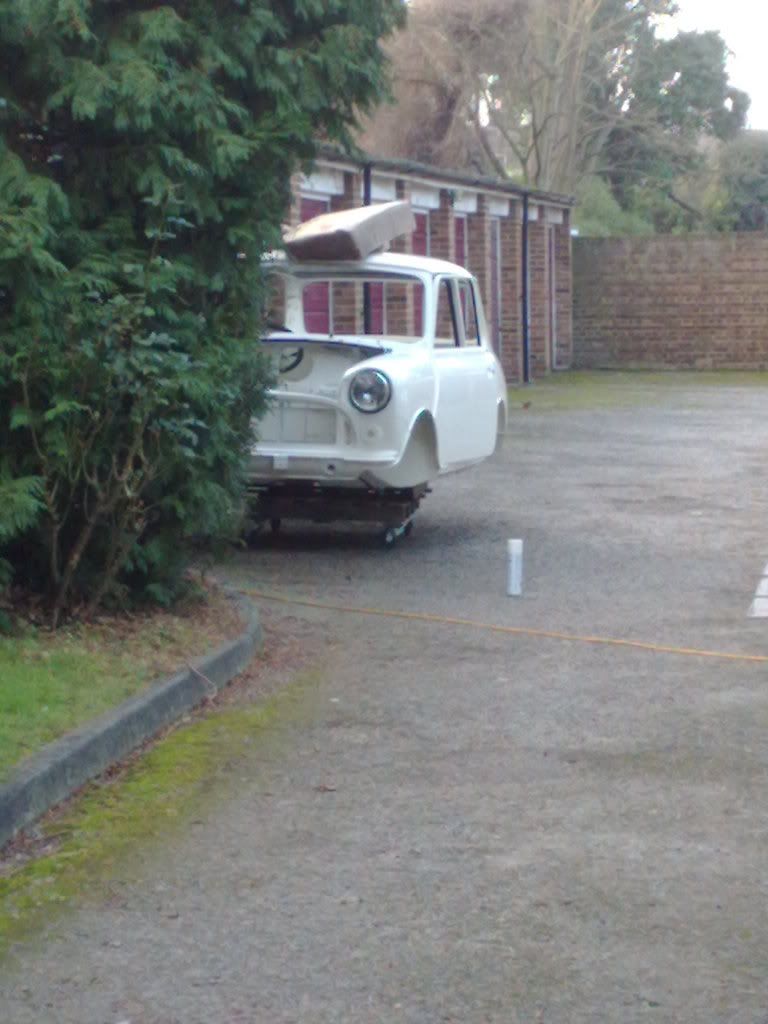
Love this pic, looks like it's hiding.
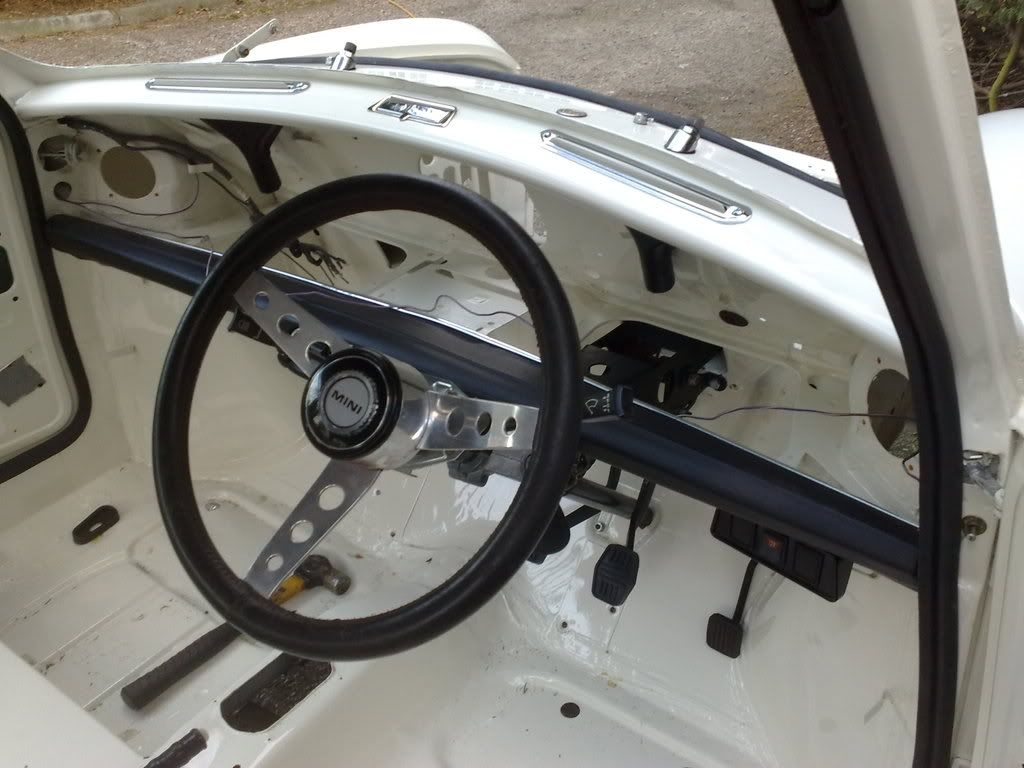
4. Fitted my chrome vent escutcheons and vents in the dash, and those little switches that switch on the interior light when you open the door. Bolted in the pedal box properly as I hadn't finished it.
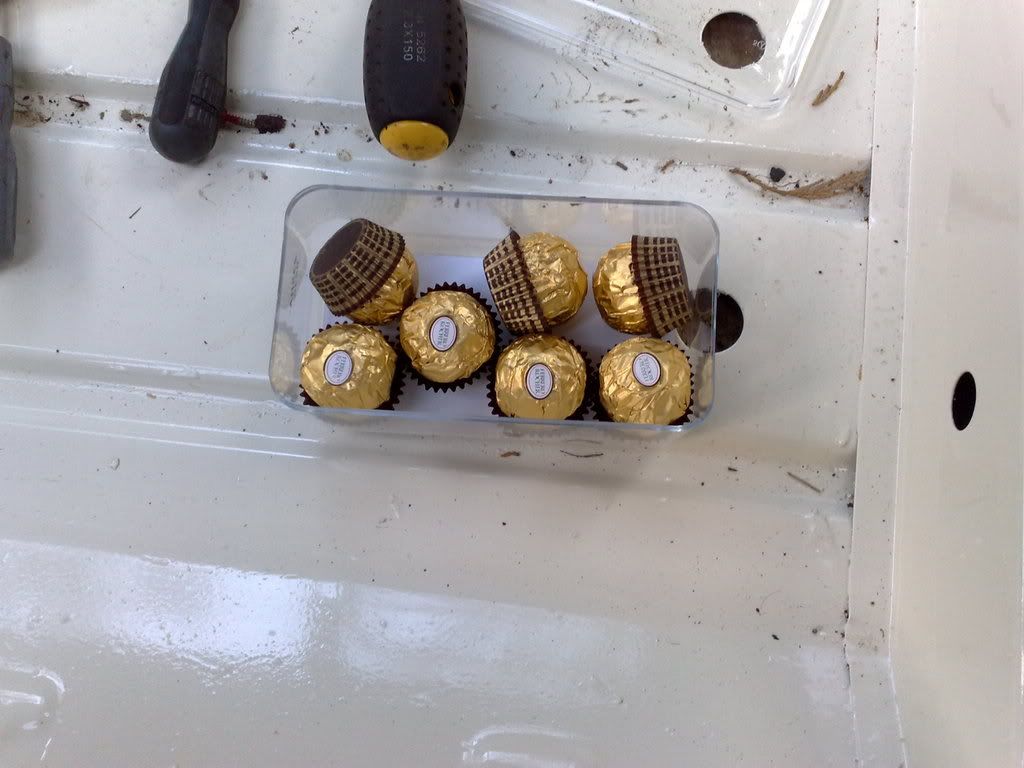
Don't you just love Christmas.
My biggest annoyance at the moment is finding screws/nuts/bolts etc! I was a bit lazy when I stripped it down, and didn't really keep everything organised, I just threw them all in a tin. Take my advise kids and keep all your screws organised! I think if I ever stripped a car down again I'd take the time to put screws etc. in envelopes and label what they are for. It would make it much easier when rebuilding.
I've also fitted the fuse box ready for tackling the wiring pretty soon. I'm off to minispares tomorrow with a big shopping list so should have more to update tomorrow. I'm hoping to have the front subframe assembly fitted and at least one door assembled in the next 3 days.
Cheers!
#80

Posted 28 December 2008 - 06:43 PM
Thats what i did, and i know im going to regret itMy biggest annoyance at the moment is finding screws/nuts/bolts etc! I was a bit lazy when I stripped it down, and didn't really keep everything organised, I just threw them all in a tin. Take my advise kids and keep all your screws organised! I think if I ever stripped a car down again I'd take the time to put screws etc. in envelopes and label what they are for. It would make it much easier when rebuilding.
#81

Posted 28 December 2008 - 08:59 PM
#82

Posted 28 December 2008 - 09:20 PM
#83

Posted 29 December 2008 - 06:18 PM
First off I went to Minispares and by lunchtime I had bought all this stuff.
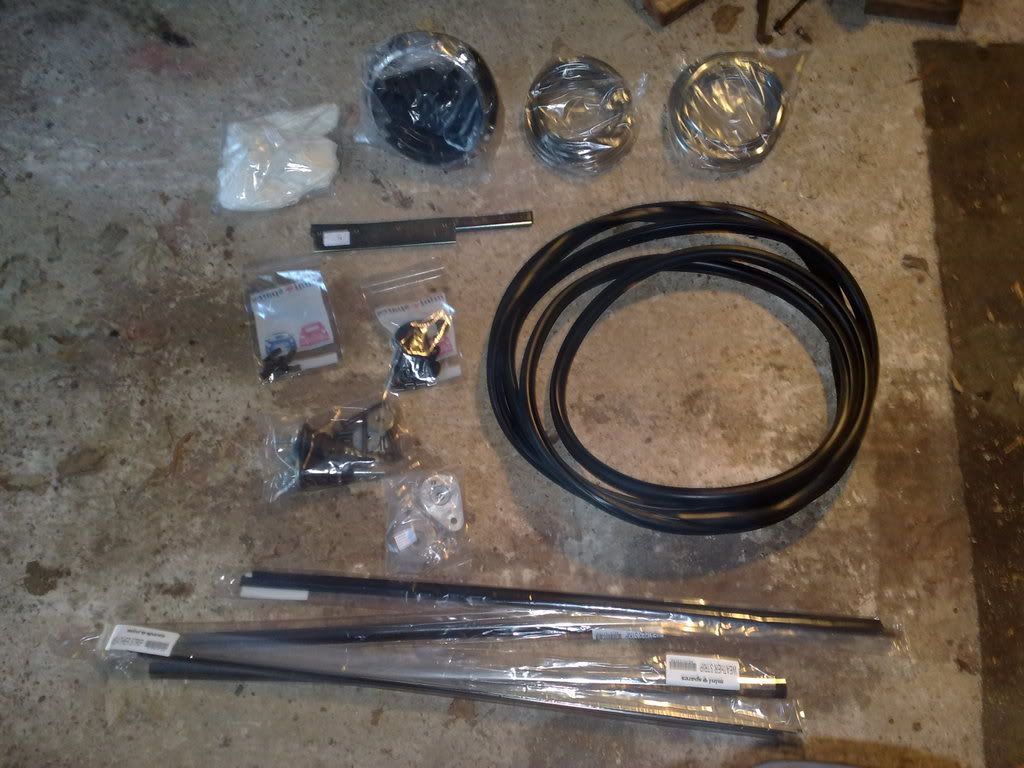
Windscreen seal, rear window seal and chrome trims, gaskets for various things. Front subframe solid teardrop mounts, seam trim clips, door handle set, headlight bowl, door window trims, one window runner and rear subframe bolt kit and rubbers.
I then got to work!
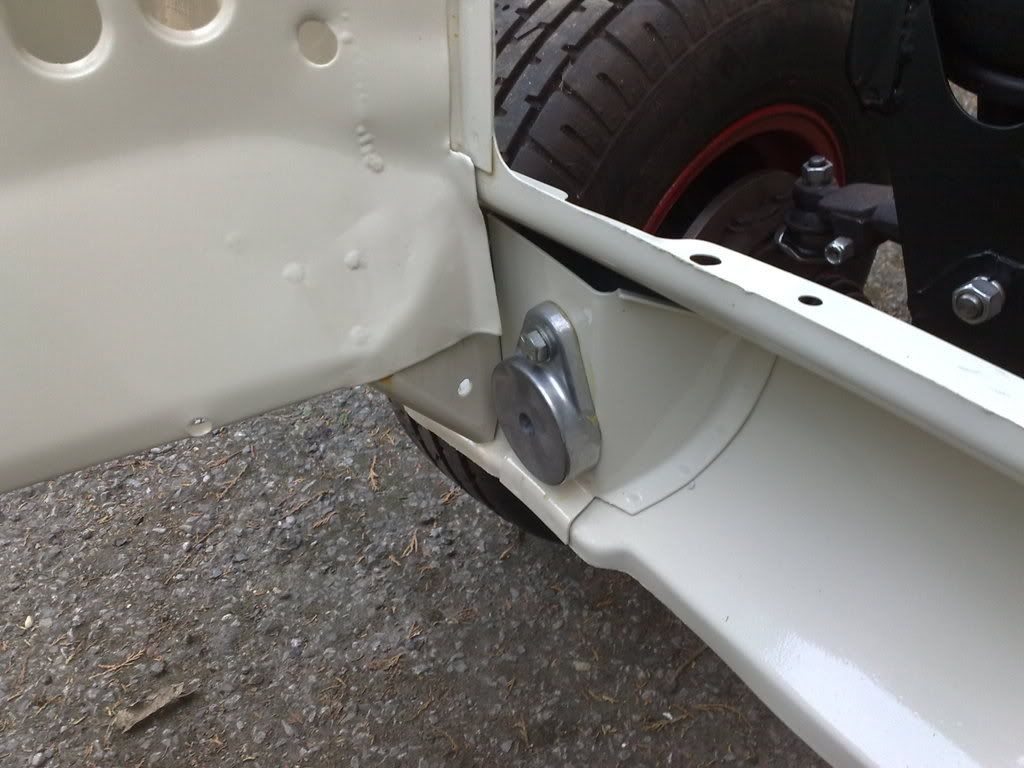
Fitted the front subframe mounts. I already refurbished the subframe assembly a while back before the shell went for a respray so I knew today's job would be relatively straightforward with a big result at the end!
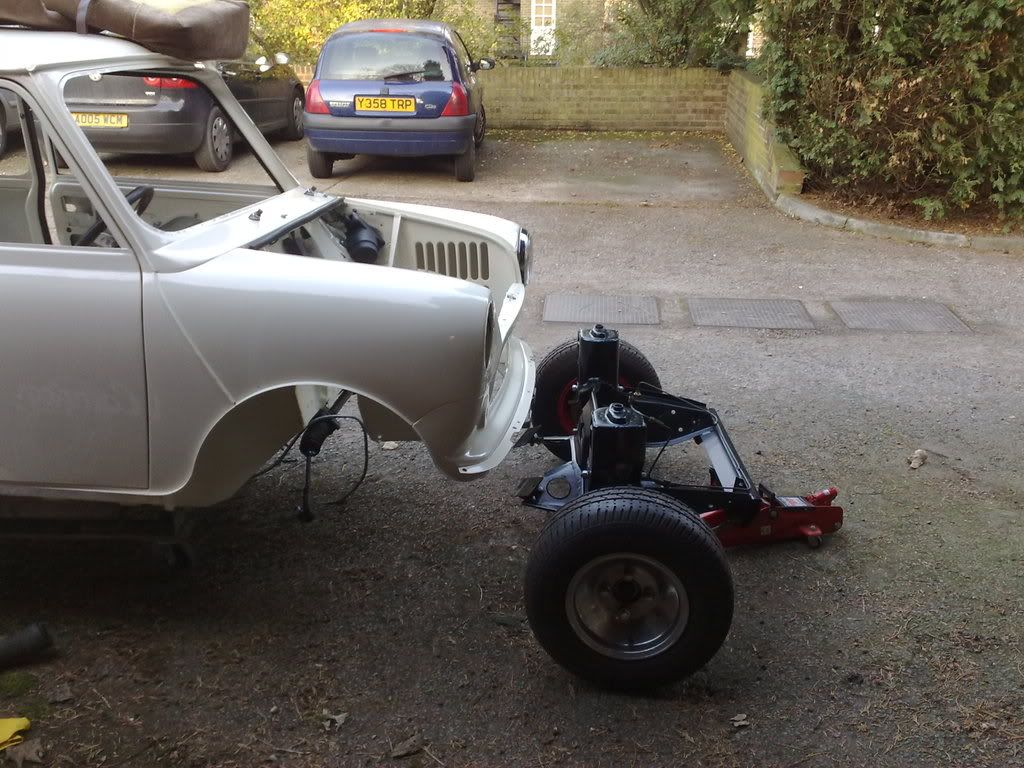
Lined up the front subframe assembly and thought about how I'd get it on the car. Thankfully I bought an engine hoist a while back instead of hiring one, so with some rope I lifted the shell up and carefully moved the subframe under the car. Then I carefully lowered it, moving the subframe about so it was lined up OK.
The job would have been way easier with 2 people, and I didn't make it easy for myself as once I'd lowered it right down the height of the pallets meant I needed to raise the subframe to bolt it in. After a bit of jiggery pokery
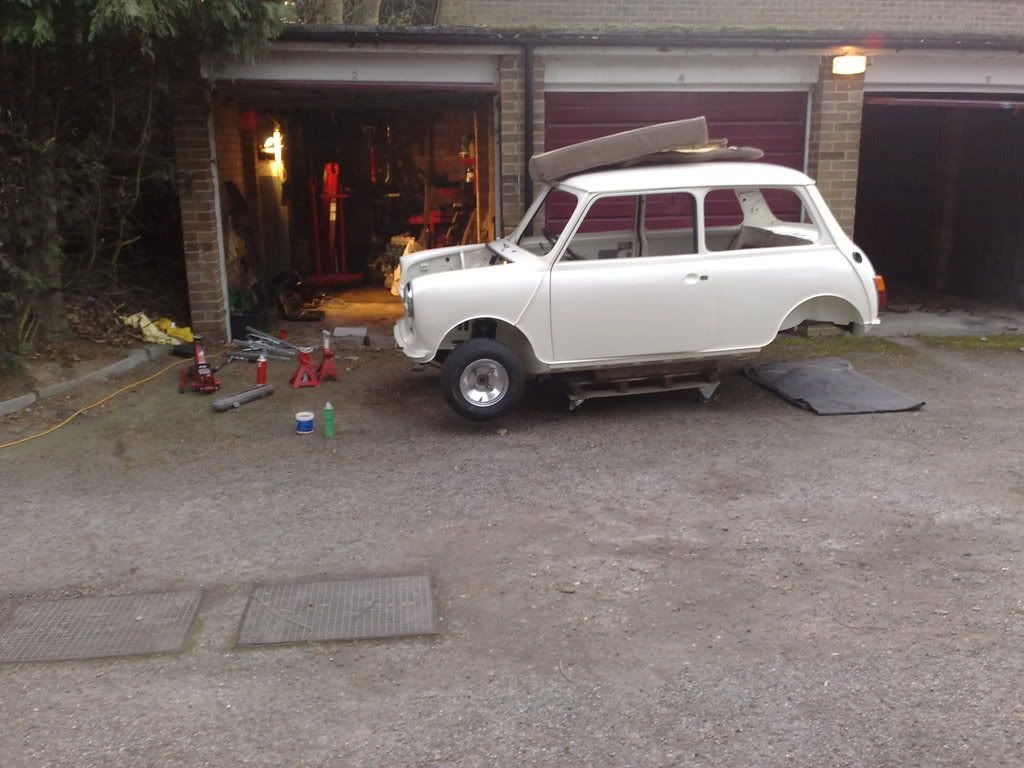
As you can see from this pic the mini is a bit front heavy now, I tried pushing it on the castors but the weight of the front was stopping it all moving so it was a bit stuck! The road outside my garage is gravel which doesn't help. After small bits of pushing, pullling, lifting, steering and hoping I wouldn't crash it into my own garage it went in. I must get it on its rear wheels now.
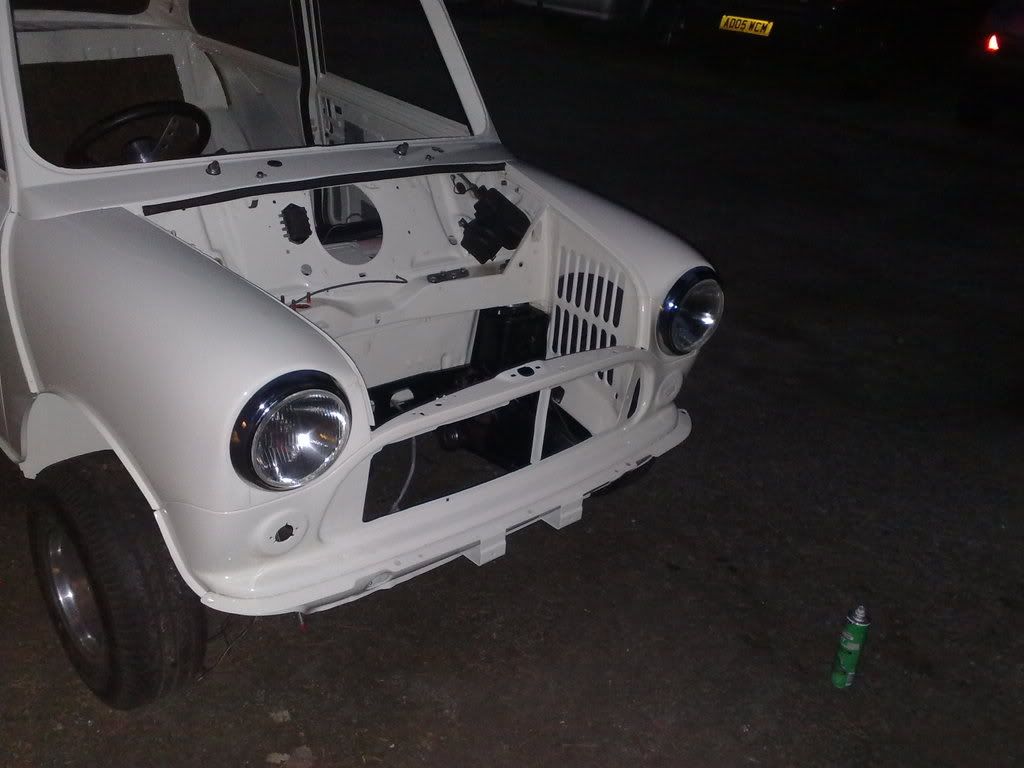
Also fitted the drivers headlight....
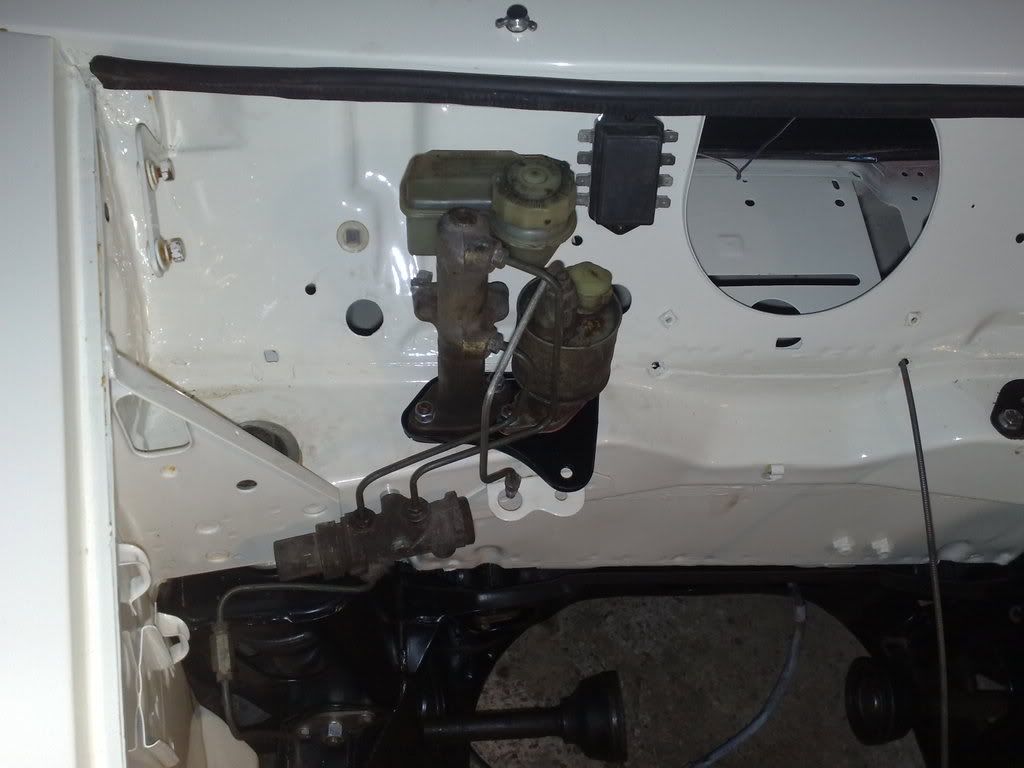
....and the brake and clutch cylinders. Haven't connected them to the pedal box yet but I want to make the car a bit more secure on it's wheels first before I jump in. Not looking forward to spending an hour on my back in the mini trying to get a circlip in!
That's all for today. Tomorrow I'm gonna crack on with the doors
#84

Posted 29 December 2008 - 06:50 PM
You're doing well to work outside in this cold weather!
#85

Posted 29 December 2008 - 09:44 PM
The cold is pretty harsh! The cold metal makes it worse because everything is freezing. Yesterday my hands were tingling for about 2 hours when I finished for the day. Was thinking of getting myself some tramp gloves with the fingers cut off at the ends
Oh well, another day in the cold tomorrow!
#86

Posted 30 December 2008 - 10:37 AM
The rebuild is looking fantastic and those alloys!
#87

Posted 30 December 2008 - 08:33 PM
Was thinking about cleaning everything up, but I'm not building a concours car, it's going to be driven whenever takes my fancy, rain, sleet or snow. I know that if I start getting everything spotless, I'll be scared of driving it, so as long as it's not caked in crap, and works, I'm happy.
On to today's update, it's been a bit of a mixed day!
First off, as you're probably all aware, it's damn cold!! This morning I wasn't sure if I could face a day freezing in the garage. Went out and got some brekkie, and popped into the local sports shop for some gloves. A quick job with the scissors and they were ready for work!
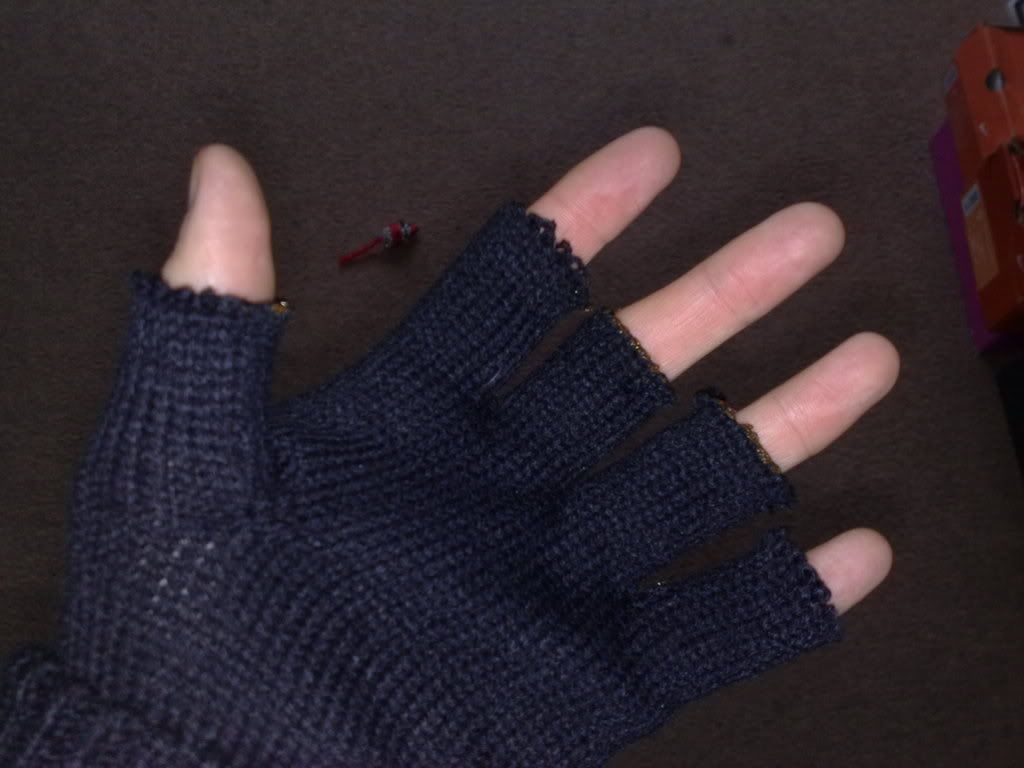
They made a big difference!
Today's plan was to fit the windows in the doors and door handles and linkages. I started on the drivers side. I've never done this before, but spent ages putting it together, cursing that a clip wouldn't go in, cursing even more when I forgot to fit a screw to the handle that actually opened the latch. After a load of hassle I finally got the drivers door finished. I then moved onto the window.
This followed in the same vain. Loads of cursing trying to get the winder mechanism to fit. When it was all in the window was hitting the frame. A bit of persuasion
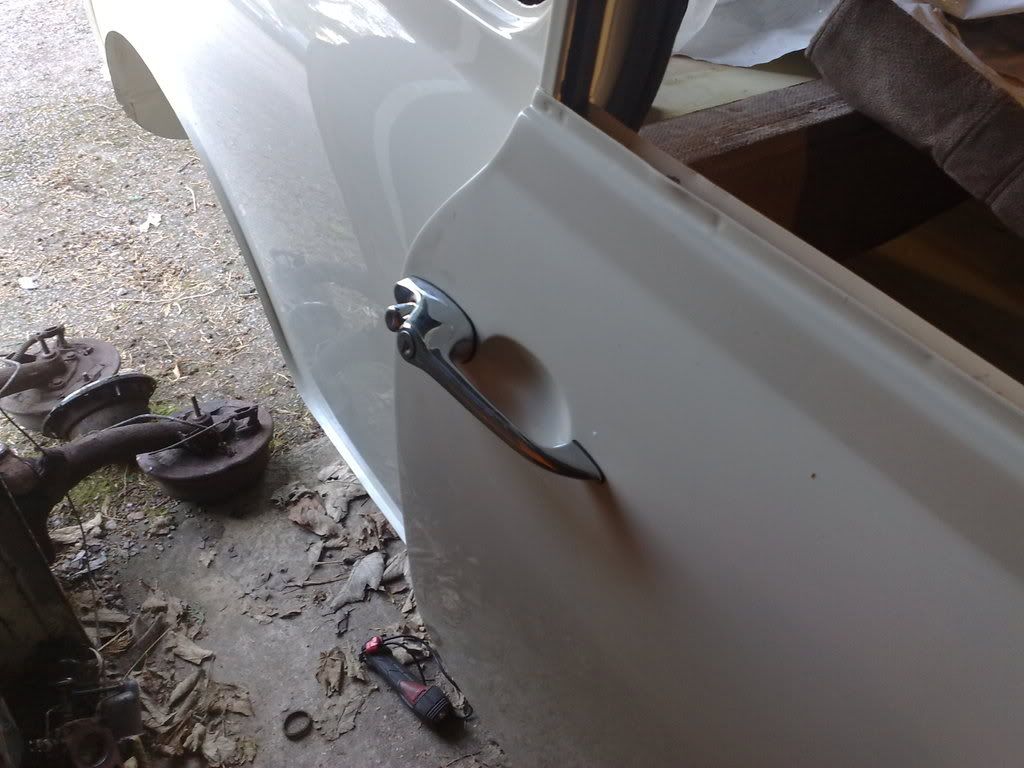
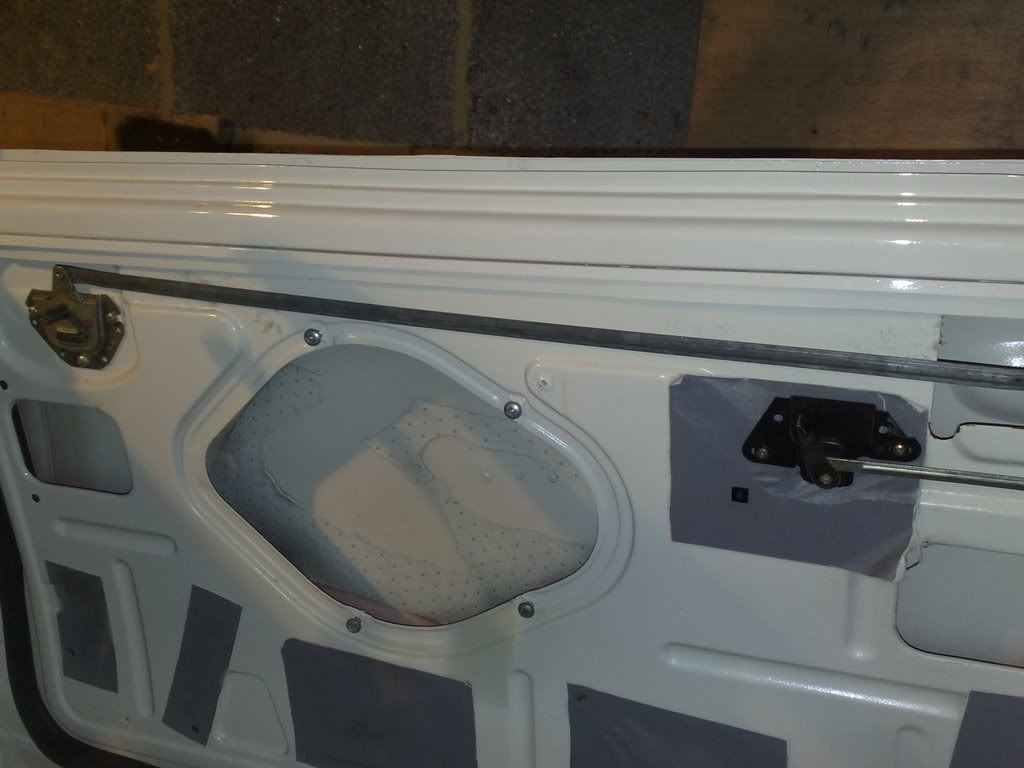
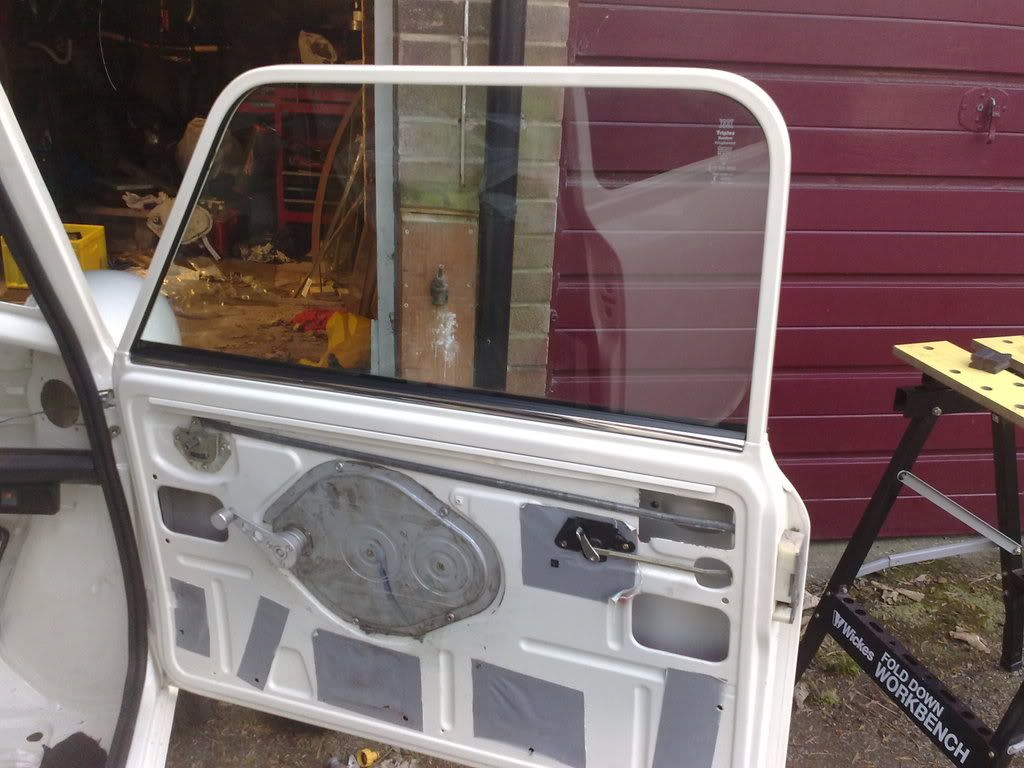
Then I looked at fitting the shut plate on the B pillar. Fitted it all up and it shuts fine, although the bottom of the door sticks out loads! I tried moving the plate around, and adjusting the door on the hinges and nothing has helped it. I even tried closing the door without the seal, and it still sticks out. I think my door might be a bit twisted? Hence why my window wouldn't close properly either. Any ideas?
Anyway, moved onto the passenger side lock and discovered something even more concerning! I tried bolting the handle to the doorskin, and the holes on the skin don't line up with the handle! I'm guessing it must be because it's a new heritage panel??????? Having found this little bombshell I decided to leave it for today, but I guess I'm going to have to carefully file out the holes so they line up. I'm also missing some bolts to to it properly, so instead I decided to tackle the window, and with what I learned by doing the drivers side, I did it in 10 minutes
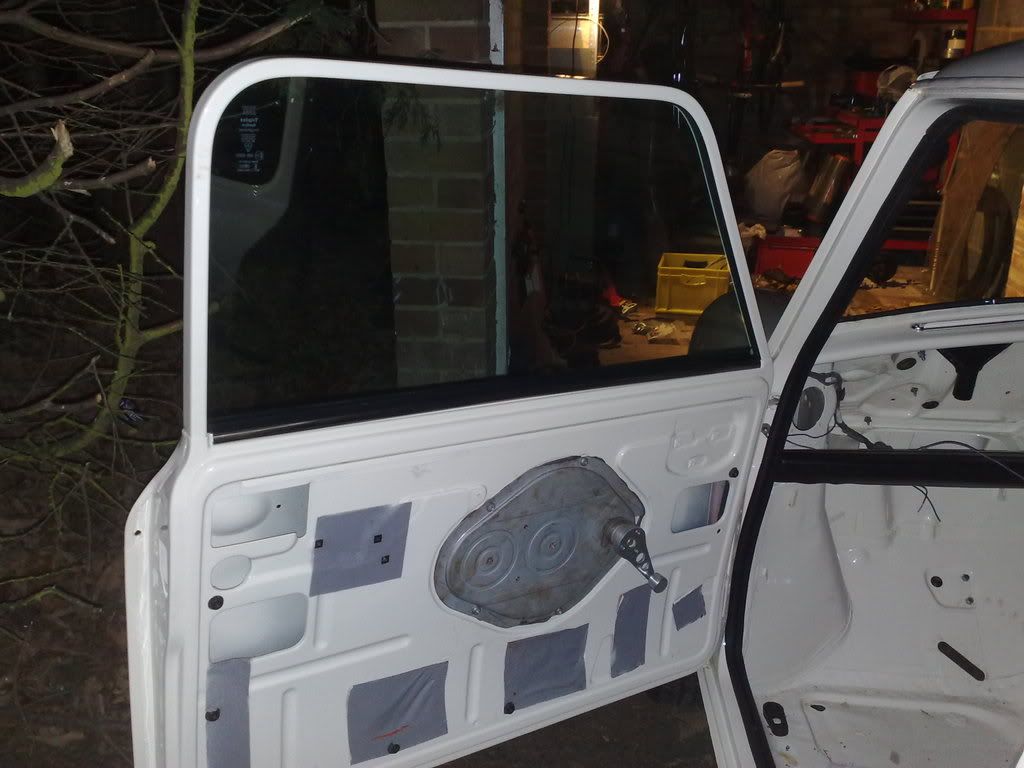
Once I'd done this I fancied an easy job, so fitted the seam trim clips and seam trims. Makes a massive difference!
After this I'd pretty much had enough, so decided to leave it and have a tidy up in the garage and call it a day. Overall I'm pretty happy with today's progress, but would have liked both doors complete really.
Tomorrow I think I'll stay out of the cold, so I'm just planning to fit some bits to the bootlid and bonnet which are currently taking residence in my bedroom, much to the distaste of Mrs Scrippo!
#88

Posted 31 December 2008 - 09:49 AM
What would clean them up well? I seem to remember trying to give them a clean a while back but couldn't shift anything.
#89

Posted 31 December 2008 - 11:14 AM
#90

Posted 31 December 2008 - 03:25 PM
I doubt there'll be an update today as I'm feeling as rough as a very rough thing indeed. I wish I had labelled everything!
1 user(s) are reading this topic
0 members, 1 guests, 0 anonymous users


