My Mini Project - Project Snowball!
#16

Posted 04 December 2008 - 09:07 PM
#17

Posted 04 December 2008 - 09:16 PM
#18

Posted 04 December 2008 - 09:27 PM
keep up the great wrk
paul
#19

Posted 04 December 2008 - 09:30 PM
#20

Posted 04 December 2008 - 09:33 PM
#21

Posted 04 December 2008 - 09:35 PM
He's sent me regular pics, and always kept me updated with things such as the sills etc. He's even been really polite with all the stupid questions/panic moments I've had. Top bloke.
Just had word that the shell is now painted. This thread is a bit behind actual time, so you'll see it soon!
#22

Posted 04 December 2008 - 10:02 PM
#23

Posted 04 December 2008 - 10:07 PM
#24

Posted 05 December 2008 - 08:08 PM
Now that the back of the car was looking solid, Pete turned his attention to the front end. The brief was to make it standard again, as I wanted a classic full steel shell.
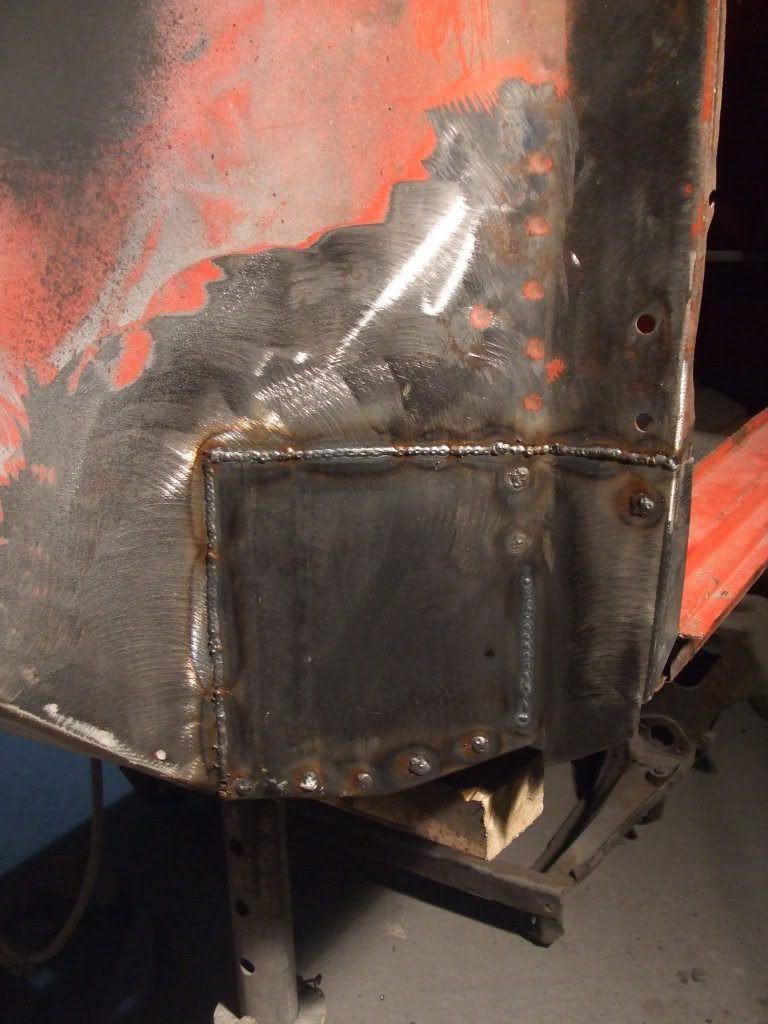
The holes shown area welded up
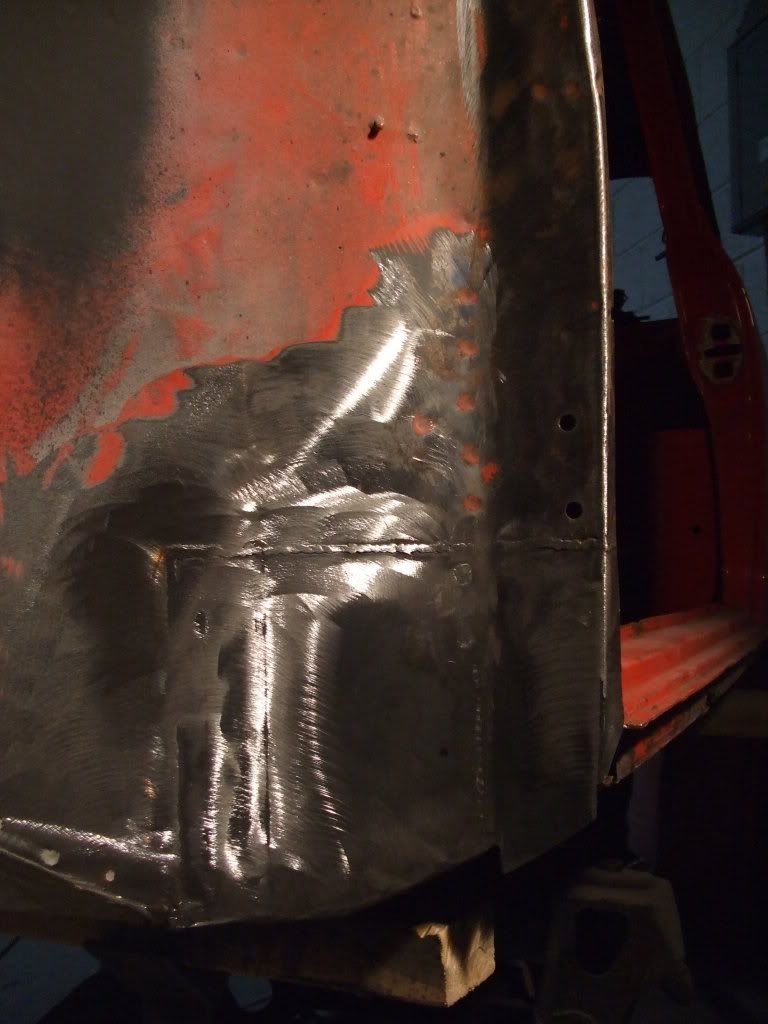
Welds tidied up
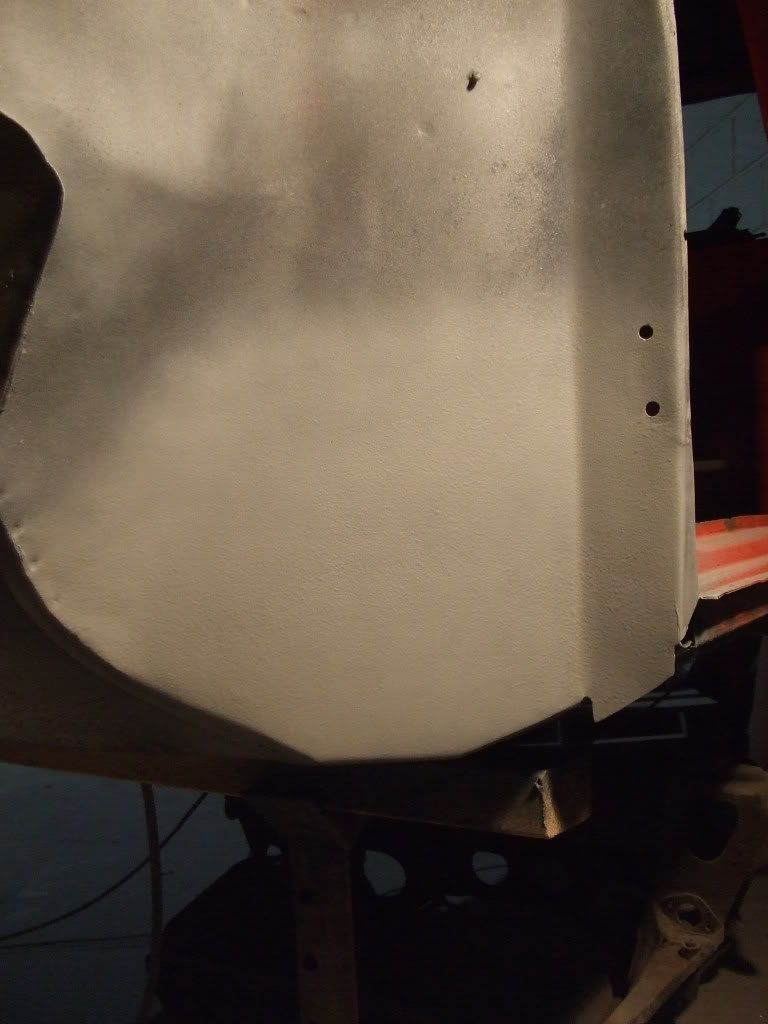
You'd never know the hole had existed.
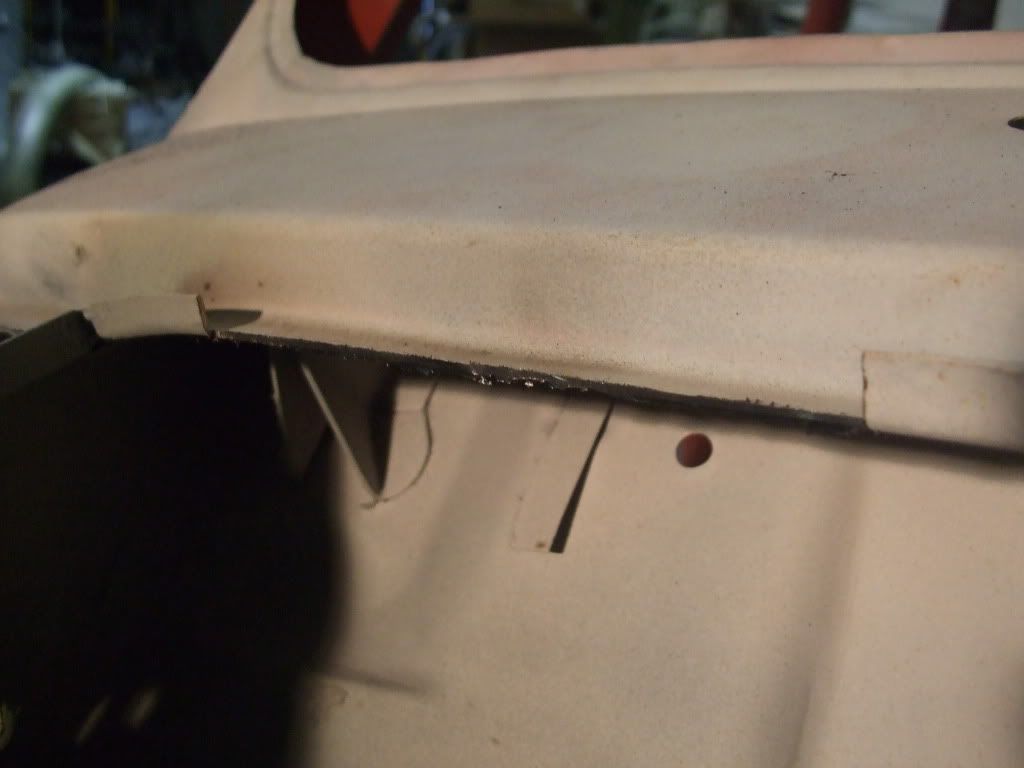
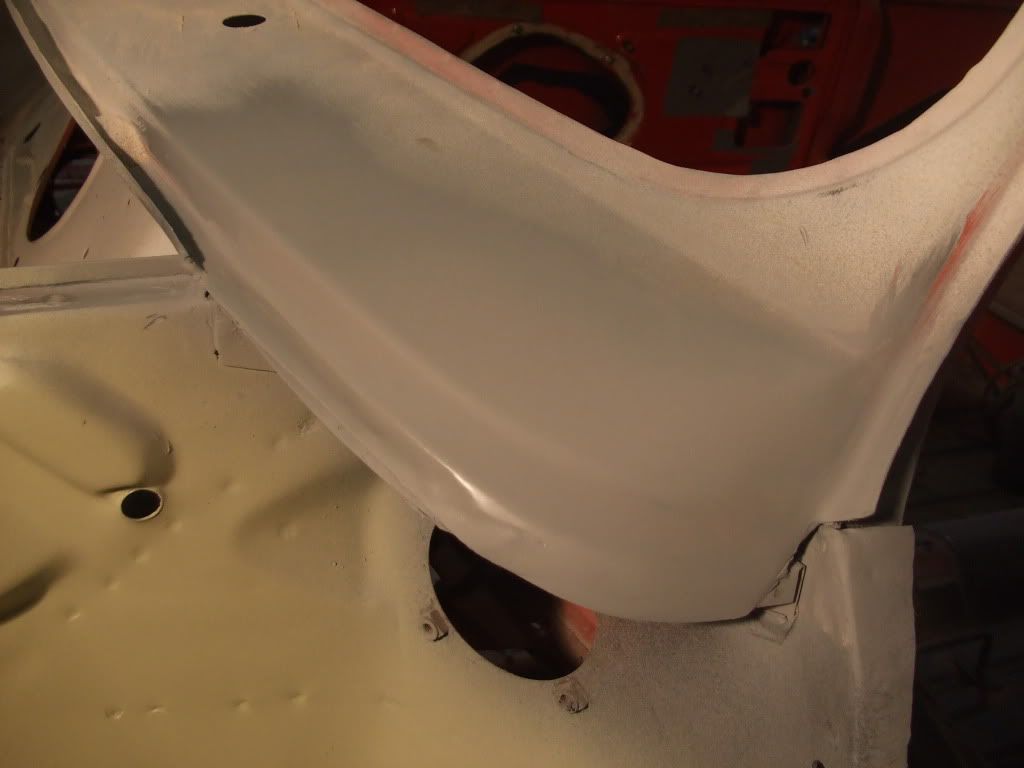
The scuttle needed some attention
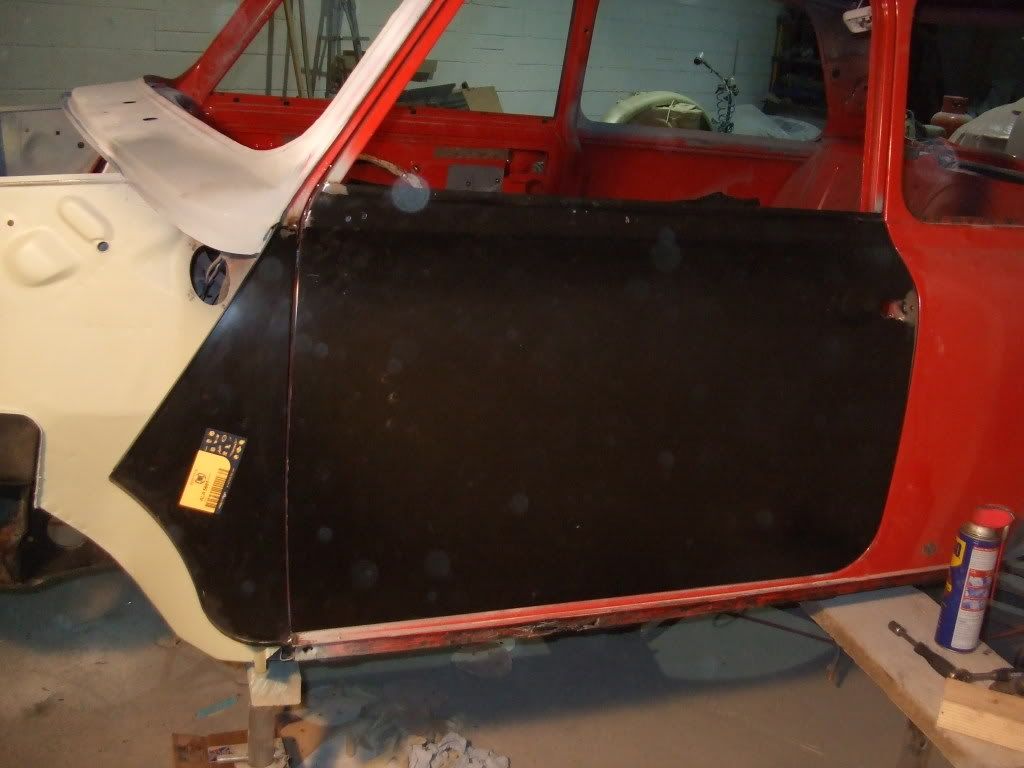
Passenger A panel fitted. It also needed a new passenger door skin.
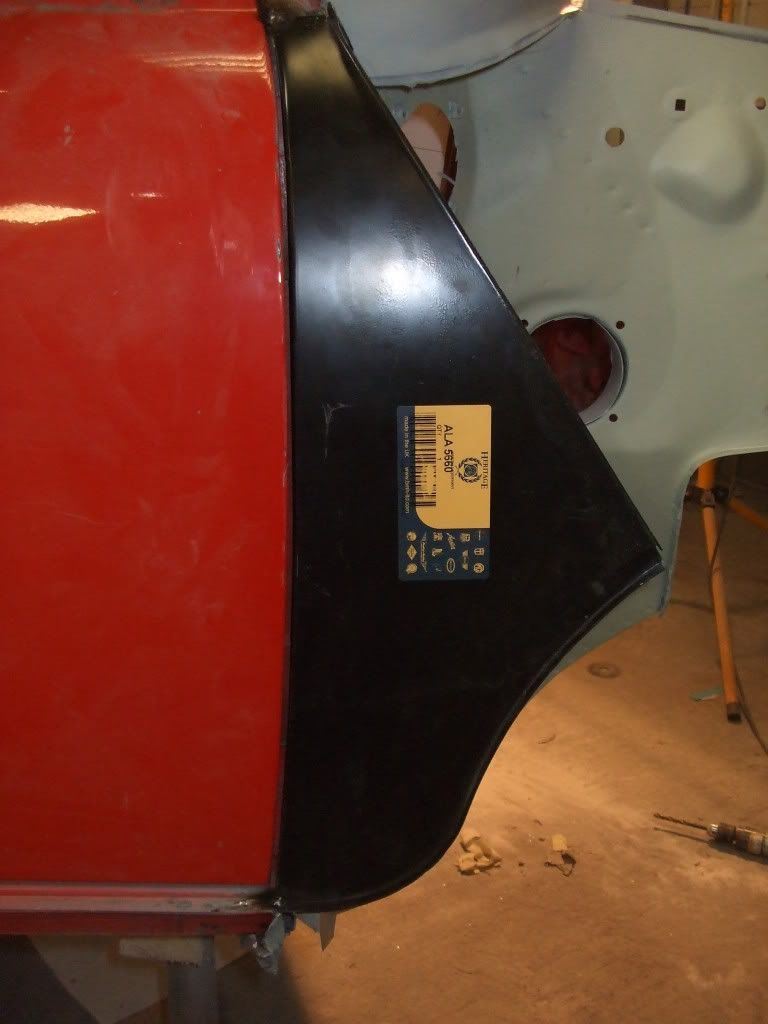
Drivers A panel fitted
Edited by scrippo, 05 December 2008 - 08:11 PM.
#25

Posted 05 December 2008 - 08:15 PM
#26

Posted 05 December 2008 - 08:20 PM
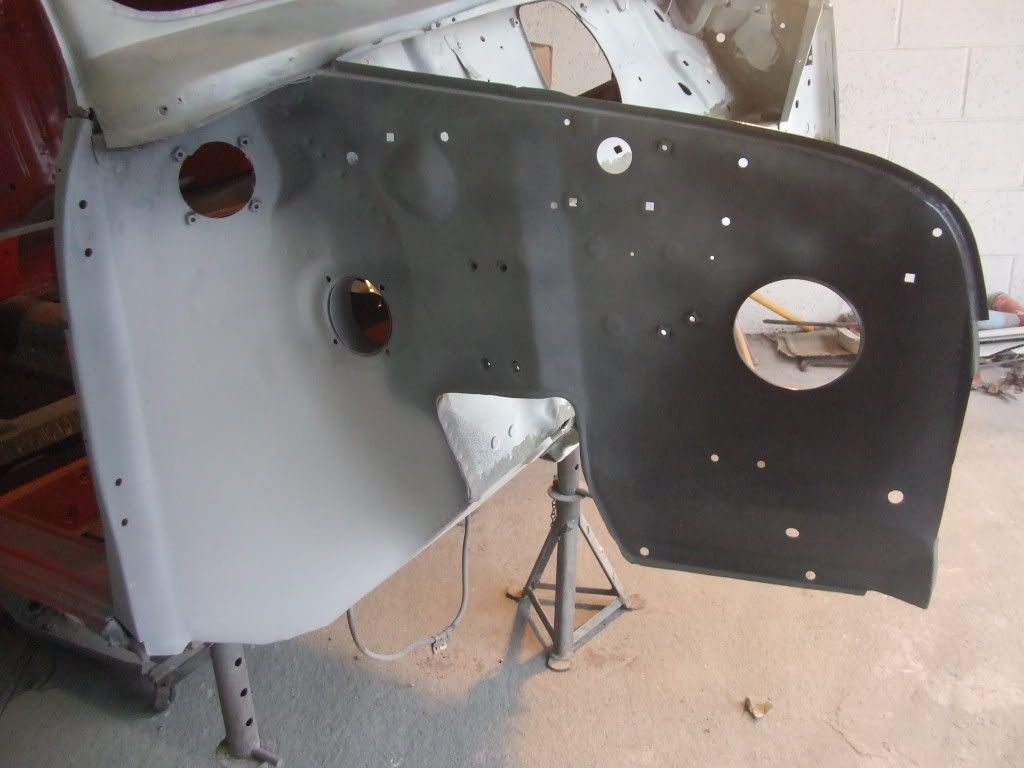
Drivers side inner wing fitted
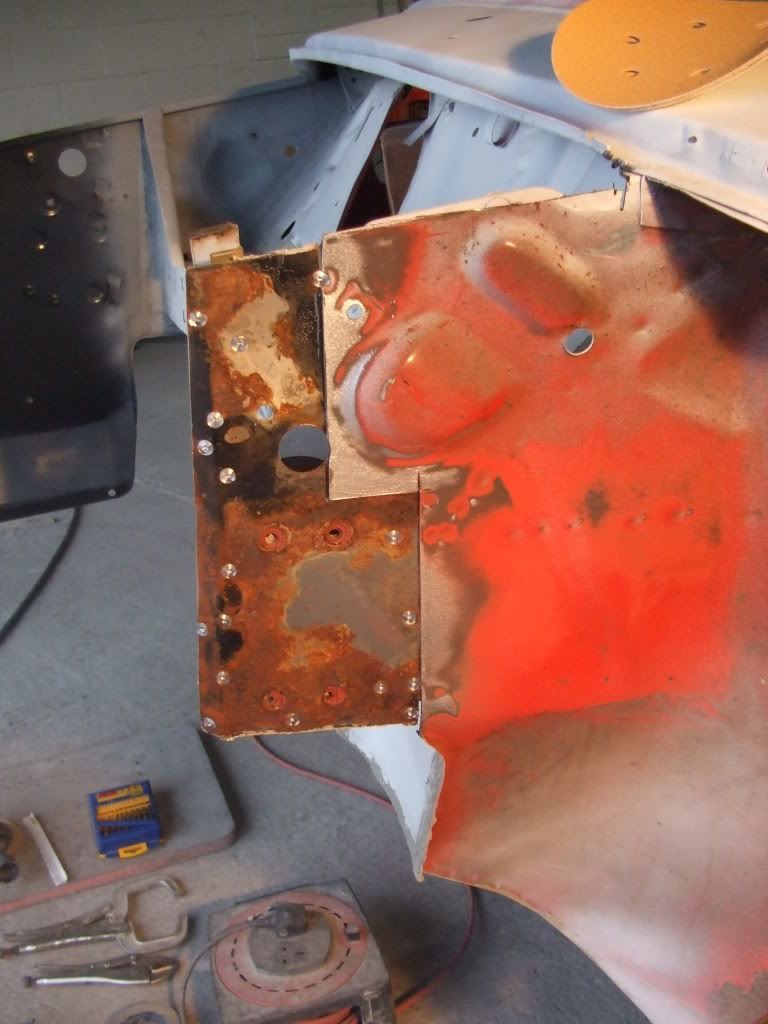
Passenger side inner wing cut back
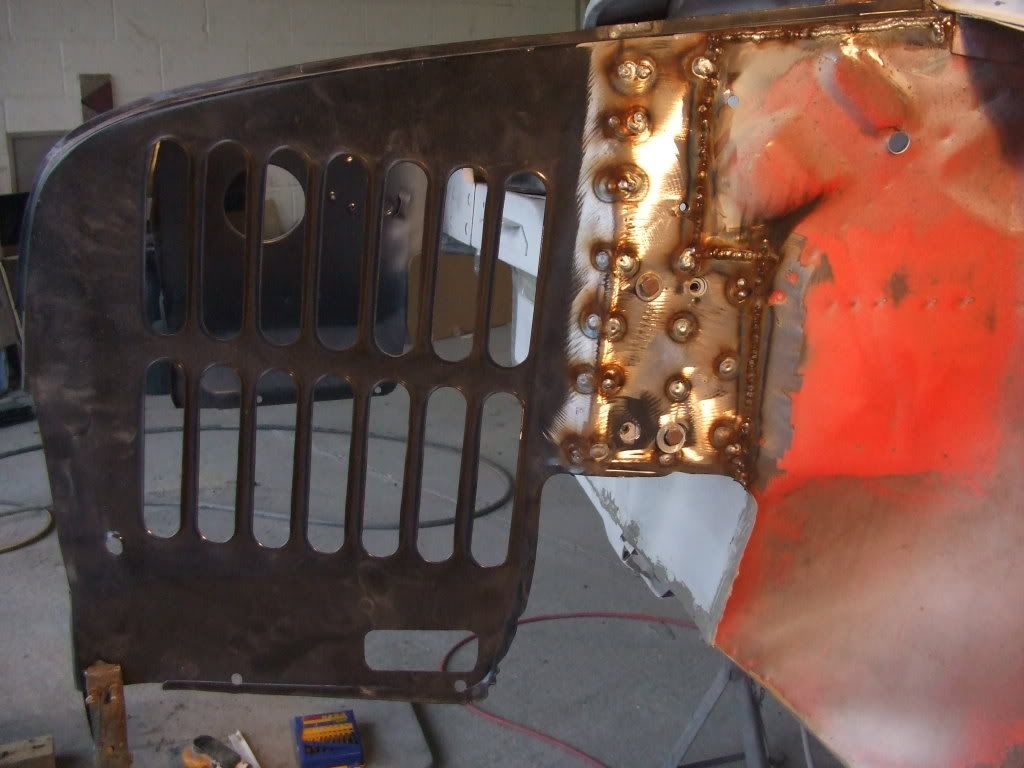
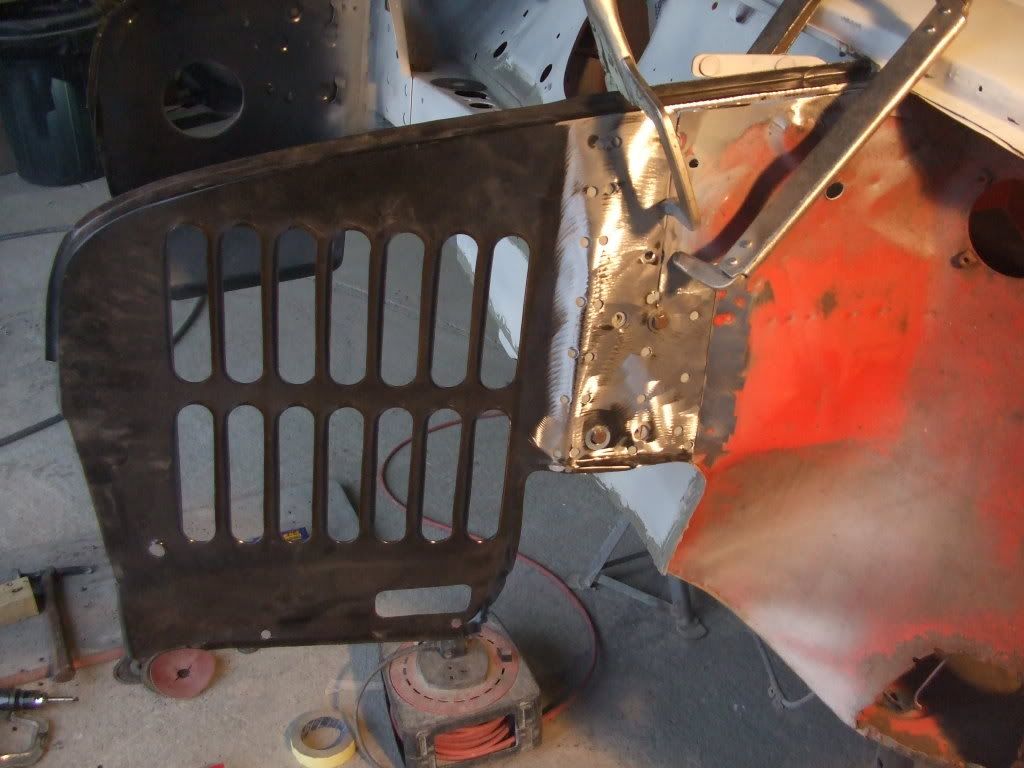
New inner wing welded on
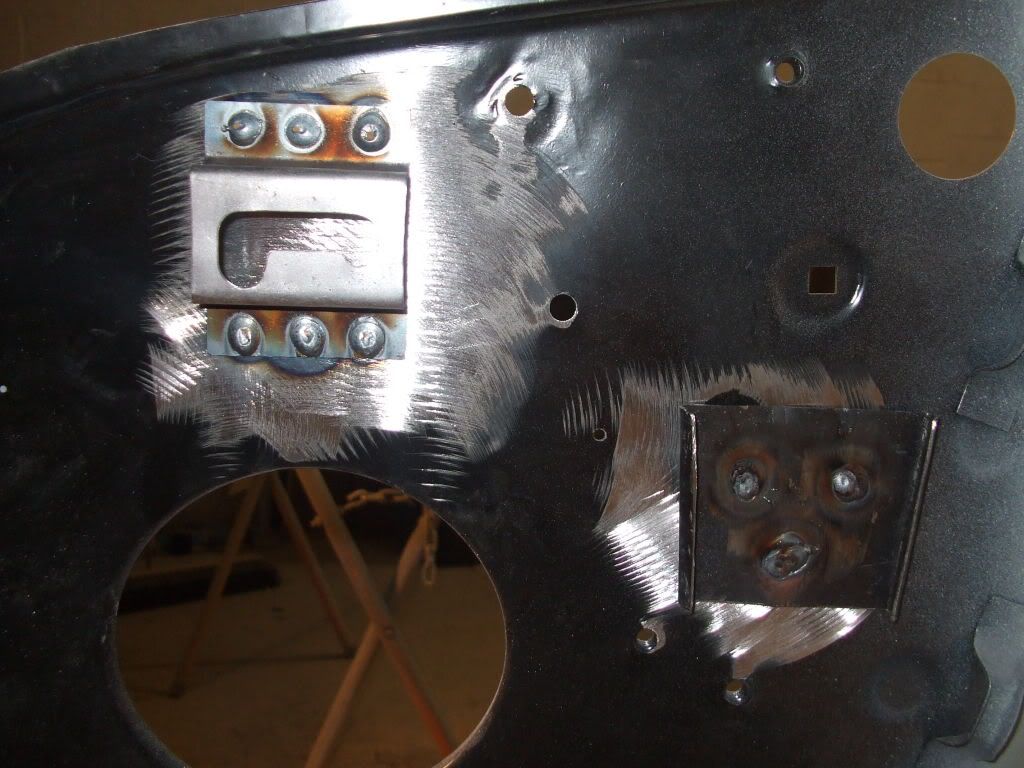
Bonnet prop bracket and washer bottle bracket fitted to drivers wing. The bonnet bracket was available to buy but Pete had to fabricate a washer bracket.
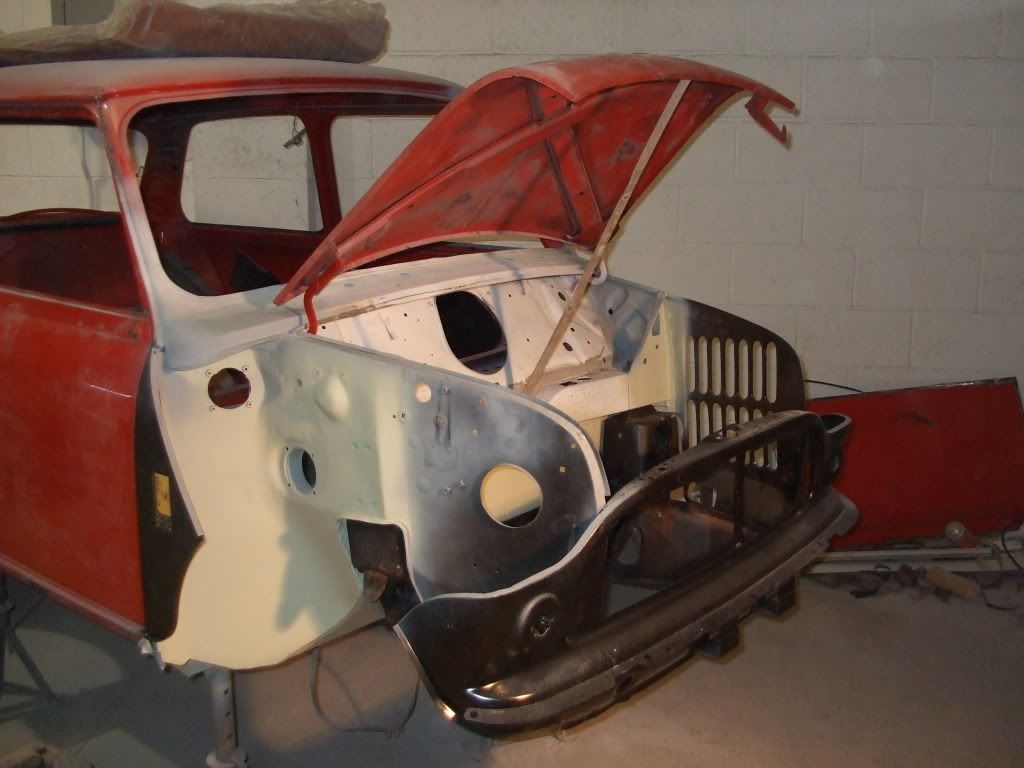
Front panel being fitted. Bonnet there to make sure it's nice and straight. Pete needed a subframe to make sure all the front was going nice and straight.
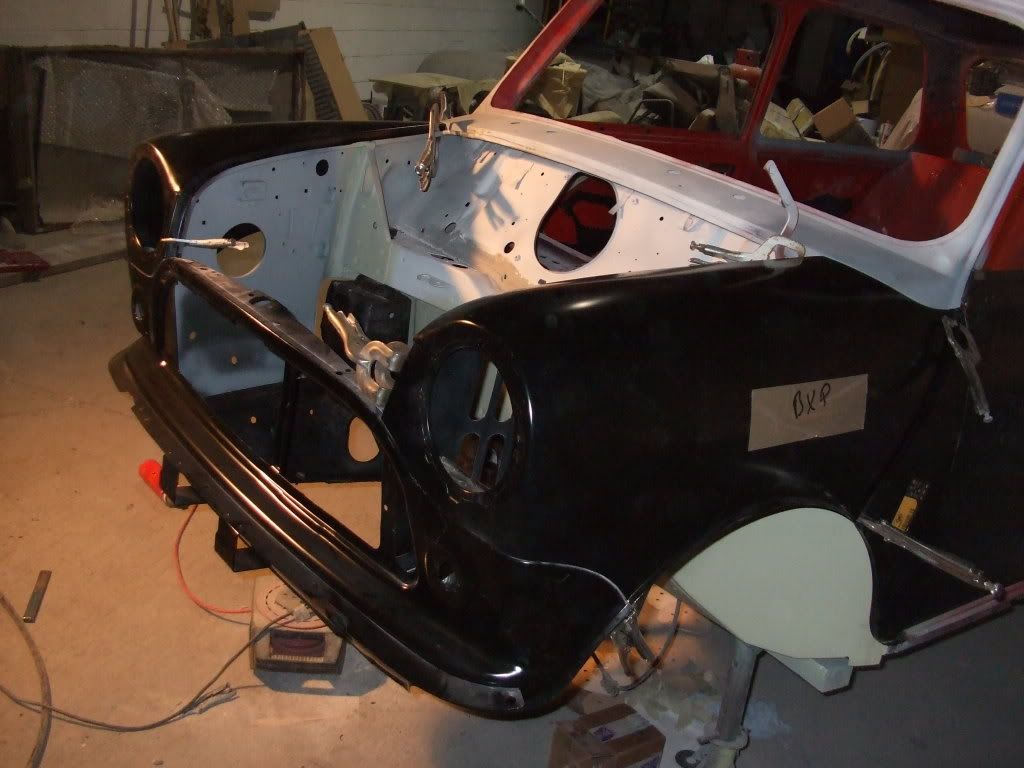
Front wings fitted. Looking more like a mini again!!
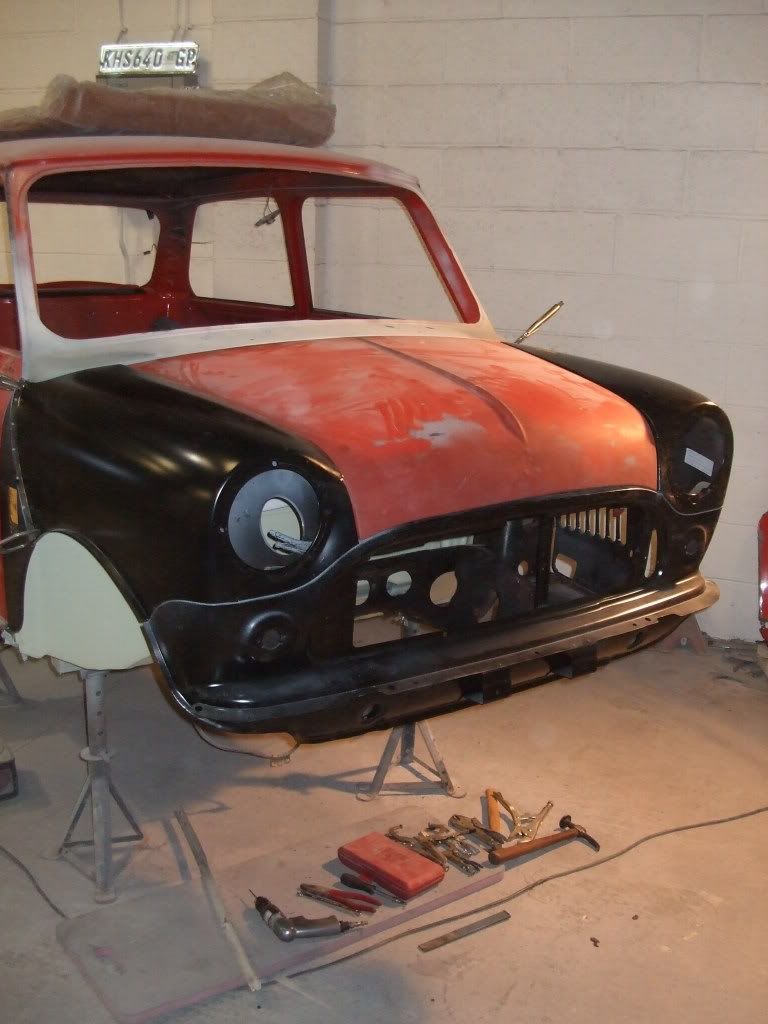
Complete front end! As good as new.
Next stop - Paint.
#27

Posted 05 December 2008 - 08:23 PM
Pete does the metalwork, I just sell stuff on Ebay to pay for it
The rebuild/mechanical side of things I'll be doing myself though.
#28

Posted 05 December 2008 - 08:23 PM
#29

Posted 07 December 2008 - 11:16 AM
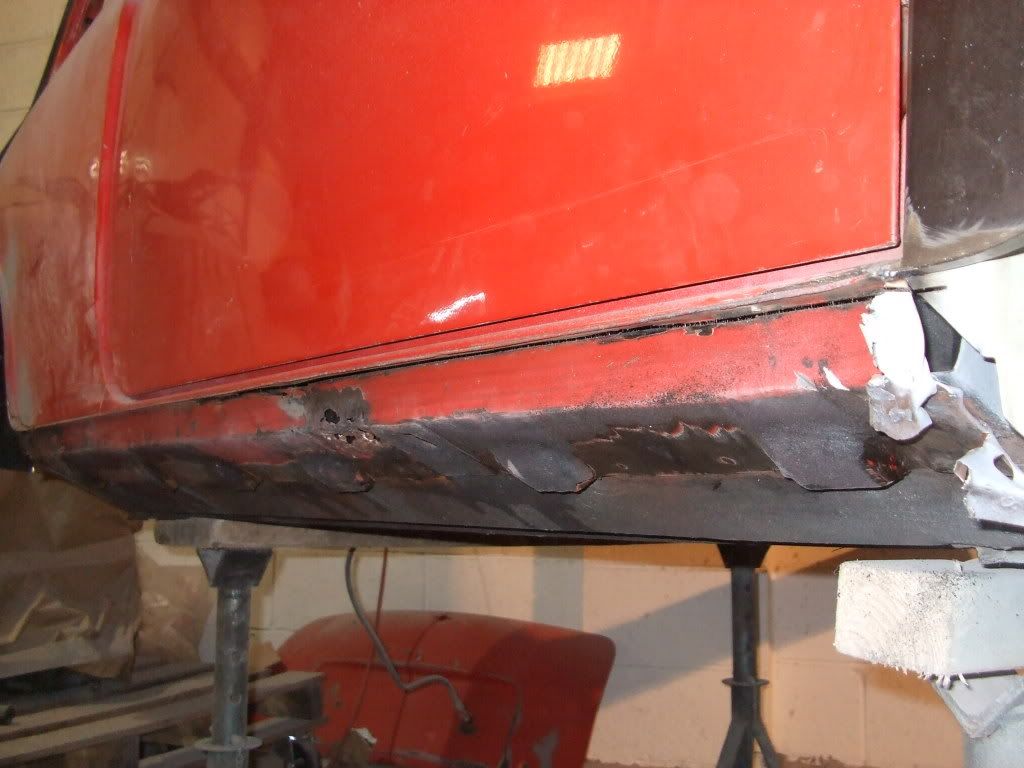
As you can see it didn't look great. A previous owner had filled it in with filler, and painted over it in stone chip.
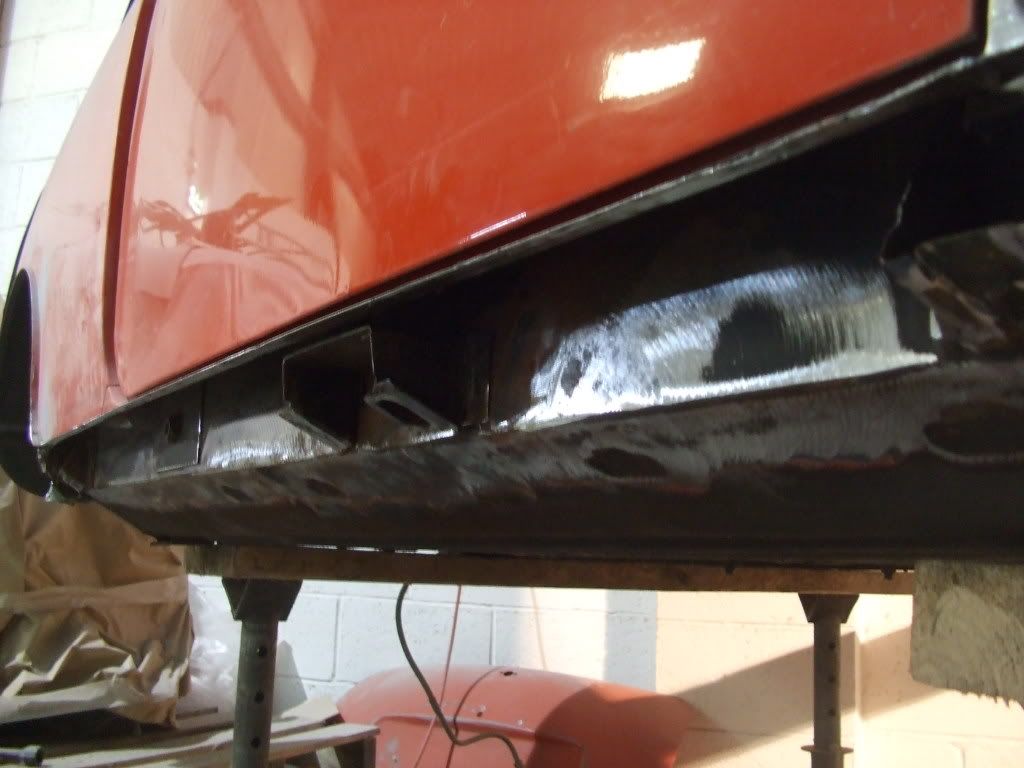
Pic of the sill removed and the inner sill cleaned up. Thankfully this was solid inside. The other side was the same.
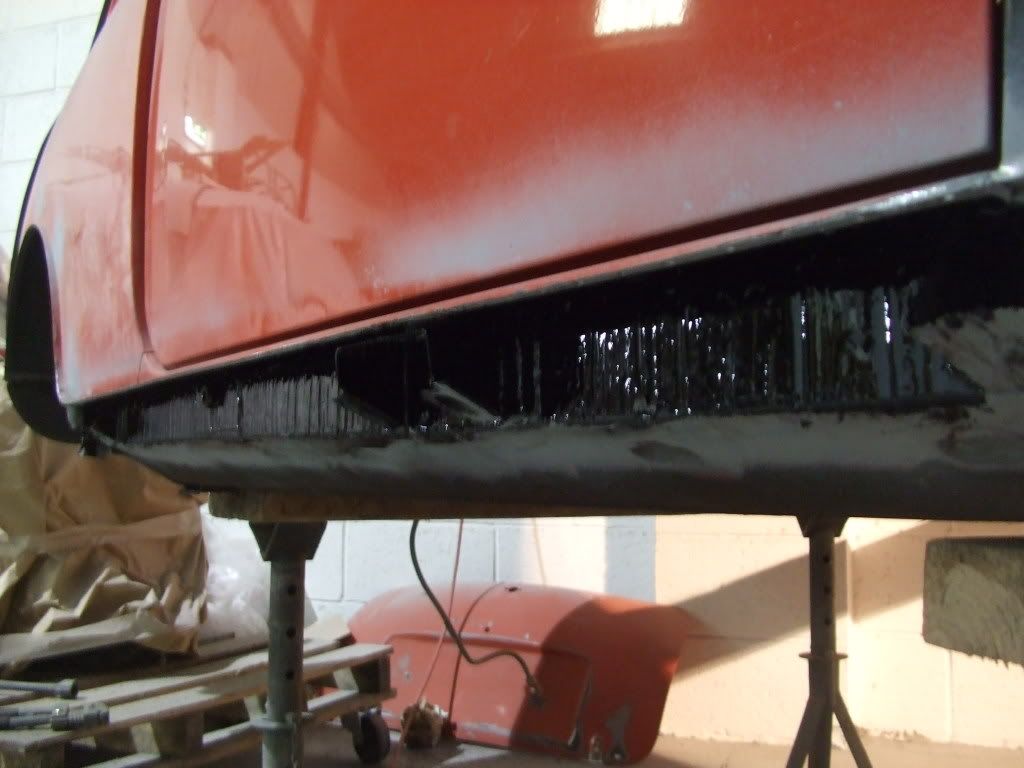
Pete gave the inner sills a nice thick coat of paint. Should keep any rot at bay for a good few years!
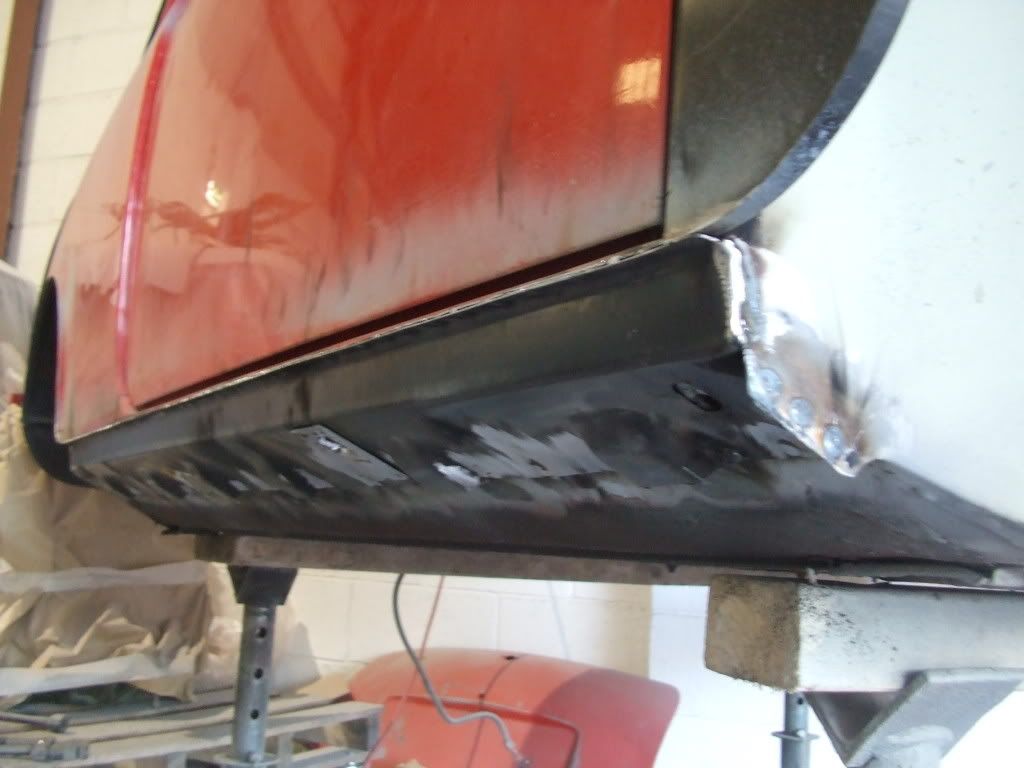
Then he fitted the new outer sill. As rover intended instead of evil filler.
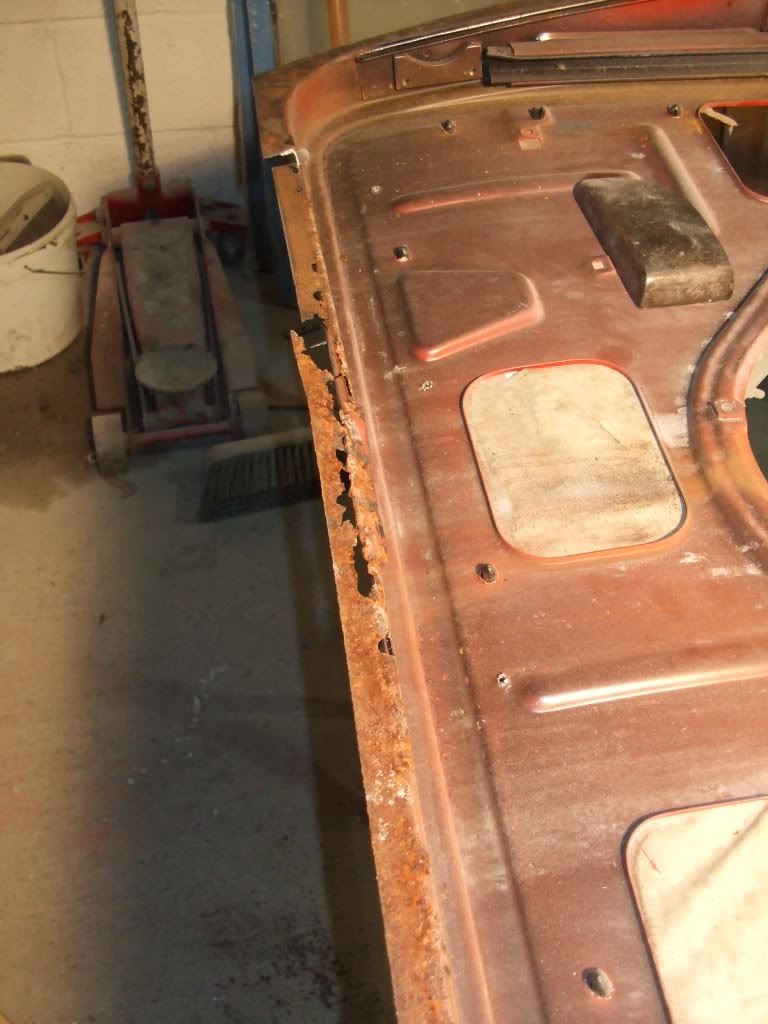
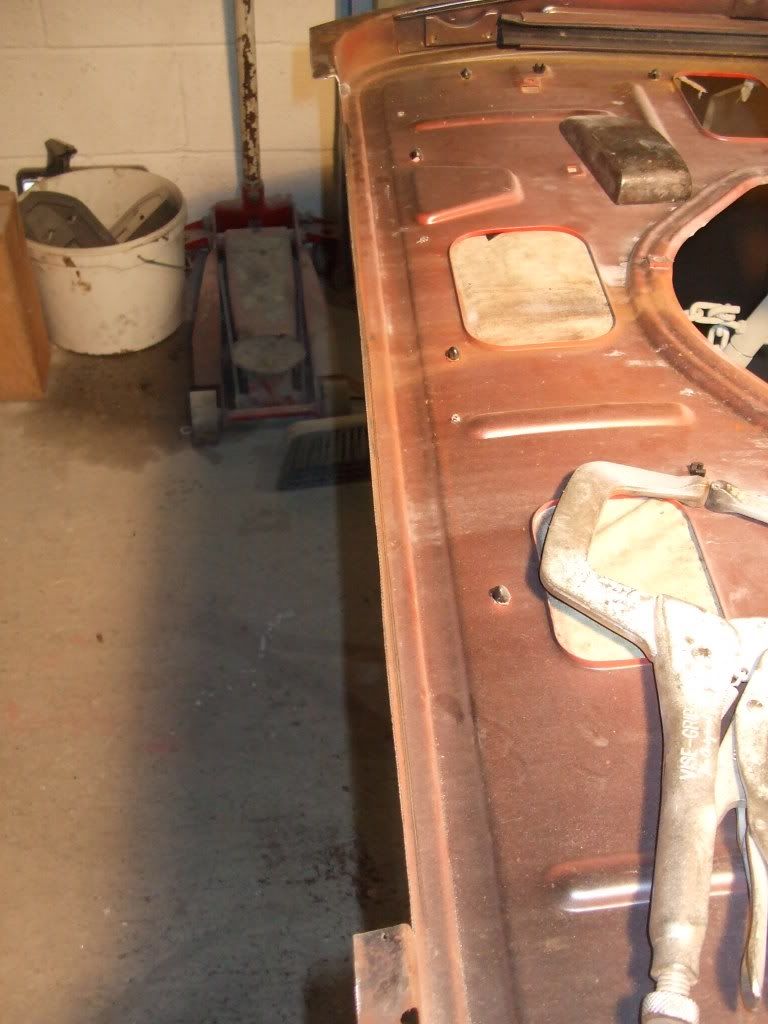
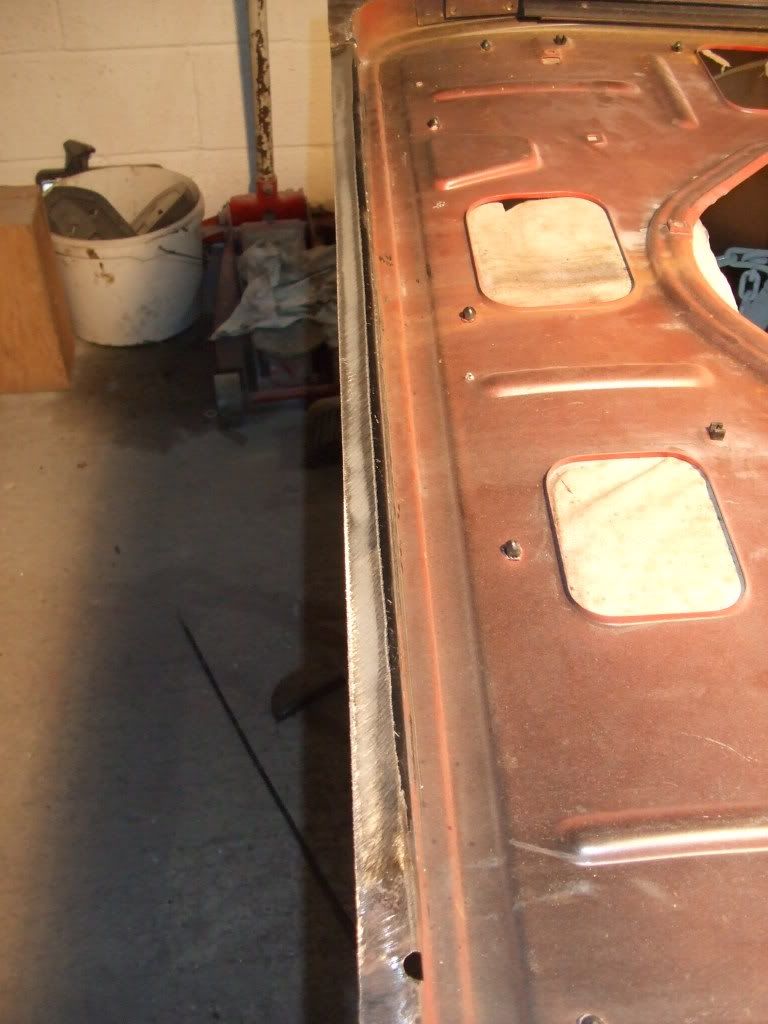
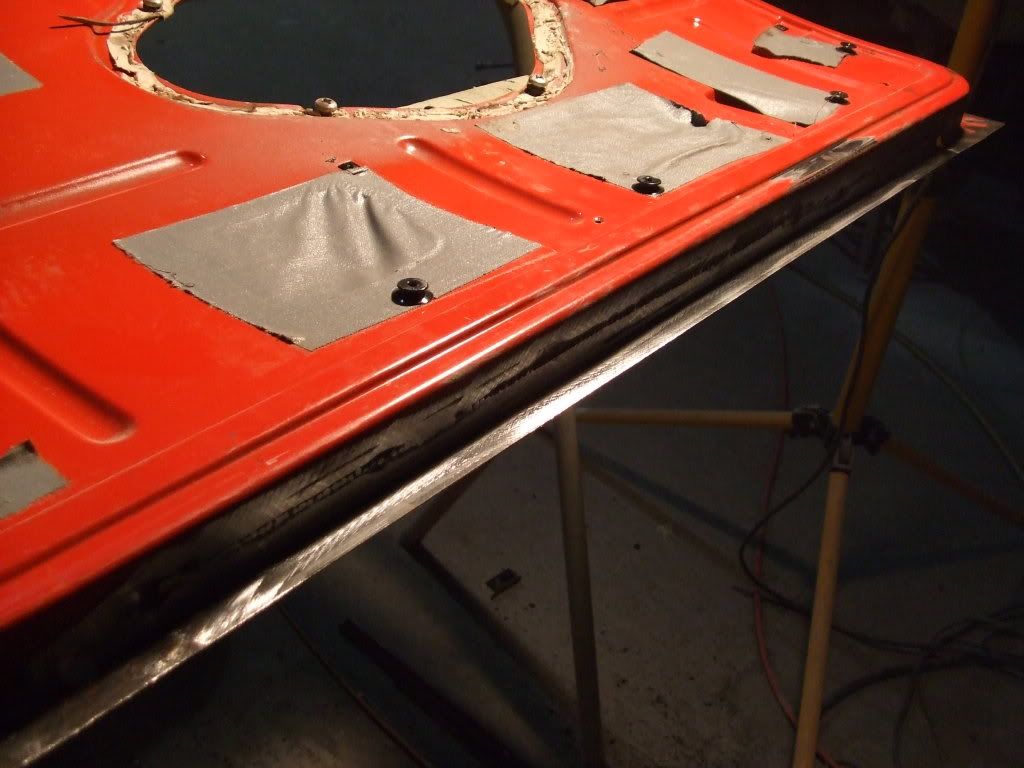
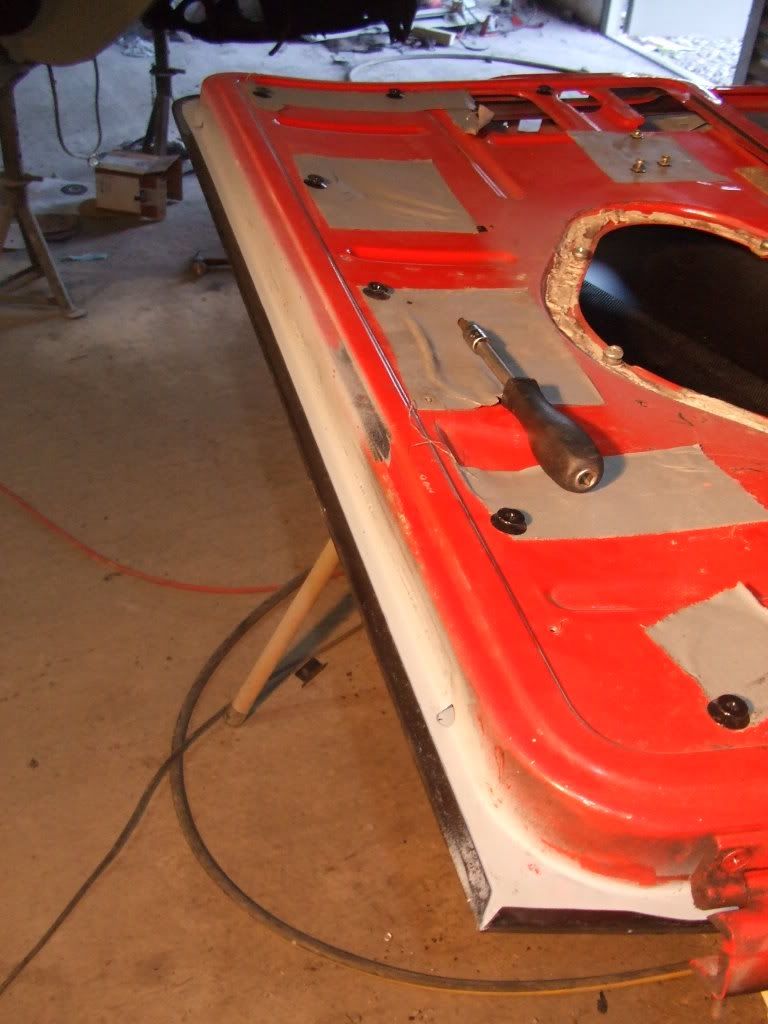
Some pics of the door that was repaired. As well as a new skin it needed a repair to the lower lip.
#30

Posted 07 December 2008 - 11:32 AM
We're now pretty much at the current day, Pete primed the car about a week ago now.
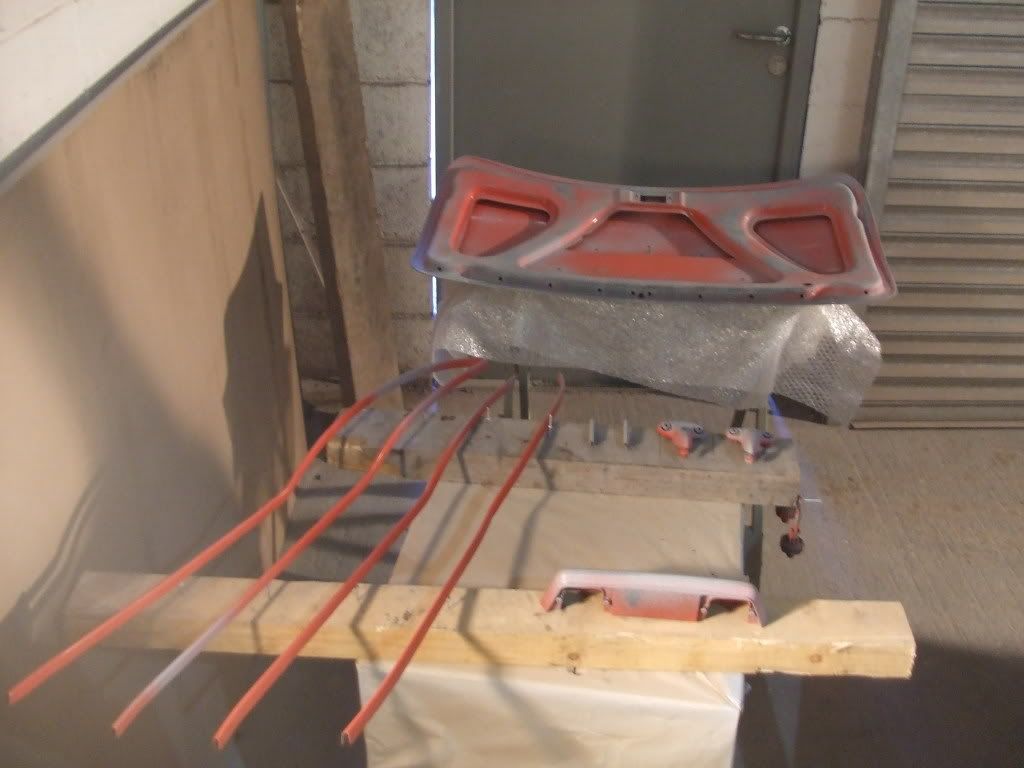
Bootlid, and all the little bits and pieces etch primed........
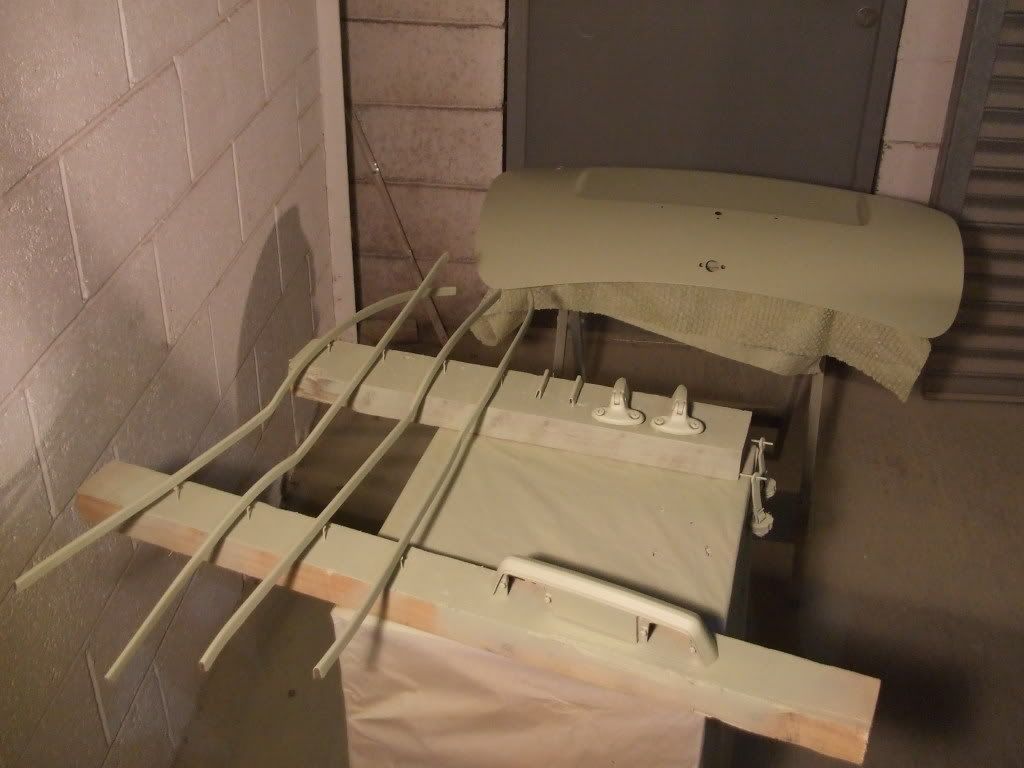
....and given a coat of primer.
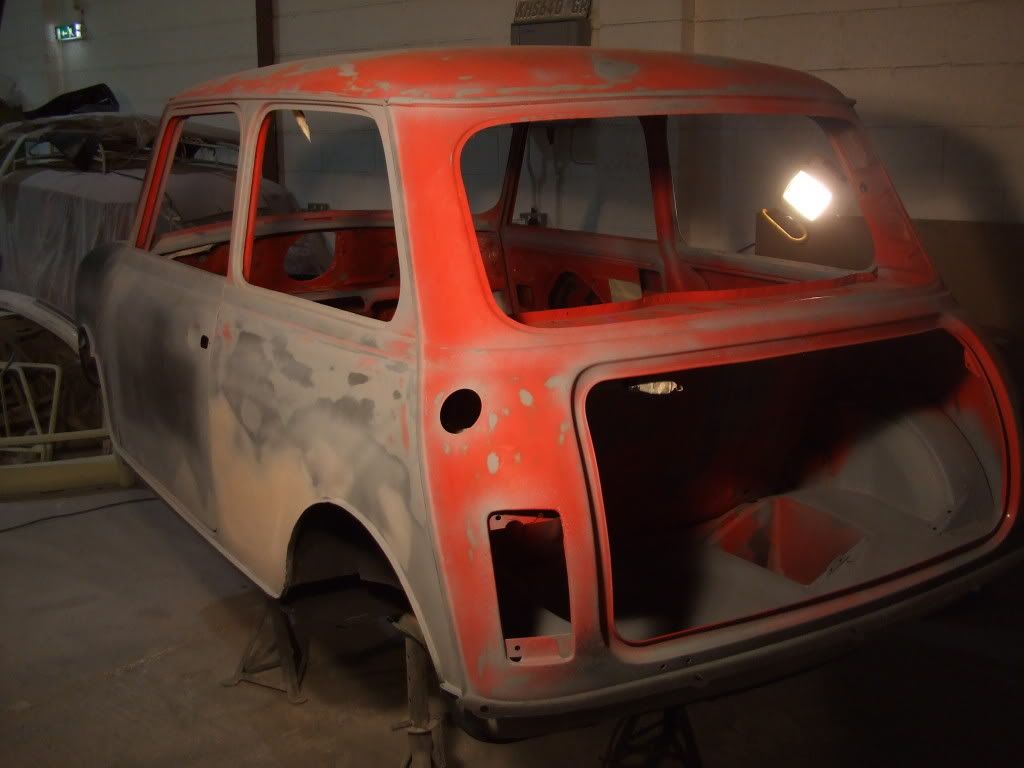
Rear view of shell prepared and etch primed.
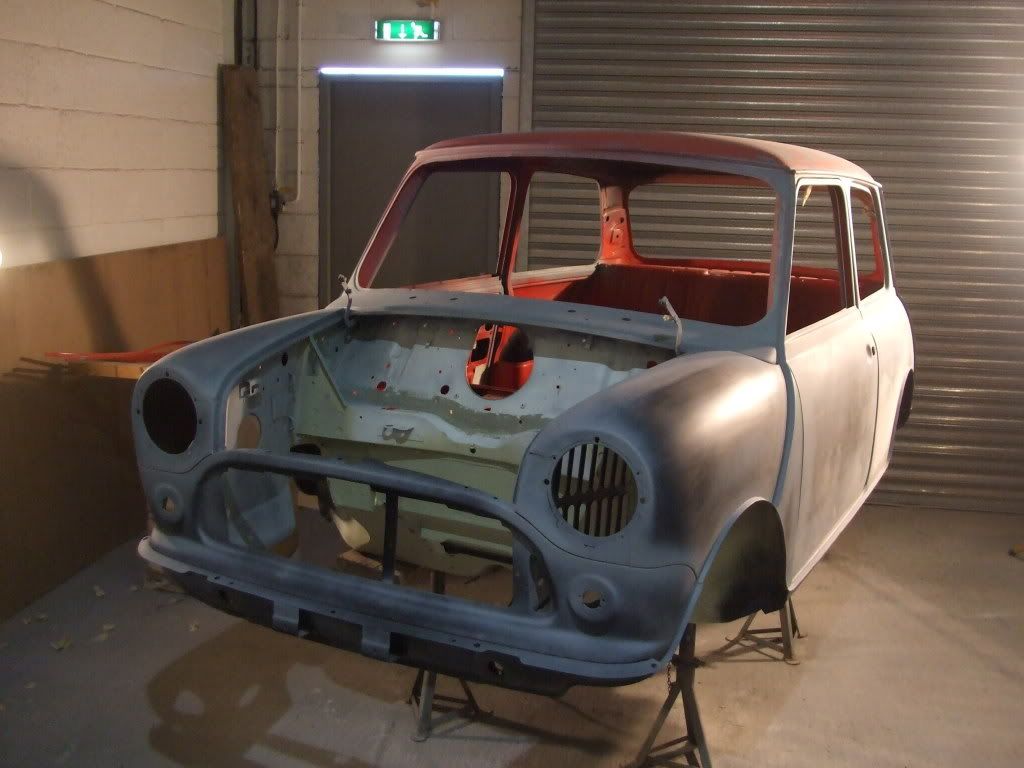
Front view of shell in etch primer
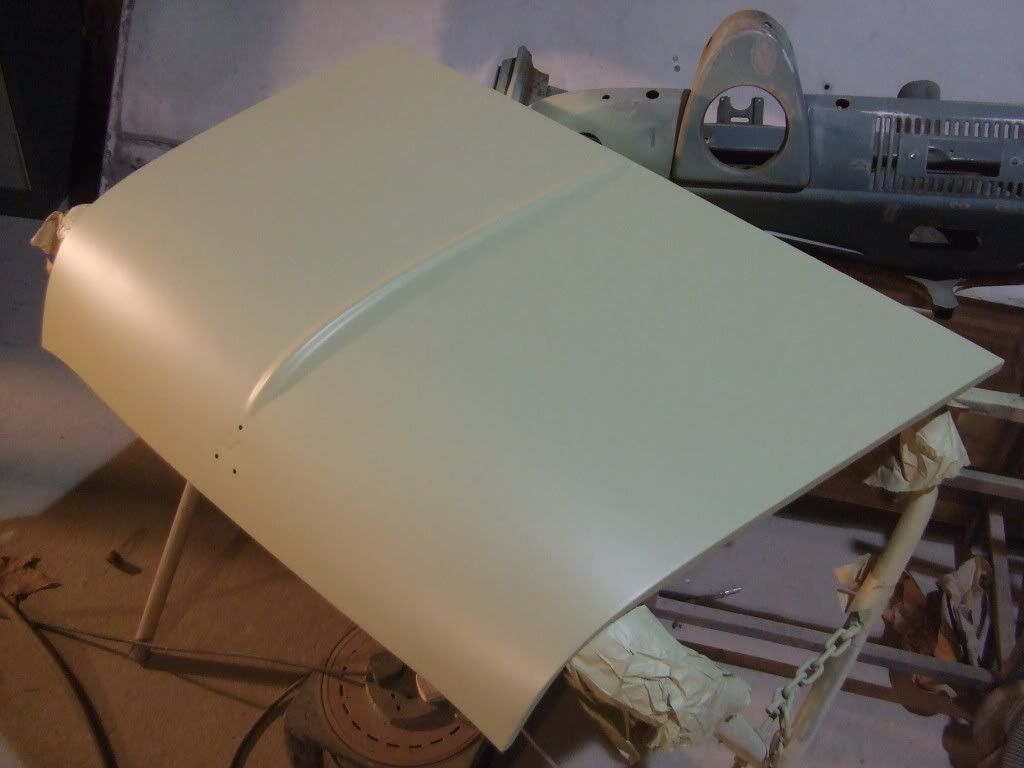
Primed bonnet
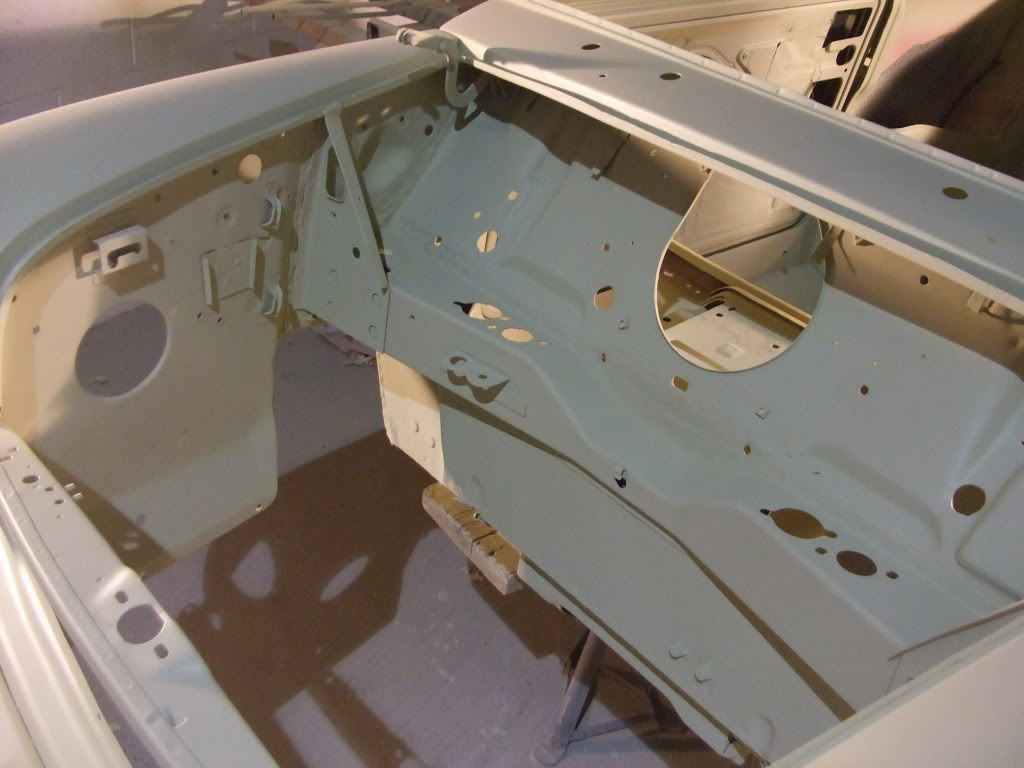
Engine bay
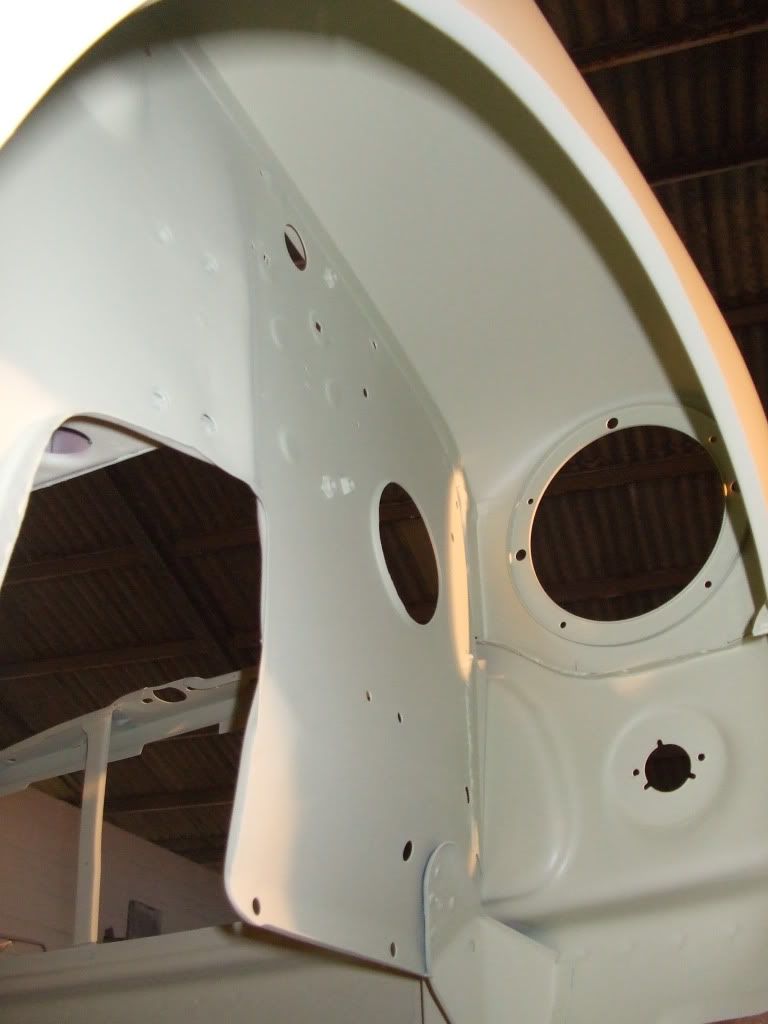
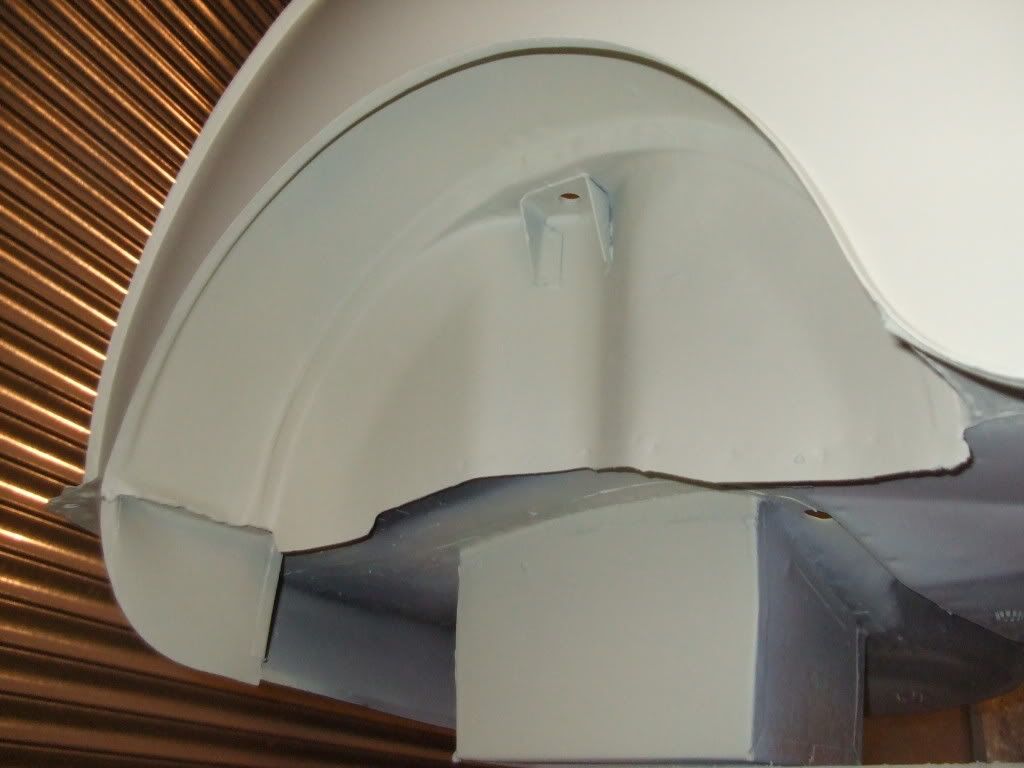
Under arches
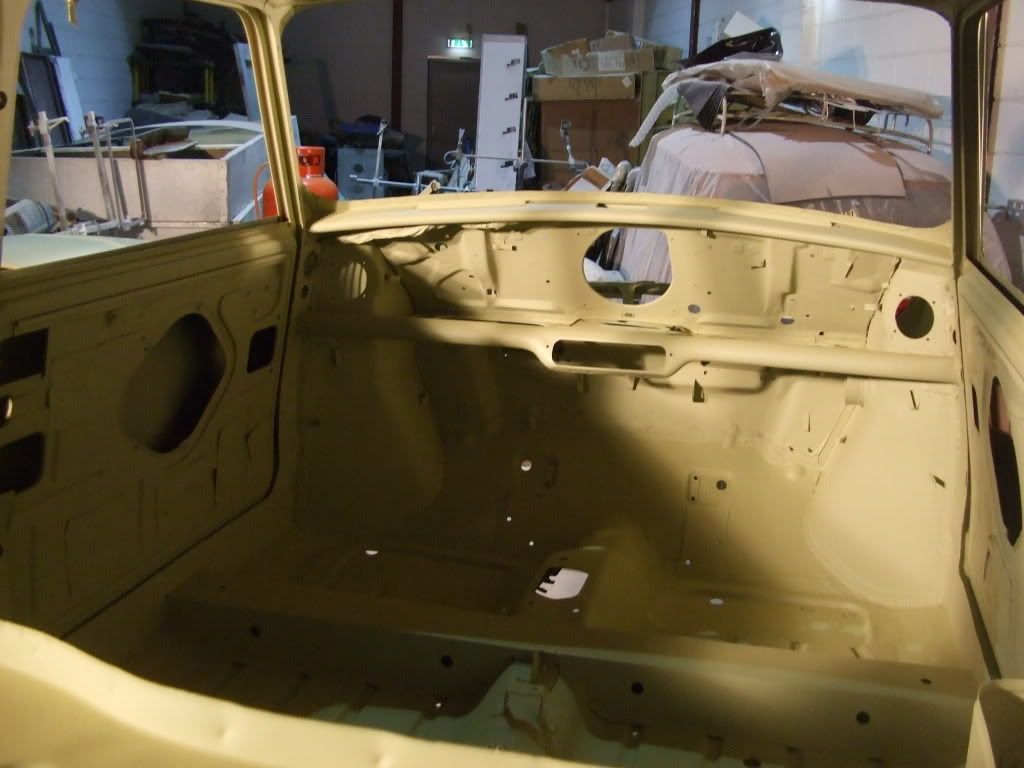
Inside
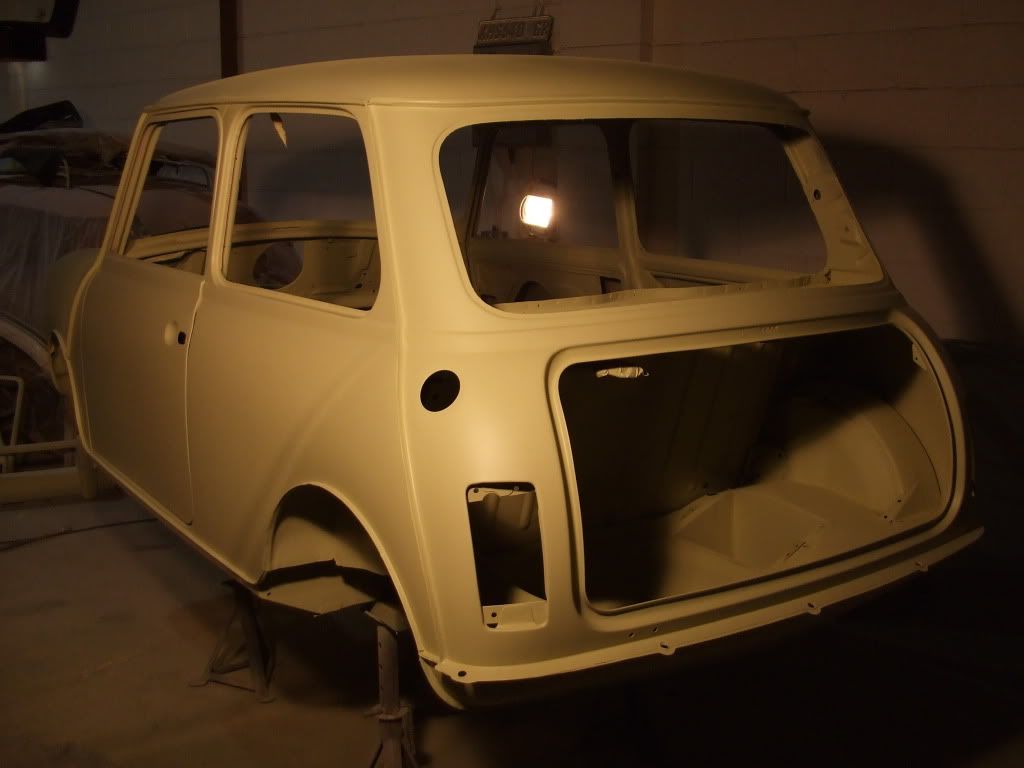
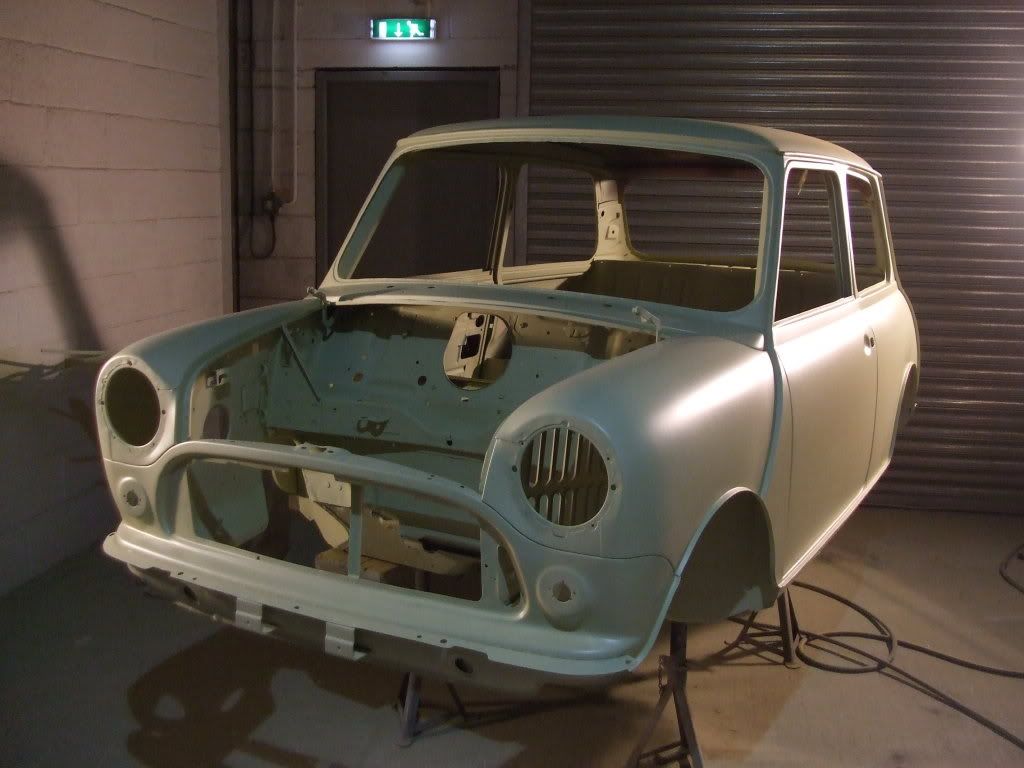
Full shell Looks amazing now it's in one colour, made all the difference.
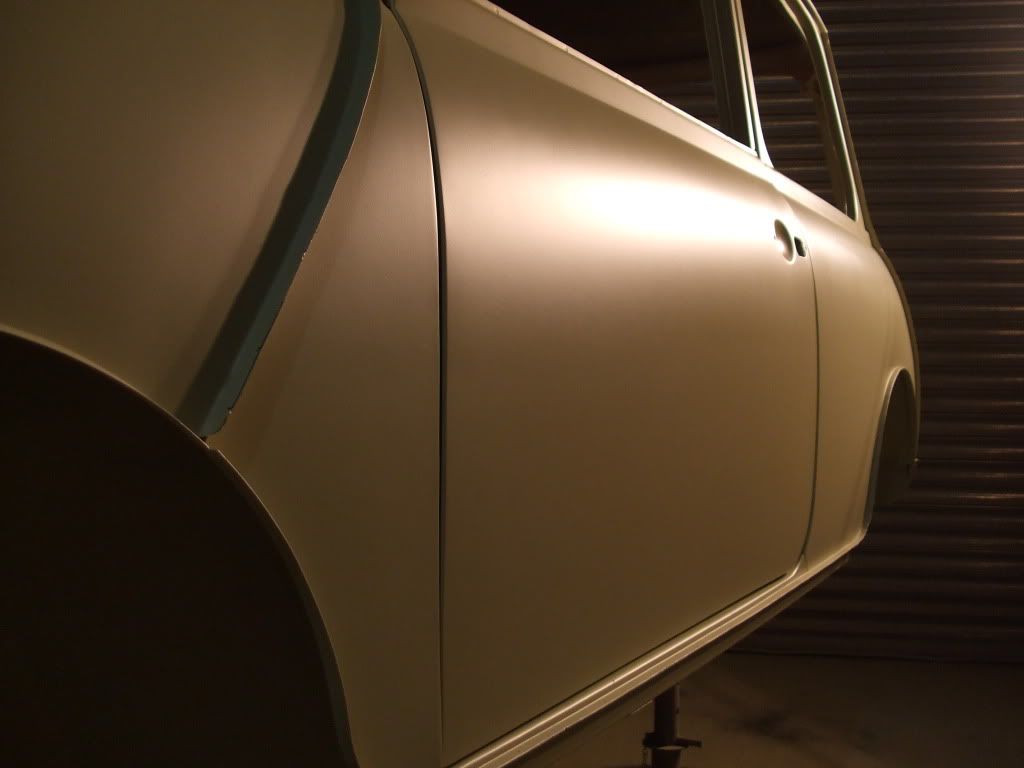
Cool side shot.
Nearly there.....
1 user(s) are reading this topic
0 members, 1 guests, 0 anonymous users


