My Mini Project - Project Snowball!
#256

Posted 20 January 2010 - 03:16 PM
#257

Posted 20 January 2010 - 03:53 PM
#258

Posted 21 January 2010 - 09:51 PM
Hoping to get out and do some more soon. The July deadline is goona creep up on me!
#259

Posted 22 January 2010 - 03:40 PM
Slightly off topic but I am intrigued whether the Great Britain Cycling Team car seen in some of your pictures is anything to do with you? The only reason I ask is because I race bikes and it’s quite unusual to see a team car around.
Luke.
#260

Posted 22 January 2010 - 05:30 PM
keep it up
greg
#261

Posted 22 January 2010 - 05:36 PM
#262

Posted 22 January 2010 - 08:54 PM
#263

Posted 23 January 2010 - 12:12 AM
Just need to wire up the voltmeter and fit a bulb so I have a low oil pressure warning light and then the dash can be fitted for good! Just need to find out where I can get a bulb and holder for a mini centre speedo. After this the only electrics left to do are to wire up the fule pump and switch, connect the horn, coil and oil pressure switch, and wire up some speakers for the head unit. Then no more electrics hopefully!
Been making slow progress with the interior, not far off now, will show another picture when thats all done.
I also love the wheels, I've thought about selling them several times but always change my mind as they look too nice!
LukeH - The GB team car, yes that's my work car. I'm a coach for the talent programme.
#264

Posted 23 January 2010 - 07:56 PM

So close now!!!
#265

Posted 23 January 2010 - 10:07 PM
#266

Posted 24 January 2010 - 12:04 PM
#267

Posted 24 January 2010 - 06:44 PM
#268

Posted 25 January 2010 - 09:10 AM
#269

Posted 25 January 2010 - 10:38 PM
The seats are Huntmasters. I bought them off ebay and had them retrimmed. I believe they were out of a VW, but the cobra subframes fitted no problems. I still have the logos stitched on them, which finishes them off great. They are a bit tight to get into especially with the steering lowering bracket. I think the technique is slide them right back, get in, then adjust the seat to where I need it. To get people in the back they need to be slid right forward then tipped up. They are dead comfortable when you're in them and the steering is in a much better position being lowered.
Next week I have 3 days off, so I'll have loads of time to get out and get more jobs done. Most of it is minor stuff now, its 99% finished.
Update soon!
#270

Posted 26 January 2010 - 07:54 PM
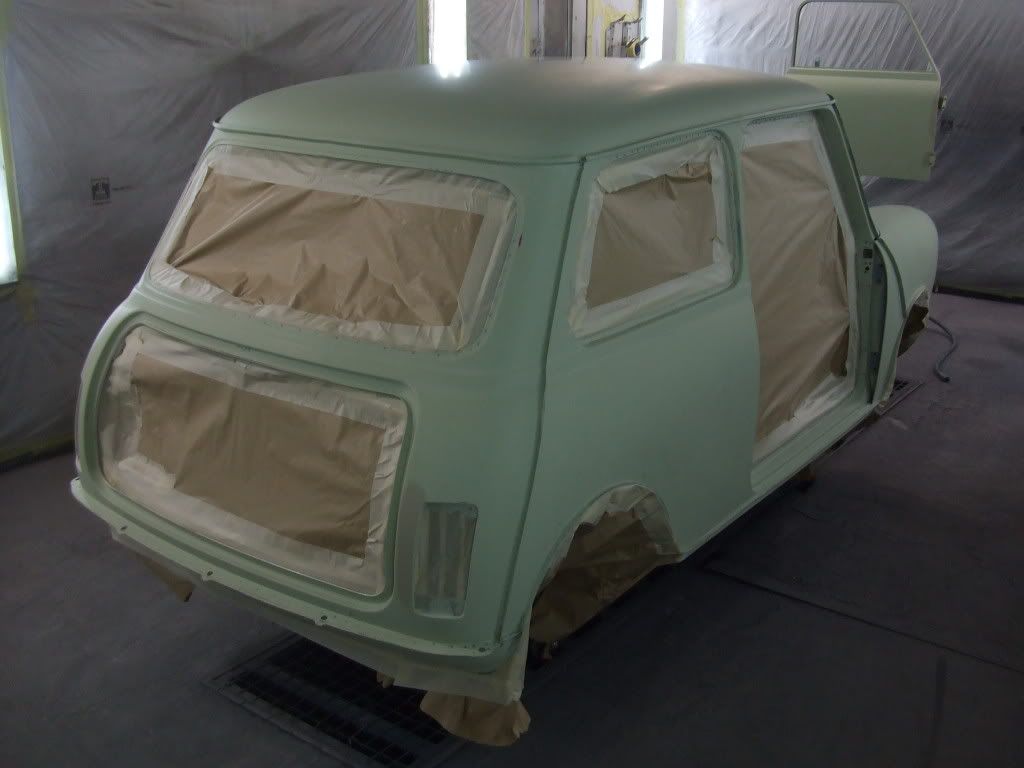
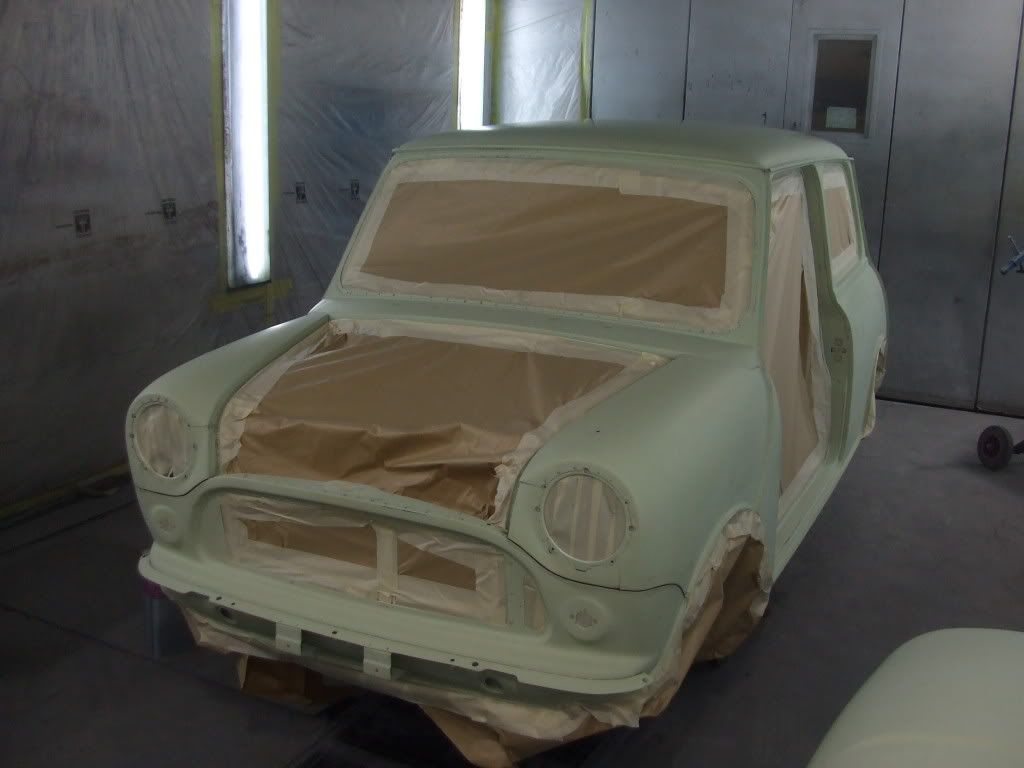
My last update before we go into real time instead of pulling up from history. I'm sure progress will slow down a fair bit from now on

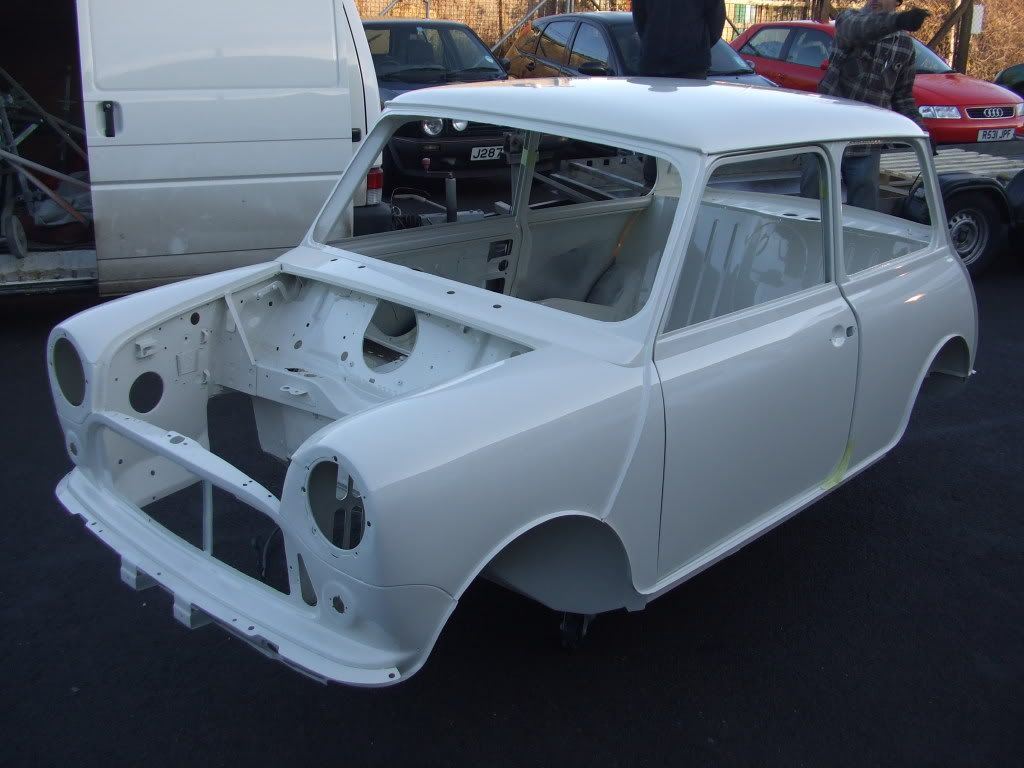
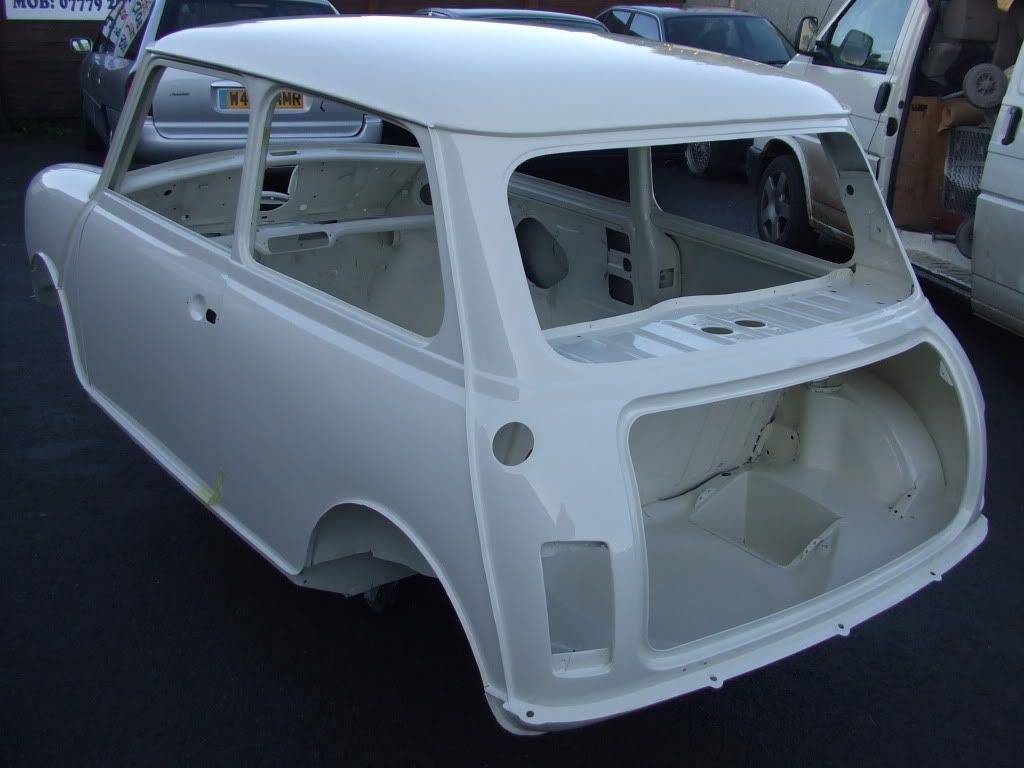
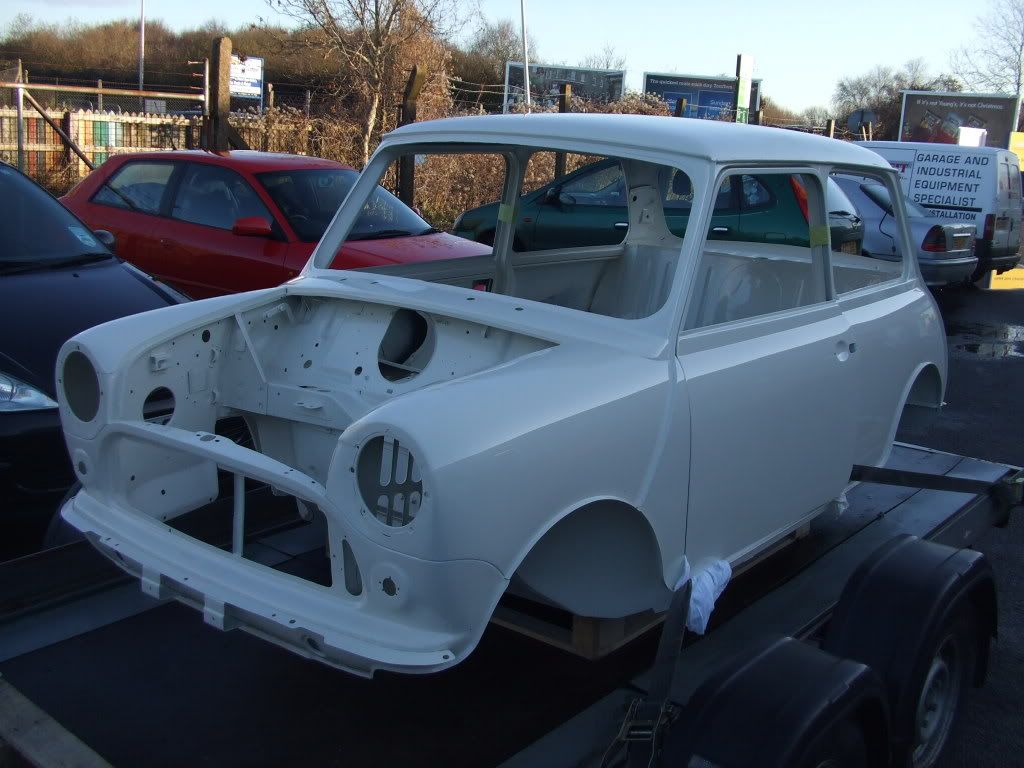
I got these pictures yesterday from Pete, and needless to say I was ecstatic! Christmas has come early.
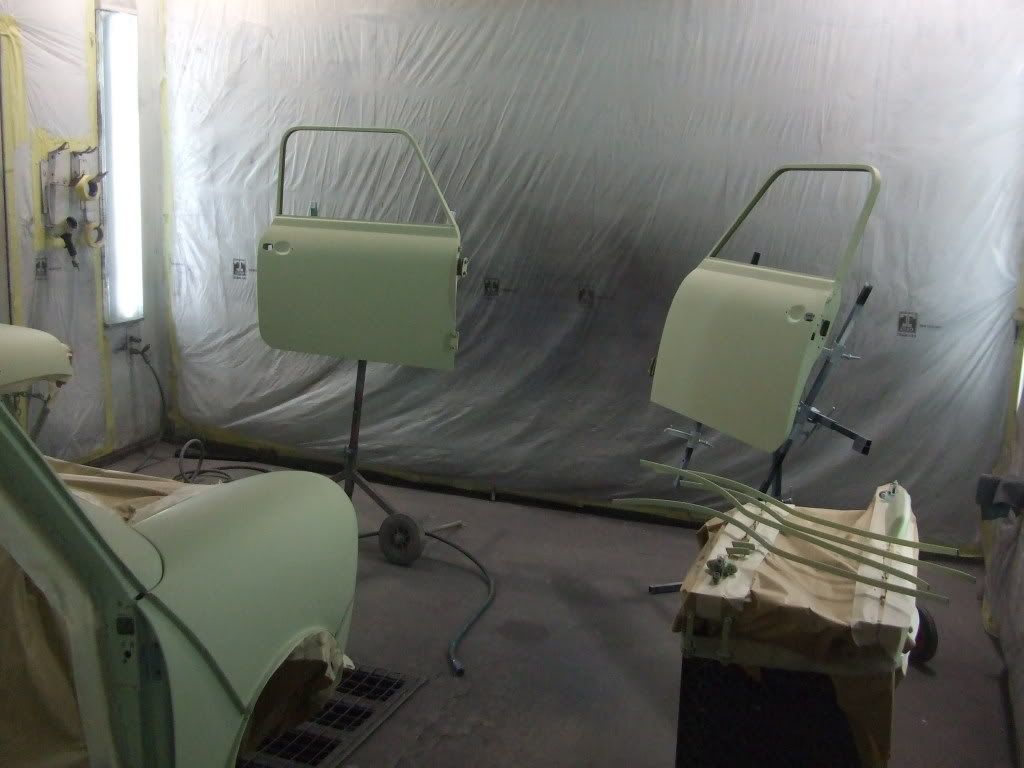
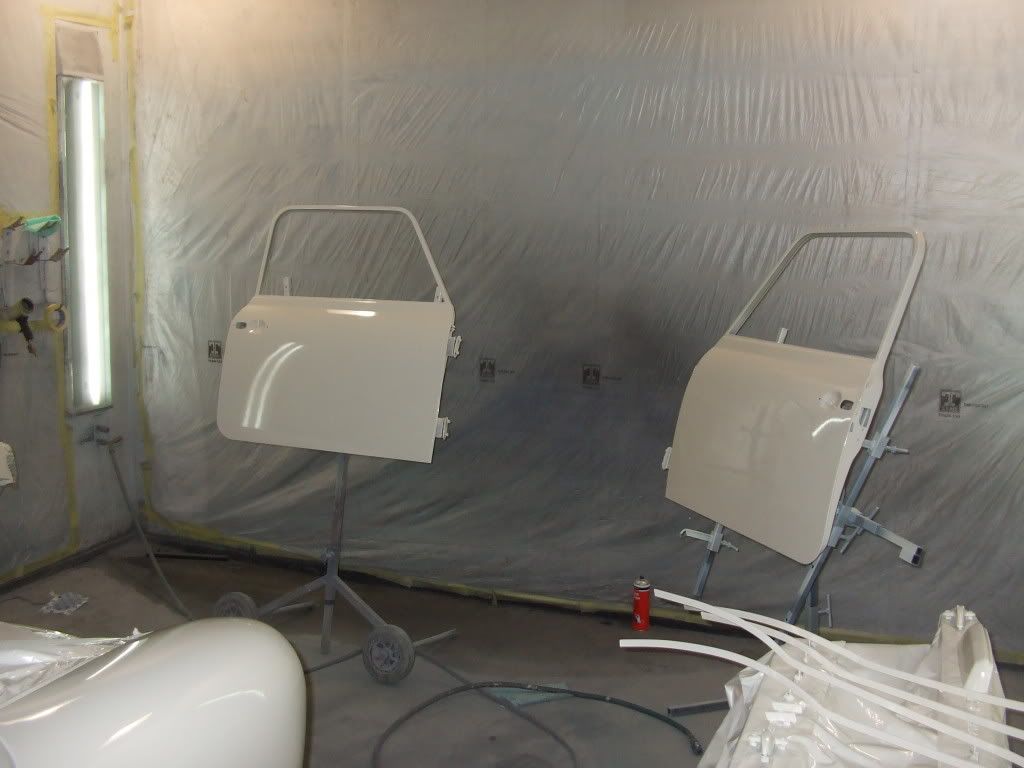
Shell and parts in the booth ready to be painted.
I had so many thoughts about what colour it was going to be. Going back to the theme of the project I wanted a classic mini colour, and it wasn't going to be red as so many minis are. I'd thought Applejack Green, but thought this would be too Mr Bean, and not the look I'm after. Another option was Russett Brown, but I reckon this is better suited to Clubmans. The brown theme will come into my car though. For some reason I have a thing for brown. Colour was a tough decision....
As I guess so many mini owners have done, I thought what could be more classic than The Italian job, so the choices were white or blue. Here is how I decided.
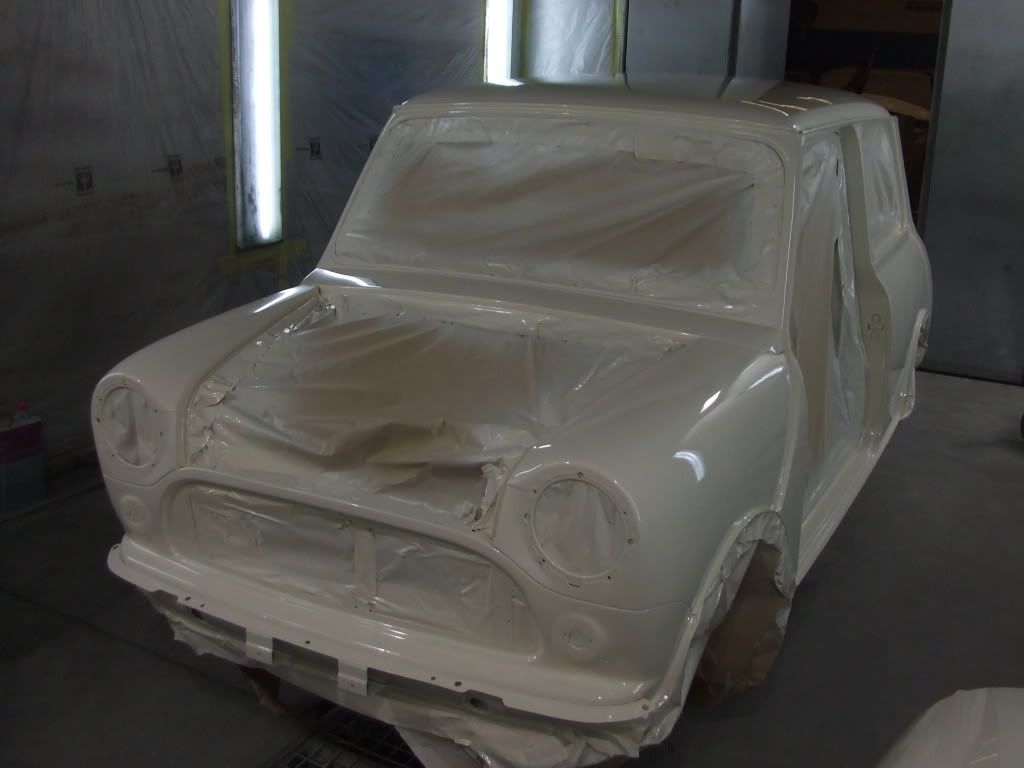
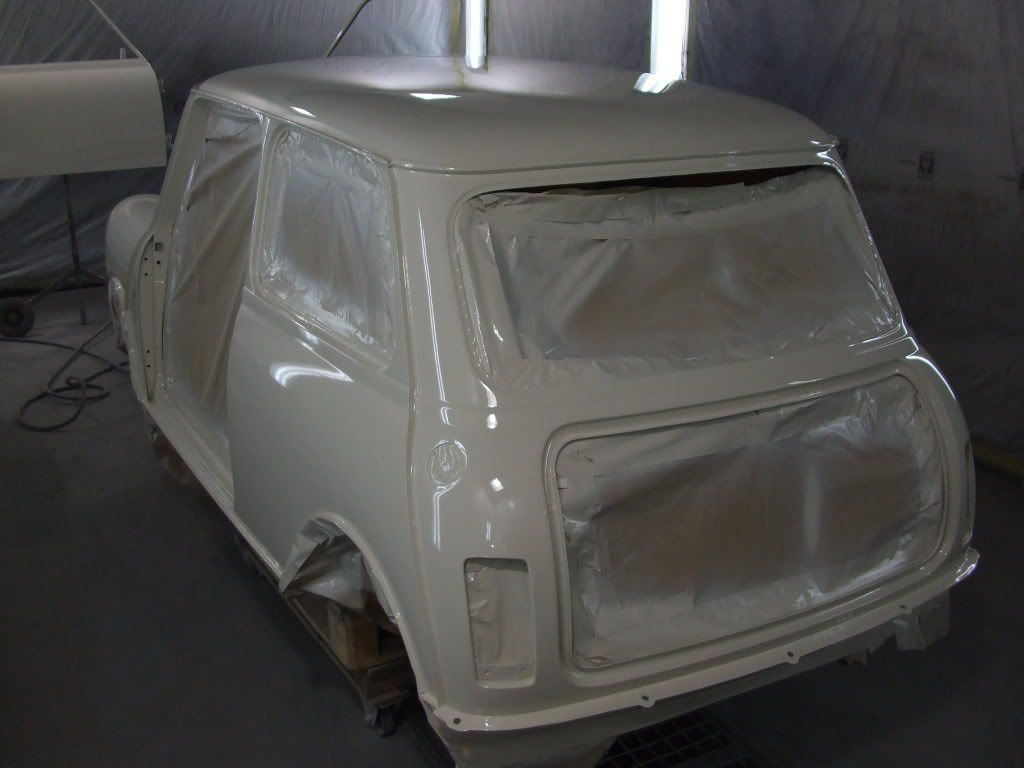
So it was to be old English white. Not a particularly individual colour, but I reckon it's timeless and works really well with chromework. I didn't want a cooper replica so decided to make the roof white as well. I'm fitting group 2 arches, but having these painted white as well to make them more subtle, and be a bit different from the regular black arches. I'm doing a few other subtle things to the exterior, and different from the norm inside keeping to the classic theme, but bearing in mind that I don't want a cooper/italian job replica. I'm keeping far away from it's mid 80's Mayfair history though! I'd love to get it in Mini magazine when its done if it's worthy.
Outside it looks great. A big thanks to Pete for his hard work. Amazingly he says it still needs polishing! All being well I can collect it on Friday! Start building on Saturday! Just hope I don't scratch it......
Update when I collect. Scrippo
just after reading the thread and i have to say you have done a great job!
i noticed that you painted your shell while on castors
mine will be getting painted soon and will too be on castors
i was just wondering how you painted the underneath of it as i am clueless as to how i will manage it
thanks
1 user(s) are reading this topic
0 members, 1 guests, 0 anonymous users


