My Mini Project - Project Snowball!
#211
Posted 22 May 2009 - 09:31 PM
Ordered my rear foglights yesterday. Decided to have 2, one on each side. To be honest I'd rather have none, but need one for the MOT, so thought 2 would be symetrical, and as the wiring and holes for the bolts are all there I thought it's an easy job.
Still waiting for my fuel tank, so should have time to get the fog light wired in before I cover up everything on the left hand side with it!
I recently bought some gold and silver paint from Halfords, so I've finally got round to painting my brake and clutch cylinders, which look much better. Also painted my alternator so this looks nice and shiny ready to go on. Also going to paint my heater tap.
Pics to follow tomorrow when I get out to do some work. Hopefully the fogs arrive in the post as well. Also having a bit of a dilemma, do I fit my Cibie Super Oscars, or leave it without? They are fogs, and to be honest I'd rather have driving lights than fog lights, so I can use them with the main beams for some hardcore night lane driving
Scrippo
#212
Posted 23 May 2009 - 07:03 AM
Greg
#213
Posted 30 May 2009 - 05:55 PM
The other day I managed to get some other bits done as well, so things are slowly progressing.
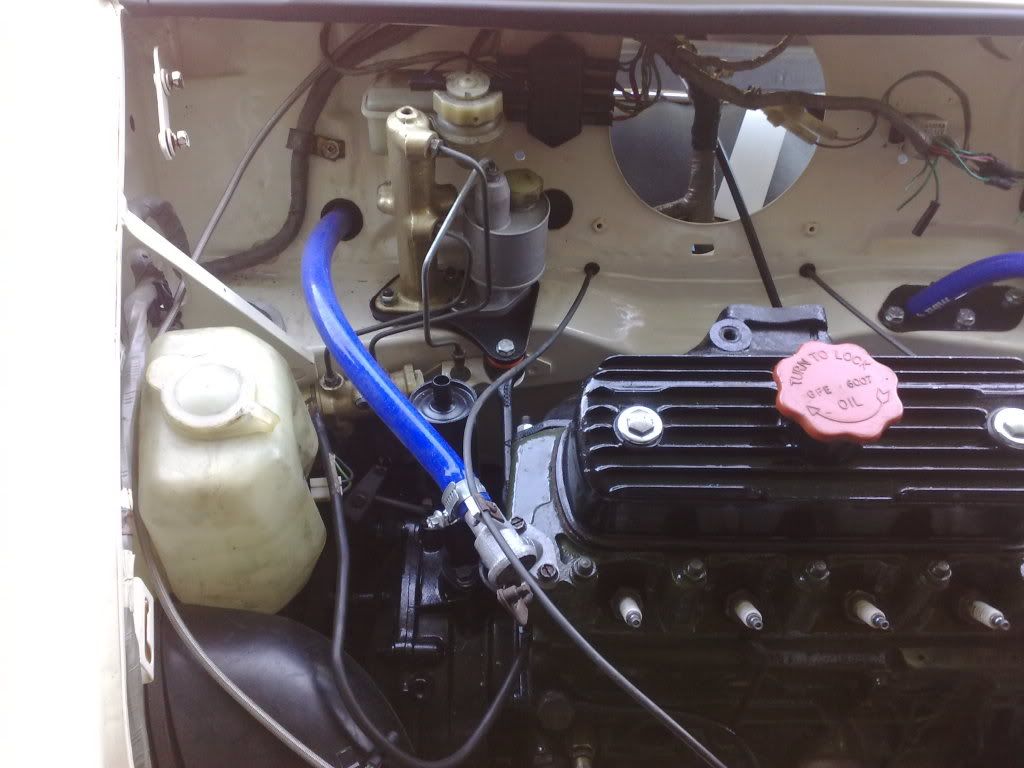
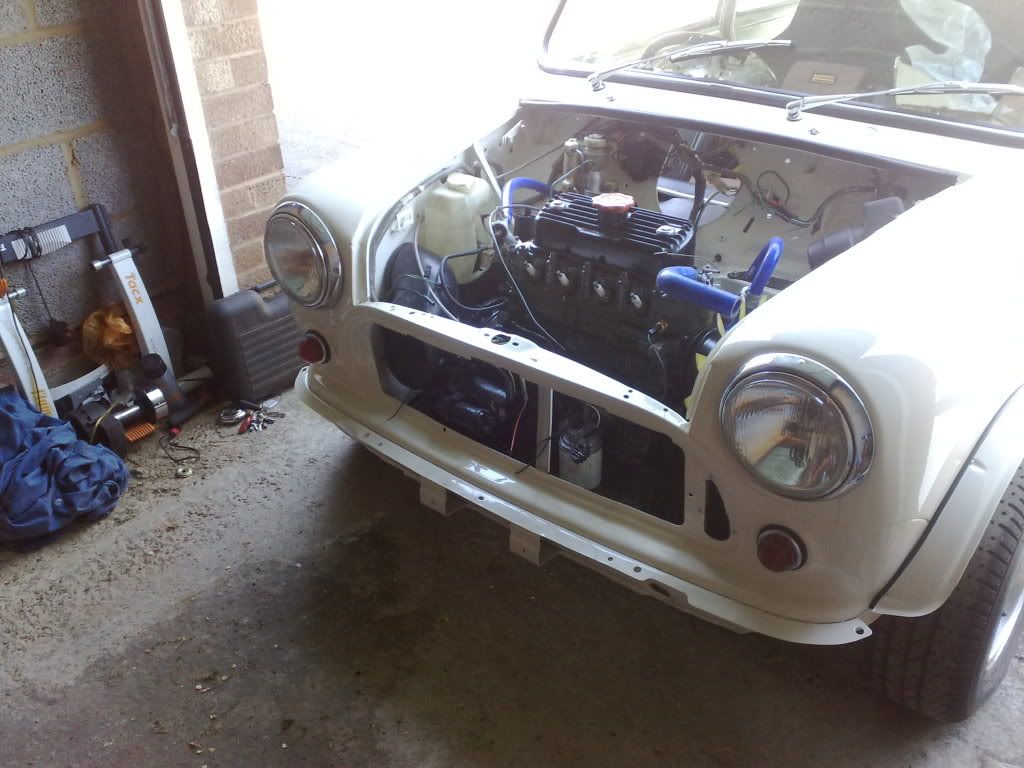
Fitted my freshly painted clutch and brake cylinders. Today I also managed to climb inside under the dash and fit the clevis pins and circlips, so these are completely finished now. As you can see by this pic I also fitted the heater tap and hose. Also fitted the other hoses in the engine bay ready for the radiator.
Fitted my indicators properly instead of just slotting them in the front panel. Had to make up some wiring for them so a couple of lengths of correct coloured wire from Holden and a few bullet connectors and that was sorted.
Today I fitted the heater, but don't know which hose connects to which part of the heater. I'm thinking the passenger side hose fits at the bottom (so the hose isn't kinked), and the drivers hose at the top. Do the hoses just slot on or will I need hose clips (I'm assuming yes!).
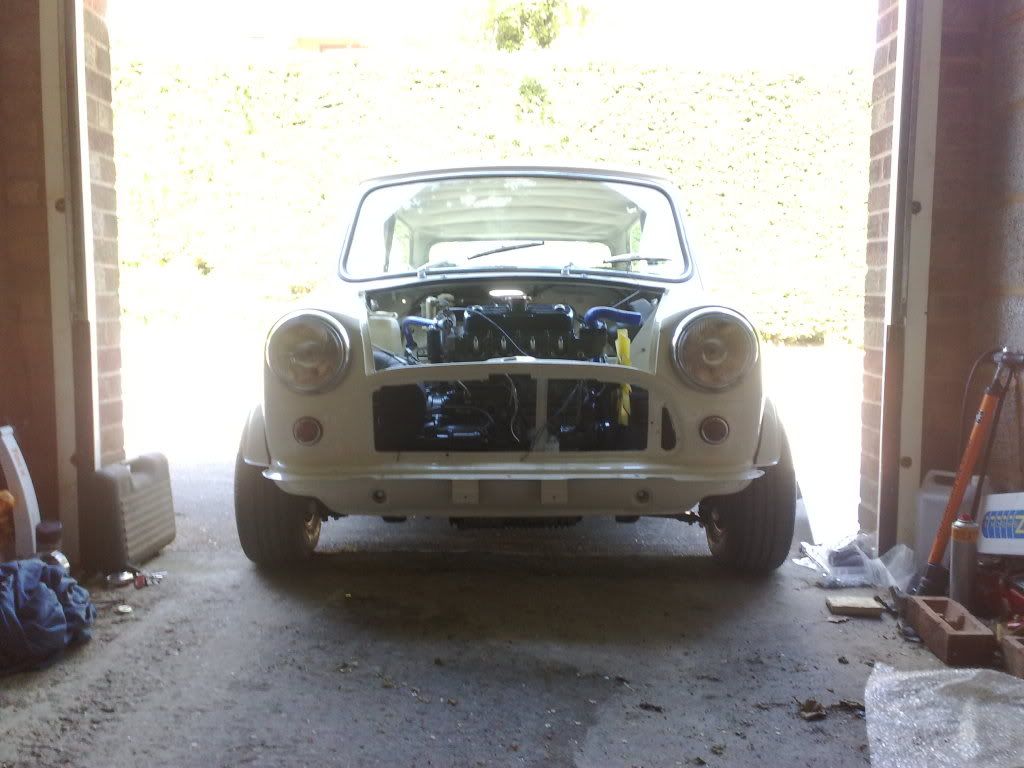
Another pic of the front end for the hell of it! I started to fit the CD Head Unit, mainly because I want all the wiring sorted. There are two wires, one green, another green with an orange trace with white bullet connectors on them. I have no idea what these connect to so any ideas would be great!
#214
Posted 30 May 2009 - 07:50 PM
Wow! Your project is coming on really well and your attention to detail is very impressive.
Have you got a target date for the completion?
By the way - brown interiors rock!
#215
Posted 30 May 2009 - 08:55 PM
Hope my mini looks half as good as yours when I get to your stage!
#216
Posted 30 May 2009 - 09:57 PM
Analogue, do you know which hose connects to each outlet on the heater?
Anybody have any ideas about the 2 green wires?
#217
Posted 30 May 2009 - 10:30 PM
Scrippo
#218
Posted 31 May 2009 - 08:08 PM
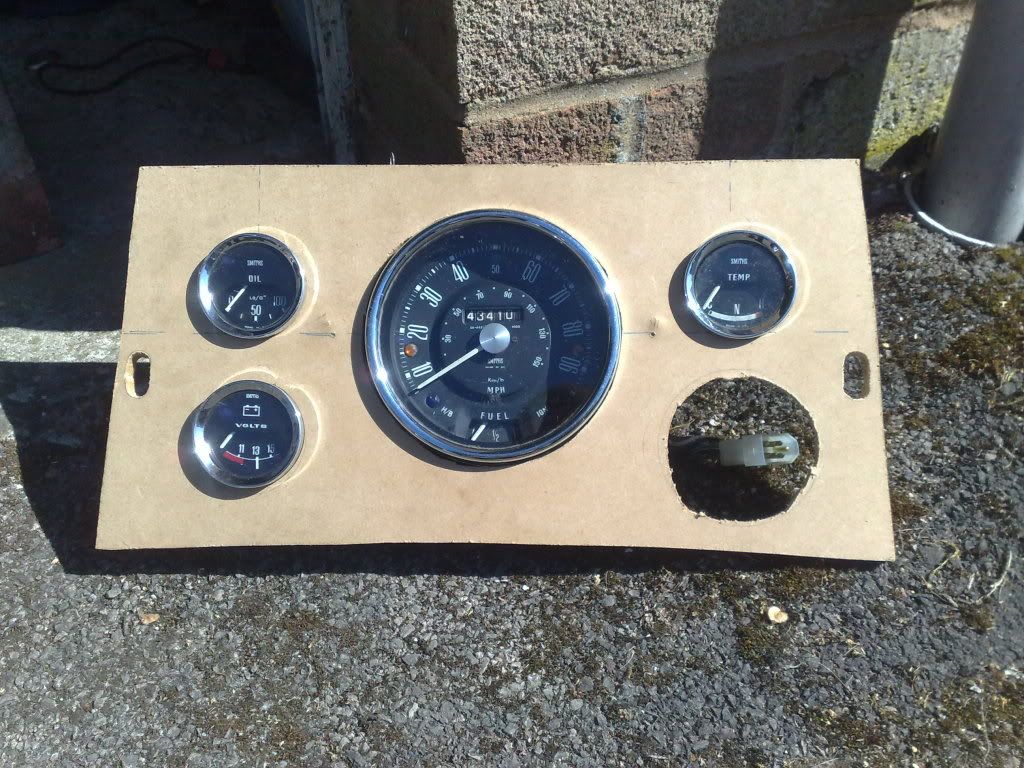
Decided to do something a bit different so started on my dash.
Made myself a centre panel with some MDF. Doing this because I wanted a voltmeter and a rev counter, but didn't wont extra pods littered around. The dash also maintains my classic theme, as they're Smiths gauges, when the car originally had clocks in front of the steering wheel. The rest of the dash will be a traditional Rokee dash. I plan to hide an ipod interface and maybe a megajolt ECU behind the dash so thats the main reason for having it.
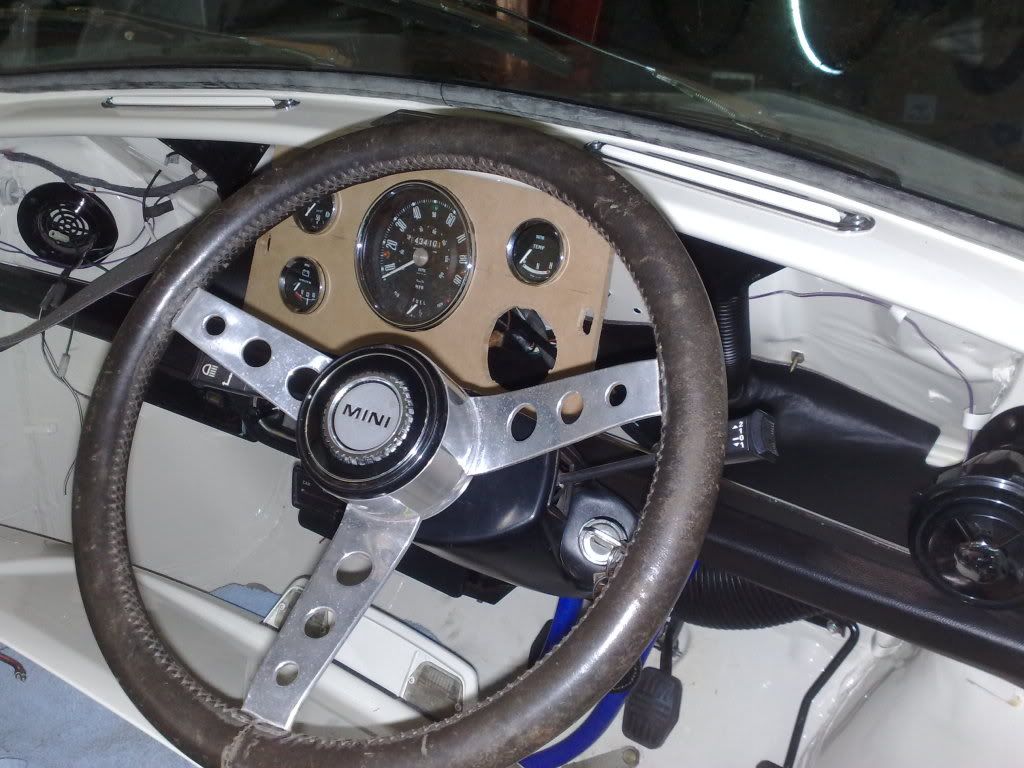
Mock fitted in the car. Really happy with it, just need a rev counter and trimming in foam and black vinyl and it's done!
#219
Posted 05 June 2009 - 05:07 PM
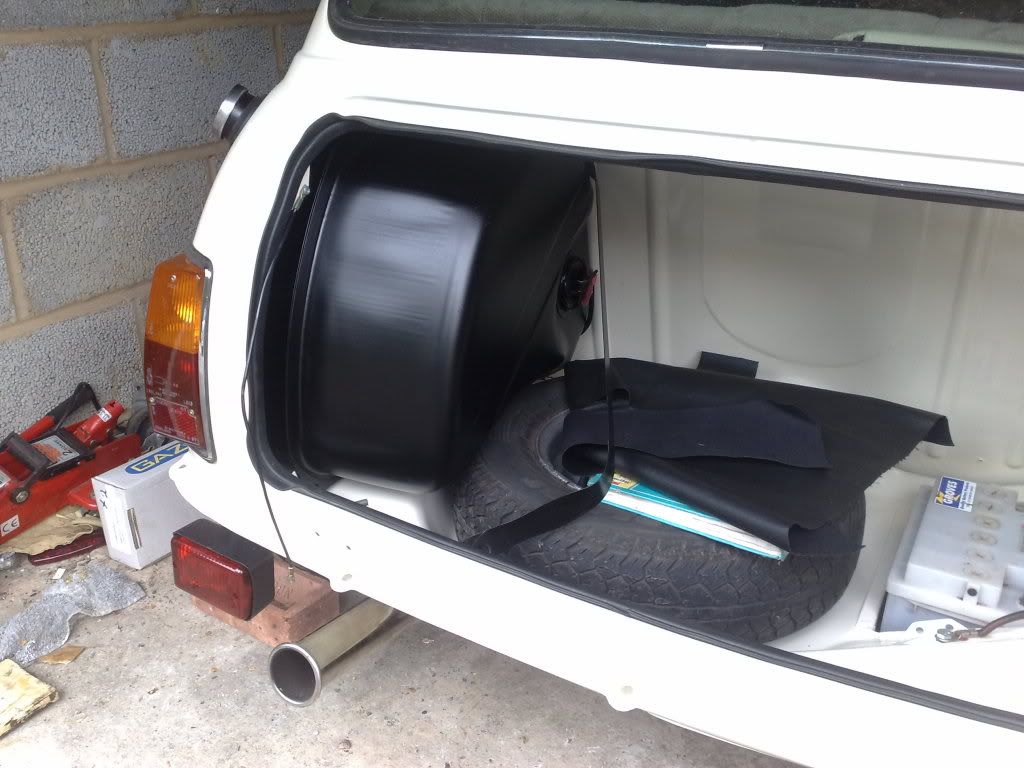
Got my fuel tank and some other bits from the powdercoaters. They didn't want to powdercoat the fuel tank so they wet sprayed it instead.
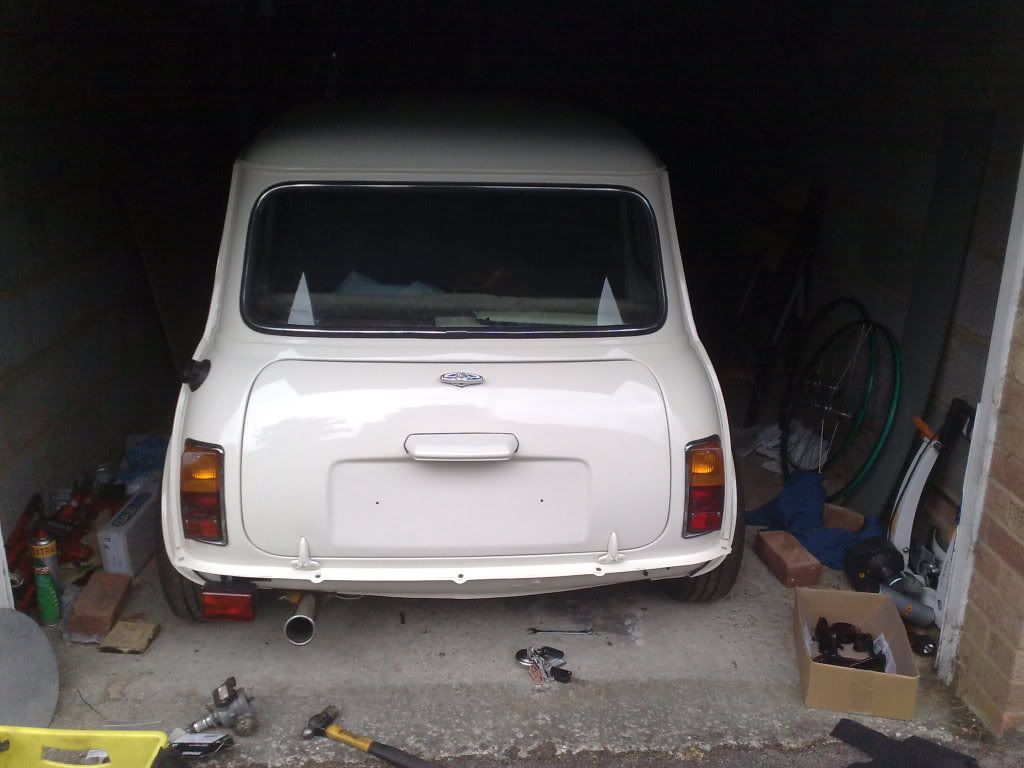
Snugly fitted in the boot. Looks great. The fuel line still needs connecting up but I'll do this when I fit the fuel pump. That makes the inside of the boot pretty much finished! All I need is a fuel tank breather pipe, a spare wheel cover and a battery cover and strap for the finishing touches, and the the drivers side fog lamp needs connecting once the powdercoater does the bracket (he forgot to do it).
With the fuel tank fitted I could finally fit the boot lid. Looks lovely.
More to come, I need a day in the garage where I don't need to rush, so I can loads of little bits done!
#220
Posted 06 June 2009 - 07:48 AM
and full days in the garage with no distractions are the best... EVER!!!!
you'll be there soon!!
#221
Posted 06 June 2009 - 08:05 AM
& why wouldn't the powdercoaters powdercoat the fuel tank?
#222
Posted 06 June 2009 - 09:06 AM
The dash should just fit in snugly. I might make some MDF sides for the centre panel to hide the wiring and secure it a little more. I plan to get some thin foam and trim the centre panel in black vinyl.
Thanks for the comments guys, they help! I'm desperate to jump in it and drive it.
John
#223
Posted 06 June 2009 - 09:23 AM
#224
Posted 06 June 2009 - 10:46 AM
#225
Posted 06 June 2009 - 11:11 AM
Jordan.
1 user(s) are reading this topic
0 members, 1 guests, 0 anonymous users