My Mini Project - Project Snowball!
#166
Posted 18 March 2009 - 09:38 PM
well today we hit another milestone in my mini rebuild! I finally managed to fit the engine. Well, it wasn't just me, I have to say a big thanks to my mate Dan who came round to give me a hand.
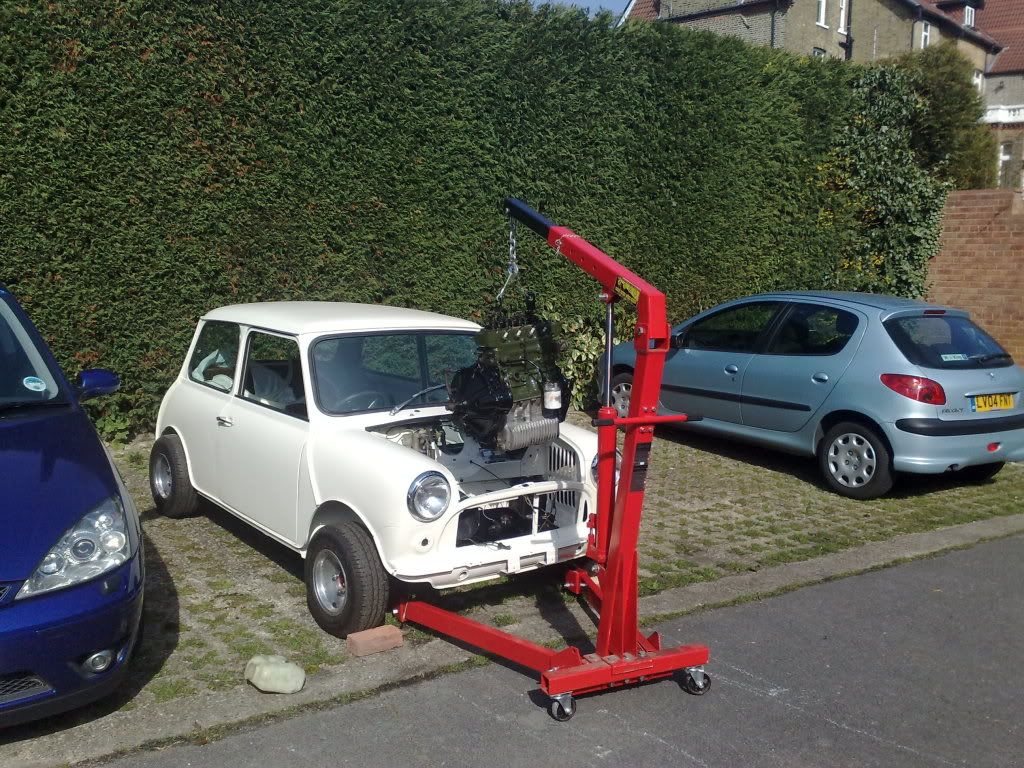
Decided to do the work outside the garage as it was a lovely day, and we'd have more space. I'm glad we did. The pic above shows the engine being lowered in. I'd highly recommend that this is a 2 person job, as Dan lowered or raised the hois as I manouvered the engine to avoid it banging the shell.
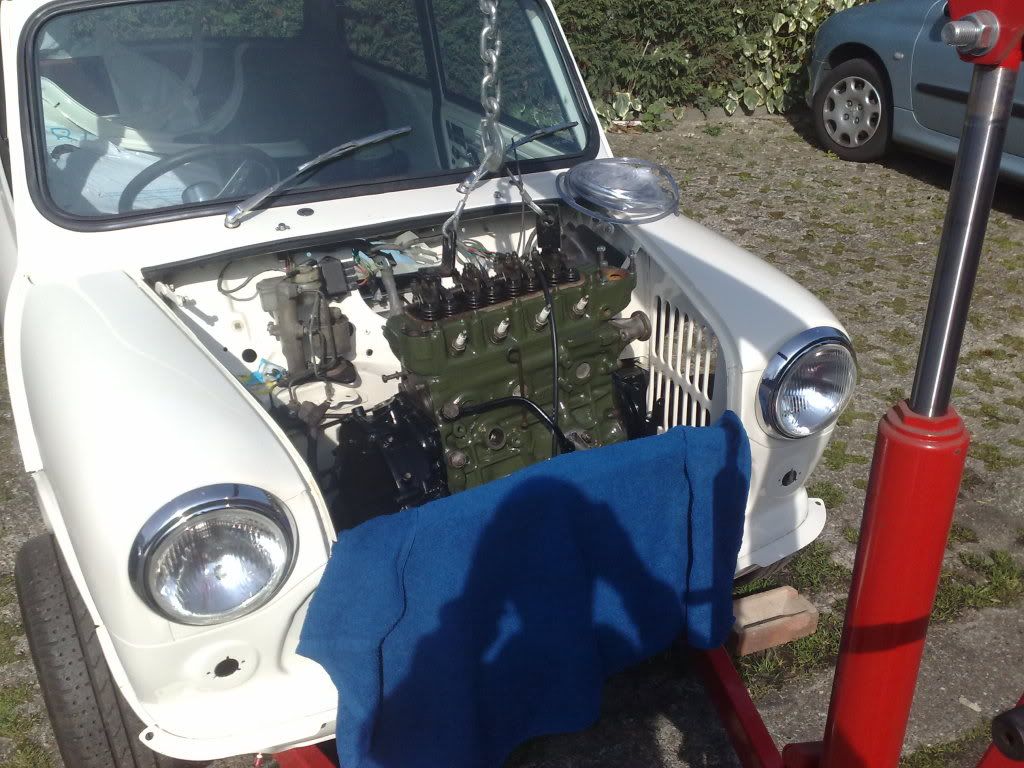
Getting lower in the bay..... nearly there. The photo was a chance to have a breather as it was pretty intense lowering the engine bit by bit making sure it didn't scratch itself or anything else!
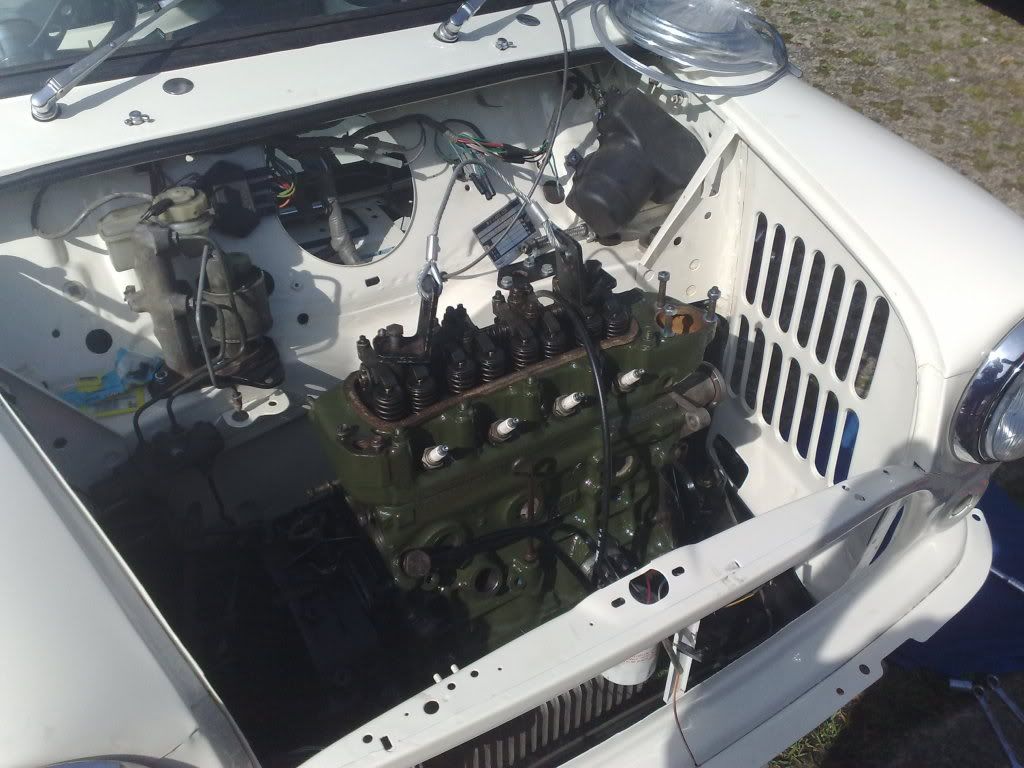
Engine in! The lower mounts were a pain in the bum to get bolted in. I bought some supposedly easy fit mounts from a guy on ebay, who had welded on a couple of nuts. Well we cross threaded one, so out came the grinder to get it off. I recommend anyone fitting new mounts just go with the standard ones as it took 20 seconds to fit a nut and bolt! Once this was fitted it was wheels back on and off to KFC. I haven't connected the drive shafts yet but this should be straightforward, I just need to find out where I can buy the metal ties that secure the gaiters on, or whether cable ties will be OK.
So we decided to call it a day for the mini after lunch, so spent the afternoon playing kung fu panda on the xbox360, but when Dan left for home I couldn't resist getting back out in the garage!
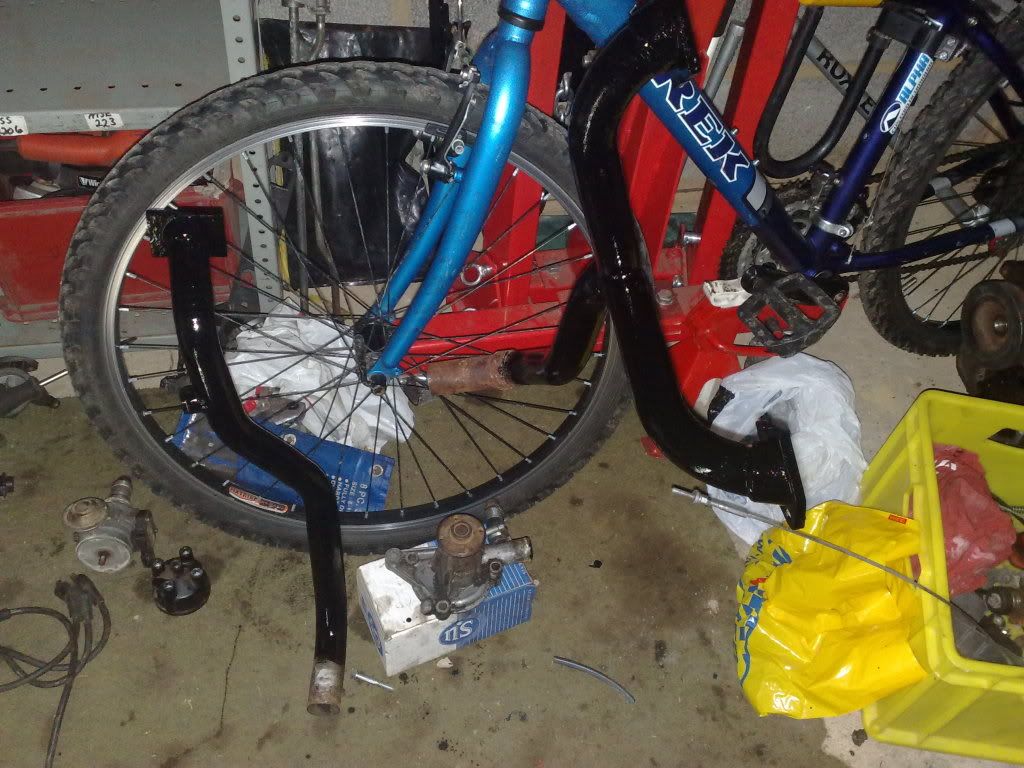
Painted my manifold, also did the inlet.
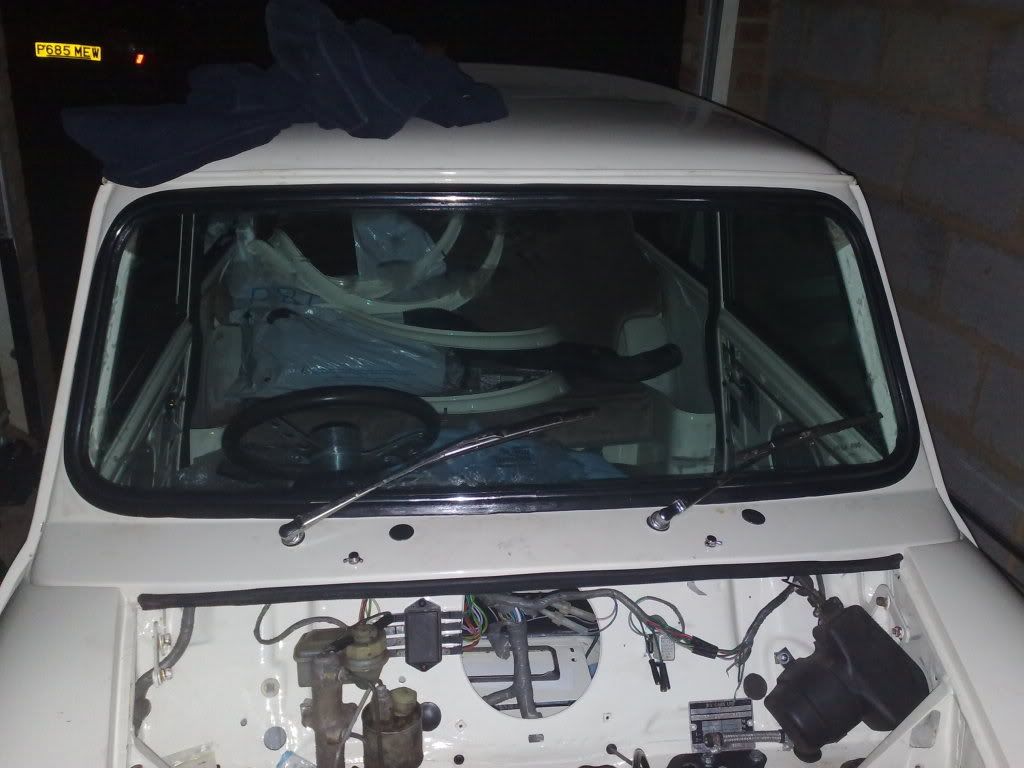
Fitted the windscreen filet and rear window filet as my tool arrived today! A fiddly job but OK once I learned the technique and used some grease.
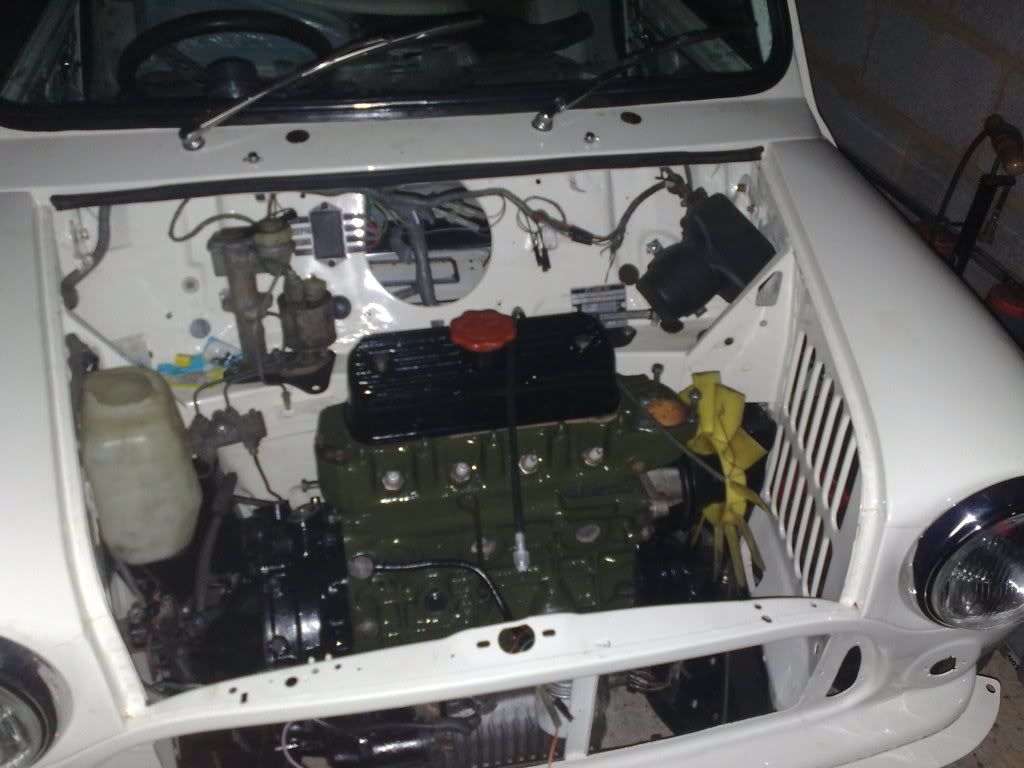
Another pic of the engine! Really chuffed with how it looks, I just hope it works!
Scrippo
#167
Posted 18 March 2009 - 09:54 PM
How much does it stand you at, from the name snowball, it sounds like a lot!
#168
Posted 18 March 2009 - 10:15 PM
I still have to buy the interior, bumpers, indicators, radiator, brake calipers and loads of other small bits to complete it, but thankfully the list is getting shorter! Lack of funds will delay the project, not my enthusiasm as I can't wait to drive it!
#169
Posted 19 March 2009 - 03:19 AM
keep going, nearly there!!!
#170
Posted 19 March 2009 - 06:48 AM
#171
Posted 20 March 2009 - 09:34 PM
I've restricted myself from buying any new parts until all the little odd jobs are done. It looks more complete by the day!
#172
Posted 27 March 2009 - 05:42 PM
Man they are frustrating! Well, I managed to fit the nut into the subframe for the camber bracket, but that seemed to take and age, and while I was working on the back I thought it would be a good time to sort out my brake shoes (I had fitted them the wrong way around the first time)
Well that also seemed to take an age to get the drum assemblies sorted, and once that was done I decided to fit the rear brake lines, and started to fit the handbrake cable and exhaust.
I realised while I was fitting the exhaust that I might make my life difficult fitting the gear linkage, so stopped that and moved to the front. Fitted the linkage, but just could not get the bolt in for the steady bracket (the manifold is in the way). Now I'm going to have to remove the manifold, fit the bolt, refit manifold, then fit exhaust to manifold.
Today felt a bit deflating! All that work and it doesn't look any different! I can see the car is getting there, it's like I can see the end of the road but I'm getting slower and slower to reach the end. Can't wait until it's finished.
No pics, will post some once I have something worth taking pics of!
#173
Posted 27 March 2009 - 07:40 PM
keep up the hard work
#174
Posted 29 March 2009 - 09:30 PM
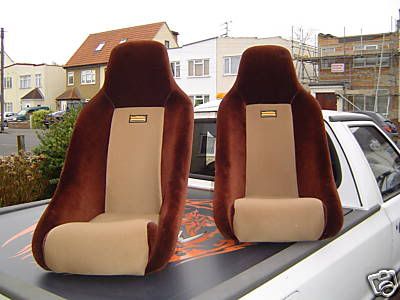
Just been busy on ebay and found these;
Won them for the bargain sum of £35. OK so they might be an acquired taste but they suit the brown retro theme of my interior perfectly! Now to get some mini subframes and bolt them in. Hopefully I can find a trimmer to sort out my rear seat to match. If not possible I'm gonna fit a roll cage and DENY any rear passengers
I think my interior will be - Brown carpet, brown/tan seats, amber leaf doorcards and panels, rokee walnut dash with black centre panel (DIY made so I can fit 4 gauges in the centre panel). Then some tasty aluminium furniture to match my steering wheel. Job done! All I need to do is find the money for it!
Still busy fitting lots of bits and pieces. Finished fitting the gear linkage, off to Minispares tomorrow to get some small bits and pieces, and halford for gold and silver paint, to tidy up some of the engine parts.
#175
Posted 30 March 2009 - 08:41 PM
Just bought some subframes from Huddersfield spares and a bag full of small bits from Minispares so it's all go in the garage tomorrow. Again, I think it'll be a day of small jobs!
It's getting there.......
#176
Posted 31 March 2009 - 04:26 PM
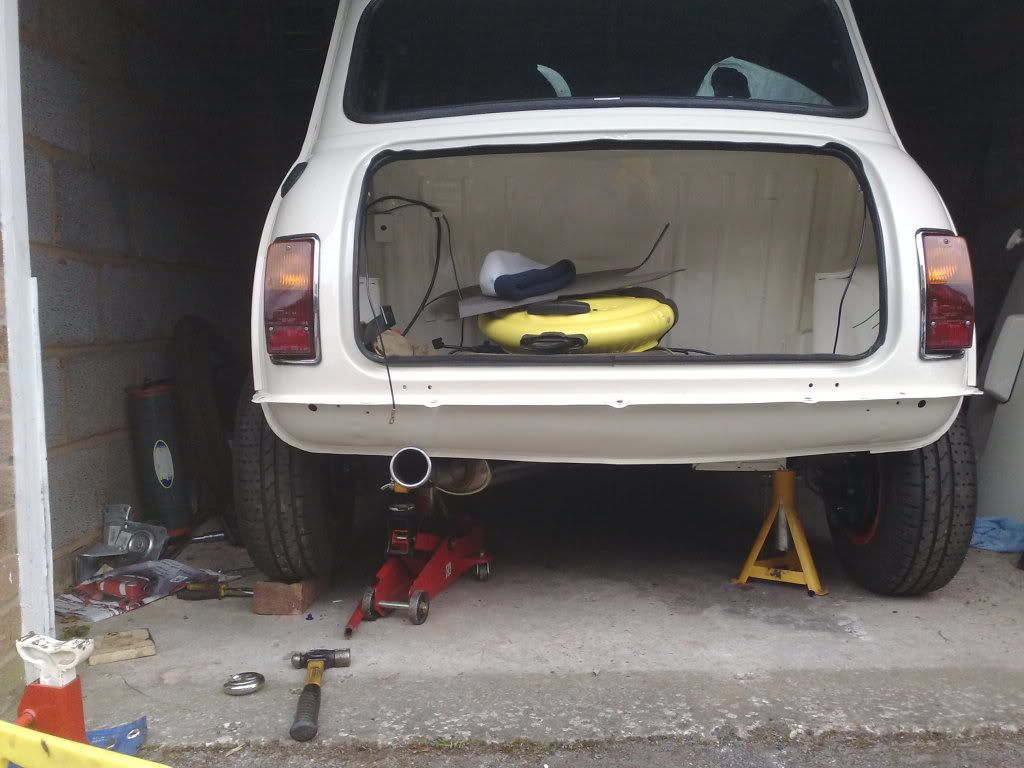
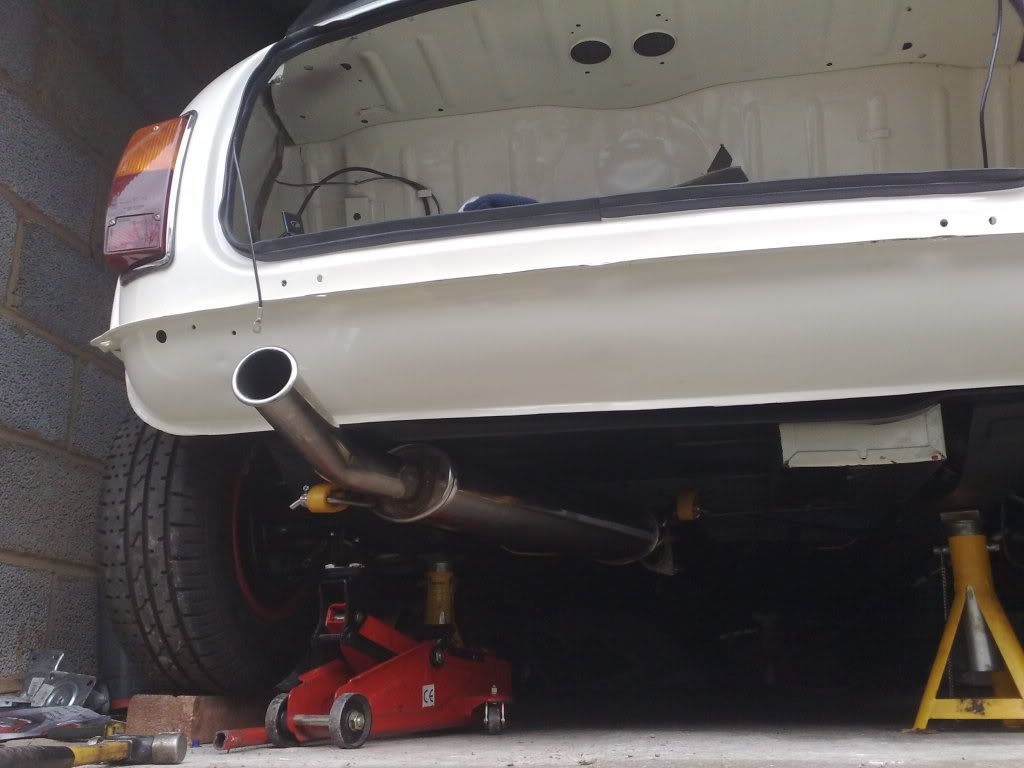
Another small update. I still feel like I've been in the garage hours and not got much done. All the jobs are still fiddly and small. The biggest thing I did today was fit the exhaust.
It was a pain in the backside to fit! I was rolling around under the mini, tapping/banging with a hammer, pushing, pulling, cursing, hitting my head everytime I got up, but eventually I got it fitted. The only thing is the clearance between the rear valance and the exhaust is miniscule, so I'm going to need some trim to fit on the valance to protect it. I remember the same thing happening with this exhaust when I first fitted it before the stripdown, so it's no big deal.
I also fitted my new battery cable, handbrake quadrants (take my advice fit these BEFORE you fit the radius arms, don't be a numpty like me and spend ages fiddling with the washer and spilt pin). I also ran the handbrake cable where it should go. I now just need to find some clevis pins and a couple of split pins that fit, then I can adjust the handbrake.
Back to work tomorrow so updates might slow down a bit! I have another few bits and pieces I need to take to the powdercoaters including the fuel tank, but after this the next task is to complete the cooling system. All I need to do this is some hose clips, the heater tap, radiator and coolant then job's a good'un.
Scrippo
#177
Posted 31 March 2009 - 05:34 PM
Where'd you get a new battery cable by the way?
#178
Posted 31 March 2009 - 08:12 PM
I got the cable from Minispares. It was a little bit long, but I'm guessing that the cable normally routes behind the subframe, which I didn't do.
Scrippo
#179
Posted 31 March 2009 - 08:21 PM
Check my thread if you want to see how to reset your mileometer ... =D
#180
Posted 01 April 2009 - 08:05 AM
1 user(s) are reading this topic
0 members, 1 guests, 0 anonymous users