Jump to content


Photo
- - - - -

My Mini Project - Project Snowball!


  • Please log in to reply
328 replies to this topic

#1 scrippo

scrippo

    Super Mini Mad

  • TMF+ Member
  • PipPipPipPipPipPip
  • 535 posts
  • Location: Bromley

Posted 01 December 2008 - 11:13 PM

Hi all,

I've posted a project before but it got a bit lost and felt like it was time to start afresh.

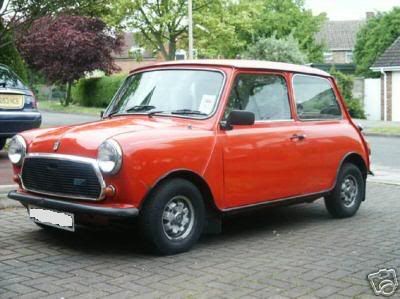
Here was my mini as I bought it back in 2006. A 1983 Mini Mayfair. An Ebay impulse buy! I'd always loved minis and aside from a couple of complete basket cases that never got started this was my first one. I hadn't seen it in the metal but a £770 bid later and it was mine! Needless to say I was pretty nervous on the train to Gloucester, and the 100odd mile drive home!
Posted Image

I got home no probs, it had a hole in the exhaust, and needed a couple of little bits doing to it but I was impressed but how solid it was.

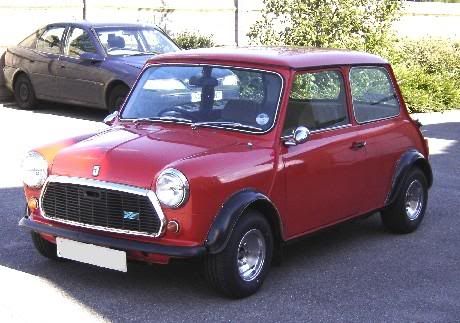
I've called this project snowball as what started as a rolling project snowballed into a full rebuild. The mini didn't stay standard long......
Posted Image

Fitted some McNally alloys and arches, and had a minispeed stage 1 kit and stainless 2" exhaust fitted.

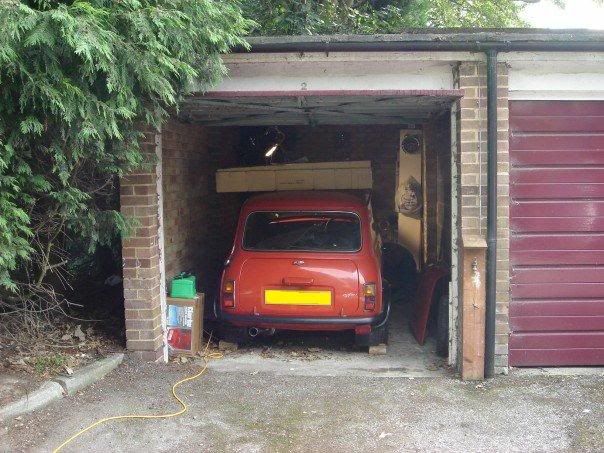
Ran it like this for a while, did minor maintenance things to it, then moved house and got this...
Posted Image

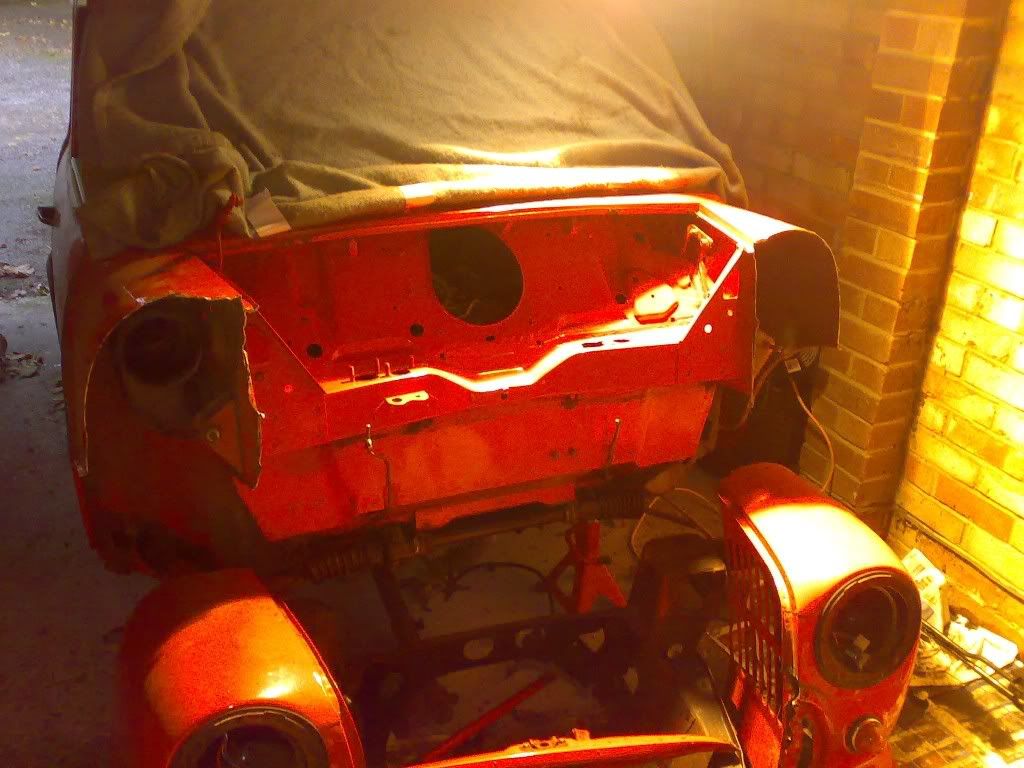
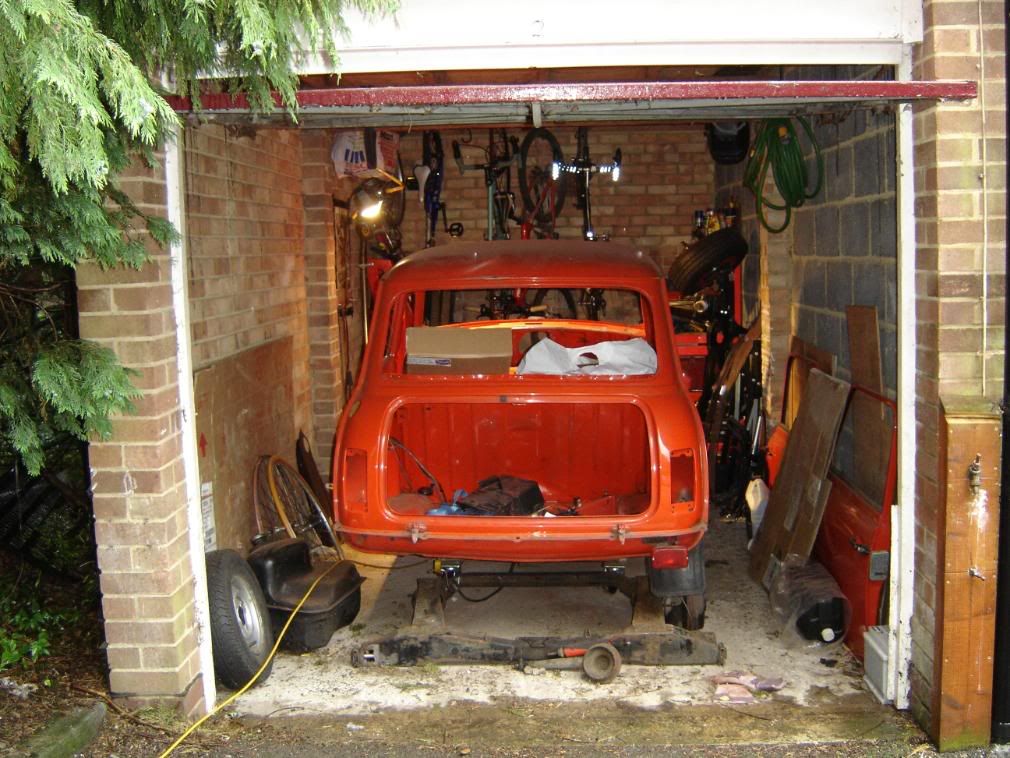
A nice dry garage to put it in! One thing led to another and it ended up like this......
Posted Image

The snowball starts to engulf!

Edited by scrippo, 14 June 2009 - 08:46 PM.


#2 scrippo

scrippo

    Super Mini Mad

  • TMF+ Member
  • PipPipPipPipPipPip
  • 535 posts
  • Location: Bromley

Posted 01 December 2008 - 11:28 PM

OK....

So we're now in early 2008 and I had eventually stripped my mini to a bare shell. During this time I'd had loads of pie in the sky ideas about how I wanted the finished car to look (I'm sure anyone building a mini has!) My first original plan was a car as light as possible with lashings of carbon fibre, so I did this.

Posted Image

The intention was to fit a carbon fibre front, however after looking closely at minis at L2B, I quickly realised it wasn't my cup of tea and chopping the front was the biggest mistake ever! I mulled over lots of ideas, and the one that kept coming back is keep it classic and simple. I'm after a retro street racer look, with a full steel shell, standard subframes with hilos, 1275 engine. Classic mini. Interior to be decided, you'll find out the colour later on.

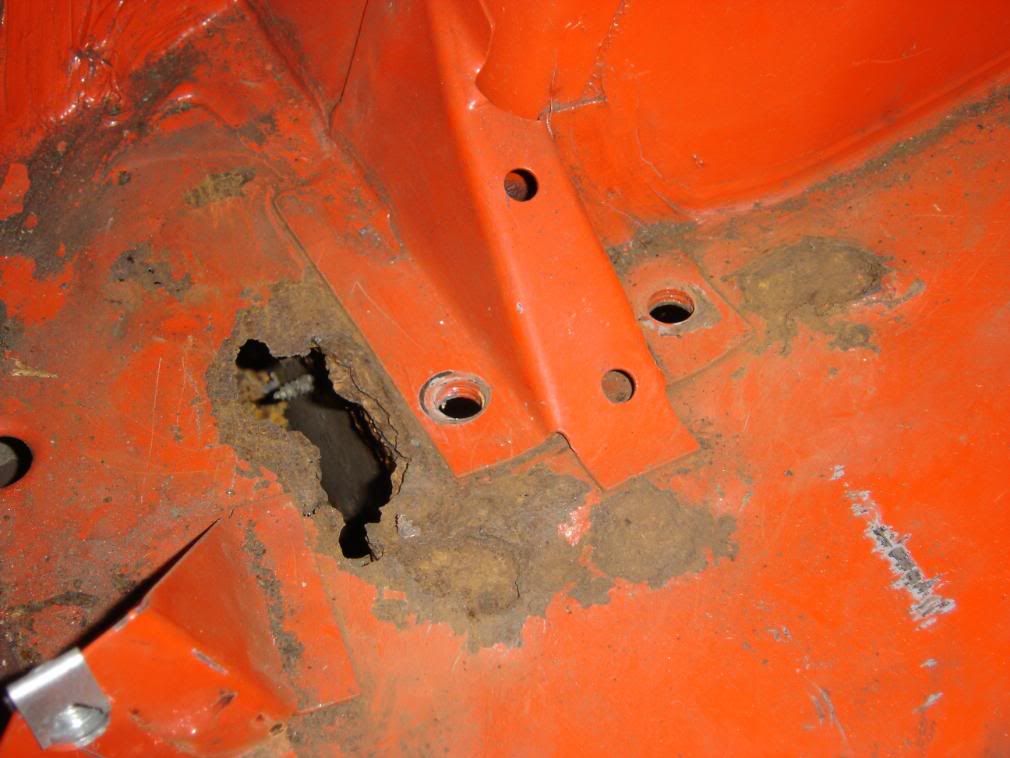
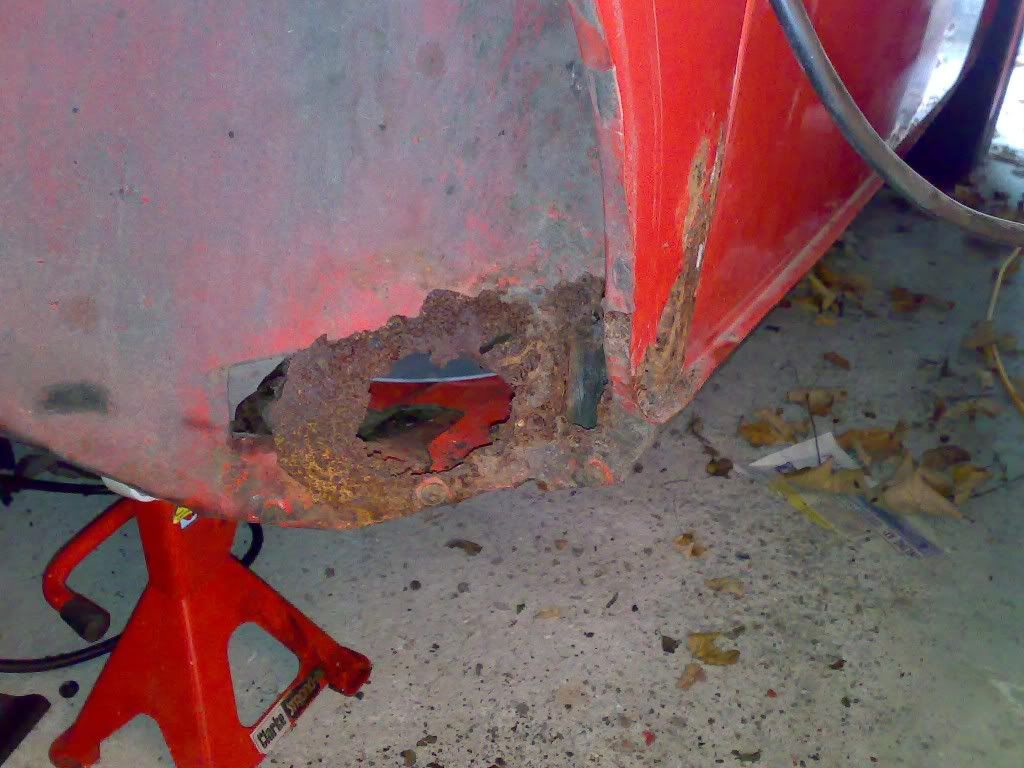
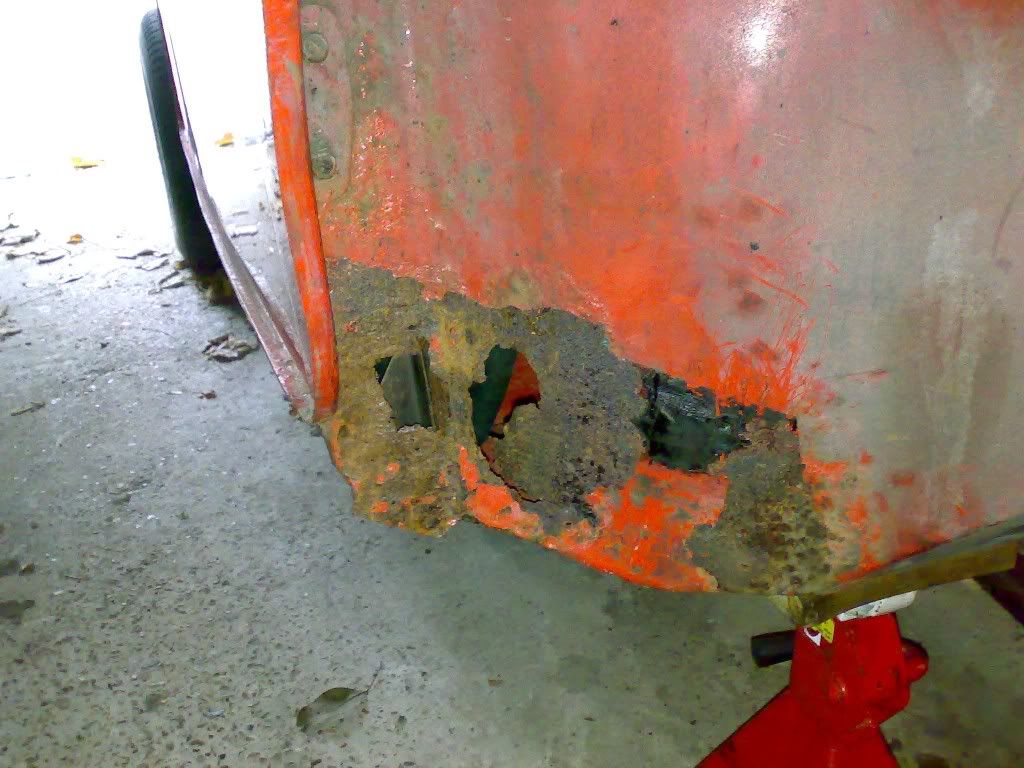
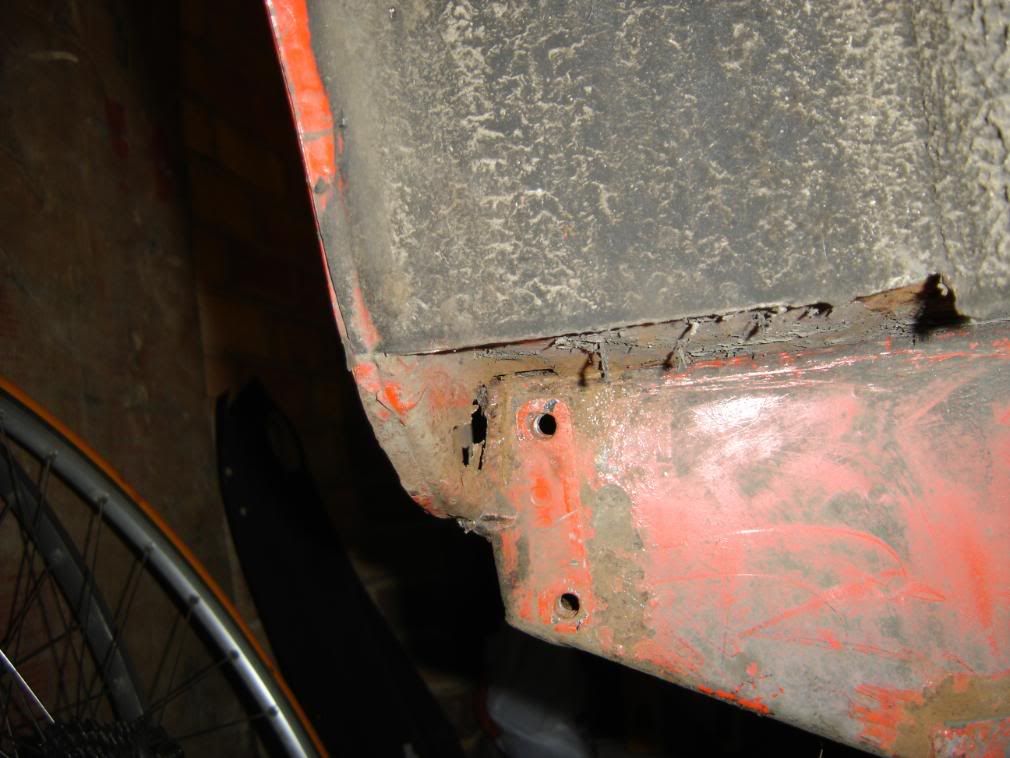
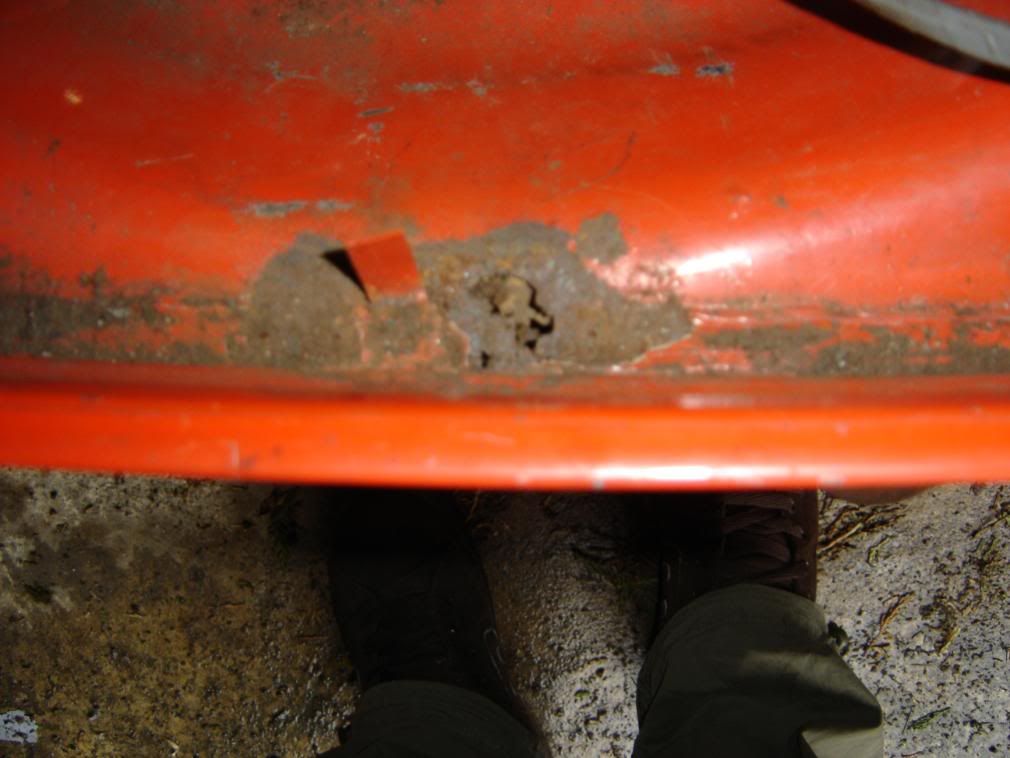
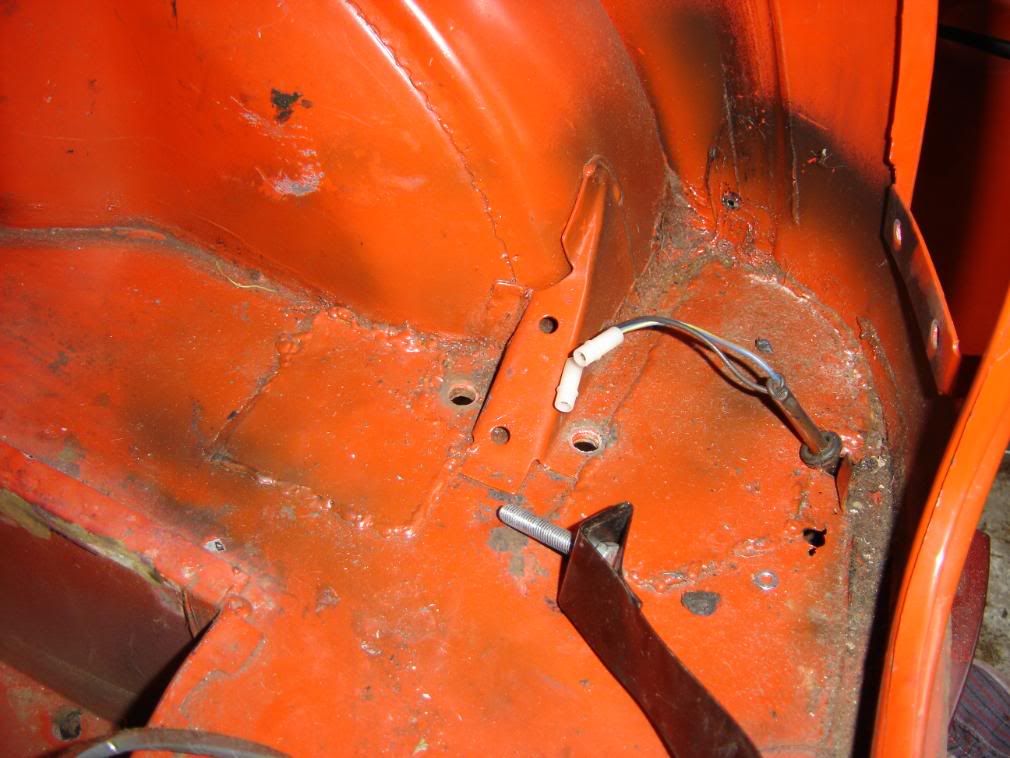
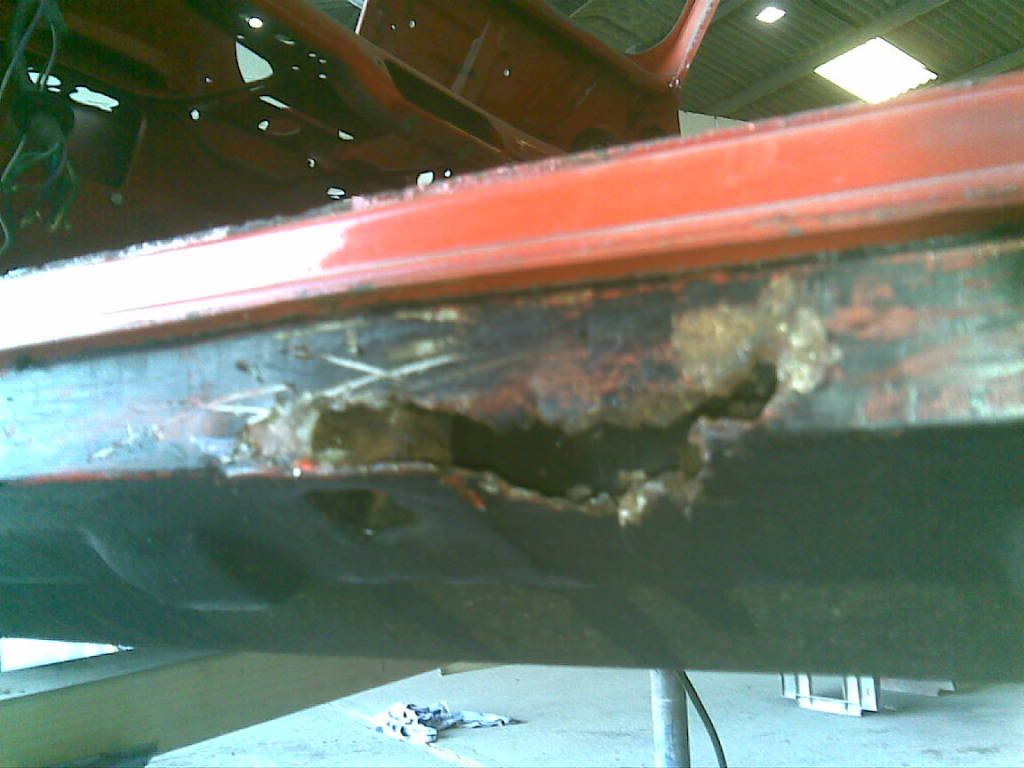
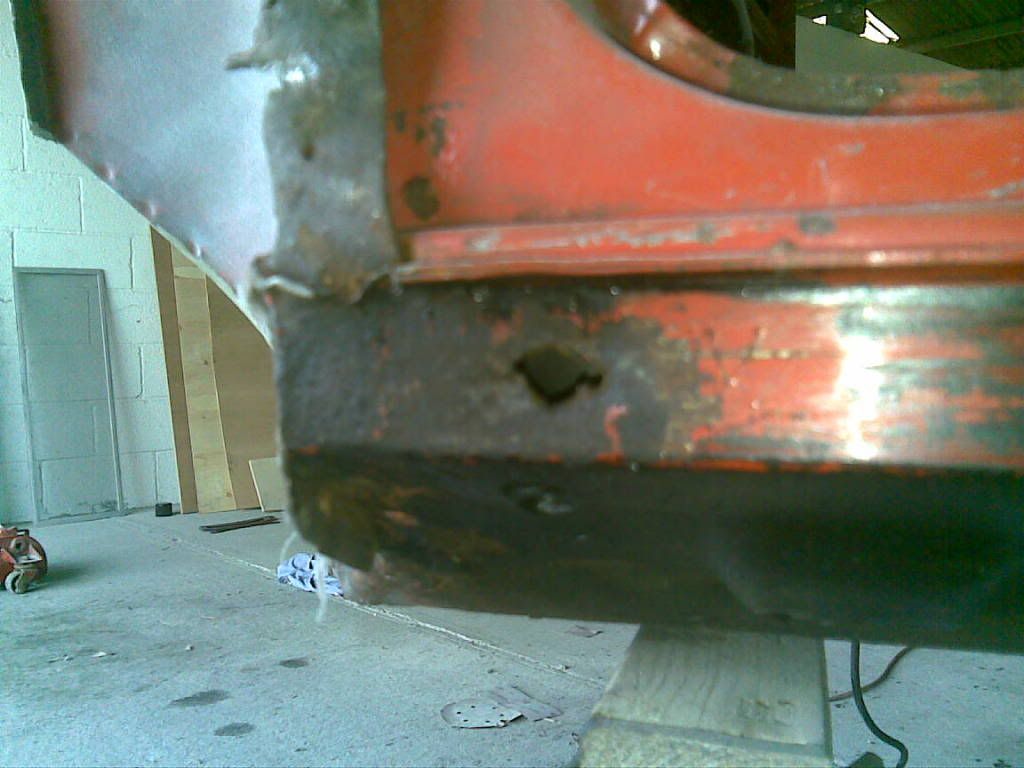
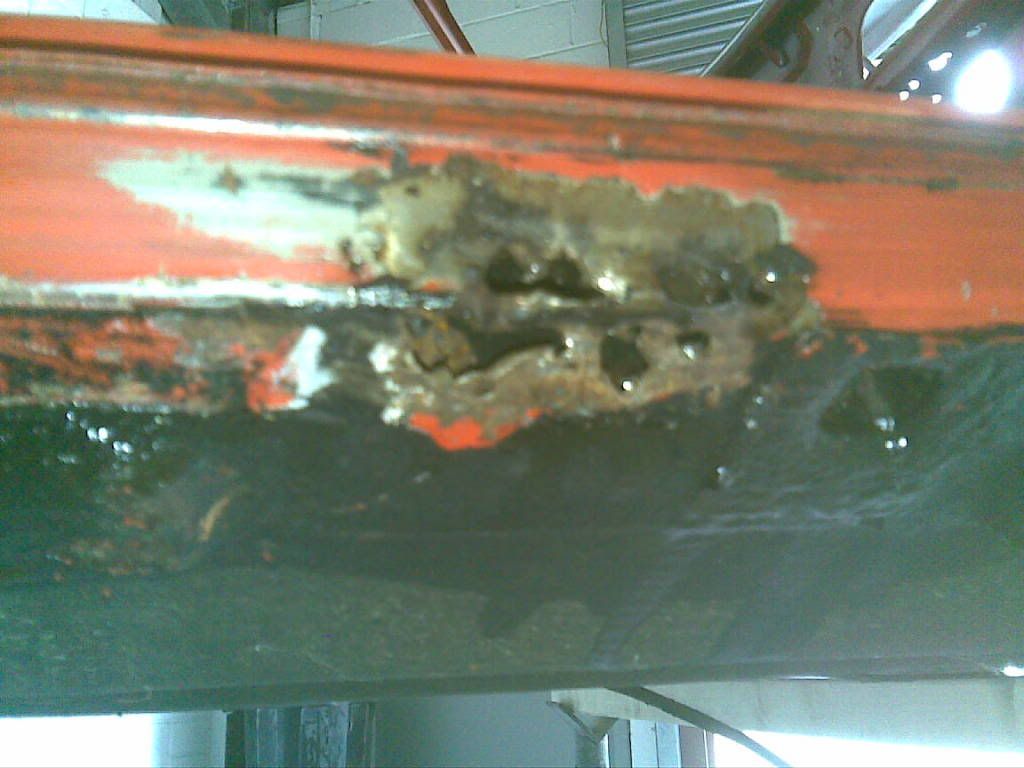
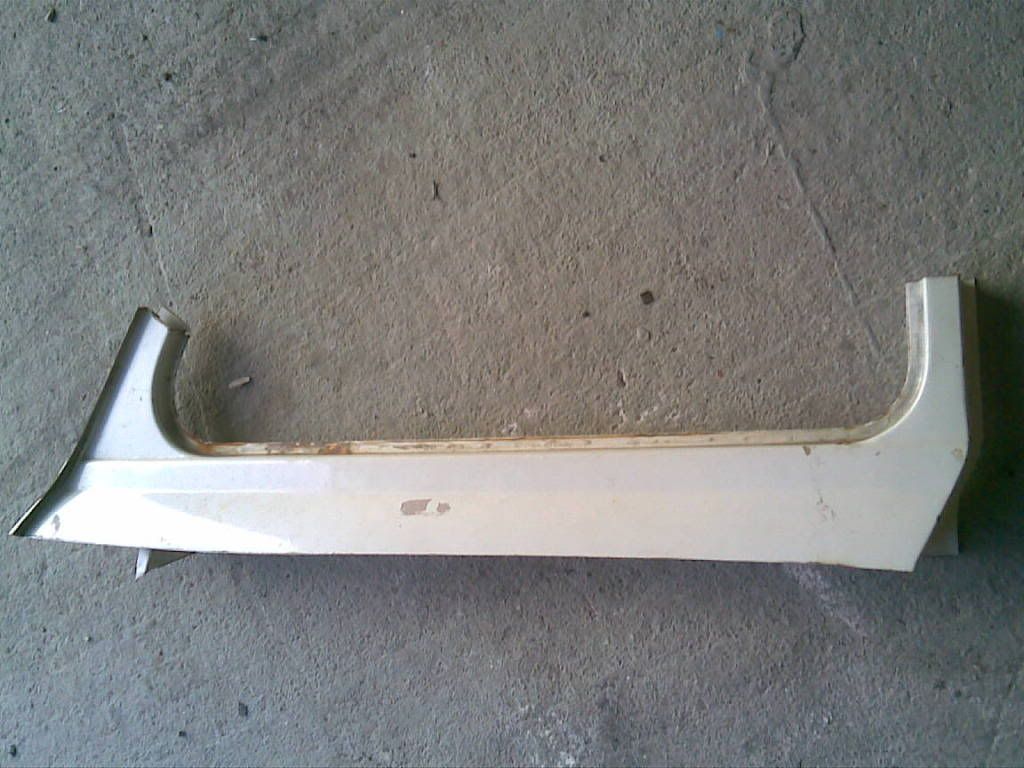
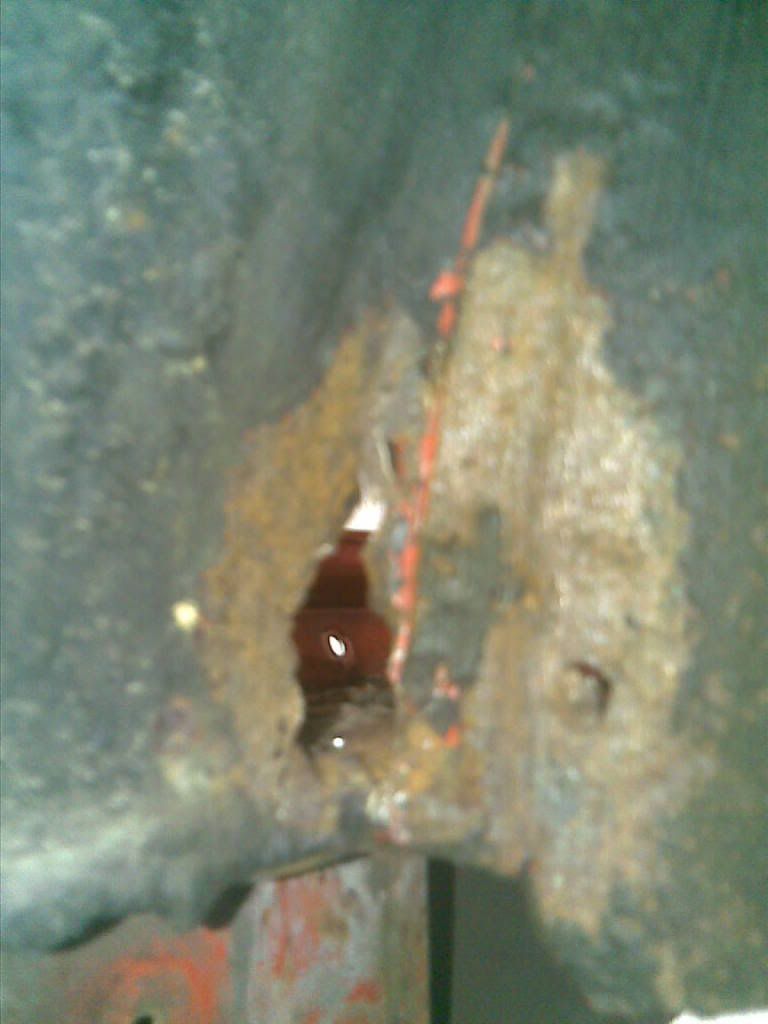
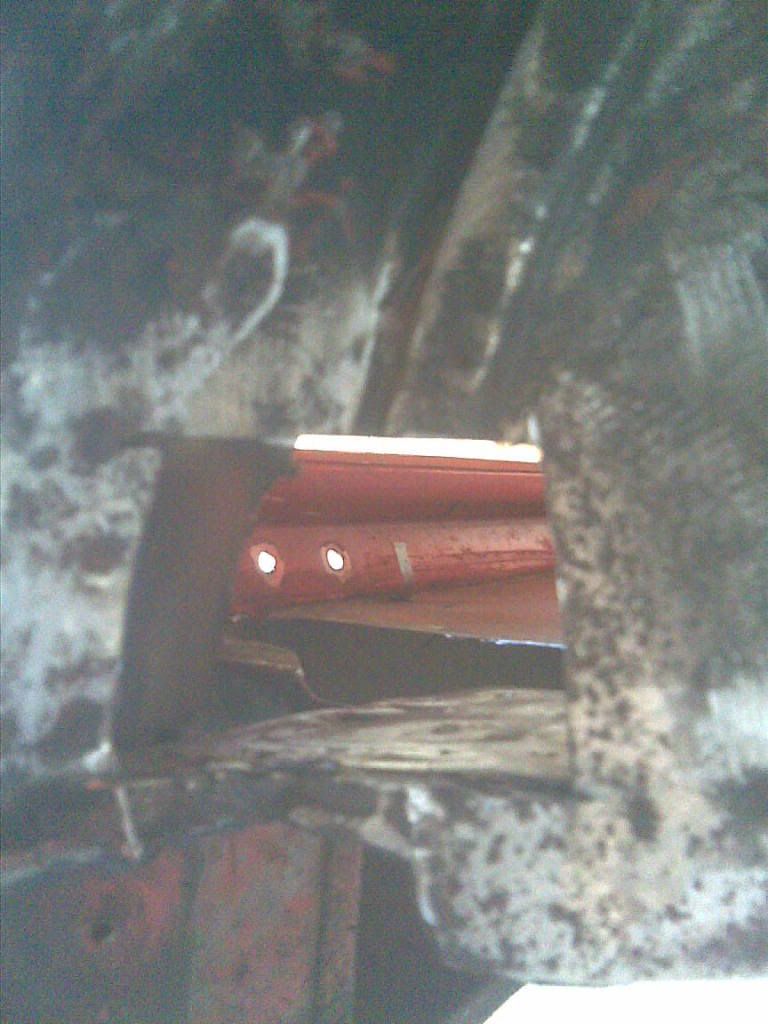
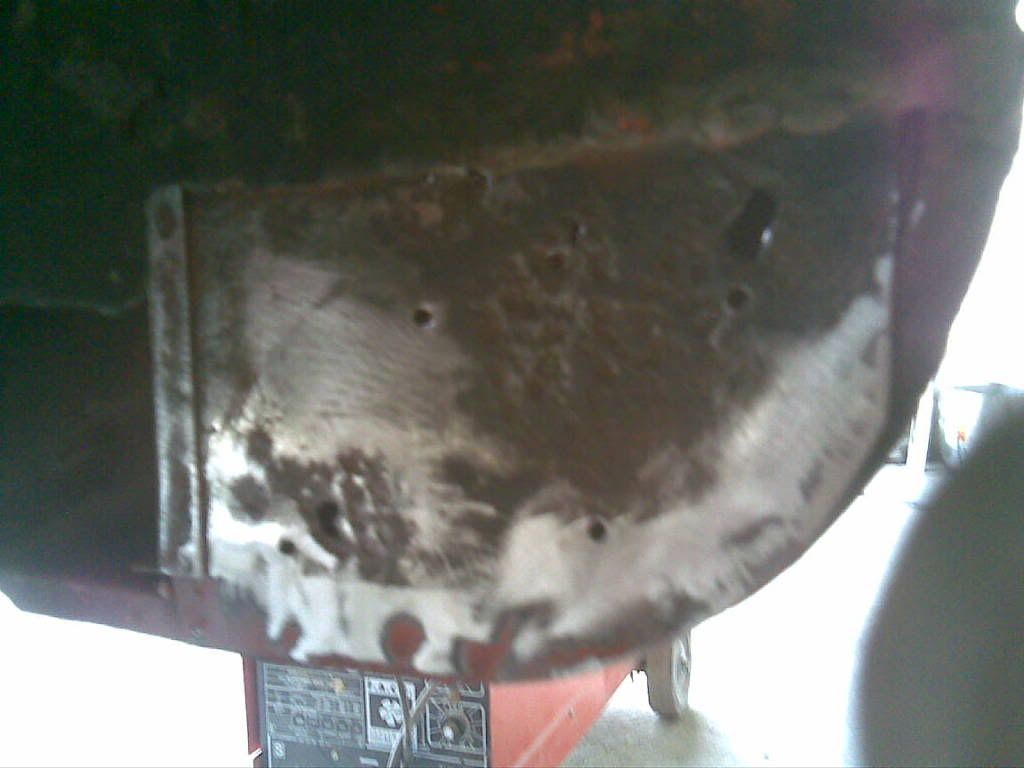
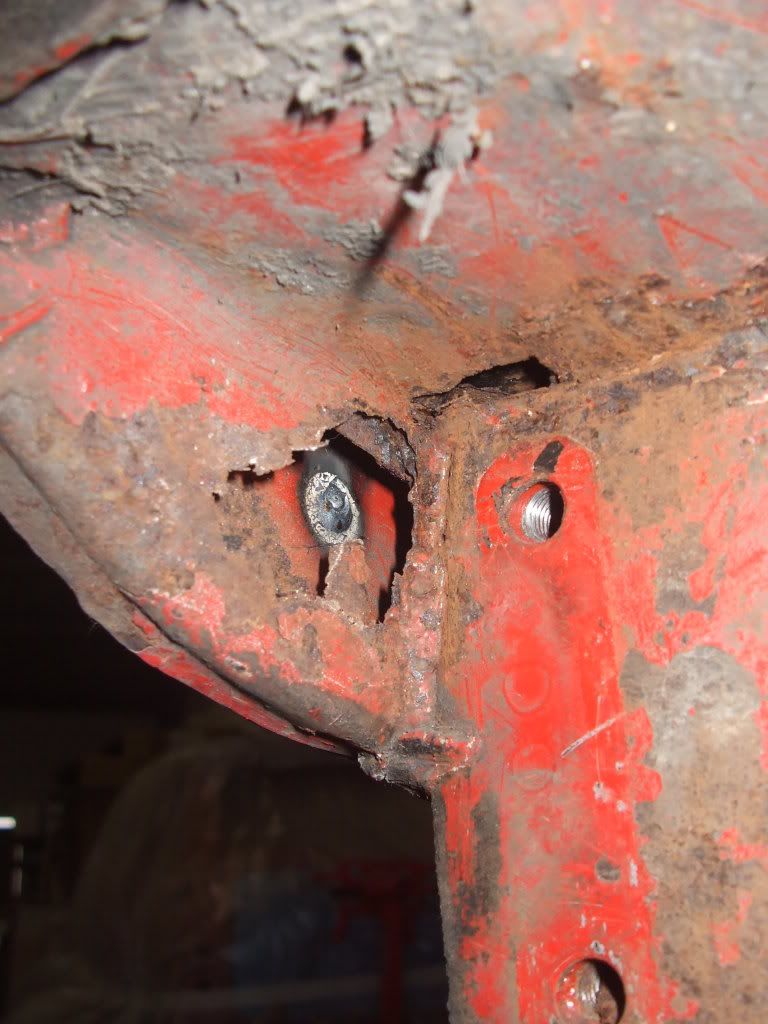
Stripping the mini also found the inevitable rust

Posted Image
Posted Image
Posted Image
Posted Image
Posted Image

And dodgy previous owner welding patches

Posted Image

But overall I was still impressed with just how solid the mini was for a 25 year old car. It was original paint and seemed to be well looked after in its life. I bought myself a welder, and made some half hearted practice attempts at practice welds. To be honest I scared myself at how rubbish I was, so started to think of other options. After all, I wanted a mint mini at the end of it. I realised my limits and went for the cheque book option, knowing that I'll do the rest of the build myself.

So, PanelbeaterPeter to the rescue!

Edited by scrippo, 02 December 2008 - 05:58 PM.

#3 dezshearer

dezshearer

    Speeding Along Now

  • Members
  • PipPipPipPipPip
  • 441 posts
  • Location: Belfast
  • Local Club: mini-chat.co.uk

Posted 02 December 2008 - 11:57 AM

Looks like its in quite good condition, nothing that can't be fixed!!

by the way, in your posts, if you put IMG tag infront and behind the image link, they will display in the post.

like so..

[.img] http://imageimage [./img]

just remove the . from the tags

Edited by dezshearer, 02 December 2008 - 11:58 AM.


#4 scrippo

scrippo

    Super Mini Mad

  • TMF+ Member
  • PipPipPipPipPipPip
  • 535 posts
  • Location: Bromley

Posted 02 December 2008 - 12:44 PM

cool thanks for the dez, i had wondered how you do it.

Another pic installment tonight

#5 scrippo

scrippo

    Super Mini Mad

  • TMF+ Member
  • PipPipPipPipPipPip
  • 535 posts
  • Location: Bromley

Posted 02 December 2008 - 12:50 PM

Don't think they're working because TMF is moving servers, but I guess they'll be on soon. Will leave the other one for now until the server is sorted and people can still click on links

*** LINKS NOW FIXED*** :dontgetit:

Edited by scrippo, 02 December 2008 - 06:03 PM.

#6 dezshearer

dezshearer

    Speeding Along Now

  • Members
  • PipPipPipPipPip
  • 441 posts
  • Location: Belfast
  • Local Club: mini-chat.co.uk

Posted 02 December 2008 - 02:49 PM

Dunno why its not working, double check the photobucket links too!

Looking forward to the new photos!

#7 scrippo

scrippo

    Super Mini Mad

  • TMF+ Member
  • PipPipPipPipPipPip
  • 535 posts
  • Location: Bromley

Posted 02 December 2008 - 05:51 PM

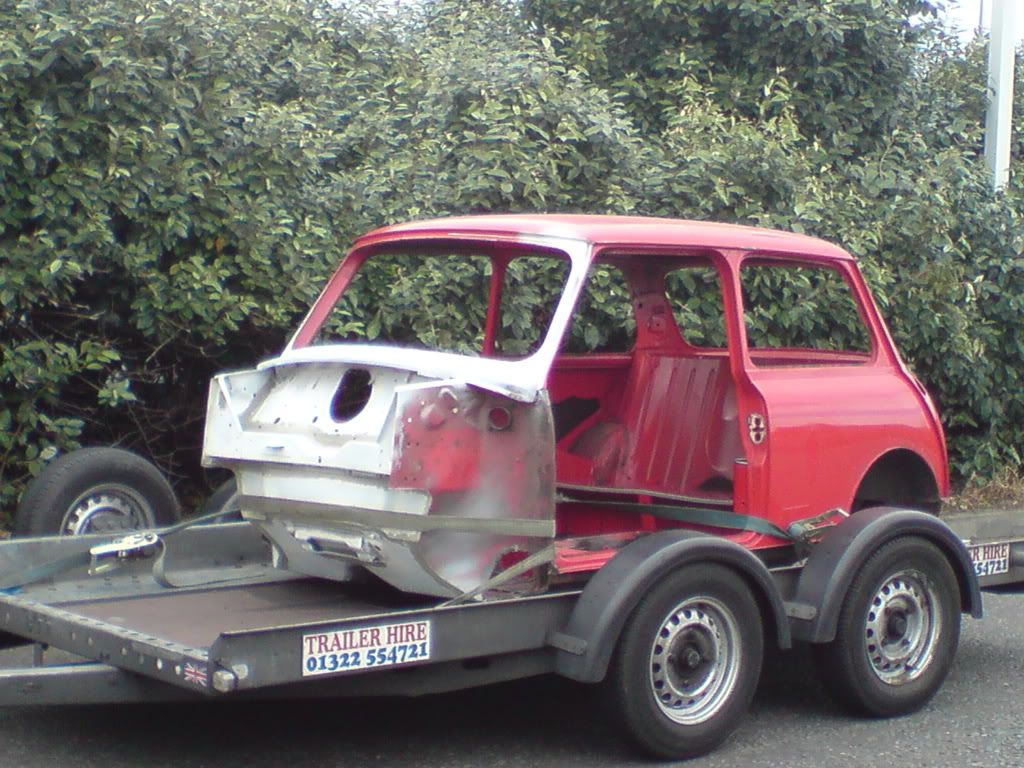
So roll on to June 2008. Spending far too much of my evenings looking at TMF I quickly realised that PanelbeaterPeter was a dab hand at the old car bodywork repair and painting. I sorted out a trailer and took the shell to Weston for a full respray, repairing all the rusty bits and fitting the new front end. Pete works for a place called Classy Campers who do some awesome work to VW campers, but he's also taking mini's on.

Posted Image

Here's a pic of the mini on the trailer on the way to Weston. No matter how tight we made the straps the shell still slid about. Got there and the strap had scratched a panel, which obviously didn't matter, not sure how I'm gonna get it back without scratching it!

Once it was there, I drove back to the trailer hire place, made it back with only 5 minutes to spare before they closed, which was lucky!

I then got home, anticipating what the mini will look like when I next see it.......

#8 scrippo

scrippo

    Super Mini Mad

  • TMF+ Member
  • PipPipPipPipPipPip
  • 535 posts
  • Location: Bromley

Posted 02 December 2008 - 06:24 PM

My first update from Pete, and Scrippo was a happy boy!

Posted Image

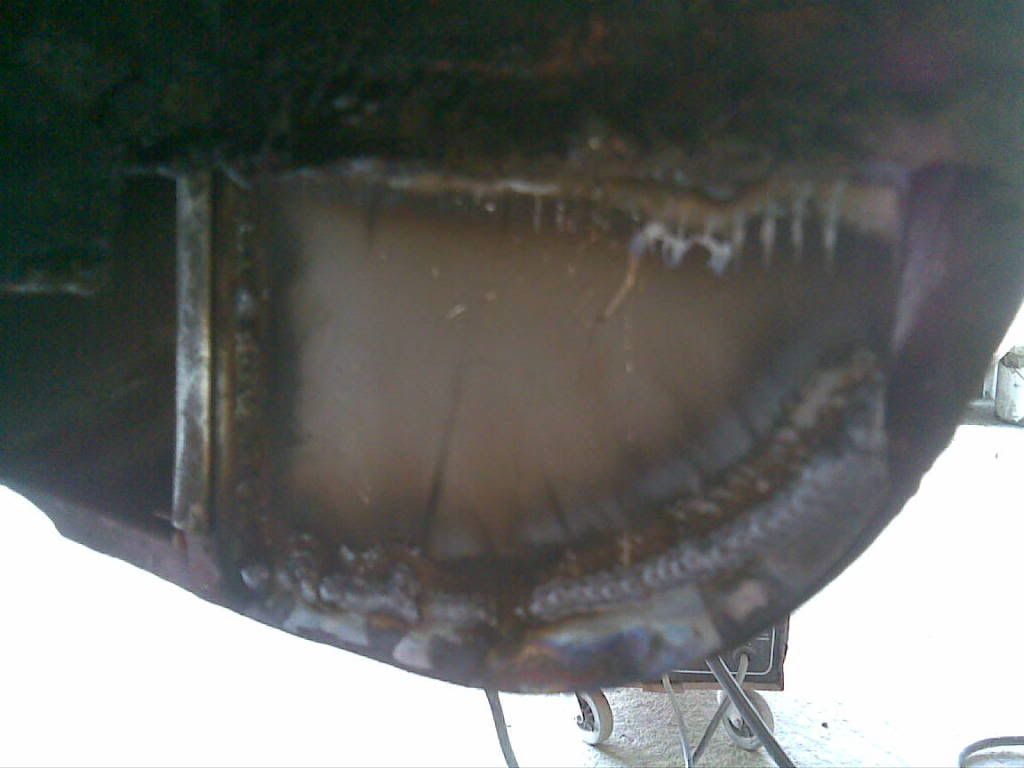
Boot floor rot cut out

Posted Image

Shiny new steel welded in.

Posted Image

Primed

Posted Image

More cut out

Posted Image

More super tidy welding

Posted Image

Primed.

Work was progressing. I was getting more excited, and I'm sure I was driving Pete mad with my emails asking questions.

#9 panelbeaterpeter

panelbeaterpeter

    Crazy About Mini's

  • Members
  • PipPipPipPipPipPipPipPipPipPip
  • 5,606 posts
  • Location: Scotland
  • Local Club: n/a

Posted 02 December 2008 - 08:52 PM

Wehey! Good to see you've got a project thread up at last :D

#10 scrippo

scrippo

    Super Mini Mad

  • TMF+ Member
  • PipPipPipPipPipPip
  • 535 posts
  • Location: Bromley

Posted 02 December 2008 - 08:56 PM

I know!

You've no idea how much the thing consumes my mind (sad really!). I can't wait to have it back and get stuck into assembly!

#11 dezshearer

dezshearer

    Speeding Along Now

  • Members
  • PipPipPipPipPip
  • 441 posts
  • Location: Belfast
  • Local Club: mini-chat.co.uk

Posted 02 December 2008 - 10:14 PM

Lookin fantastic! Glad to see you got the photos up and working!

#12 scrippo

scrippo

    Super Mini Mad

  • TMF+ Member
  • PipPipPipPipPipPip
  • 535 posts
  • Location: Bromley

Posted 03 December 2008 - 08:31 AM

Thanks, will update again tonight. All credit has to go to Pete and the skills I only wish I had.

#13 minimaff

minimaff

    Super Mini Mad

  • Members
  • PipPipPipPipPipPip
  • 695 posts
  • Location: Barnsley
  • Local Club: Barnsley mini club

Posted 03 December 2008 - 08:51 AM

Car is looking good. Keep up the work

#14 buddylove

buddylove

    Camshaft & Stage Two Head

  • TMF+ Member
  • PipPipPipPipPipPipPipPip
  • 1,639 posts
  • Location: North America
  • Local Club: SAMOA

Posted 04 December 2008 - 12:35 AM

Coming along nicely!

#15 scrippo

scrippo

    Super Mini Mad

  • TMF+ Member
  • PipPipPipPipPipPip
  • 535 posts
  • Location: Bromley

Posted 04 December 2008 - 08:59 PM

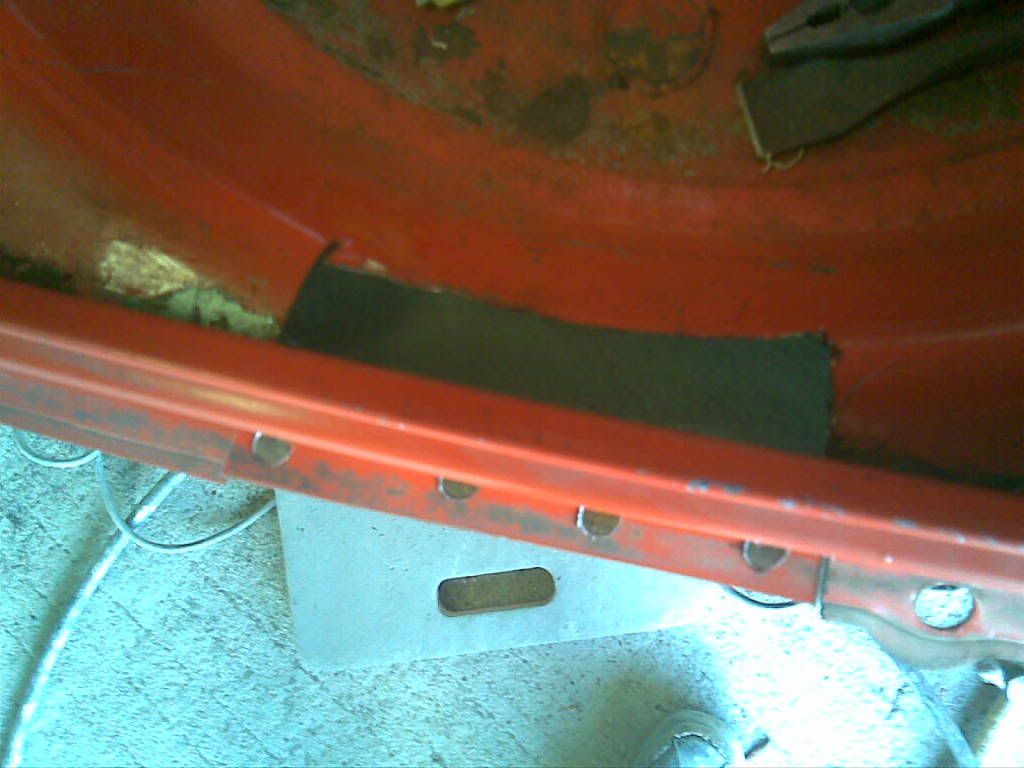
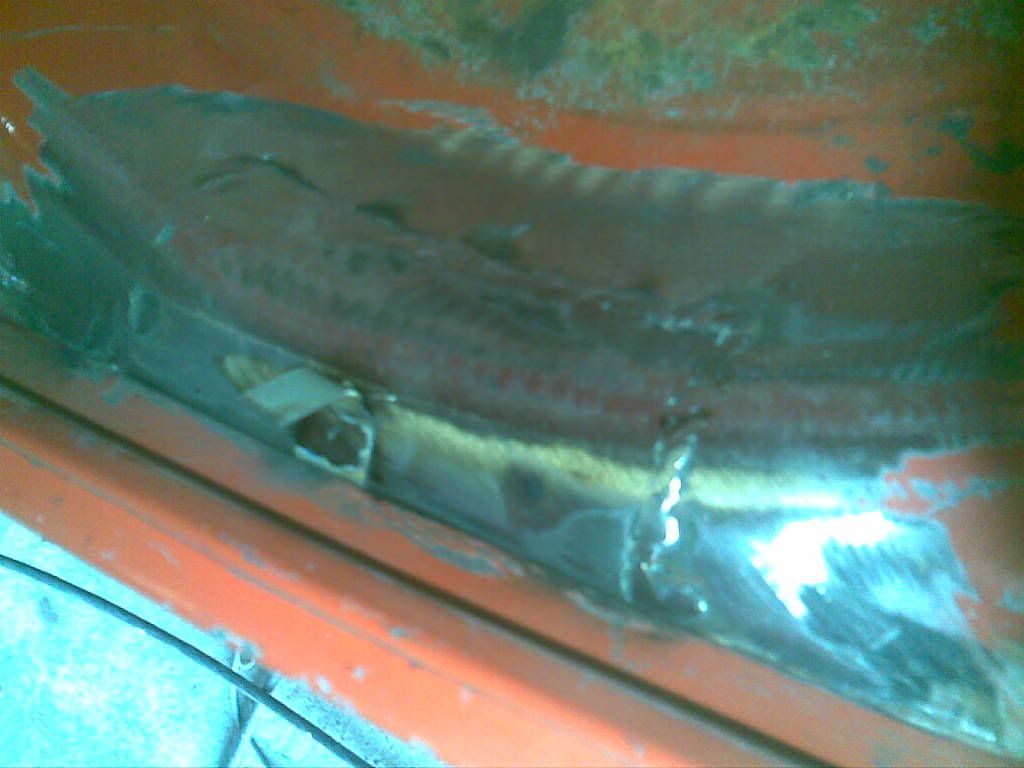
Right then so work was progressing nicely. The boot was looking great. Unfortunately there were a few more holes to be found - typical mini I guess!

Posted Image
Posted Image
Posted Image

A previous owner had filled these holes with filler and painted over them. They did a pretty good jobs disguising it as I was none the wiser! Oh well, more money, but at least I knew it would be a proper job.

On the plus side Pete was still busy with the welder!

Posted Image
This piece was sourced cheap from a broken mini!

Posted Image
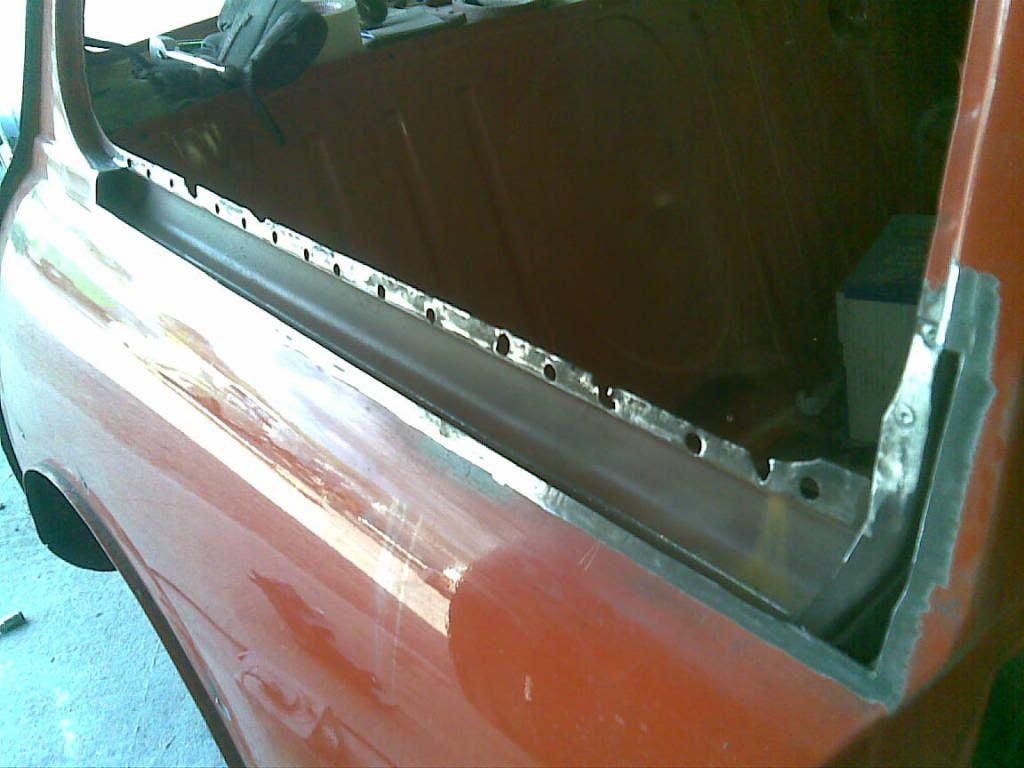
Old window frame cut out - The rust was too far gone to do anything with.

Posted Image
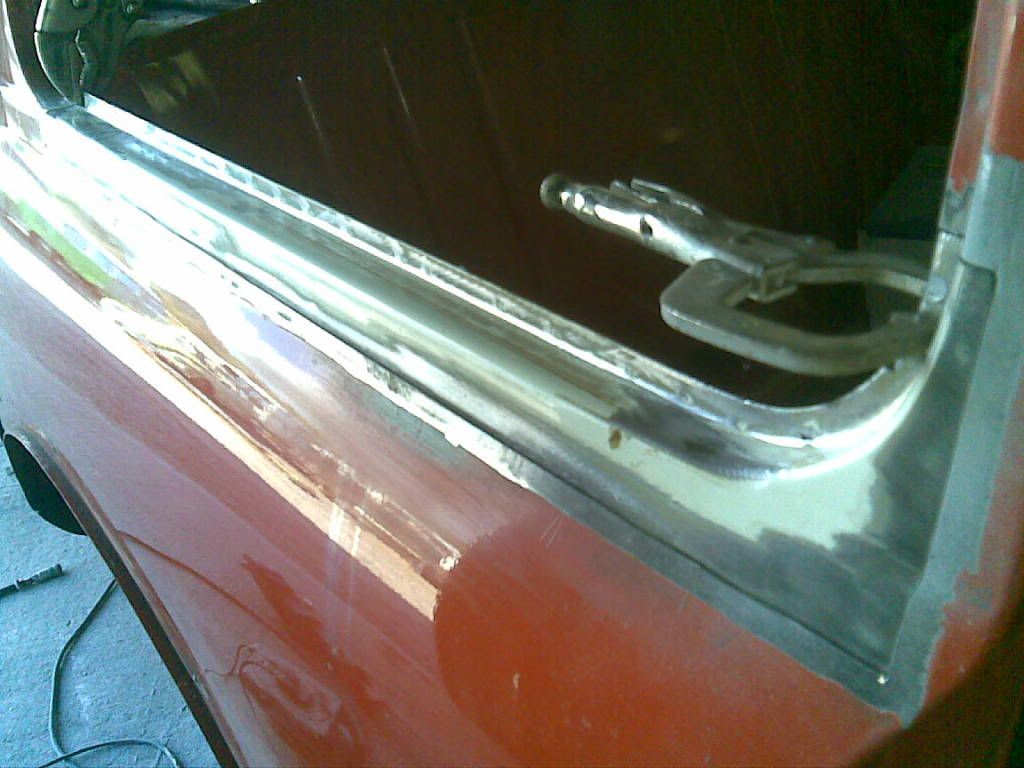
New piece clamped in

Posted Image
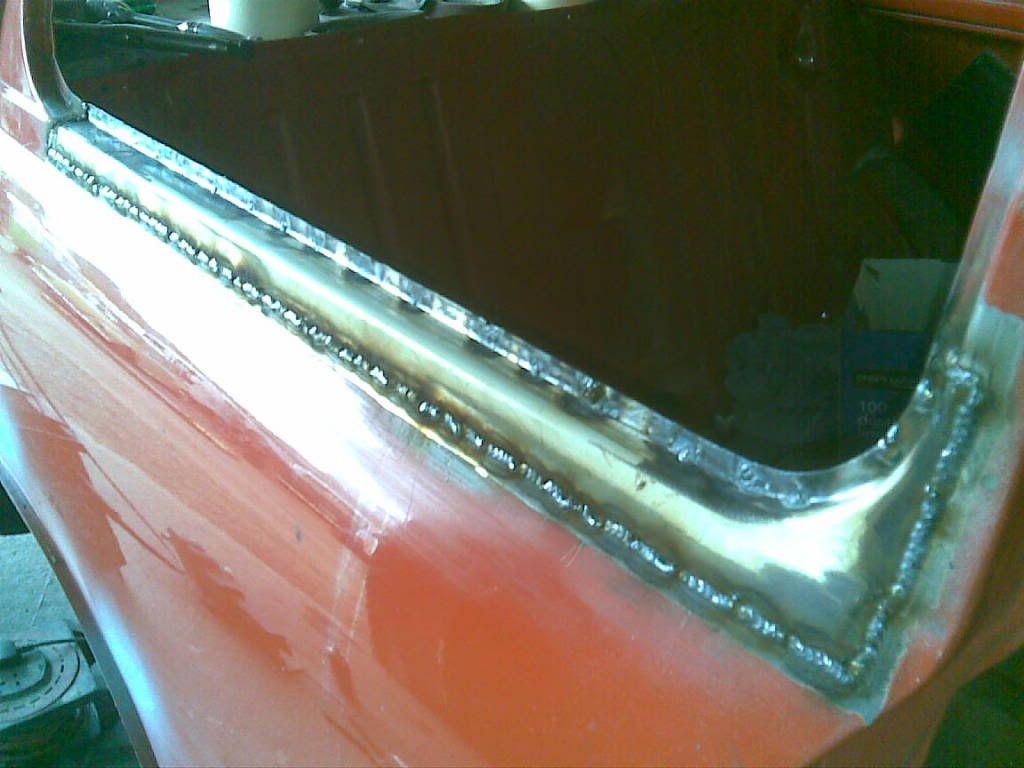
Welded

Posted Image
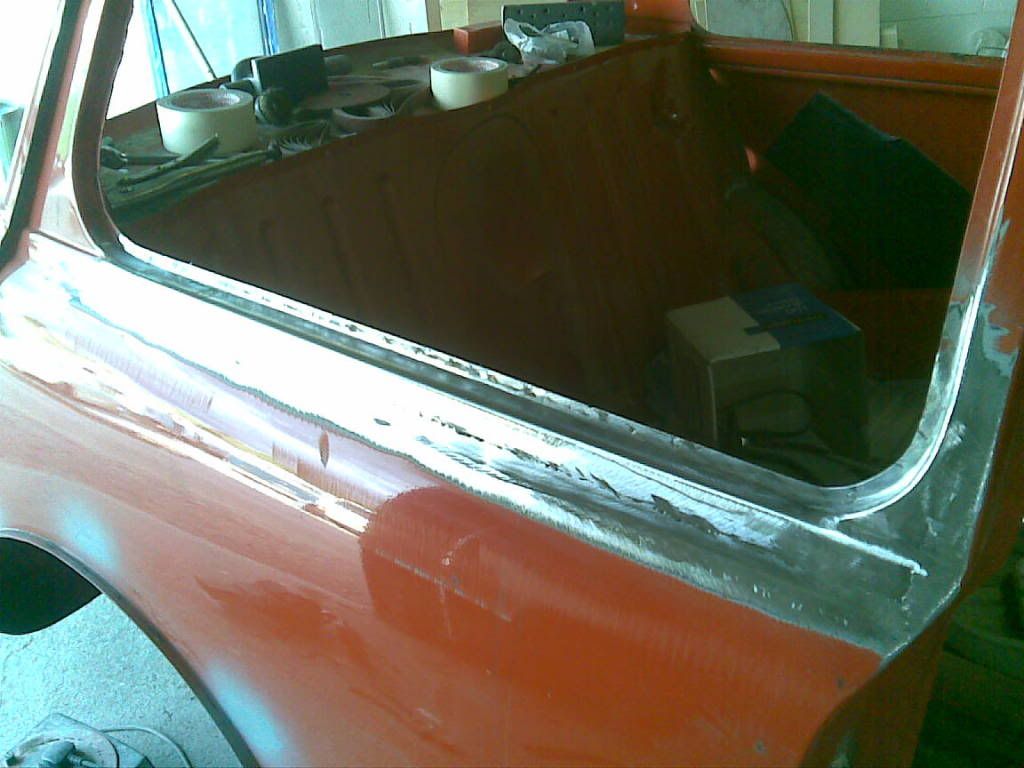
Welds ground down. He makes it look so easy!

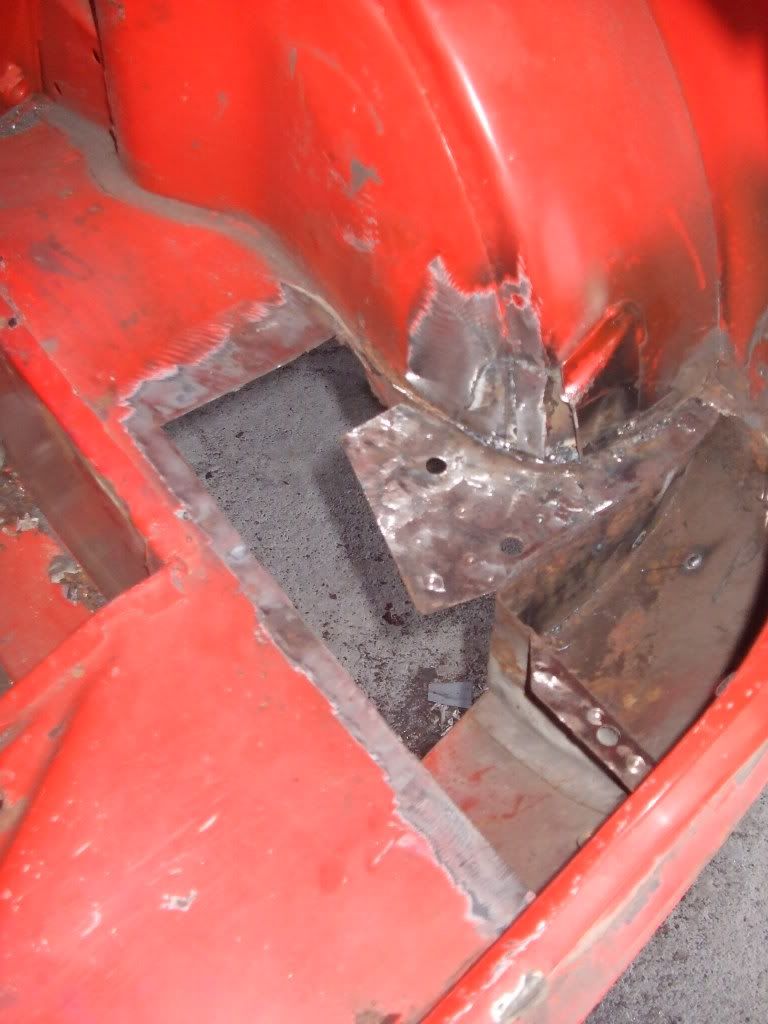
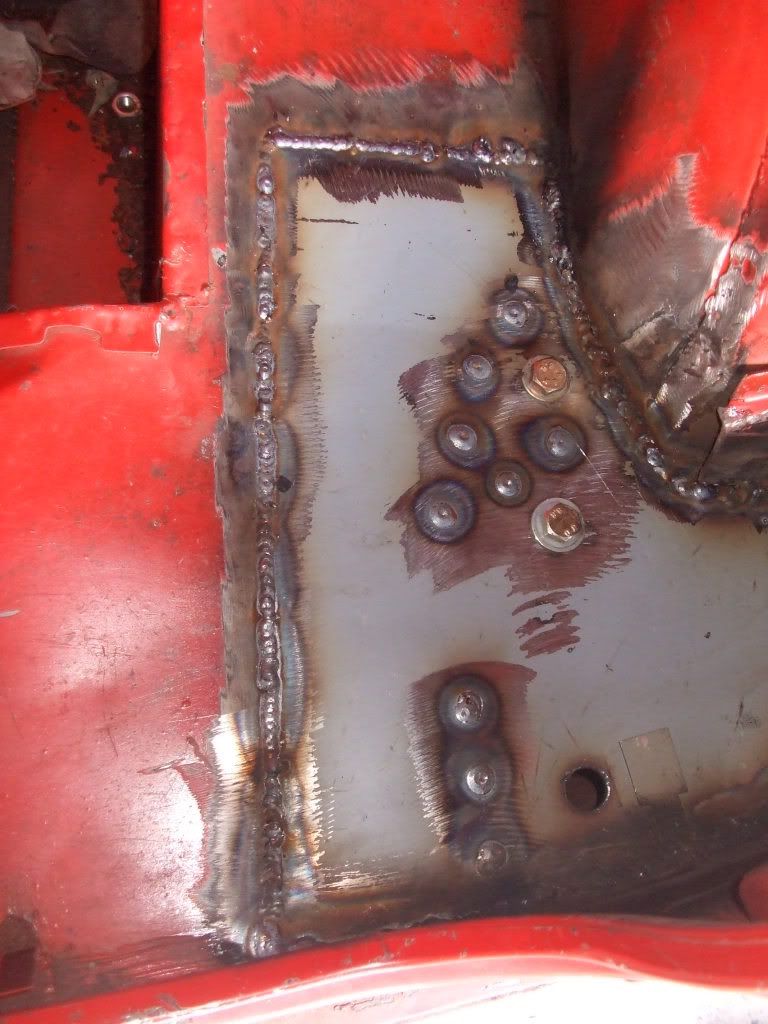
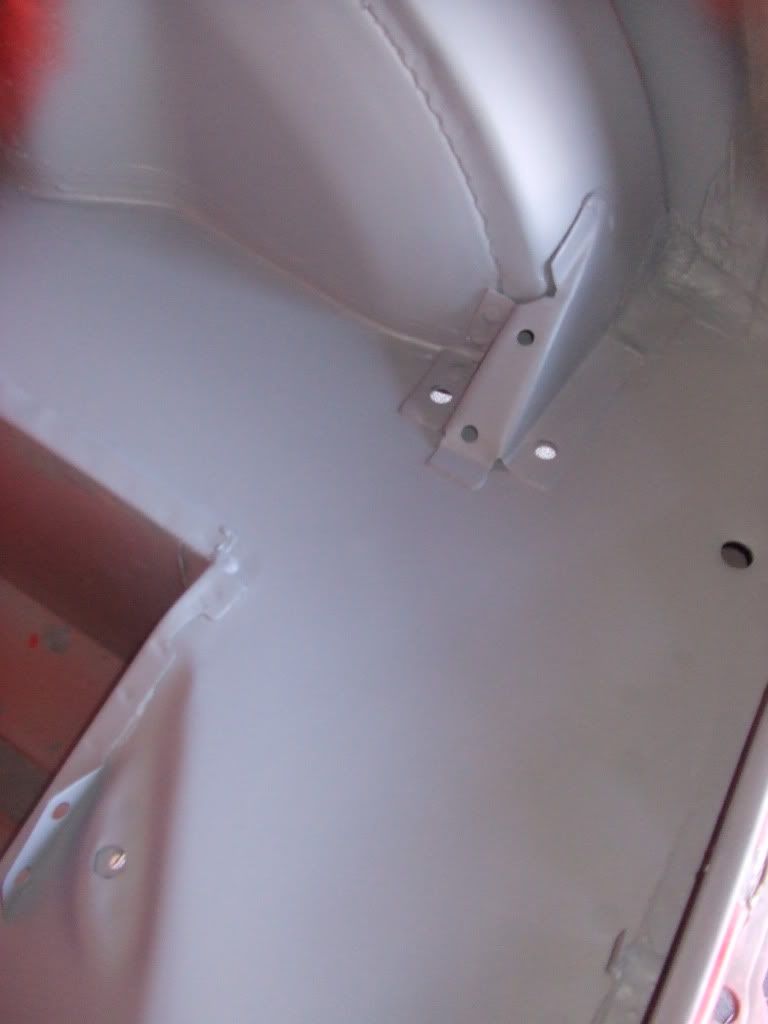
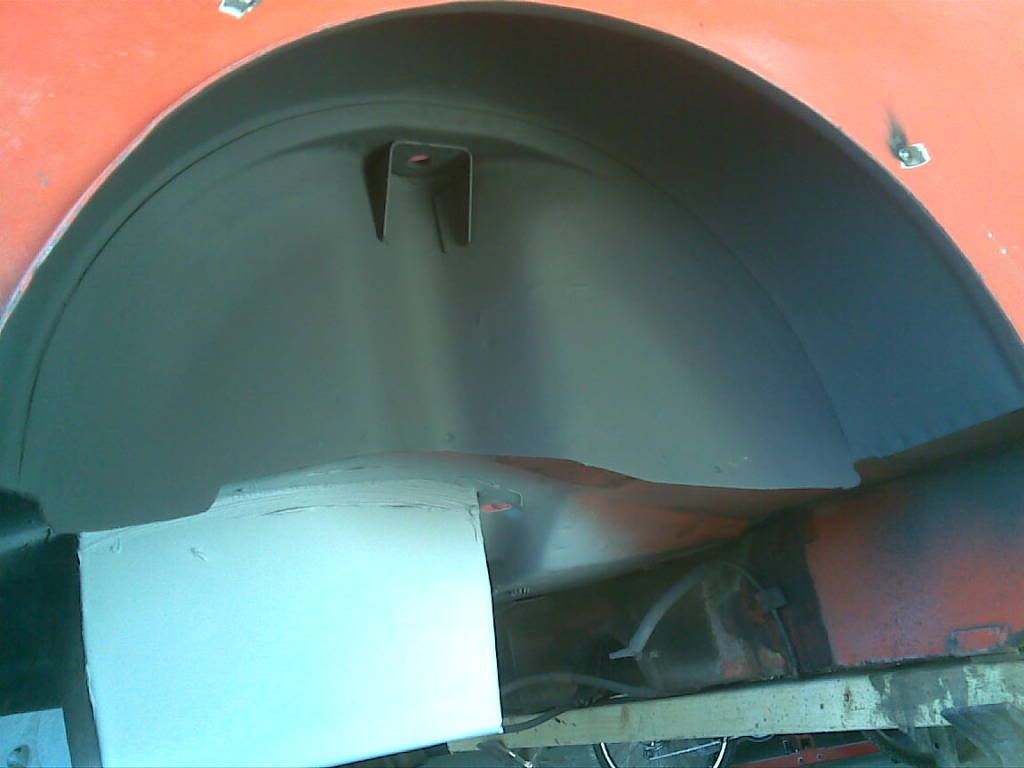
Once Pete had removed the old mudflaps on the rear valance he found another couple of bits of rot

Posted Image
Inside wheel arch

Posted Image
Rot cut out

Posted Image
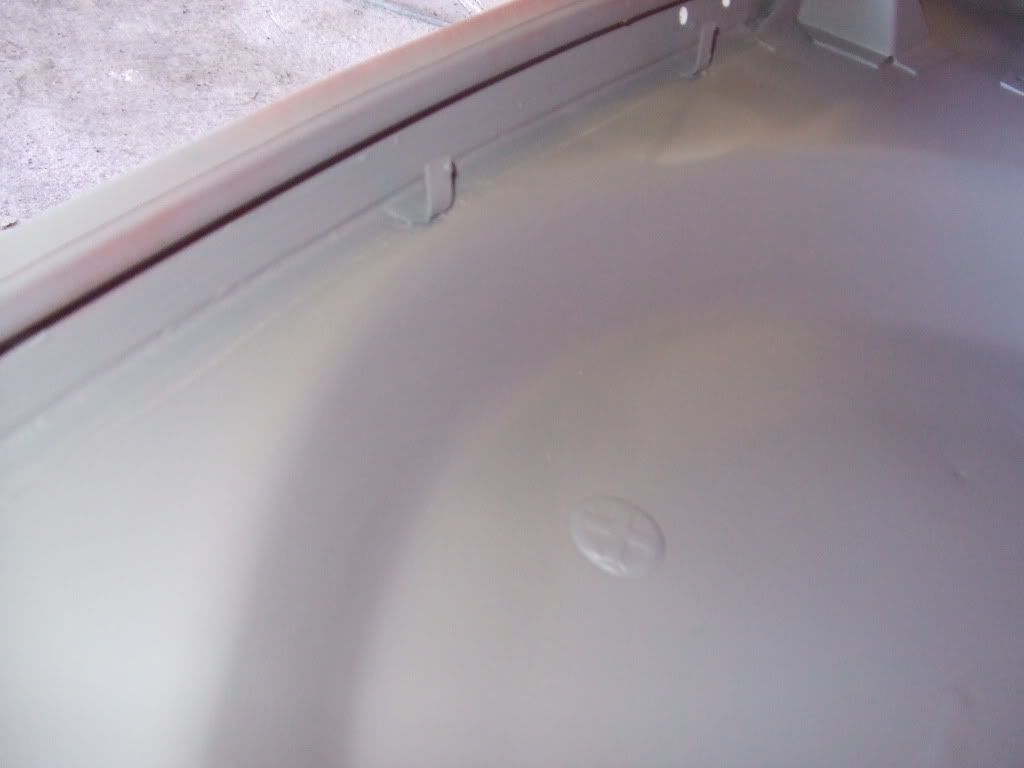
Arch finished.

Posted Image
Rear valance closing panel

Posted Image
Welded with new shiny steel

Posted Image
Behind rear wing new rear subframe mount

Posted Image
As if by magic its gone!

Things were still shaping up nicely - next episode - front end


1 user(s) are reading this topic

0 members, 1 guests, 0 anonymous users