Lightweight Z18Xe
#1741

Posted 22 June 2012 - 08:58 AM
#1742

Posted 22 June 2012 - 03:32 PM
keep then build up good work
#1743

Posted 26 June 2012 - 12:37 PM
But I did get a day on it not long ago. My internet is broken at the moment so getting on here is a pain as well.


Filled the hole in the parcel shelf, this will have to do until I can afford a carbon replacement.
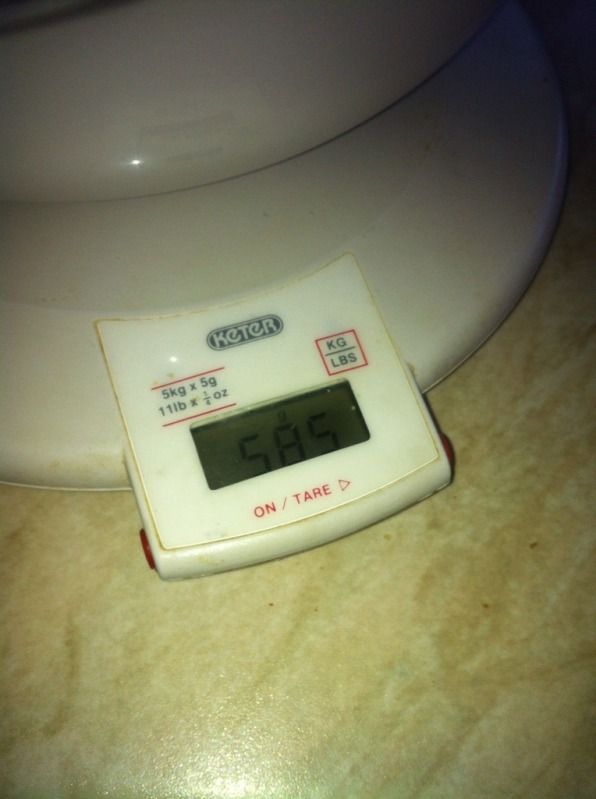
Could be lighter, but will do for now.
I'm currently saving to get some more parts to get the engine to run as that's going to be the expensive bit, so I'll keep plodding along with the shell in the mean time.
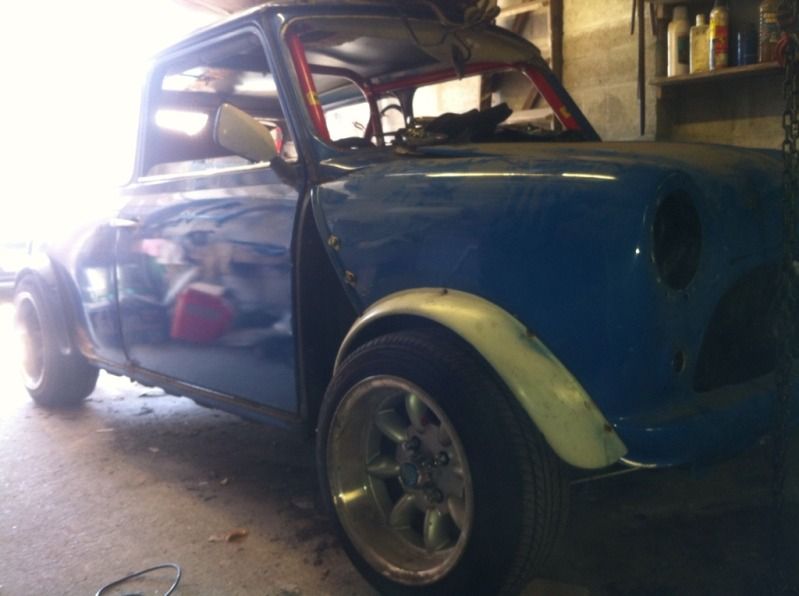
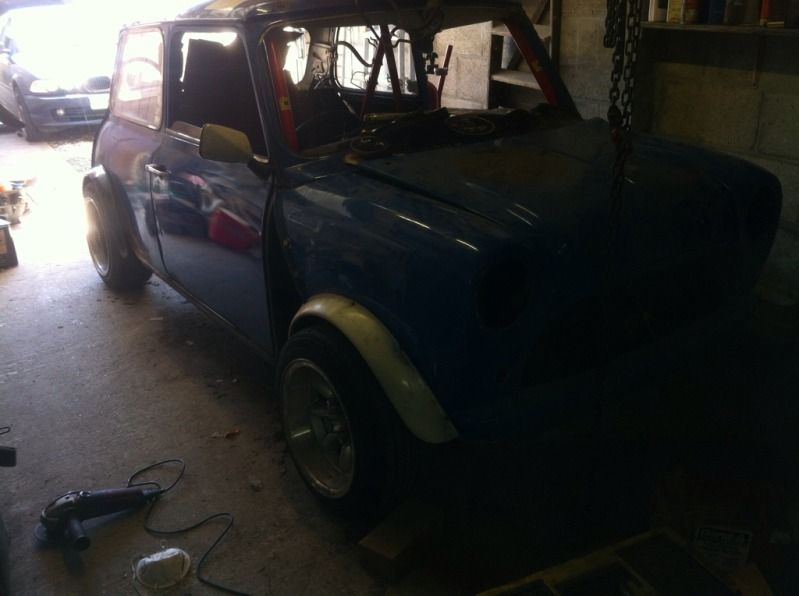
Test fitted the front quickly, it's going to need a little trim near the cam cover, but may still get away with roundnose
I've got a steel sump for it now as well, so need to chop down the oil pickup pipe to make that fit. Got the f12wr gearbox bolted up with it's hydro clutch conversion in it. So I've got to buy a flywheel and clutch kit for it now, then throttle bodies and an exhaust and a megasquirt to control it all. As well as moving all the hydraulics inside the bulkhead and sort out the gear linkage just before I can turn it over.
#1744

Posted 27 June 2012 - 10:14 PM
#1745

Posted 27 June 2012 - 11:57 PM
Thinking log manifold, itty bitty turbo, i've got a modified MPI rad with an extra core, that'll sit near the gearbox and intercooler in the lower part of the grill.
However, these plans are hugely dependant on funds.
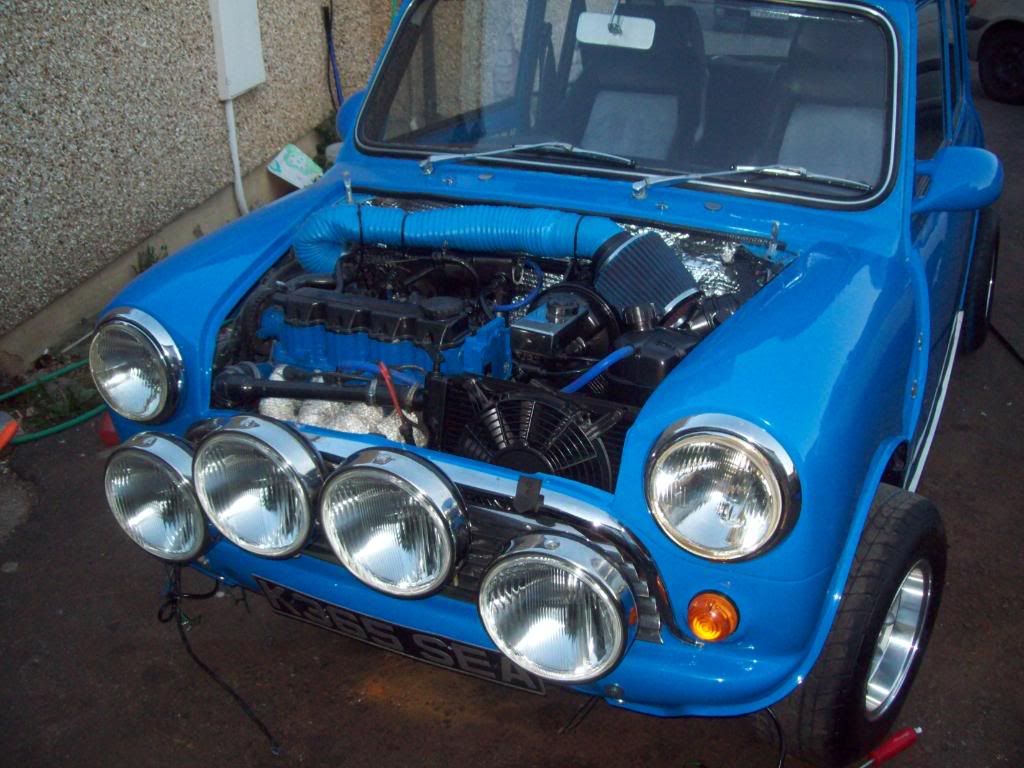
That's the front end and radiator I'm using. It kept that little c16se engine cool, but i'm not sure how it'll cope with the power i'm planning.
I'll just have to try, although I've seen in your thread you've managed to get a standard rad in place, so I might try that.
Edited by mini_mad69, 28 June 2012 - 12:37 AM.
#1746

Posted 06 July 2012 - 02:37 PM
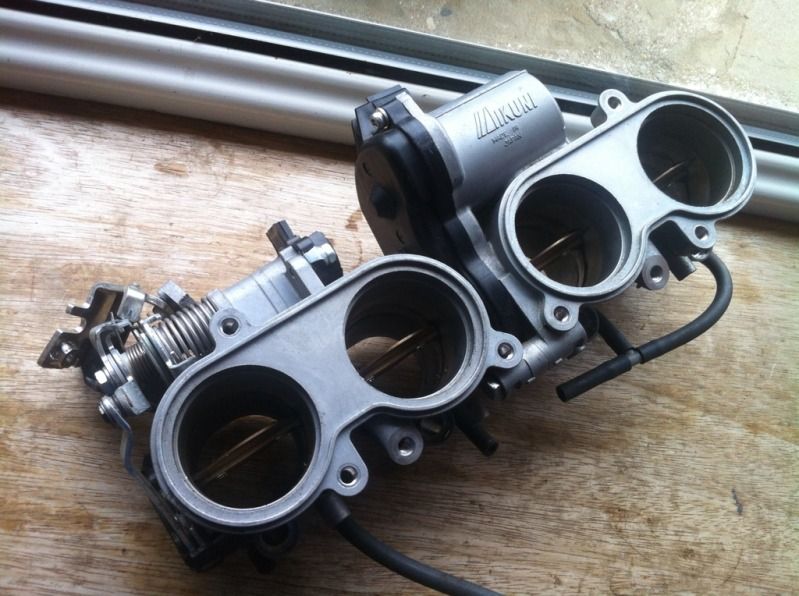
Bought some throttle bodies to adapt on, I have a spare z18xe head coming to mock up the bodies.
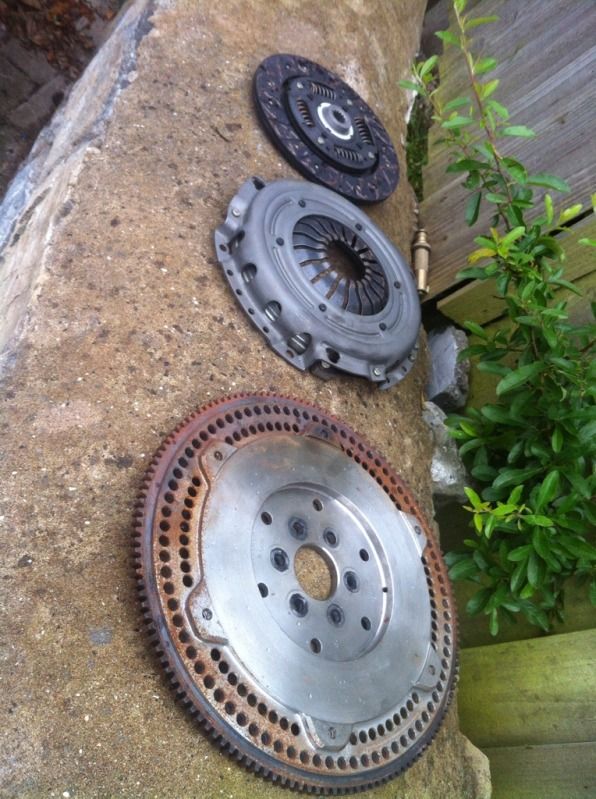
Lightweight flywheel, uprated pressure plate and organic competition clutch plate.
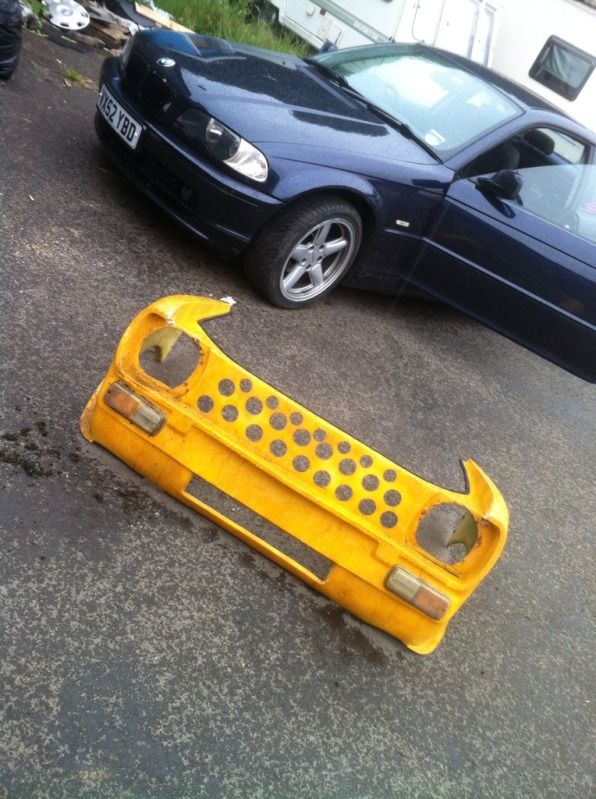
I have a got hold of a clubman front end if the round nose doesn't fit.
Thanks
Ben
#1747

Posted 10 July 2012 - 10:56 PM
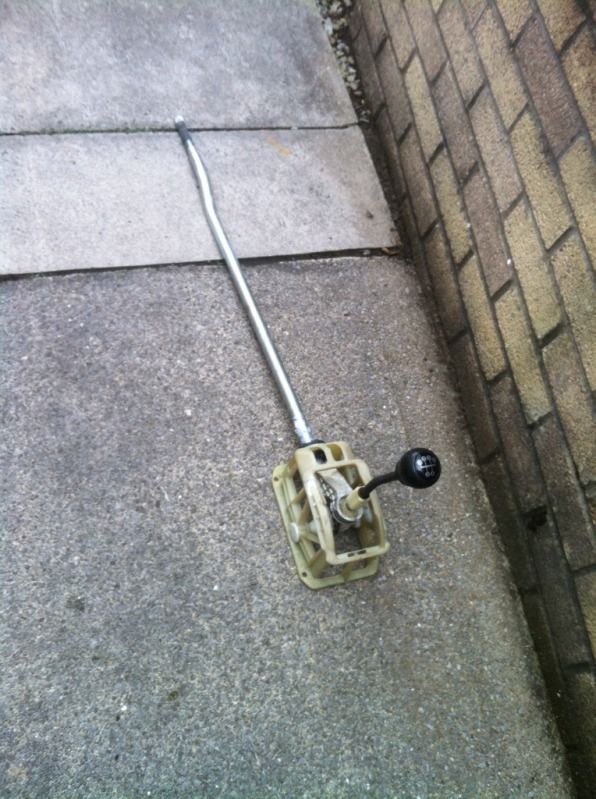
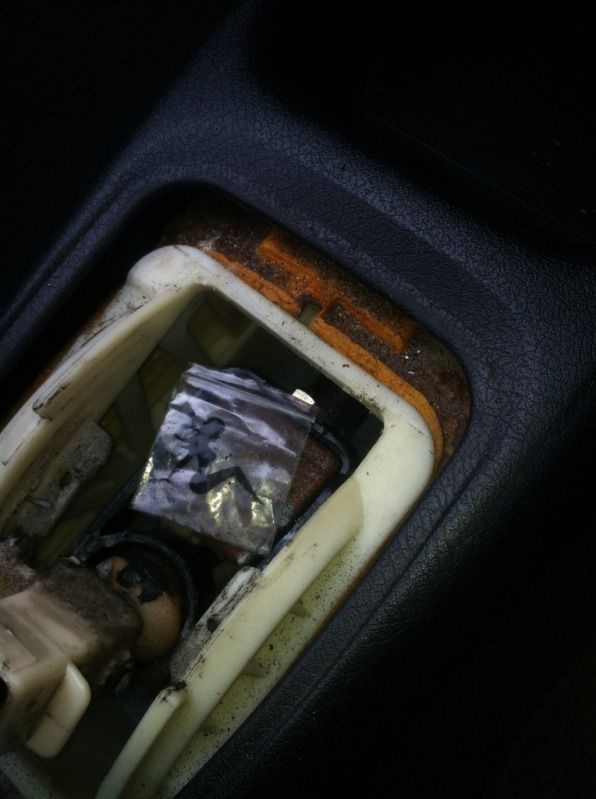
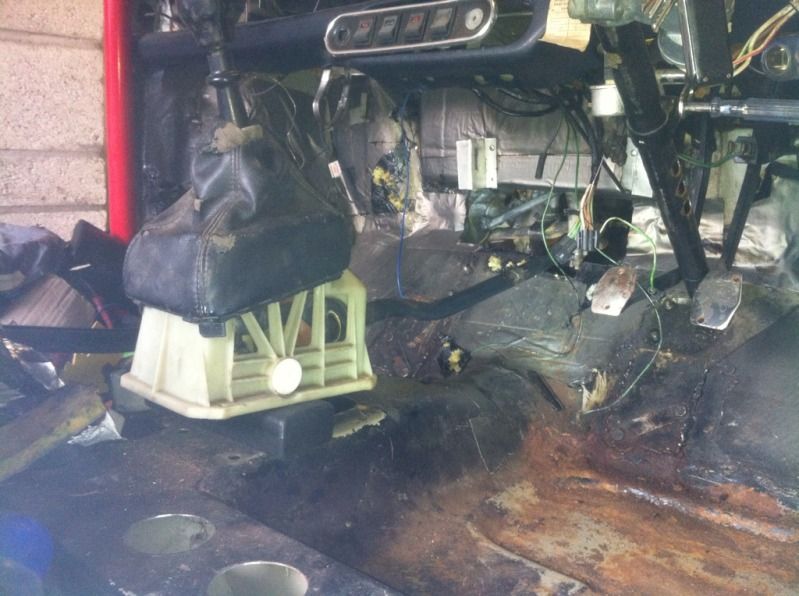
Found this under the gator of a chavved out corsa in the breakers year lol
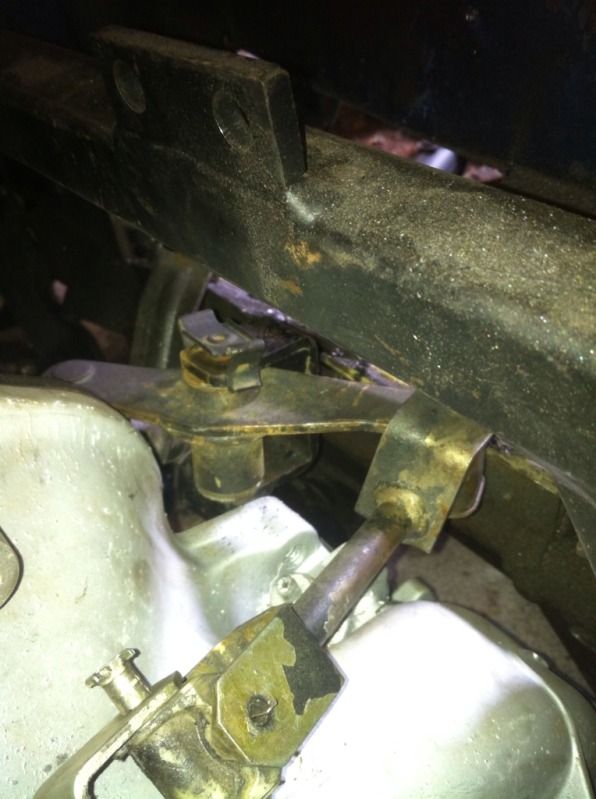
But found the problem to be the linkage was binding on the allspeed bracket, that was in neutral.
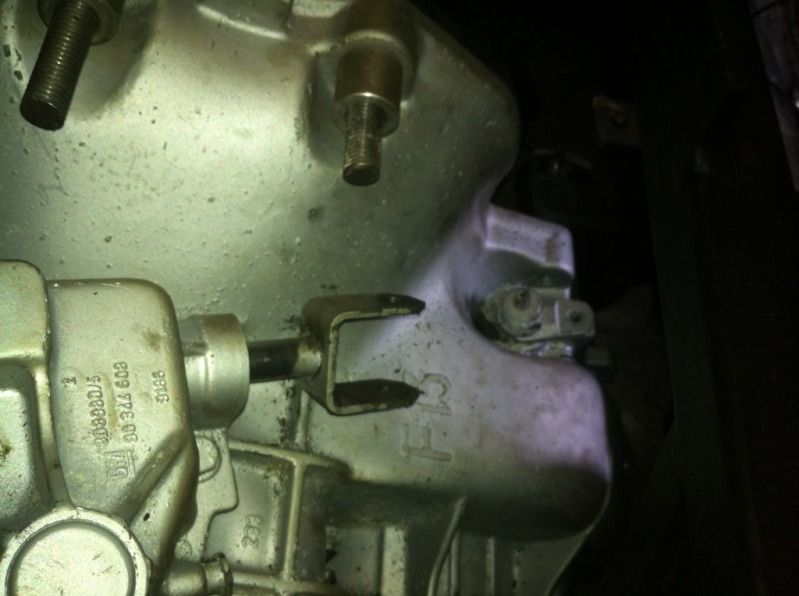
Took the linkage apart and another one apart.
Got this about lined up, but the bracket I made did not work at all.
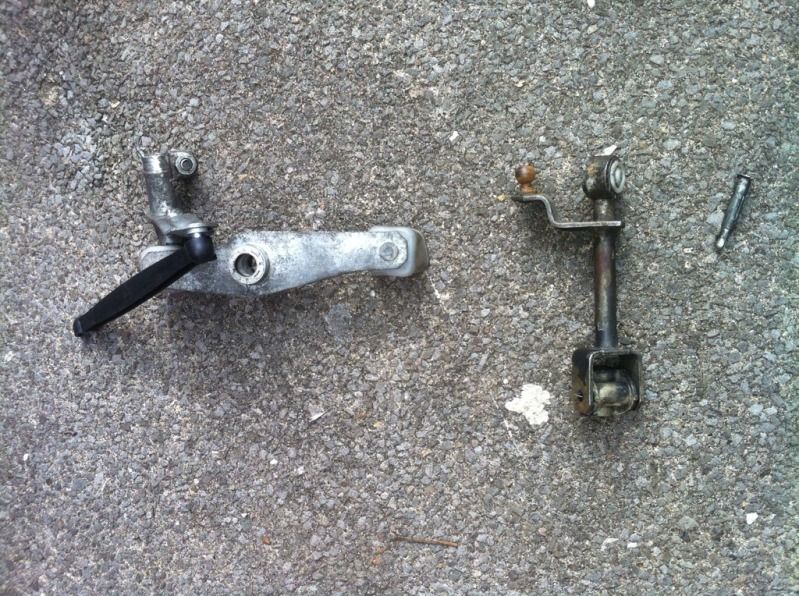
The rod on the right was waaaaay to long, and I dismantled the linkage on the left and got a much shorter rod.
Now the linkage is parallel to the frame when in neutral so enough room to move about. But unfortunately I can only get gears 3,4,5 and reverse.
So I'm going to buy the allspeed bracket and hopefully it'll work.
I have to insure my daily this month, so progress will be on hold for a bit.
Thanks
Ben
#1748

Posted 16 July 2012 - 10:45 PM
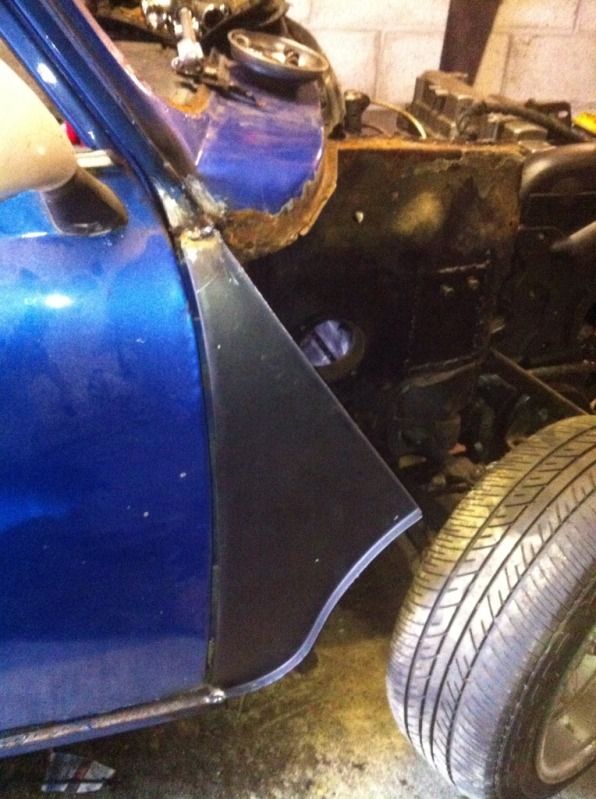
New a panel.
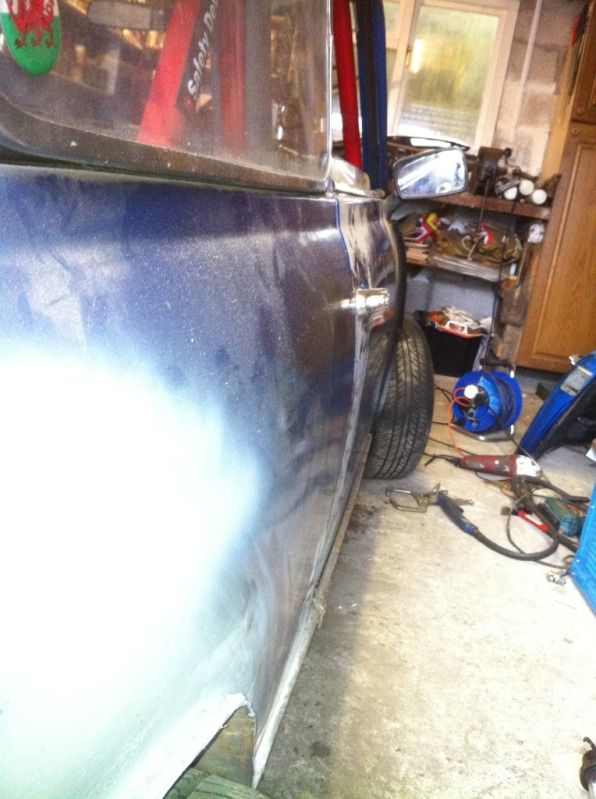
Happy the body is still straight with all the welding on it.
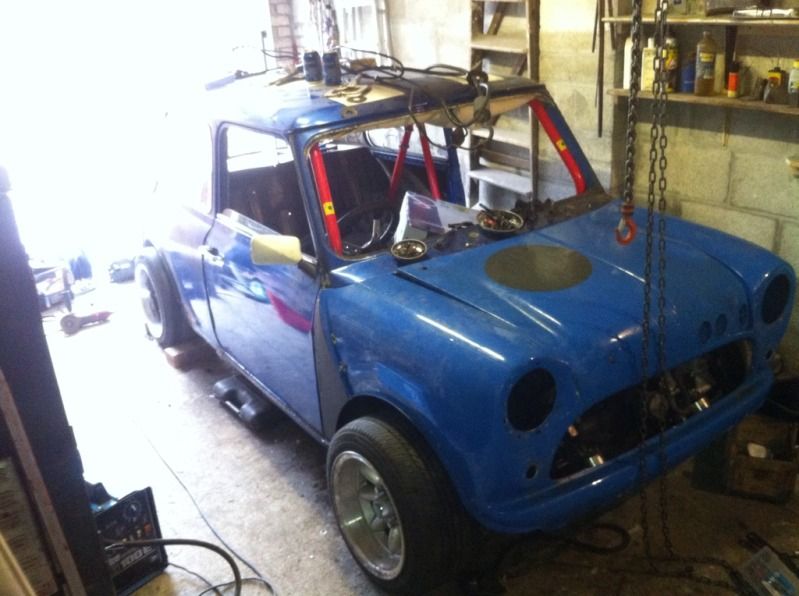
Front on and it looks like a car again.
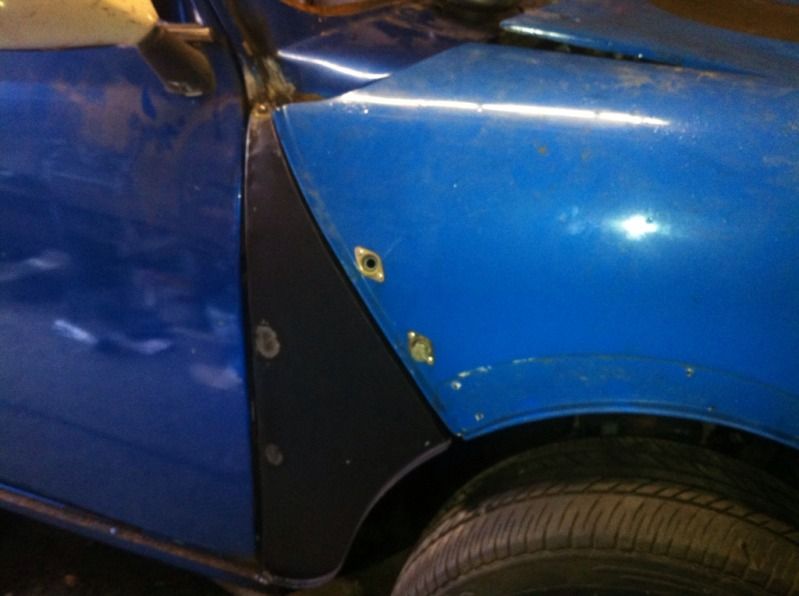
Front end is not a million miles away, needs a bit of tweeking.
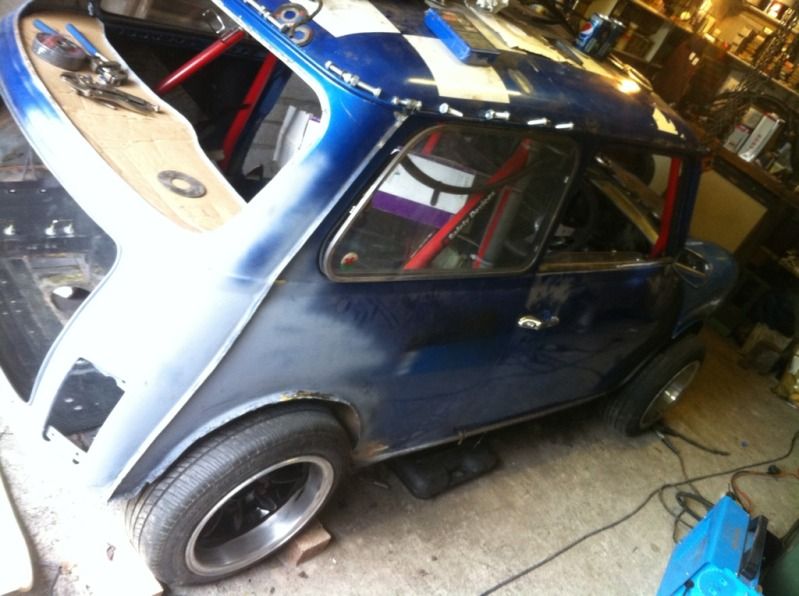
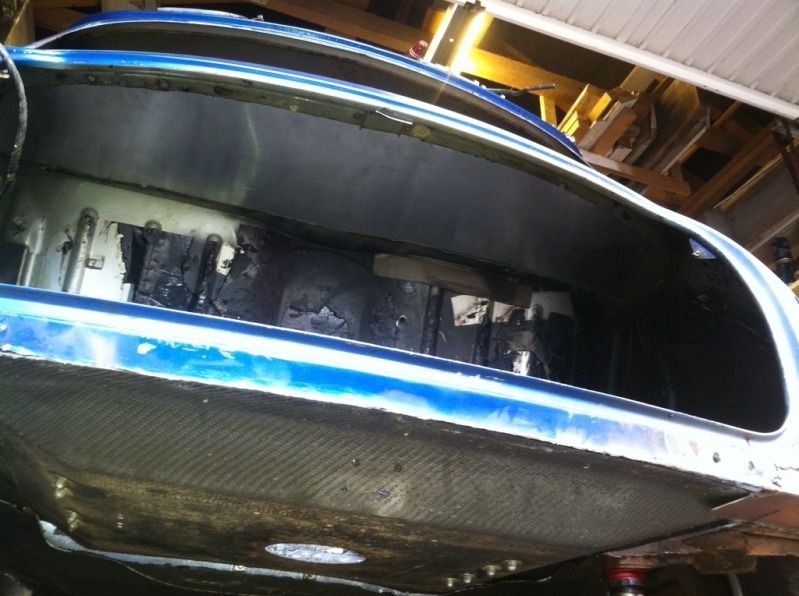
Chopped loads out of the back, as the rear lip was knackered, and there was around 7 layers of metal from previous repairs and bodges.
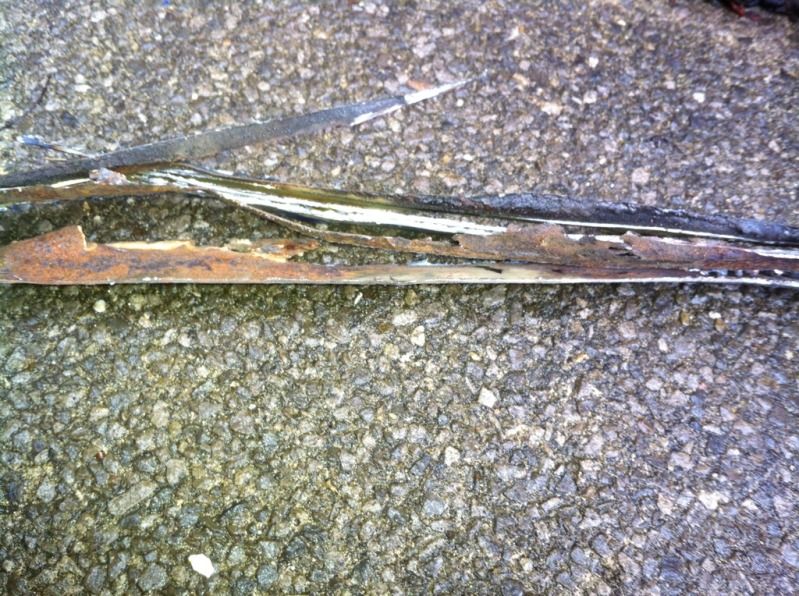
See loads of metal removed..
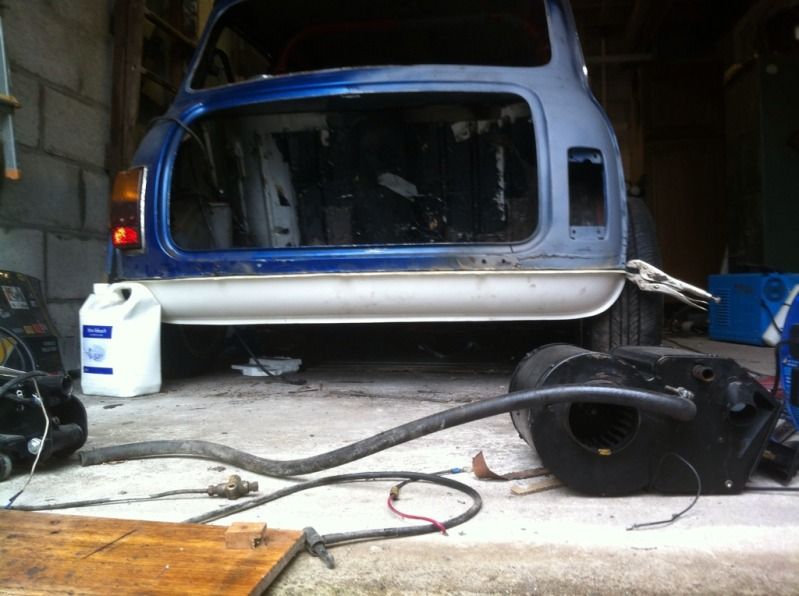
Ready to attatch my fibreglass rear valance.
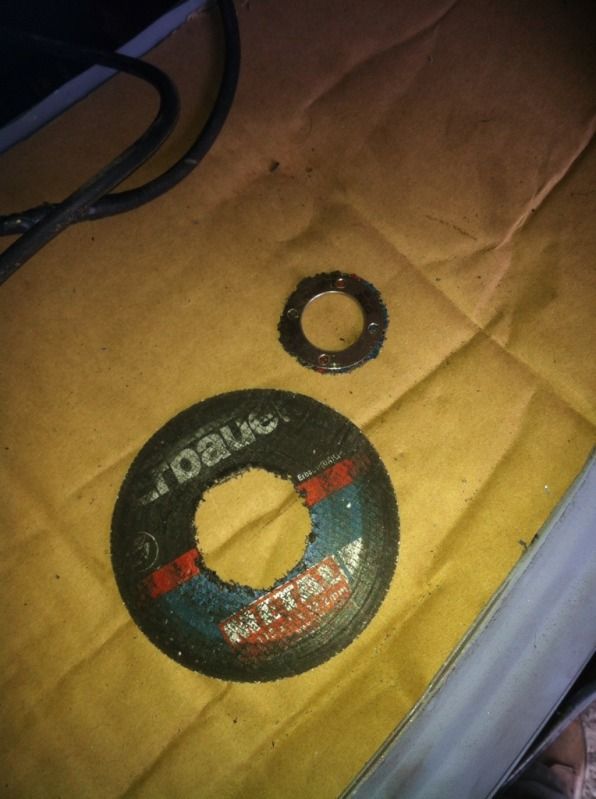
Then this happened, quite scary.
#1749

Posted 20 July 2012 - 11:08 PM
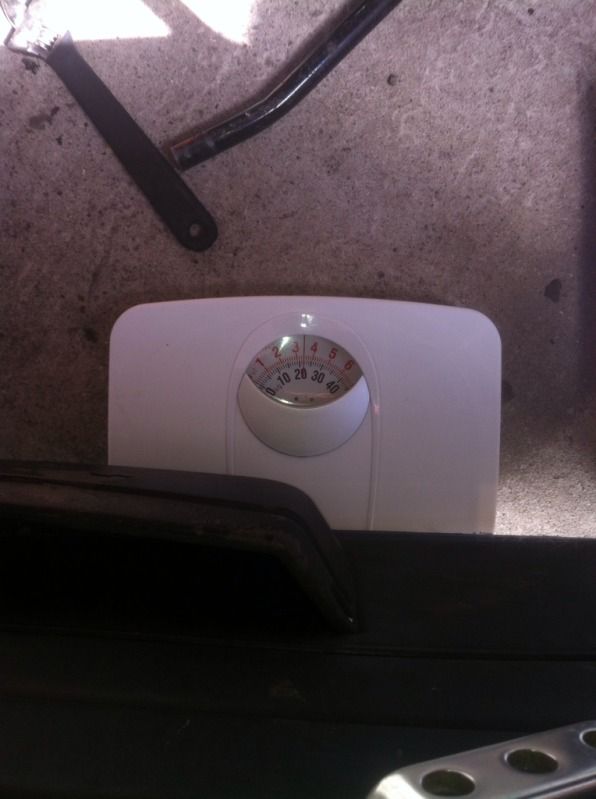
Standard door weight, 22 kilos
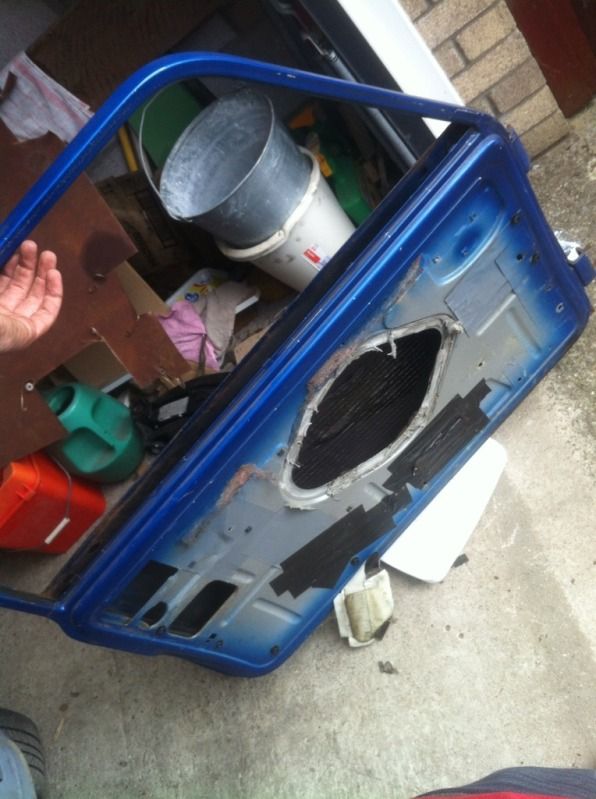
Stripped it
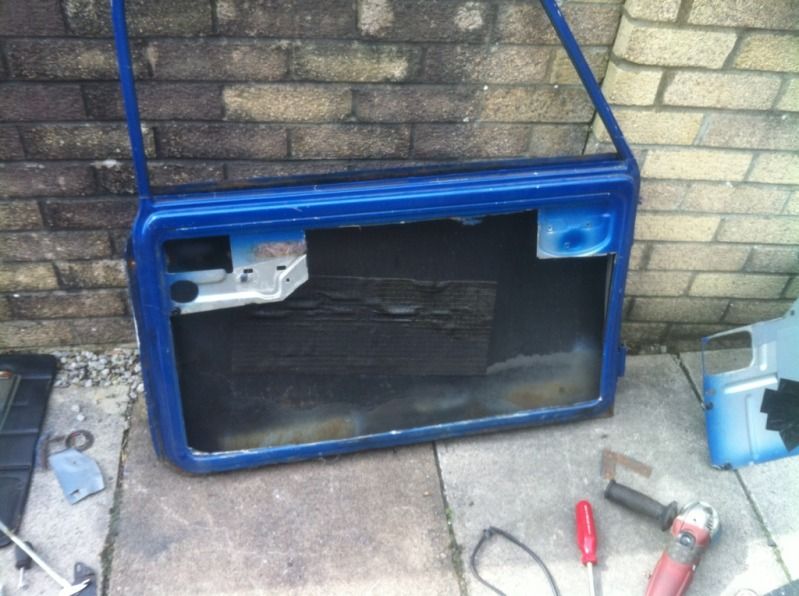
Inner skin out
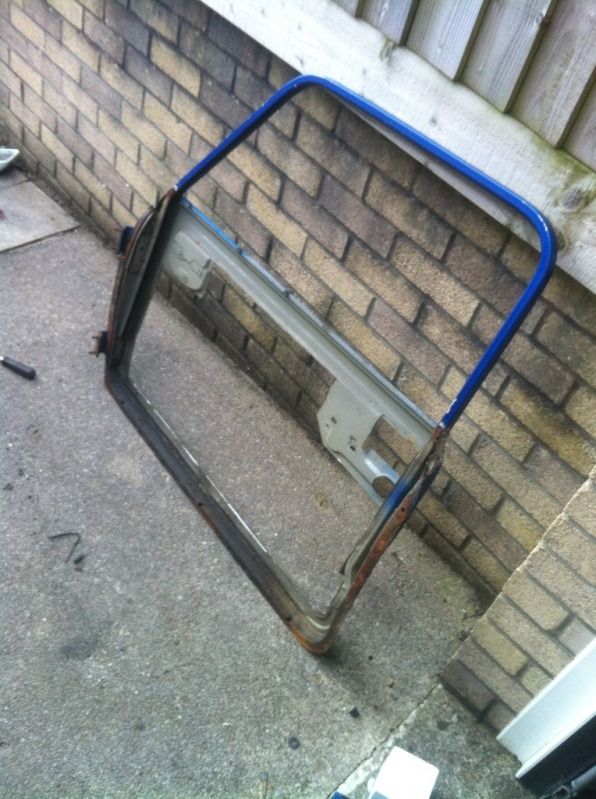
Outer skin off
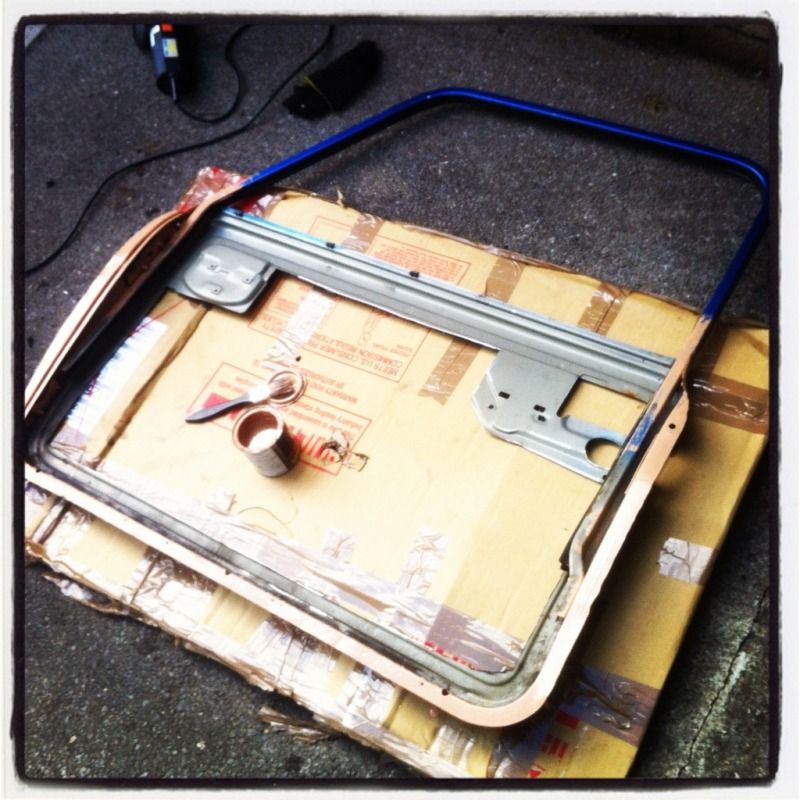
Painted with rust eating primer.
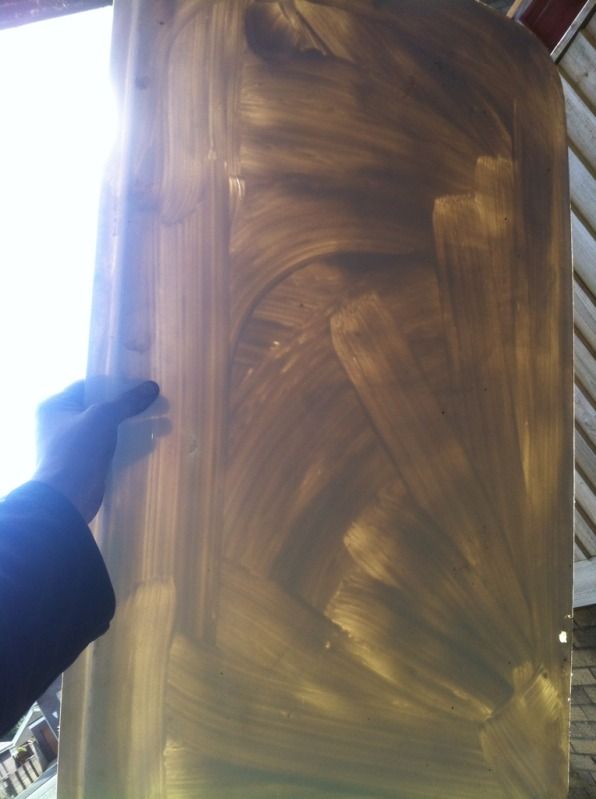
New skin is pretty thin/light.
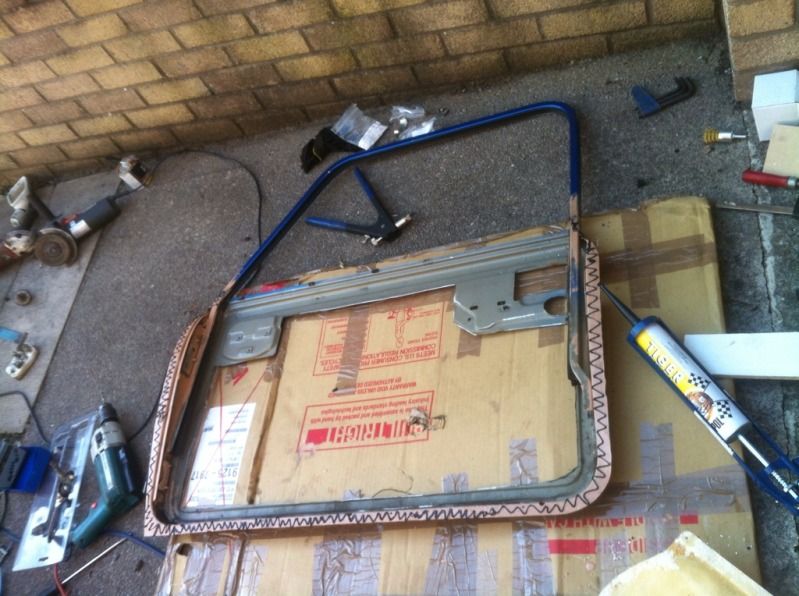
Tiger seal
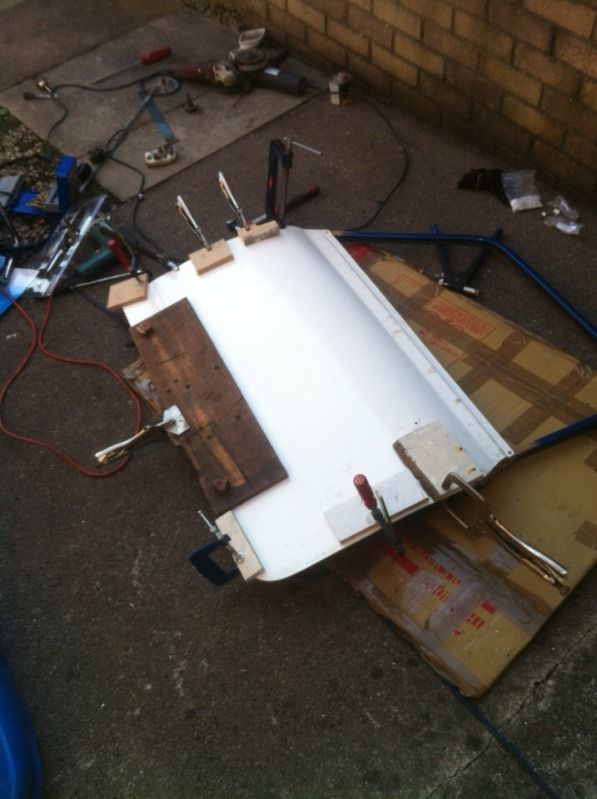
Clamped
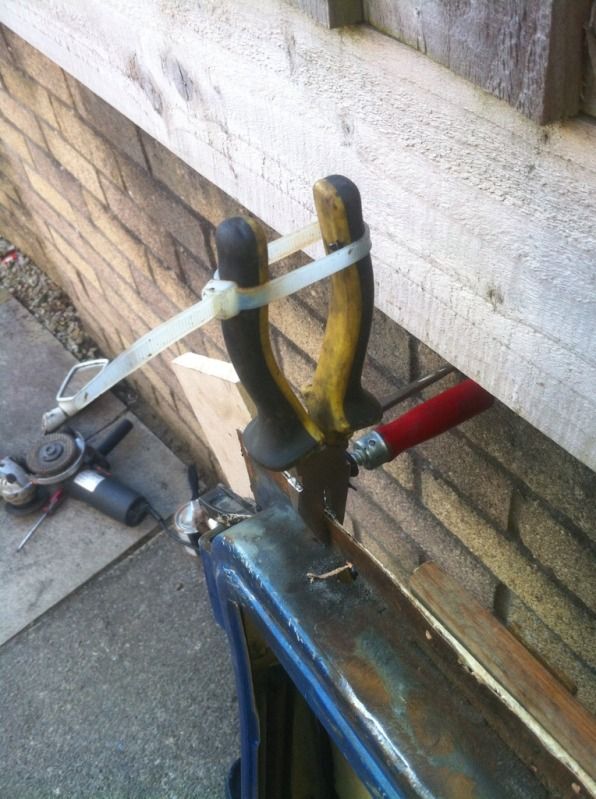
Ran out of clamps, so improvised.
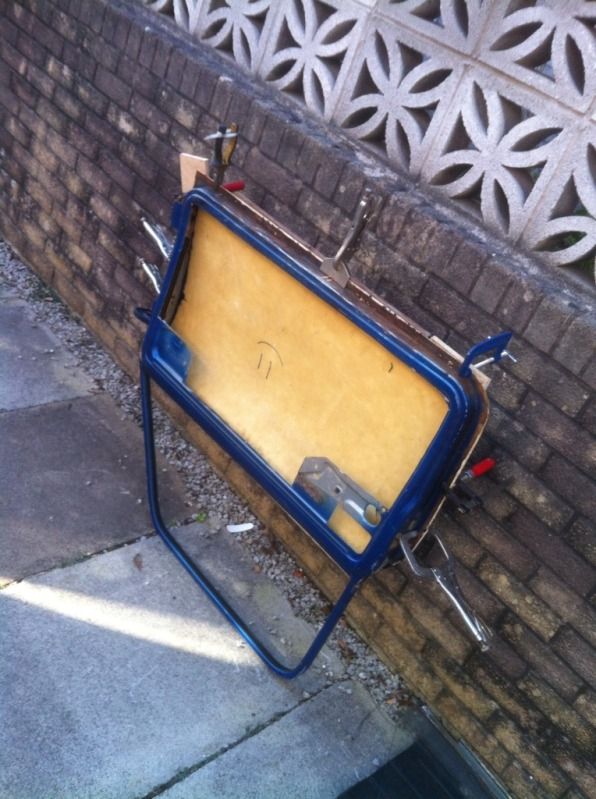
Then left it to go off.
I also popped in a couple of rivnuts into the door frame, and then two small allen bolts to hold the skin on at the top.
#1750

Posted 22 July 2012 - 10:17 AM
That linkage....
Take yer linkage out, cut the bar near the milk crate, turn it through 180 degrees, weld it back on. Your linkage will be more in line with the linkage on the box then. Wnat a piccy of mine?
#1751

Posted 22 July 2012 - 09:59 PM
#1752

Posted 28 September 2012 - 12:14 AM
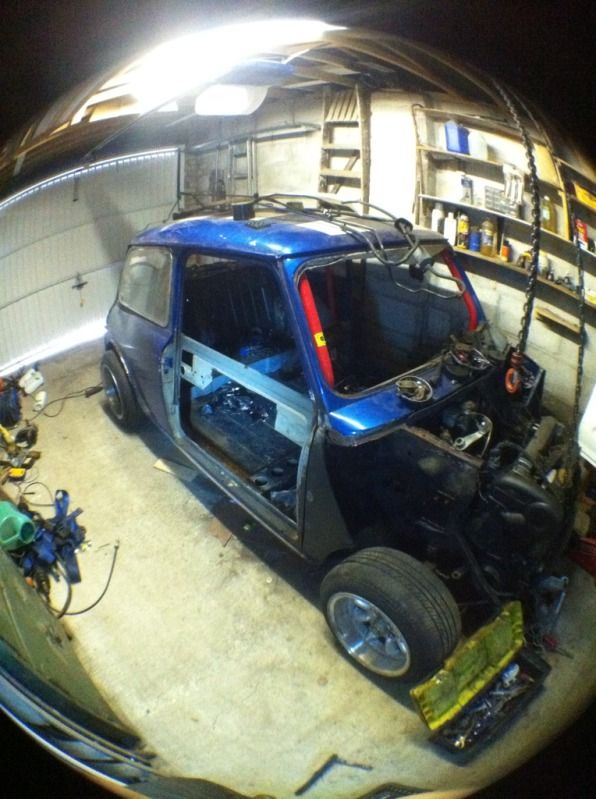
I've also bought some funny lenses for my phone, sooooo most pictures are fish eye :)
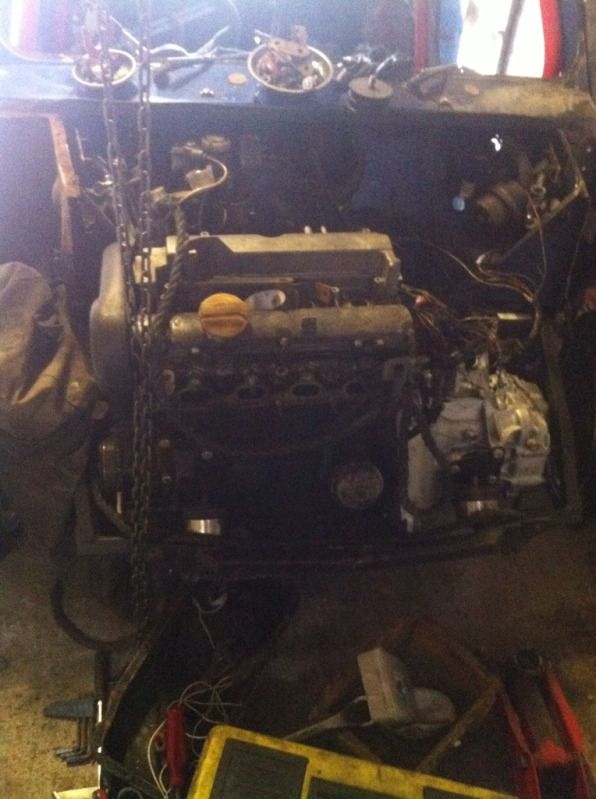
This is getting no attention at the moment.
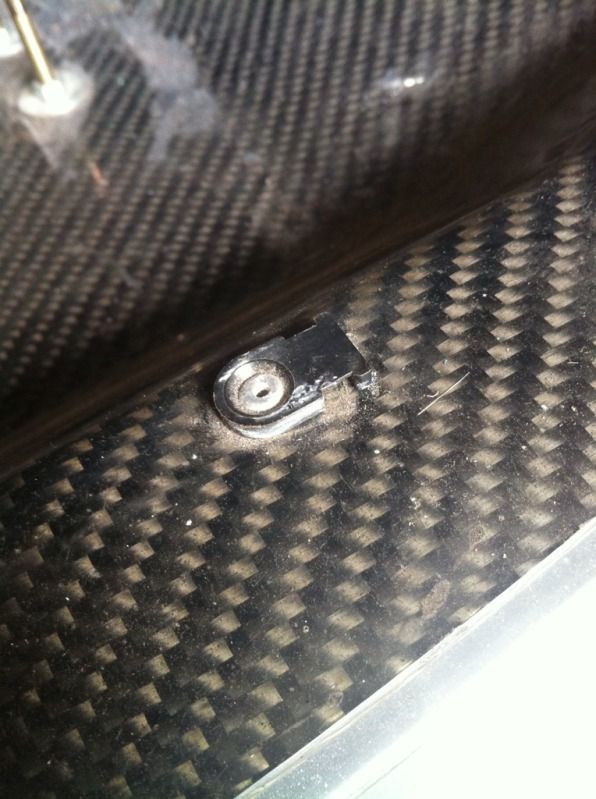
Couldn't for the life of me work out what this was.
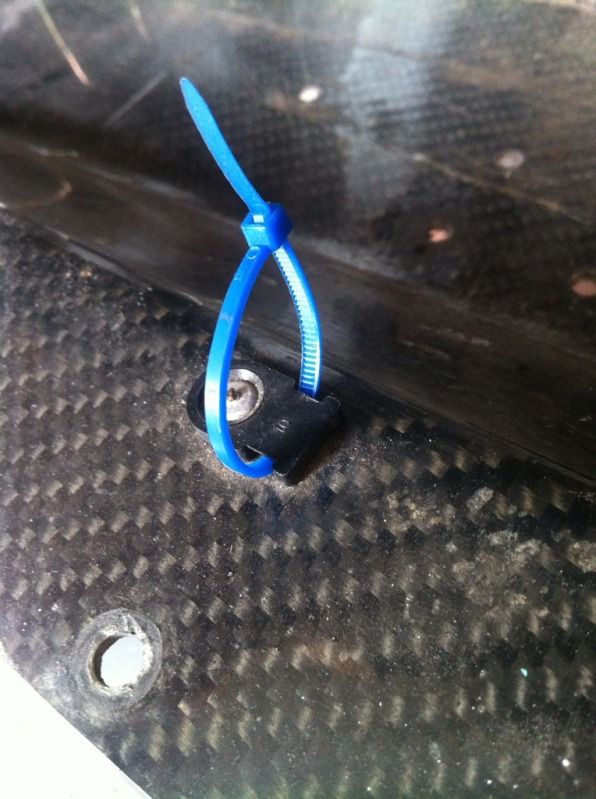
Then captainbland08 came up with the answer.
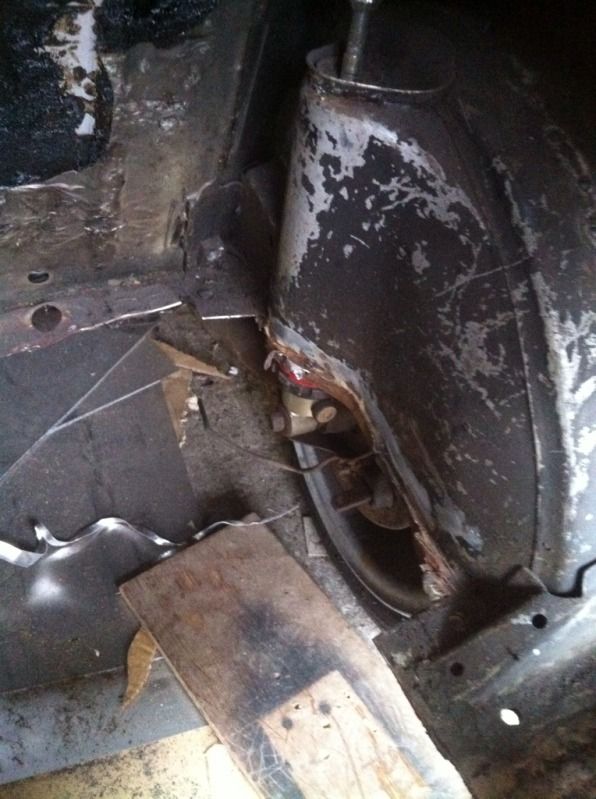
Cut out rust.
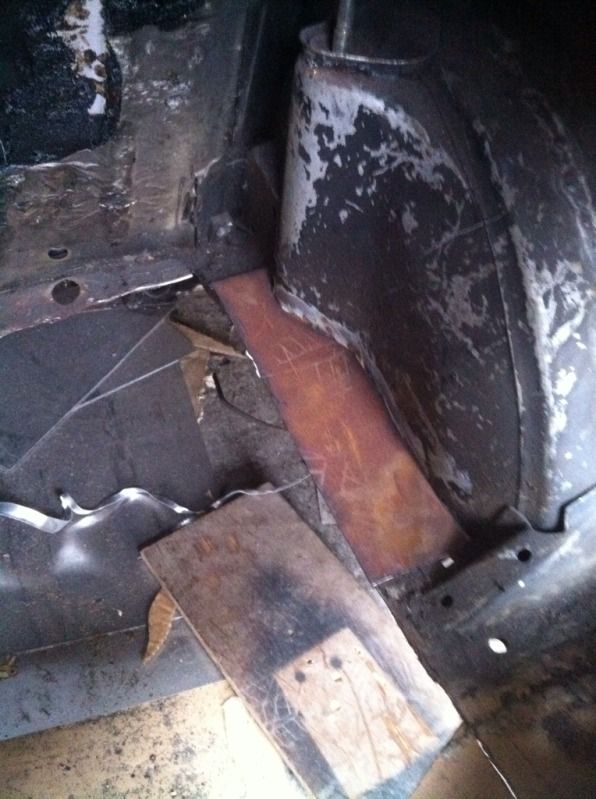
Patch made.
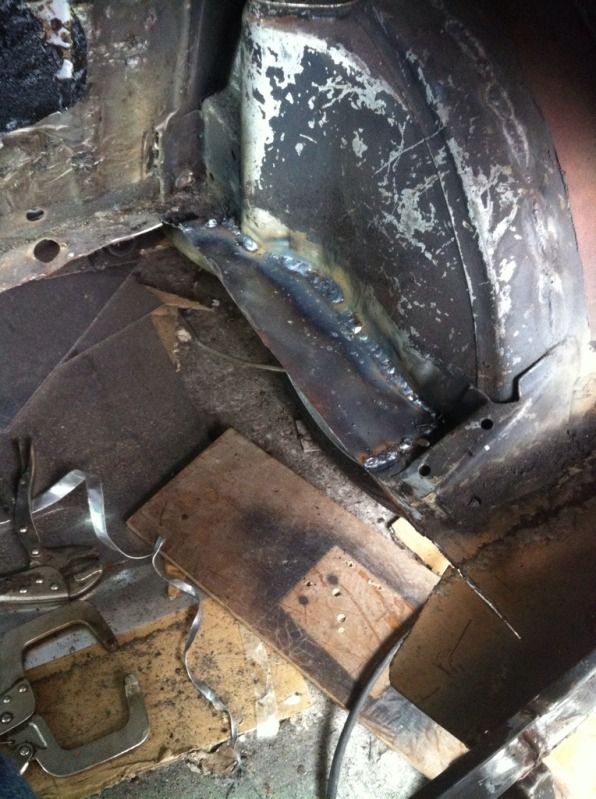
Welded in.
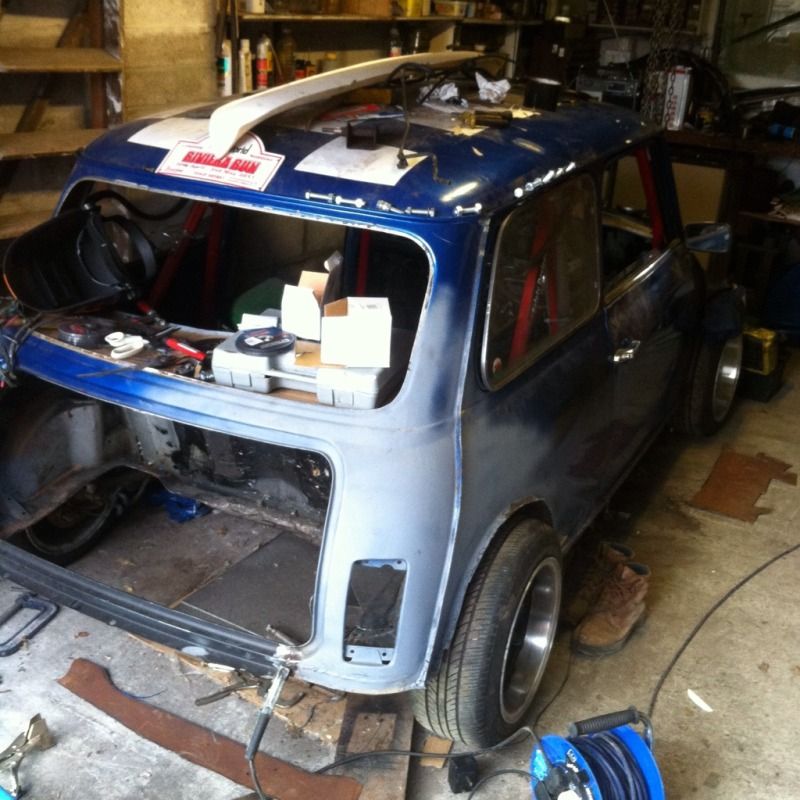
What a mess.
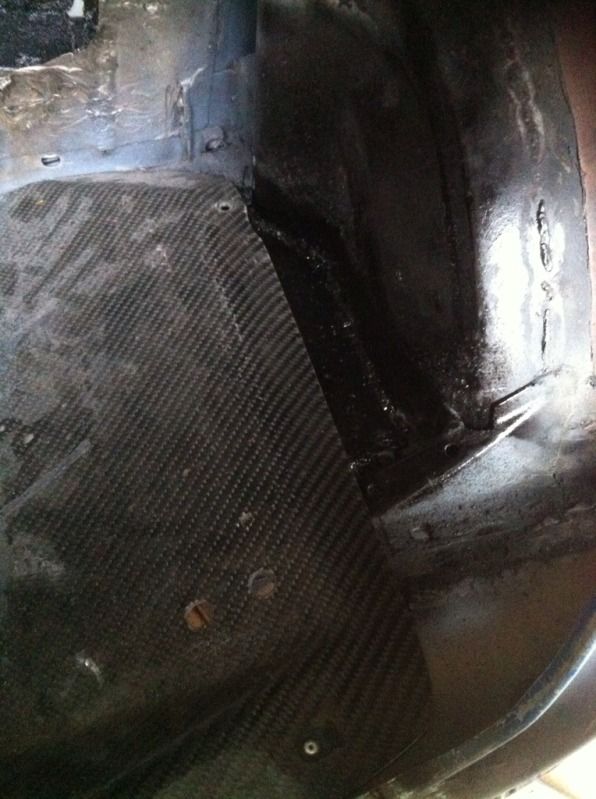
Painted up, carbon floor fits lovely.
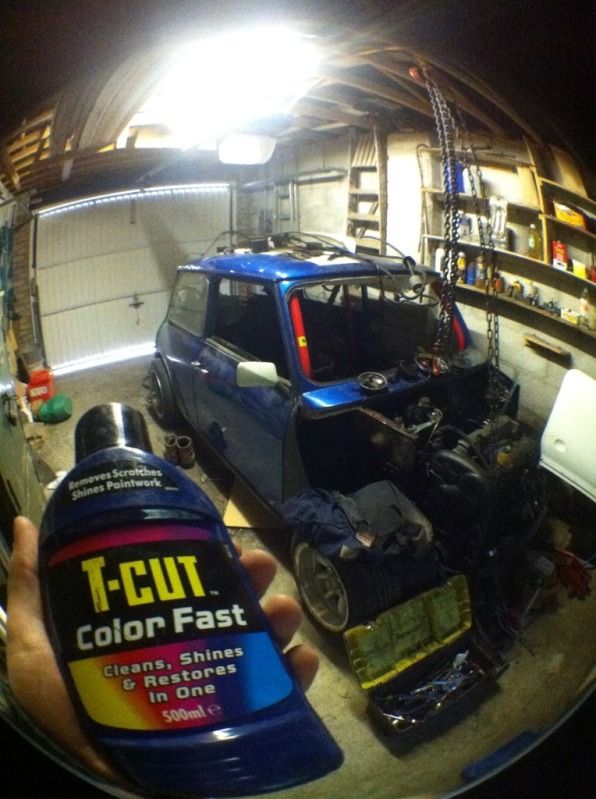
Should have used this in the first place....restores in one apparently.
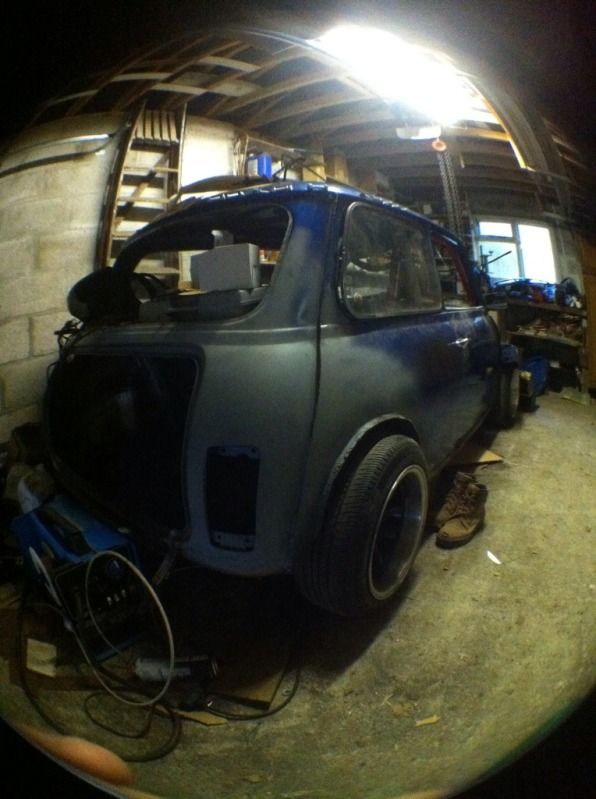
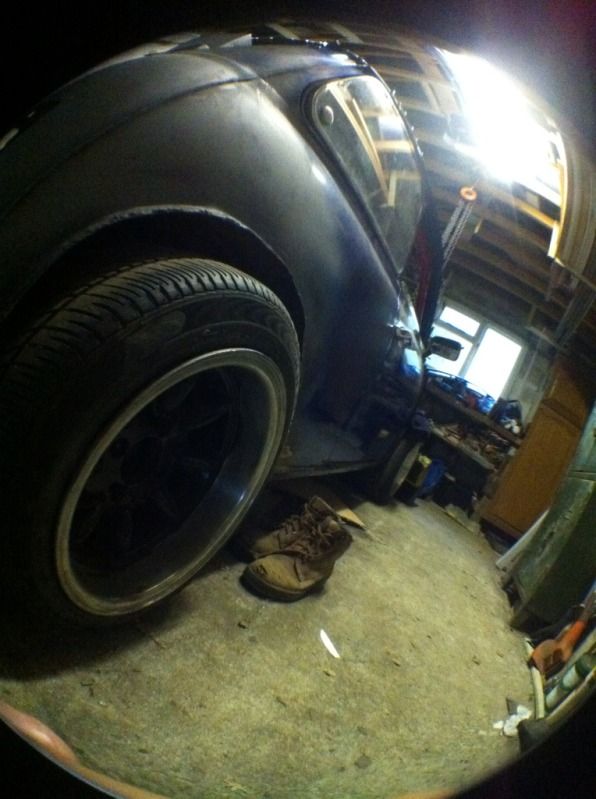
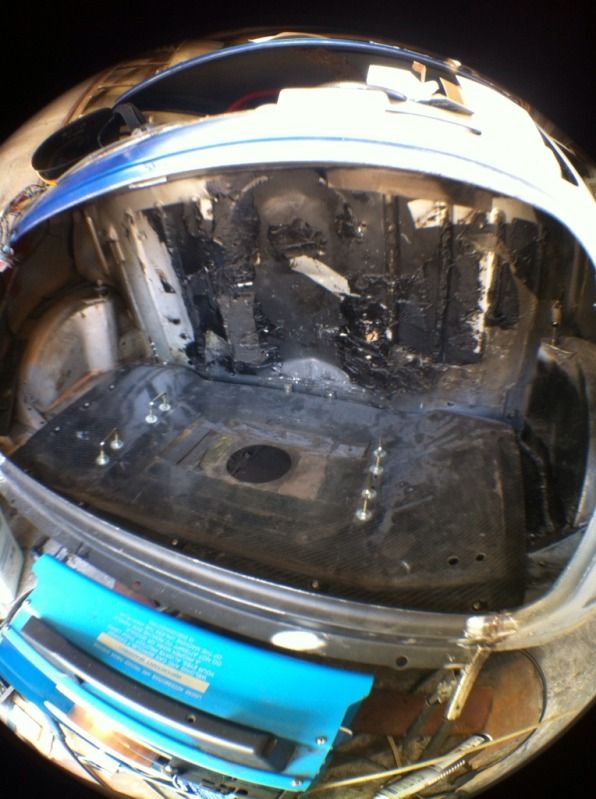
All of the bitchumen stuff, i've got to clean off. Good at sound deadening, but too heavy and looks crap!!!
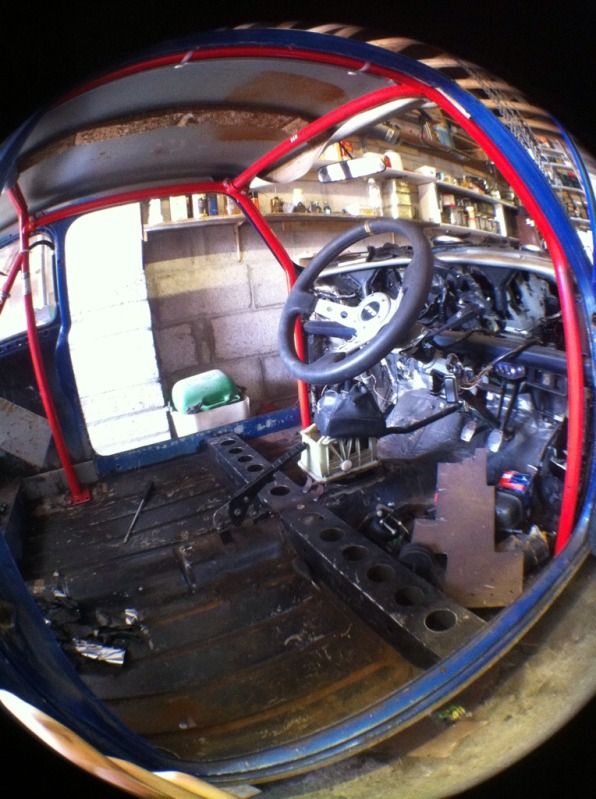
This will look a bit different, but lots too do here.
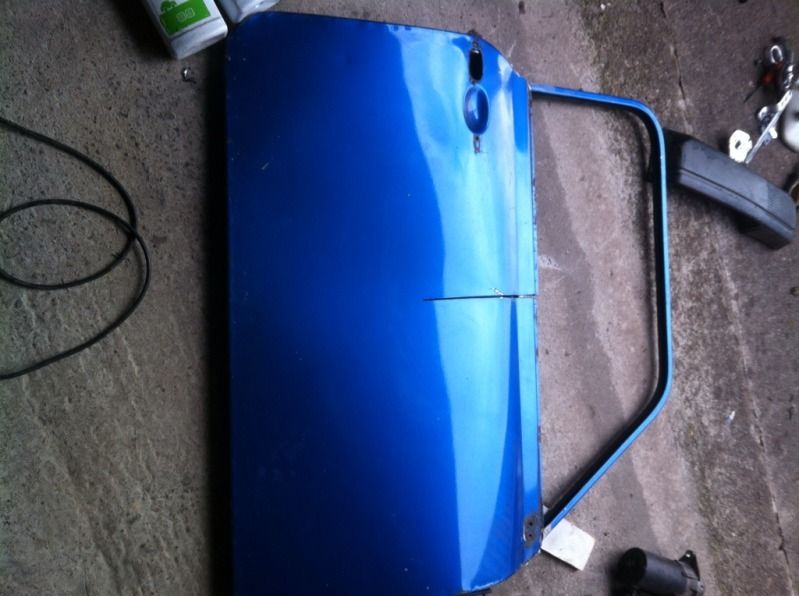
SLice
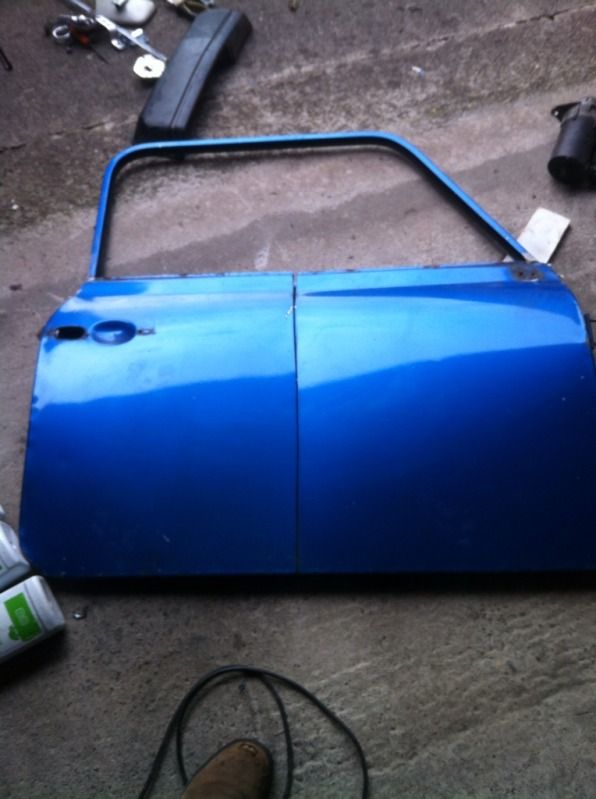
Bigger slice.
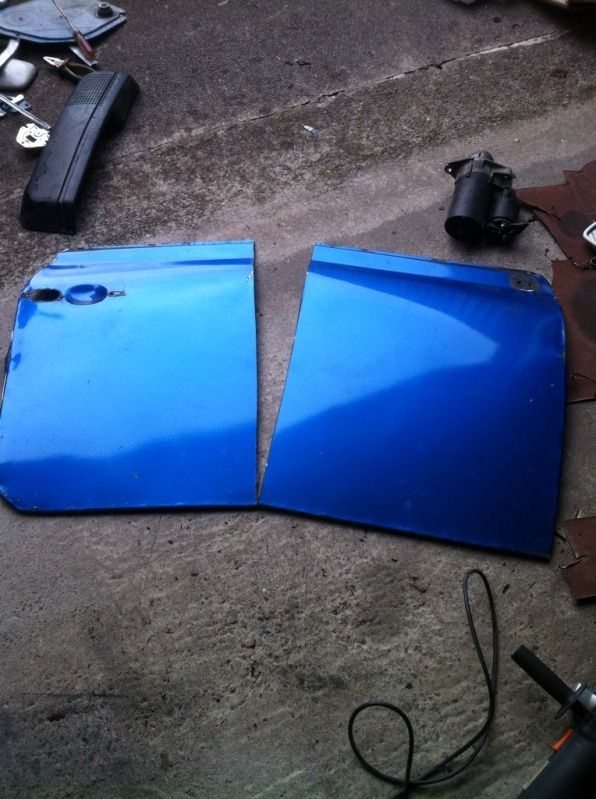
And off
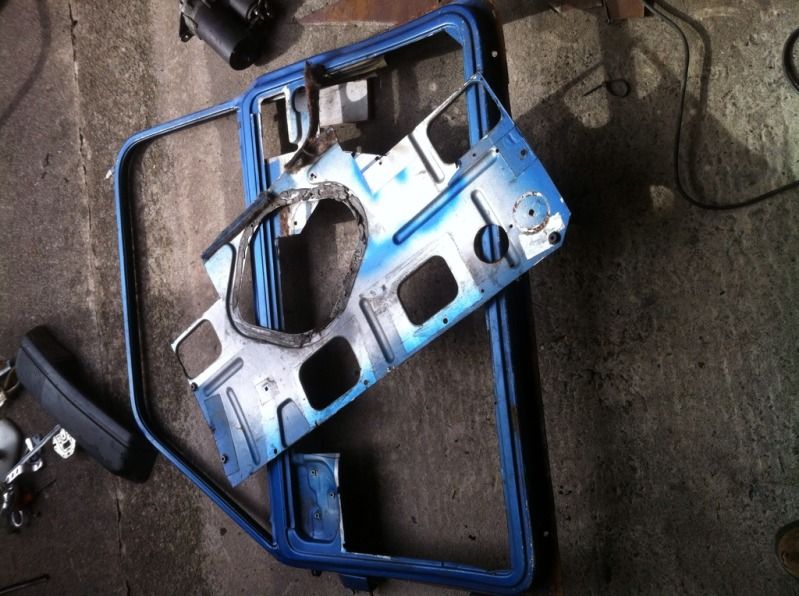
Inner skin off
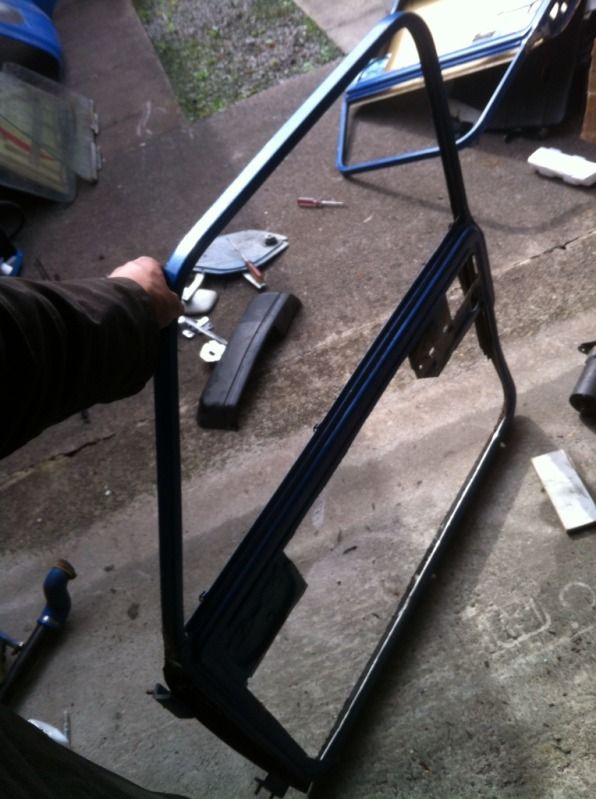
Whats left.
Still fits
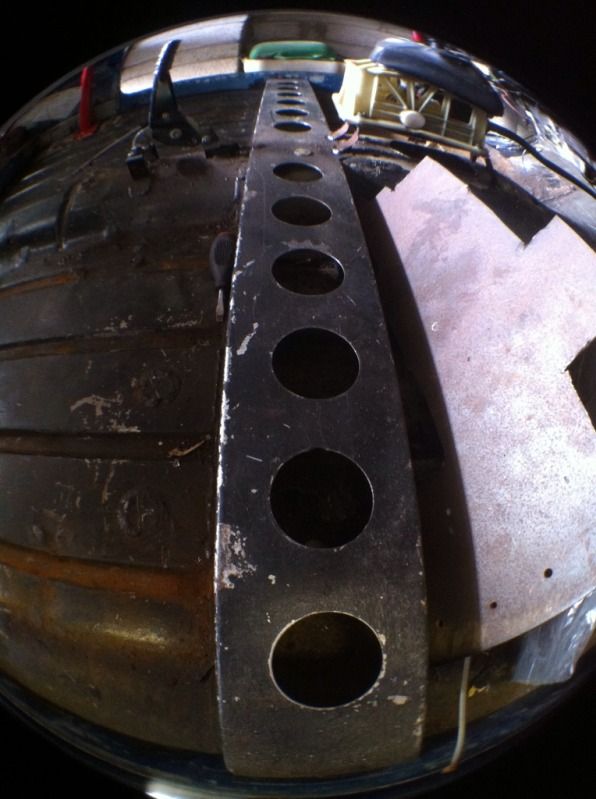
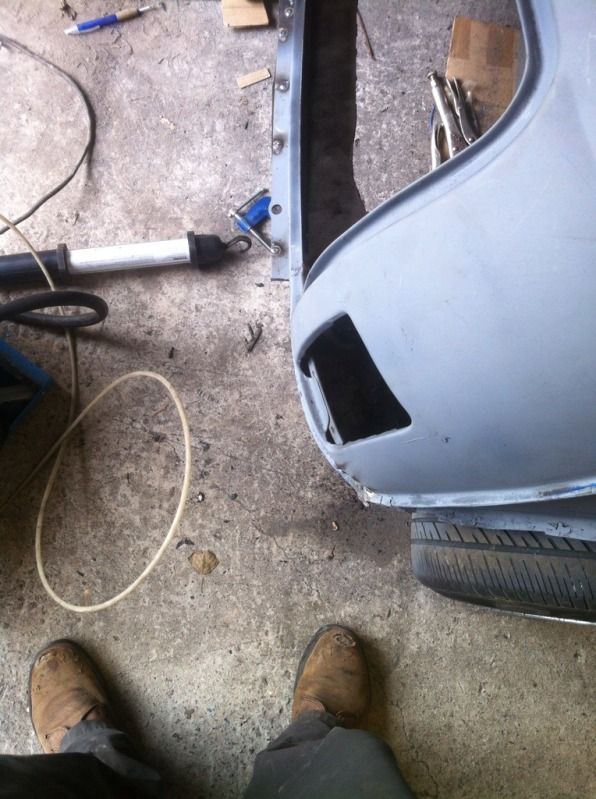
I don't know if you noticed, or if I mentioned it, but I cut nearly all of my boot out.
I fitted a new hinge panel, and then had to weld in what was left of the back edge of the floor back in so the carbon could be attatched too.
So I didn't have the lip going around the whole back of the car.
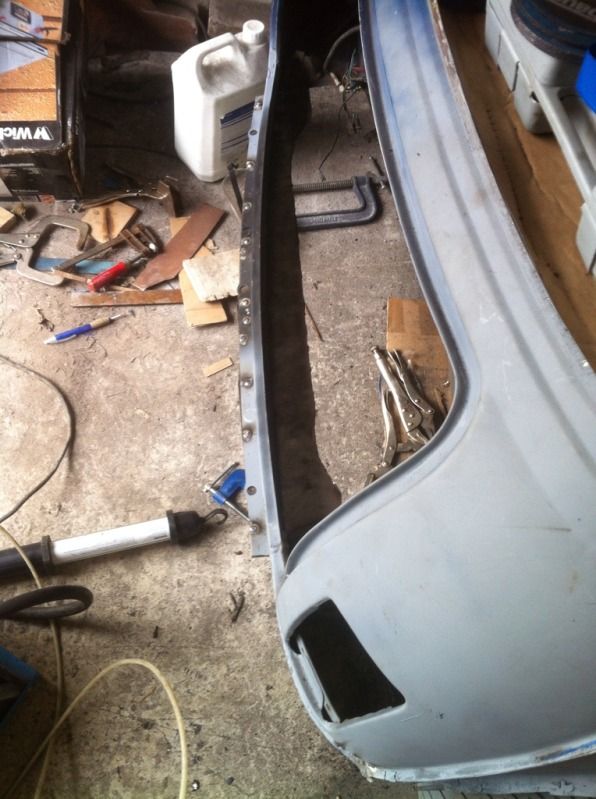
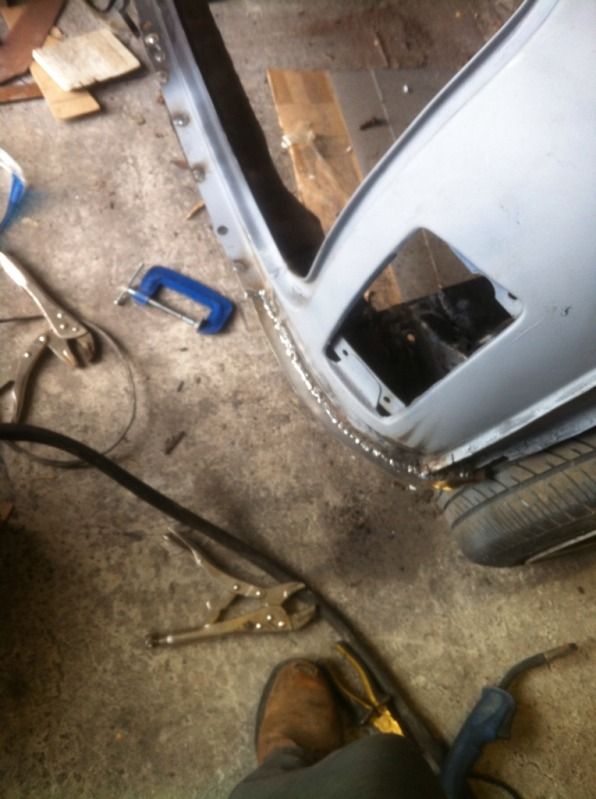
New corner lip welded in..
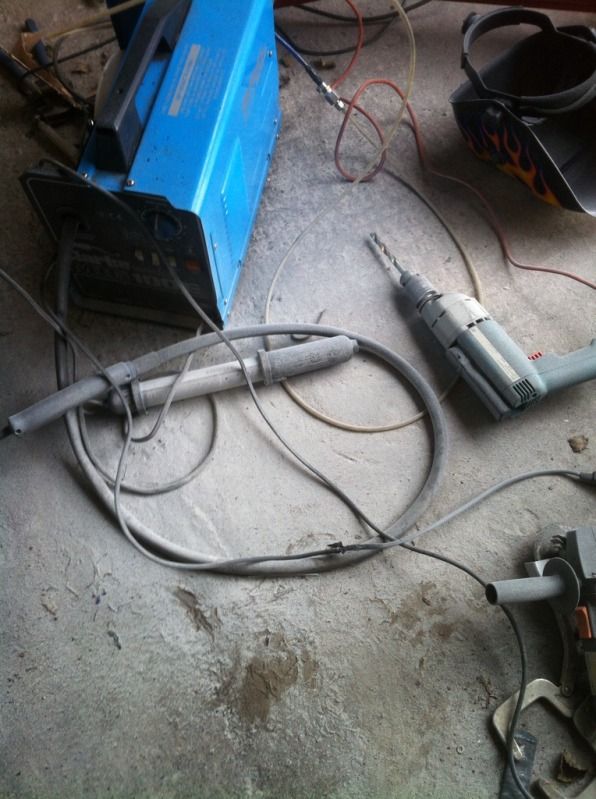
Took some filler out with a knot wheel.....mistake.
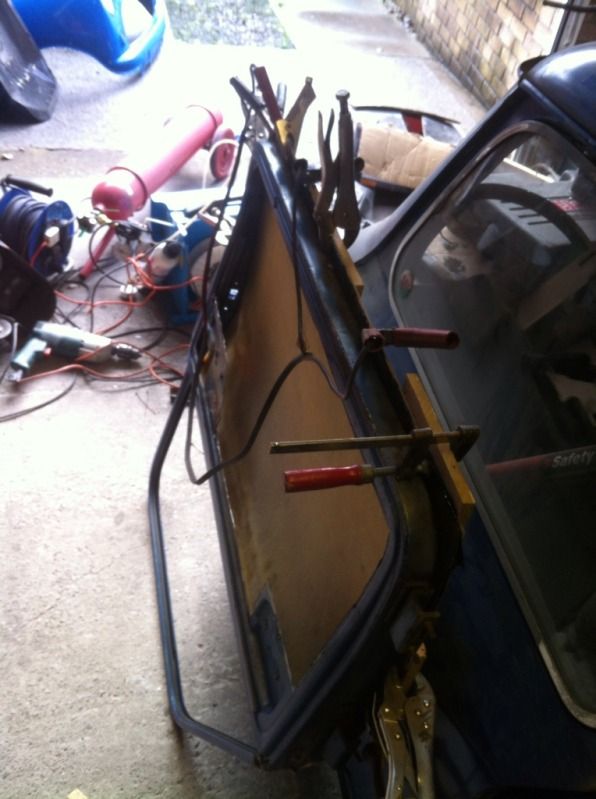
Bonded in the new skin for the drivers door.
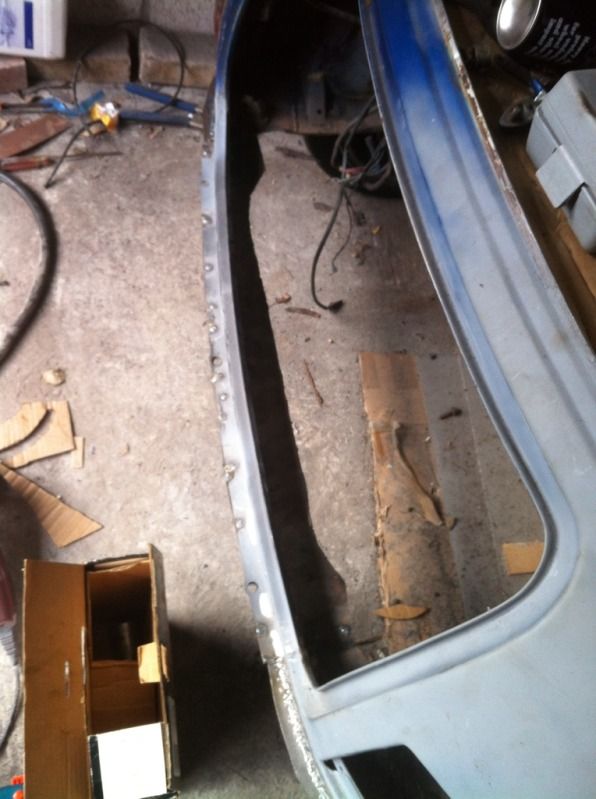
Floor edge in.
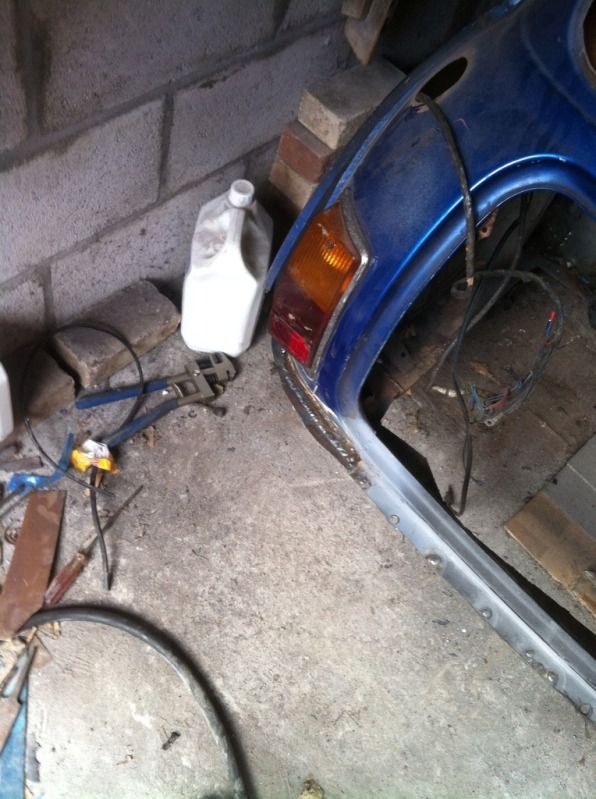
Other corner lip welded in, this is where all the filler came from. This was a quick repair I did for riv run last year to get it through MOT,
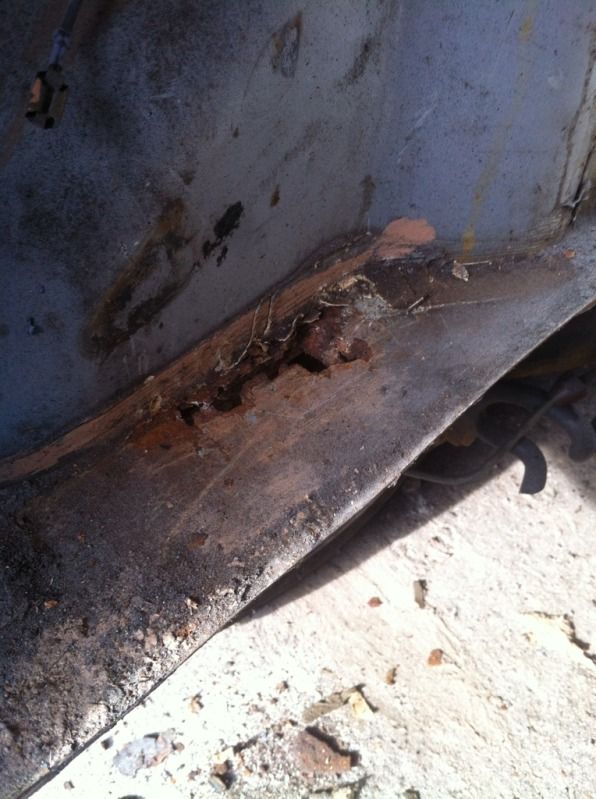
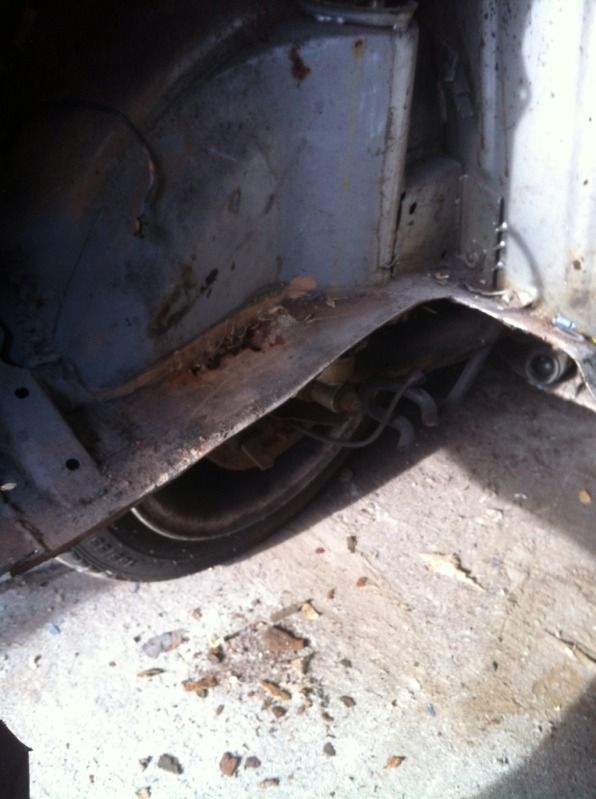
Then found more rust
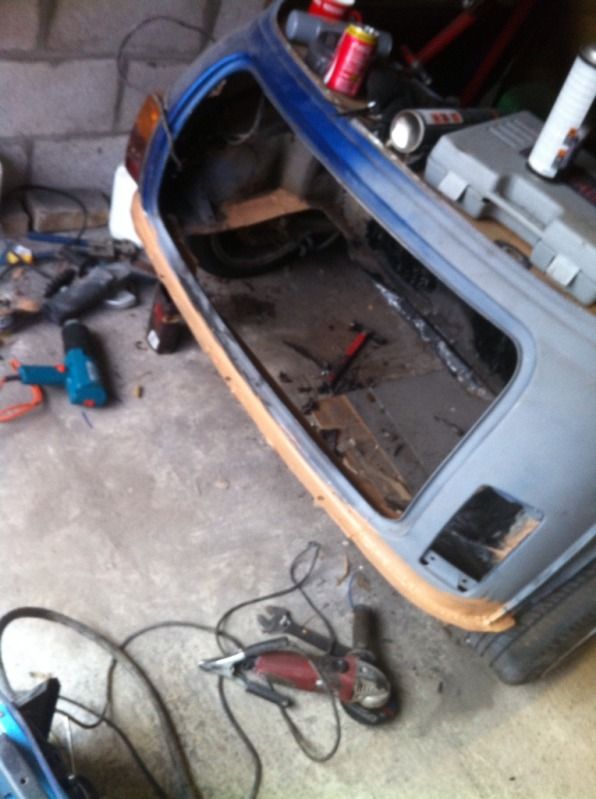
New lip all in and lovely.
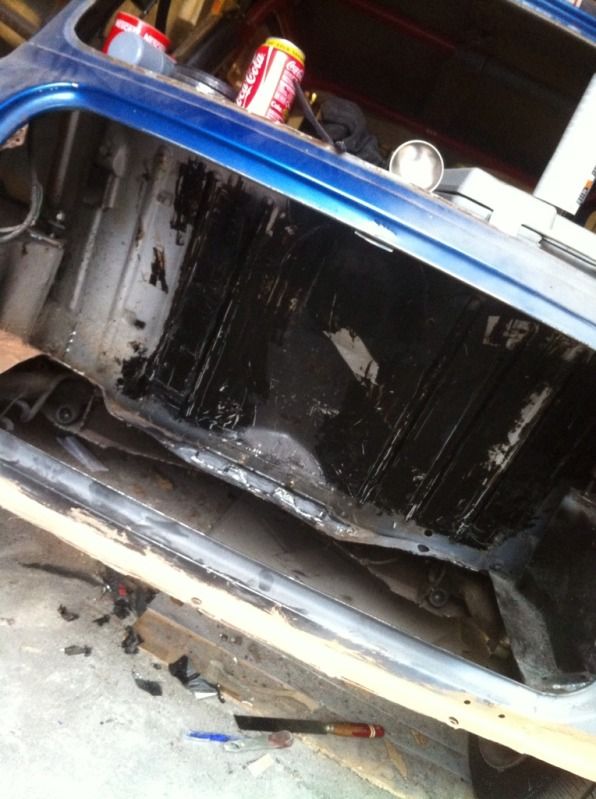
Started to clean off all the bitumen from the boot, but leaves a horrible sticky goop, so will have to get some thinners and spend a day on it.
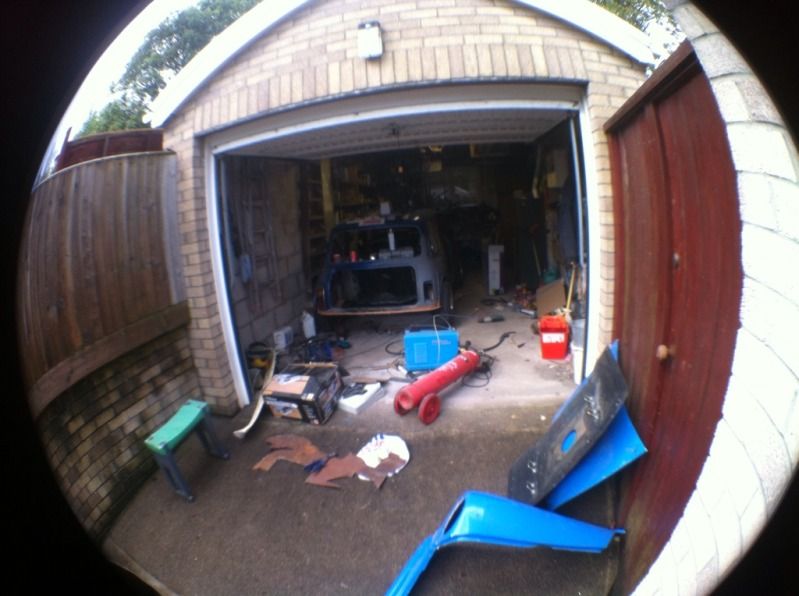
My messy garage, my title is pretty accurate at the moment. I move my car about by lifting the back up and dragging it around ha ha
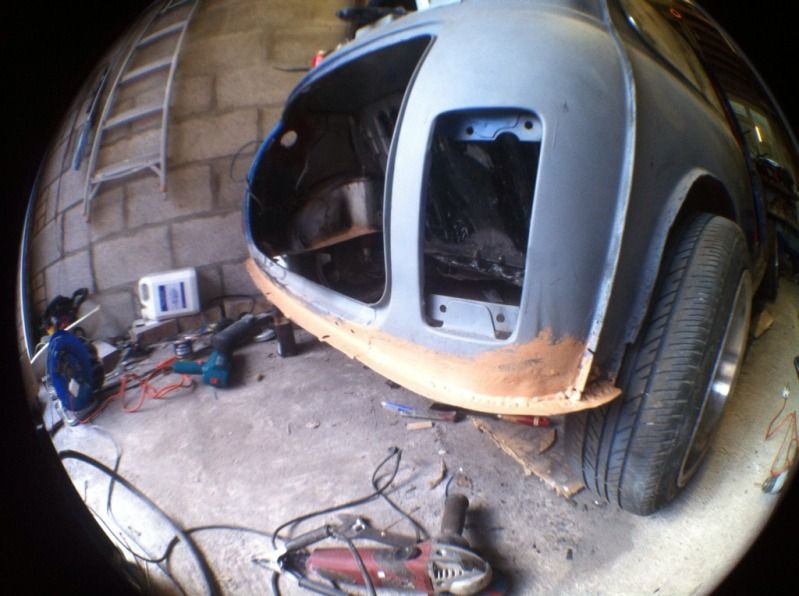
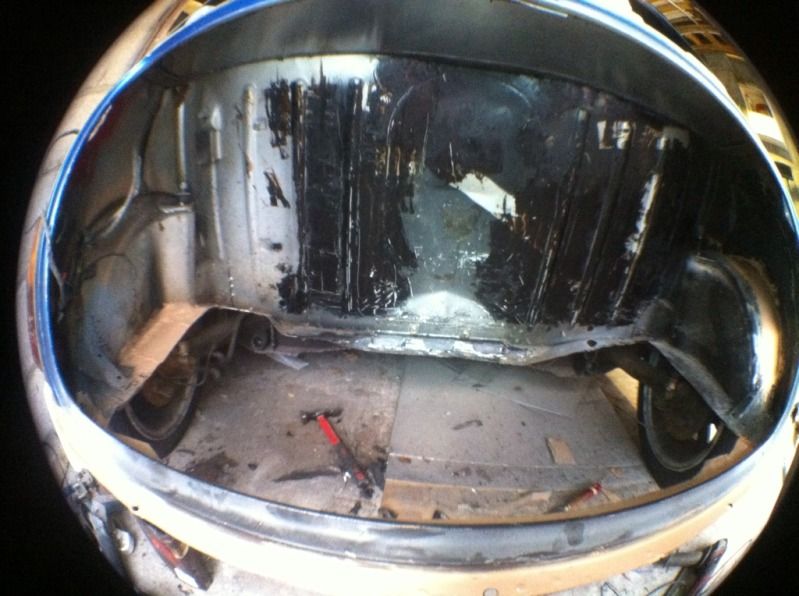
Now all of this is rust free, it's a case of cleaning it all up, painting it and attaching the carbon fibre in and run the fuel lines.
More to come next week, I'll try get the boot all finished and then paint the underneath and get to work on getting the engine going.
saaaaaaaaaaaaaaaaafe
Ben
#1753

Posted 19 October 2012 - 03:17 PM

Been a little busy after I bought this.
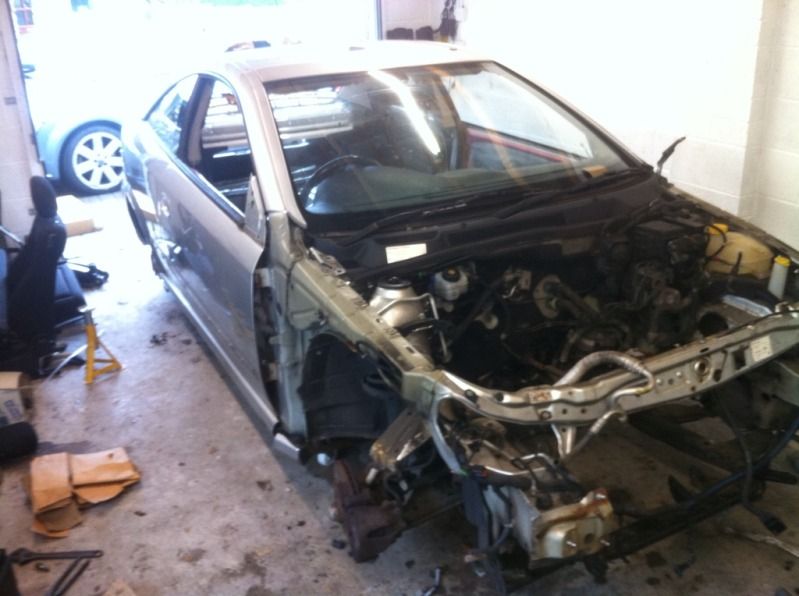
Did this.
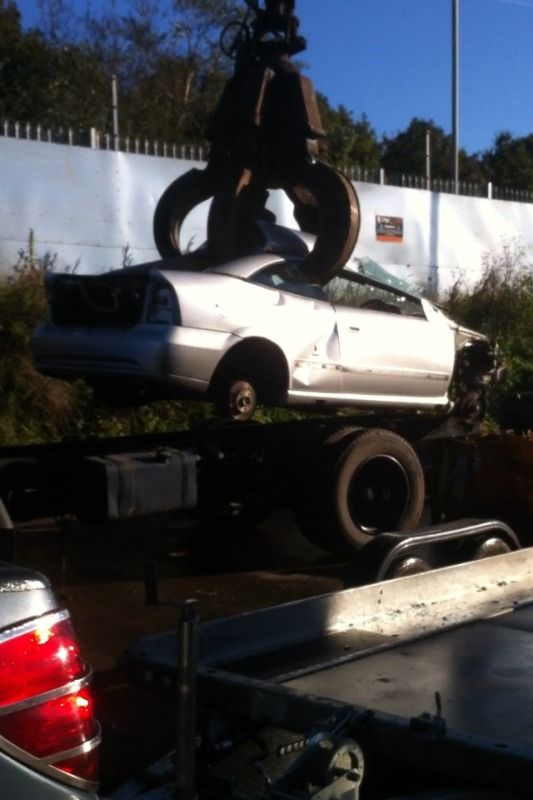
Then, did that.
So out of this, I got a new z18xe engine which I know works, smoothly and reliably. After selling a few bits and scrapping the shell I got my money back and a free engine.
Then got back up the garage and cleaned out the boot of rust old paint etc.
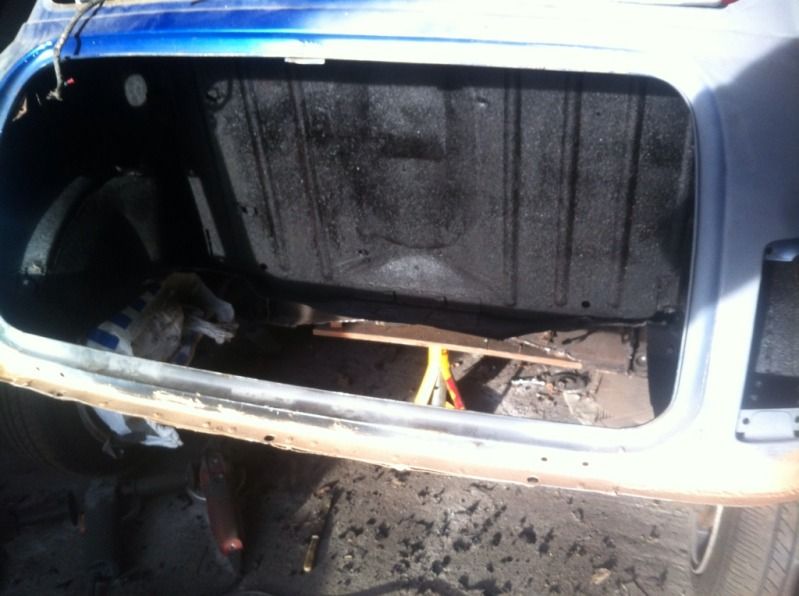
Then painted the inside,
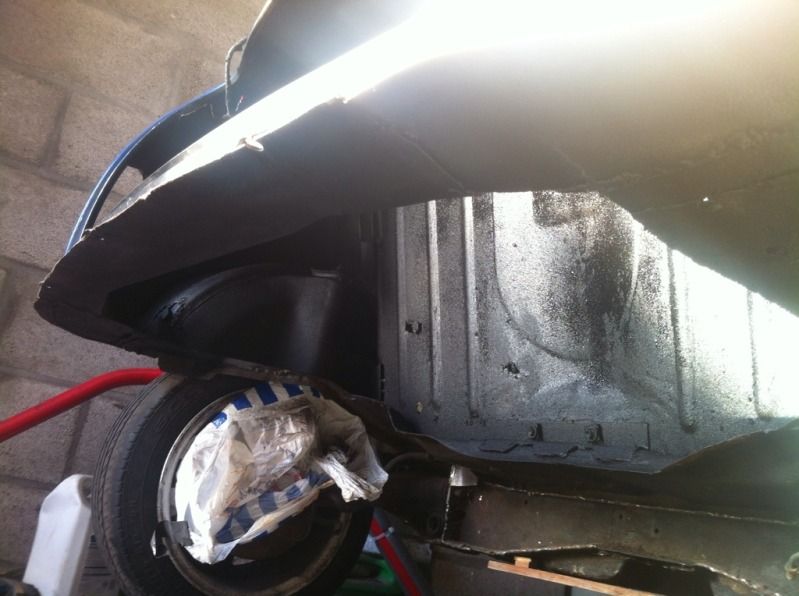
And a bit underneath. I need to take my beam off, and make a few alterations and then clean and paint all of the underneath of the car.
Then the cabin will get the same treatment, I started to weld in the roll cage mounts,
But I now have 2 engines and a spare cylinder head for the car to have a play with.
#1754

Posted 23 October 2012 - 05:53 PM
I want to get underneath and under seal the whole car, but have realised that I need to weld in seat brackets and I don't have any seats. Sooooo im not sure if I'll do that just yet.
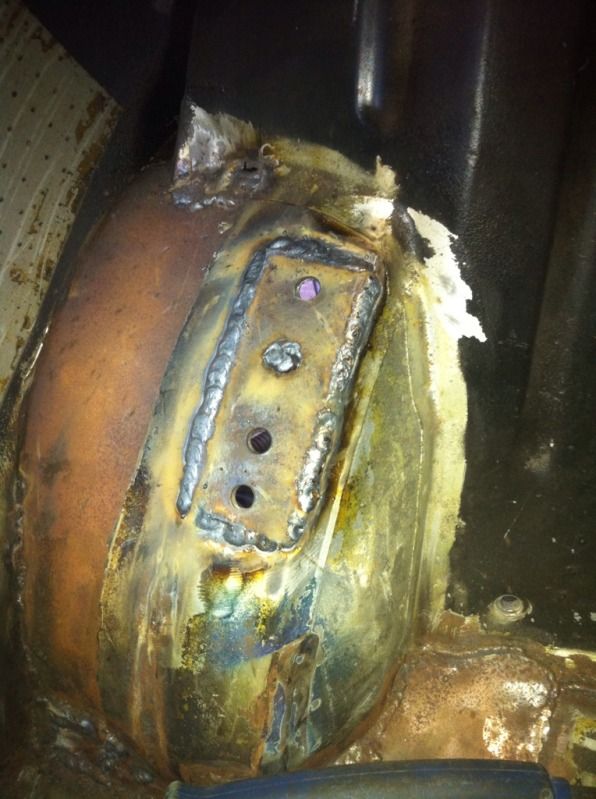
I need to start painting some of my parts, as you can see my tubbed arches have some surface rust.
It's all boring shell prep at the moment. Once it's done though I can make a start on getting the engine going!
#1755

Posted 25 October 2012 - 01:23 PM
also got a couple of doors....
1 user(s) are reading this topic
0 members, 1 guests, 0 anonymous users


