Jump to content


Photo
- - - - -

Lightweight Z18Xe


  • Please log in to reply
1943 replies to this topic

#1711 mini_mad69

mini_mad69

    Let future you worry about it

  • Traders
  • PipPipPipPipPipPipPipPipPipPip
  • 5,417 posts
  • Local Club: urrrr no

Posted 21 February 2012 - 12:09 AM

Posted Image

That'll do.

#1712 CaptainBland08

CaptainBland08

    Super Mini Mad

  • Members
  • PipPipPipPipPipPip
  • 675 posts

Posted 22 February 2012 - 05:12 PM

capacity? foam?

#1713 mini_mad69

mini_mad69

    Let future you worry about it

  • Traders
  • PipPipPipPipPipPipPipPipPipPip
  • 5,417 posts
  • Local Club: urrrr no

Posted 22 February 2012 - 05:49 PM

40 litres and foam yeah.


Well I was told 40 litres, but the writing on the side makes it look more like 50, will have to measure it, or wait until I fill it up.

#1714 mini_mad69

mini_mad69

    Let future you worry about it

  • Traders
  • PipPipPipPipPipPipPipPipPipPip
  • 5,417 posts
  • Local Club: urrrr no

Posted 23 February 2012 - 11:42 PM
Posted Image

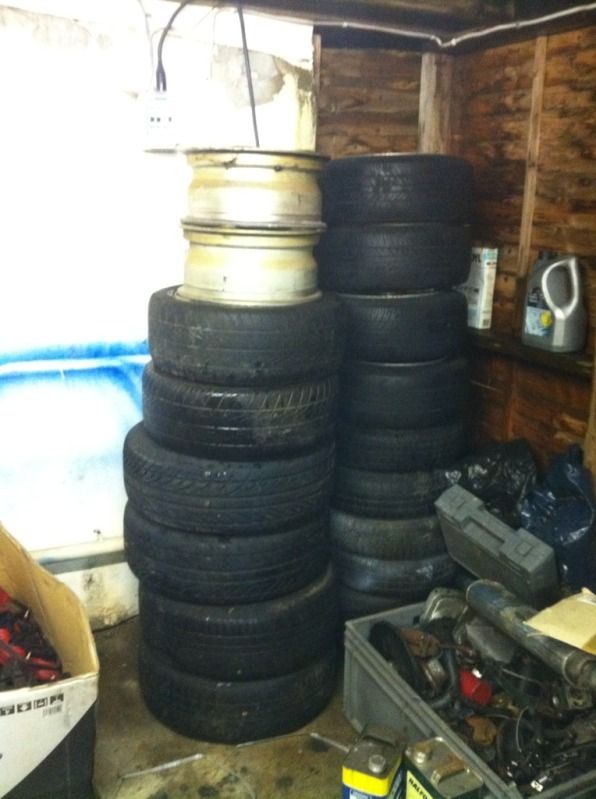
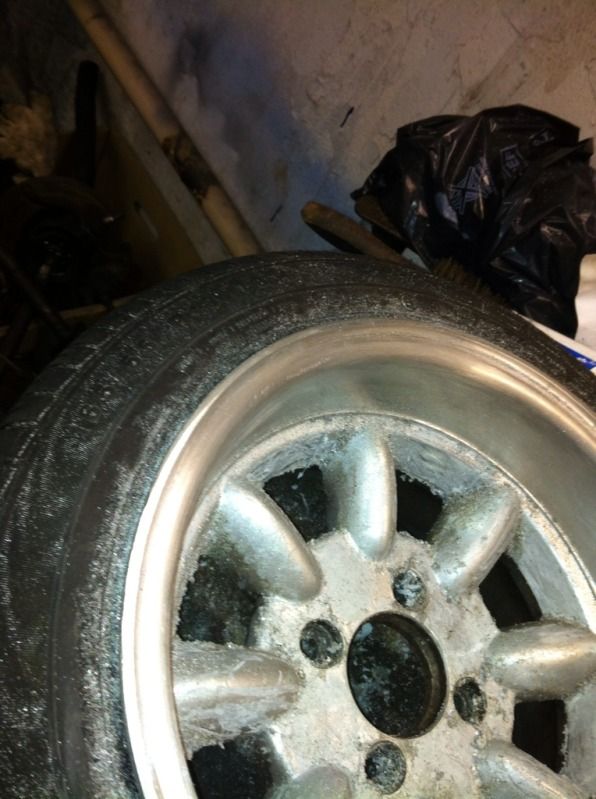
Was going to start refurbing these, but realised that all my tools are in the garage with the mini, and that's a 10 minute drive away, so I thought I'd crack on in my shed.

Posted Image

Probably need to get rid of some of these, they're all spares/not going to be used.

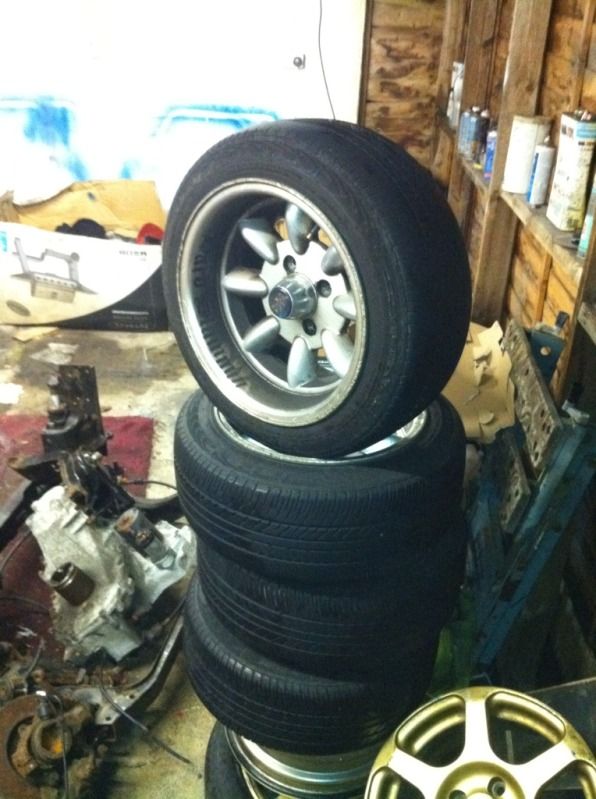
I've recently got a set of 13x7 superlite wheels. I'm unsure whether to use them or sell them on to make a bit of money.
Either way, I thought I'd add a project thread so people can have a look, but also as a bit of a guide for anyone wanting to do the same.

I'll update this : http://www.theminifo...perlite-wheels/

With just the progress on the wheels, but also as a bit of a guide for people.

Posted Image

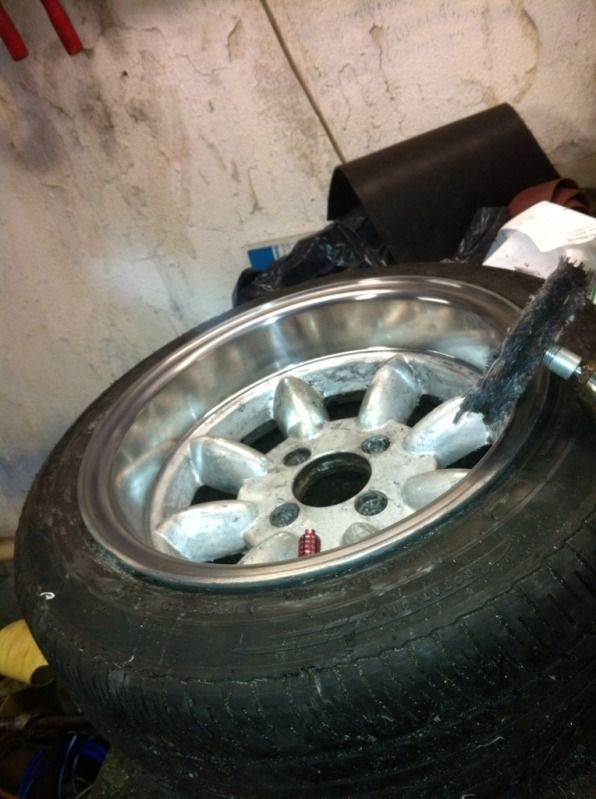
These are the wheels, as you can see, not in good condition.

Horrendous kerb marks, and loads of corrosion under the lacquer, as well as some awful stickers that needed removing.


Here is a quite boring link of the lacquer bubbling off.


Posted Image

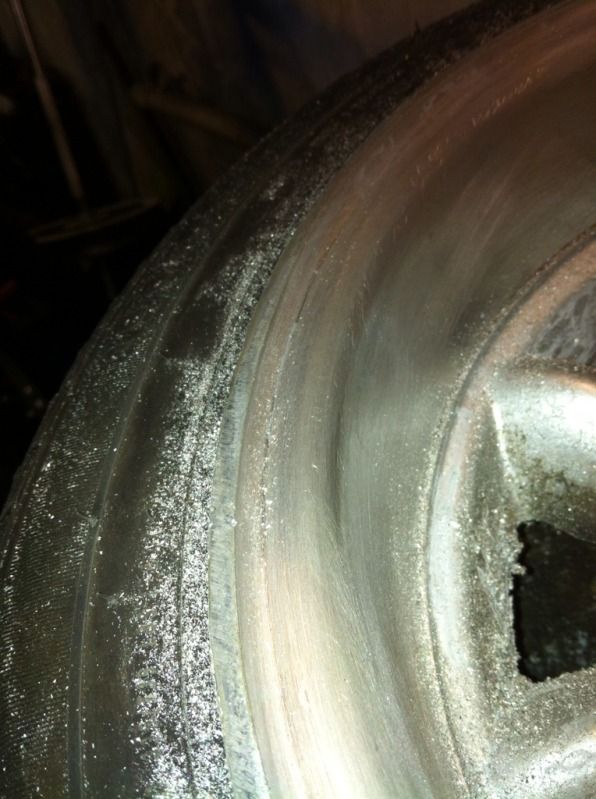
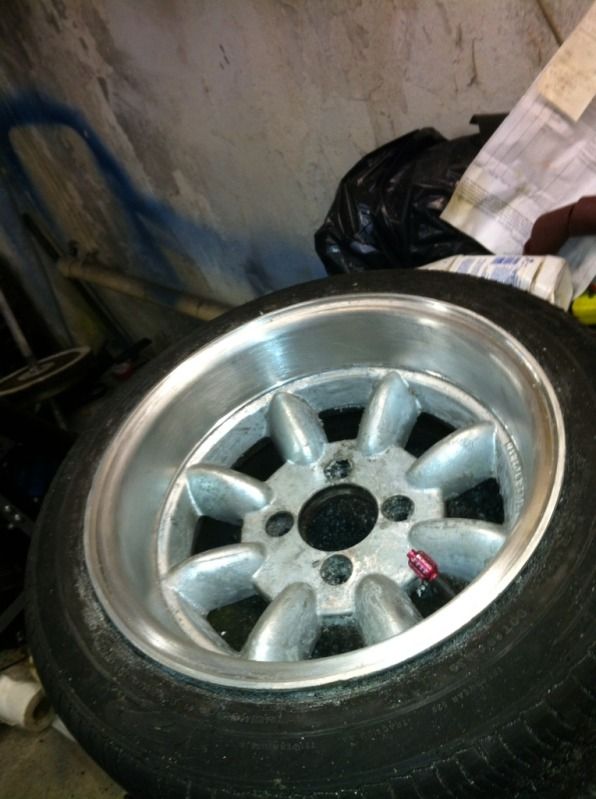
Filed down the edges of the rim to remove the kerb marks.

Posted Image

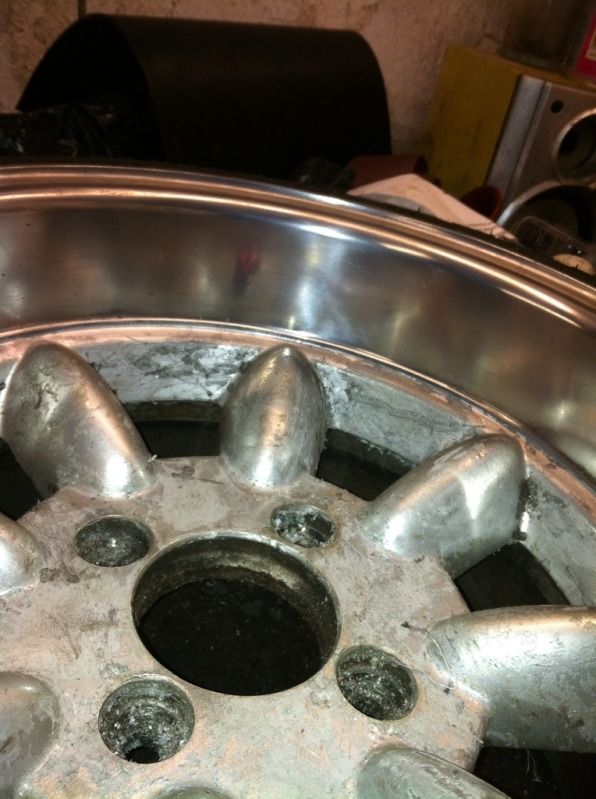
Maybe a better picture.

Posted Image

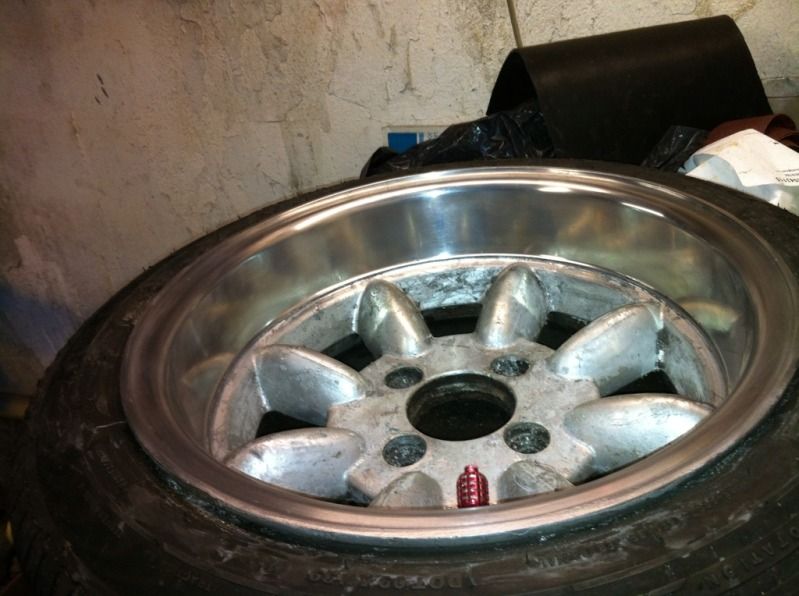
Also started rubbing out the corrosion marks with emery cloth, really rough stuff first and then down to some finer stuff.
I had to use the file again in some of the worst parts. That's how bad the corrosion had gotten in places.


Ben

Edited by mini_mad69, 23 February 2012 - 11:44 PM.


#1715 mini_mad69

mini_mad69

    Let future you worry about it

  • Traders
  • PipPipPipPipPipPipPipPipPipPip
  • 5,417 posts
  • Local Club: urrrr no

Posted 26 February 2012 - 12:32 AM
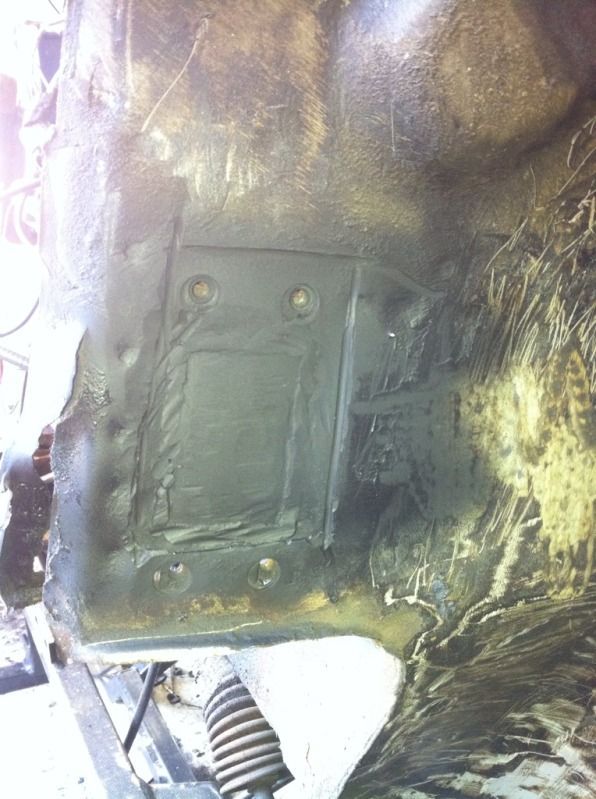
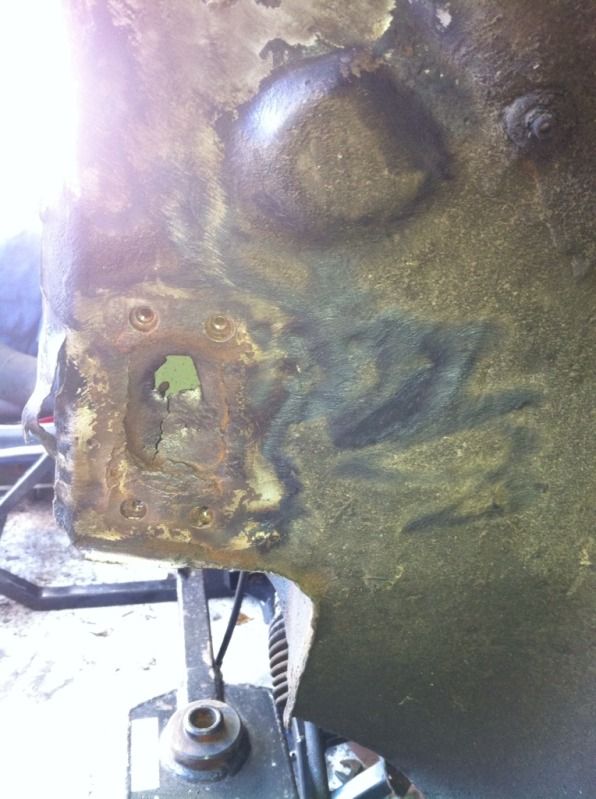
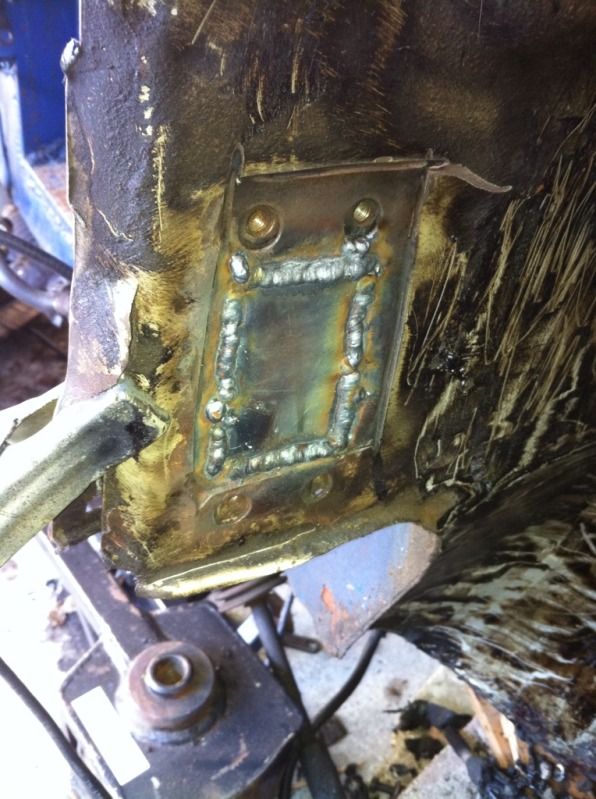
Posted Image

Hole

Posted Image

Outer layer cut off.

Posted Image

Cleaned out inside the crossmember,

Posted Image

Inner layer welded in.

Posted Image

Painted.

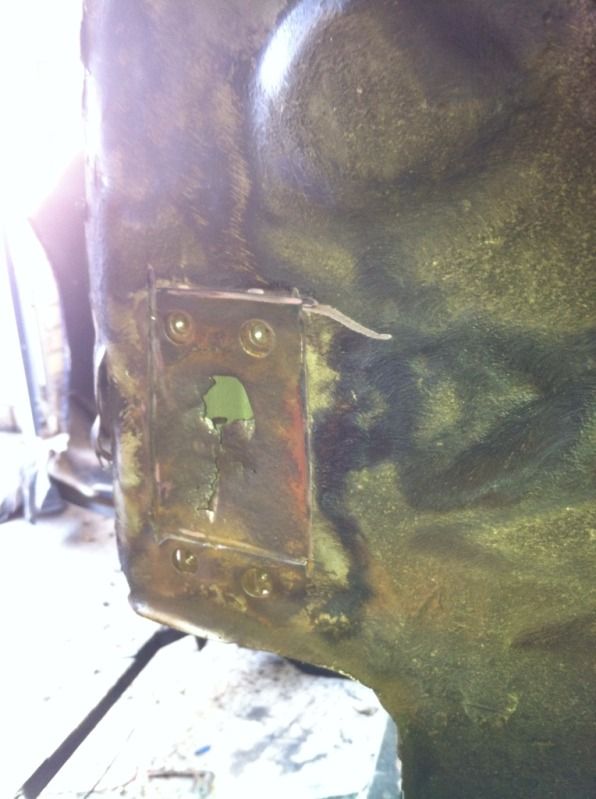
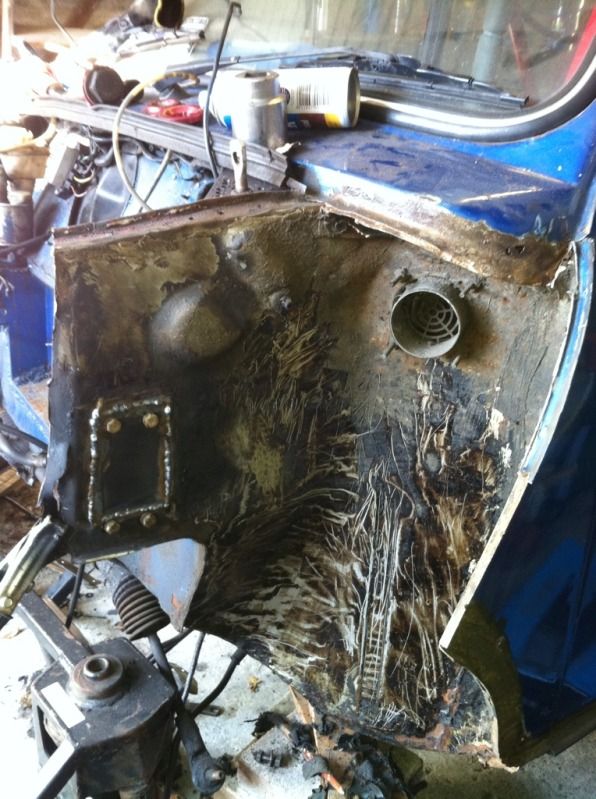
Posted Image

Outer layer welded on, and I started removing the underseal.

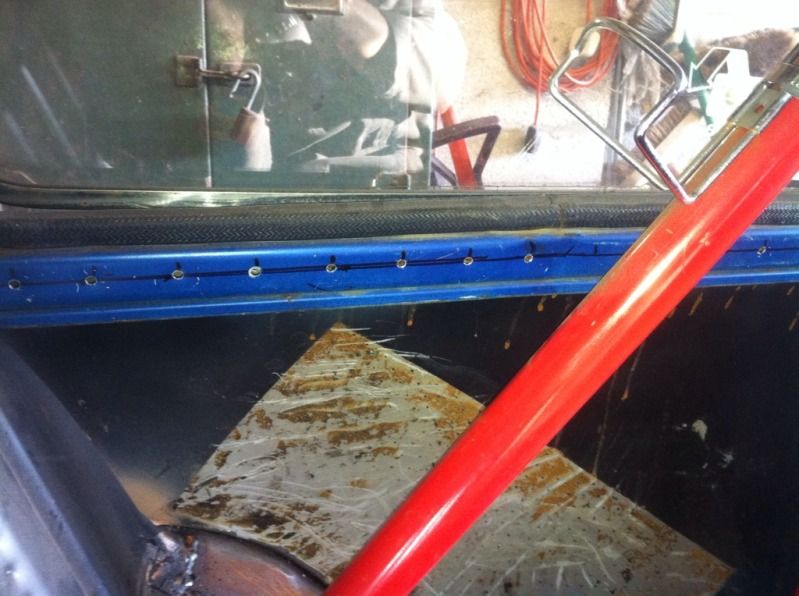
Posted Image

Holes.

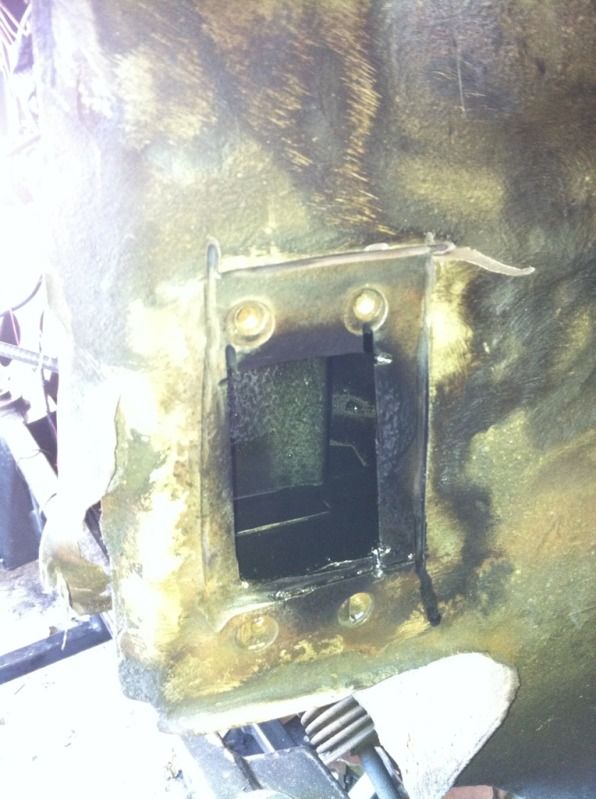
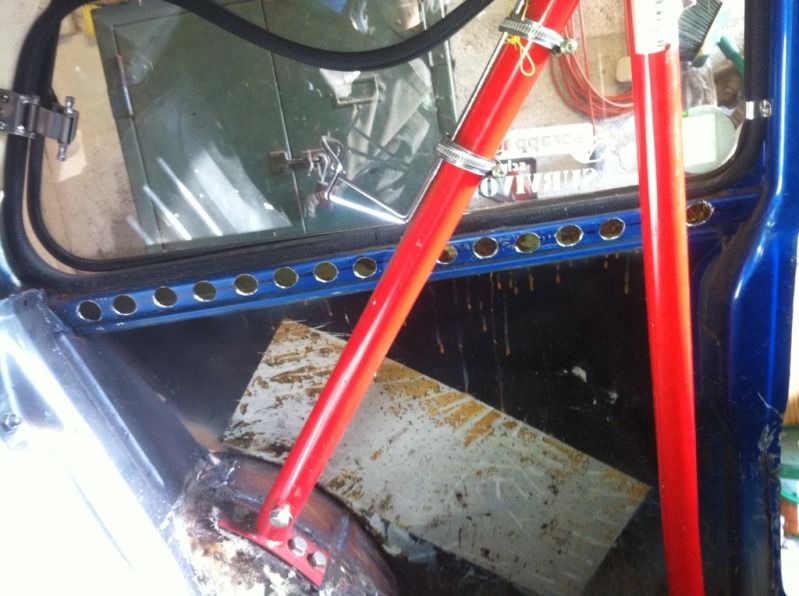
Posted Image

Holes.

I don't get it, the panel is bent and makes the holes look wonky, but I put a straight edge on them and they are straight.

I'll straighten the panel and maybe they'll look better.

Oh yeh, removed the sound deadening pad as well.


Ben

Edited by mini_mad69, 26 February 2012 - 12:33 AM.


#1716 leaky

leaky

    Iv never hit a penguin in the face with a casserole

  • TMF+ Member
  • PipPipPipPipPipPipPipPipPipPip
  • 6,890 posts
  • Location: Costa Del Tadley
  • Local Club: Basingstoke Mini Club

Posted 26 February 2012 - 11:48 AM

Good work on the shock mount. I'v found my drivers side ones not to hot and will need a bit of welding like that done to it. You seem to be getting on top of everything though. Better crack on if you still want it done for rivi lol. Were are already almost in march!

#1717 mini_mad69

mini_mad69

    Let future you worry about it

  • Traders
  • PipPipPipPipPipPipPipPipPipPip
  • 5,417 posts
  • Local Club: urrrr no

Posted 27 February 2012 - 11:43 PM

I know :( Riv run is really not looking good, MOT runs out april 27th, so as every year would need to get it's MOT just before.

Never going to happen, gutted :(

#1718 benjib1990

benjib1990

    Stage One Kit Fitted

  • Noobies
  • PipPipPip
  • 84 posts
  • Location: wirral

Posted 28 February 2012 - 07:19 PM

1380 build starts again tomorrow, engine will be dismantled and I will try to get it spinning over again. I will get it apart and inspect and measure the crank.

New spec for engine aswell.

1380 block
73.5mm powermax pistons
kent 286 cam
duplex timing gear
central oil pickup
1.5 rockers
998 gearbox
3.44 diff
Minisport inlet, (going to port match it to carb)
HIF44 with vizards modifications
Ram-air, air filter
Standard verto clutch system with new clutch plate
Facet fuel pump

Still undecided on head,

I have a head but I have no idea what it is, the valves look pretty big but the combustion chamber looks like it been home worked. On my current SPI block that im running.

I have an SPI cooper head. The issue with this is that it moves a little weirdly, it kinda sticks when on an engine, so ive never used it.

Im trying to get an MG metro head, and will then port match it and maybe double valve springs.


Going to try get the engine completed by the end of april.

For the car I have adjustable bottom arms and gax adjustable shocks.
Going to remove the amplifier that ran the subs and place the other one in the boot.
Will then sound proof and carpet the rear bench.

dont the metro heads come with double v springs standard anyway?

#1719 benjib1990

benjib1990

    Stage One Kit Fitted

  • Noobies
  • PipPipPip
  • 84 posts
  • Location: wirral

Posted 28 February 2012 - 07:54 PM


1380 build starts again tomorrow, engine will be dismantled and I will try to get it spinning over again. I will get it apart and inspect and measure the crank.

New spec for engine aswell.

1380 block
73.5mm powermax pistons
kent 286 cam
duplex timing gear
central oil pickup
1.5 rockers
998 gearbox
3.44 diff
Minisport inlet, (going to port match it to carb)
HIF44 with vizards modifications
Ram-air, air filter
Standard verto clutch system with new clutch plate
Facet fuel pump

Still undecided on head,

I have a head but I have no idea what it is, the valves look pretty big but the combustion chamber looks like it been home worked. On my current SPI block that im running.

I have an SPI cooper head. The issue with this is that it moves a little weirdly, it kinda sticks when on an engine, so ive never used it.

Im trying to get an MG metro head, and will then port match it and maybe double valve springs.


Going to try get the engine completed by the end of april.

For the car I have adjustable bottom arms and gax adjustable shocks.
Going to remove the amplifier that ran the subs and place the other one in the boot.
Will then sound proof and carpet the rear bench.

dont the metro heads come with double v springs standard anyway?

and i wasnt expecting that conversion, haha, vaux conversion sunds like a plan, gonna keep my eye on this thread

#1720 mini_mad69

mini_mad69

    Let future you worry about it

  • Traders
  • PipPipPipPipPipPipPipPipPipPip
  • 5,417 posts
  • Local Club: urrrr no

Posted 28 February 2012 - 08:17 PM

All depends on what metro you have, but I don't think they do no.

Yeah, looking forward to getting the vaux in.

#1721 mini_mad69

mini_mad69

    Let future you worry about it

  • Traders
  • PipPipPipPipPipPipPipPipPipPip
  • 5,417 posts
  • Local Club: urrrr no

Posted 28 February 2012 - 11:29 PM
Posted Image

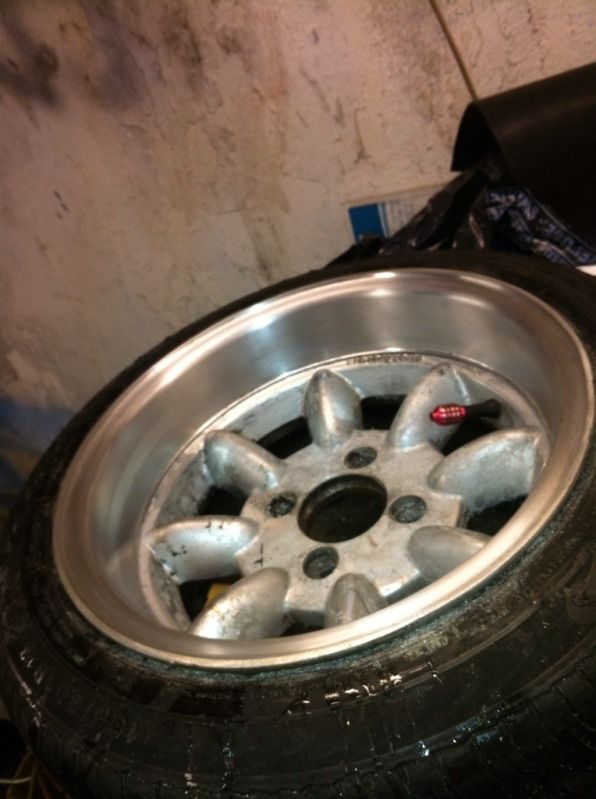
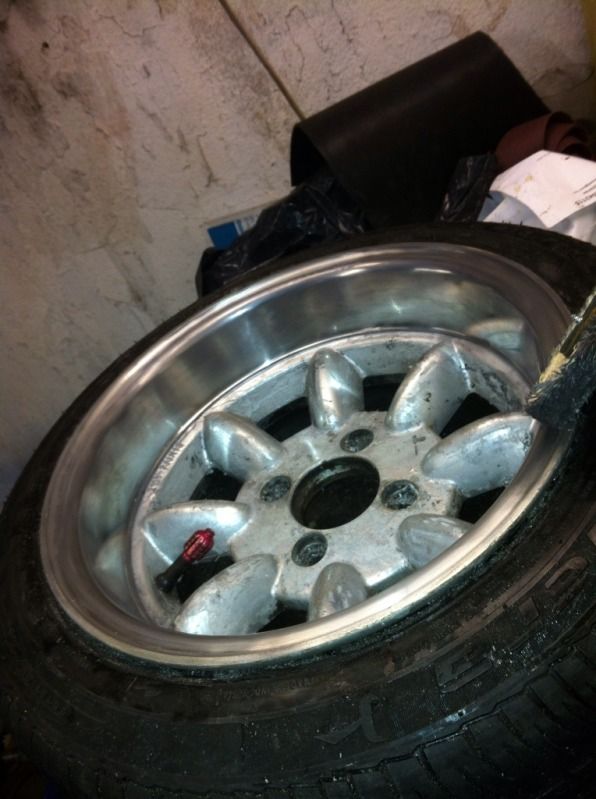
Cleaned them up a bit more with a scouring pad.

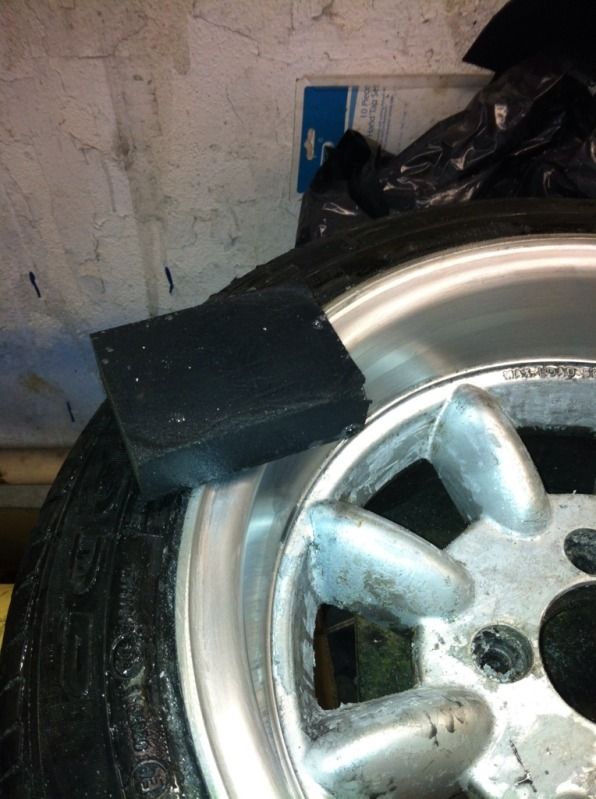
Posted Image

Running block, all i know was that this was rougher than my 400 grit paper, im guessing around 280.

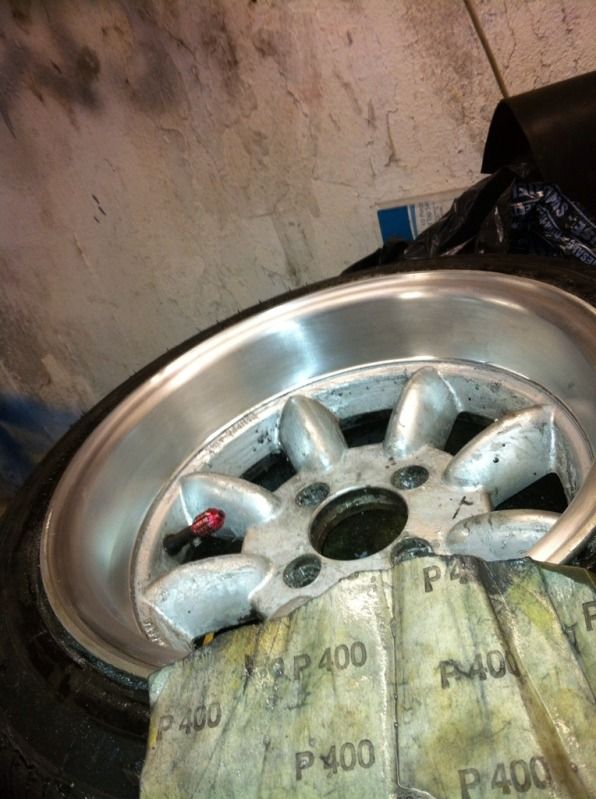
Posted Image

400 grit paper

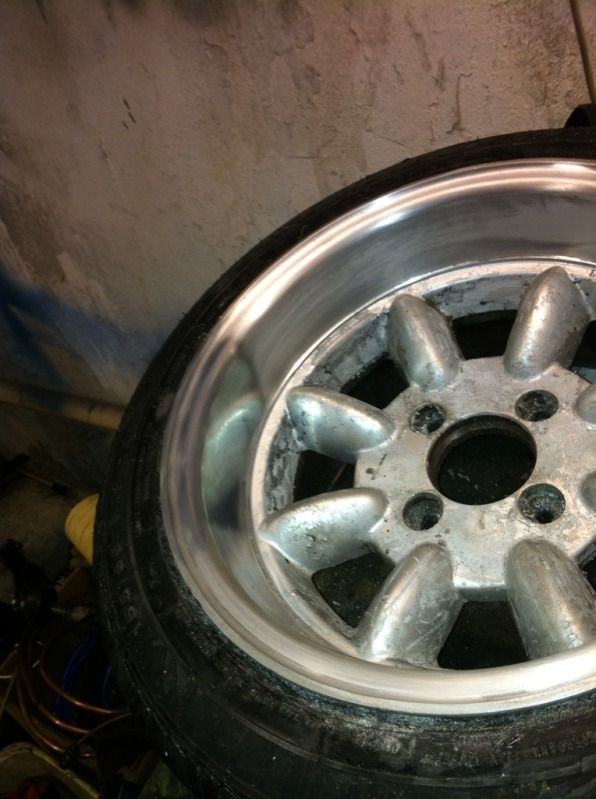
Posted Image

Small section using rough polishing wheel and compound.

Posted Image

Medium hardness wheel and medium compound.

Posted Image

Softest wheel.

The instructions said use the soft compound (blue), but mine wasn't in the box, it either fell out or was never there.
I've had my polishing kit for around a year now and this is the first time i've used it. So I substituted some G3 paint cutting compound, which seemed to work fairly well.

Posted Image

Not a bad finish, but I reckon I can do better with more time spent rubbing down.

Posted Image

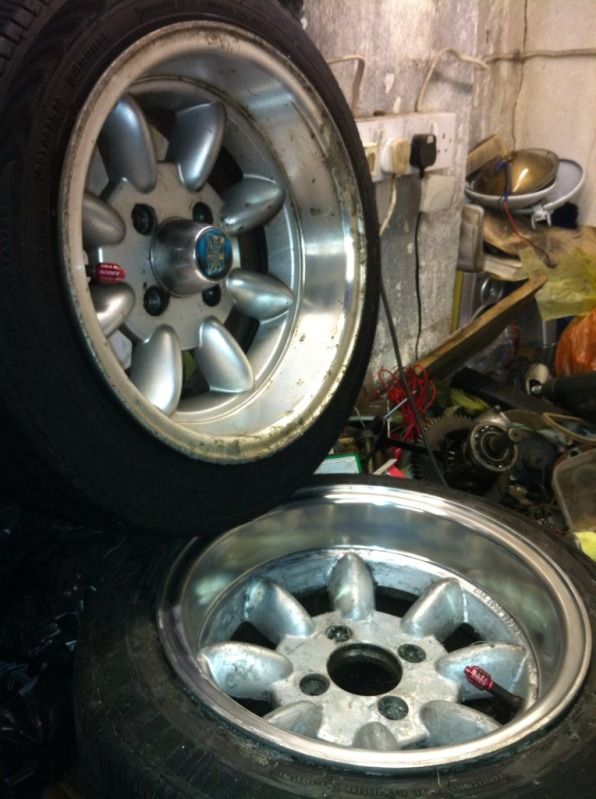
This is one of my 12x6 wheels in the same style, these are in ok condition and are pretty much as they come from the supplier.

You can see that my 13x7 wheel which I have polished has a more mirror finish with better reflection, and looks a lot deeper.

Posted Image

And here is one untouched 13x7 with my newly polished one.

I have a tube of autoglym metal polish which I found to be fantastic, and I think will finish the rim off perfectly. However this is sitting in the boot of the mini, which is in a garage a little drive away as I said earlier, so I'll grab that next time i'm up there.

Using the autoglym stuff and rubbing down with wet'n'dry paper I turned this :

Posted Image


Into this:
Posted Image


And that was by hand, so with my polishing wheels, I should get a decent finish I hope. Although i'm quite happy with what I've achieved so far.

#1722 benjib1990

benjib1990

    Stage One Kit Fitted

  • Noobies
  • PipPipPip
  • 84 posts
  • Location: wirral

Posted 29 February 2012 - 07:00 PM

in work we use diamond paper, and the finish you can get with that is insane

#1723 Mini 360

Mini 360

    Up Into Fourth

  • Members
  • PipPipPipPipPipPipPipPipPip
  • 4,933 posts
  • Location: Aberdeenshire
  • Local Club: Independent

Posted 29 February 2012 - 07:28 PM

To get the lip like a mirror you need to be sanding up the grades all the way to at least 2000 wet and dry. Then polish after that stage. :)

#1724 mini_mad69

mini_mad69

    Let future you worry about it

  • Traders
  • PipPipPipPipPipPipPipPipPipPip
  • 5,417 posts
  • Local Club: urrrr no

Posted 29 February 2012 - 11:37 PM

Cheers guys, I'll put more effort in. This was kinda just a taster to see how they'd come out.

I'll go to the paint shop and get some decent wet 'n' dry, I did that with 2 very old pieces and a sanding block i found in the shed.

#1725 welshraider

welshraider

    Stage One Kit Fitted

  • Noobies
  • PipPipPip
  • 61 posts

Posted 12 March 2012 - 12:46 AM

the offer stands. if mine is to the point of an mot im more than up for Riviere run and there will be space. if ur bored ill be in the garage most of the day tomoz stripping mine down. u know where it is and the kettle will be on constant, only way to stop going spare


1 user(s) are reading this topic

0 members, 1 guests, 0 anonymous users