Supercharged K20a2 Vtec - Race Spec
#571

Posted 23 November 2010 - 04:52 PM
#572

Posted 23 November 2010 - 08:45 PM
For those unable to appreciate/understand sarcasm they werent and I can highly recommend Image wheels.
Edited by cptkirk, 24 November 2010 - 02:07 PM.
#573

Posted 24 November 2010 - 02:06 PM
Next job on the agenda is to get my camcorder working, I have a mount for it that goes across the rear diagonals but its too far back for me to reach so I have a small solenoid that I am going to use to start/stop the recording. Got a feeling its not going to like tickover as it tends to vibrate a bit due to the harder engine mounts, a small sacrifice for such a tight feeling car. Then get the vids up on youtube.
#574

Posted 24 November 2010 - 03:20 PM
Maybe you could mount the cam on a rubber?
by the way what can you do with 365 used condoms.....make a tyre out of it and call it a Goodyear!
#575

Posted 29 November 2010 - 07:55 AM
#576

Posted 29 November 2010 - 01:42 PM
might aswell get some snow chains off image aswell! FOOOKING FREEZING.
Not wrong there......
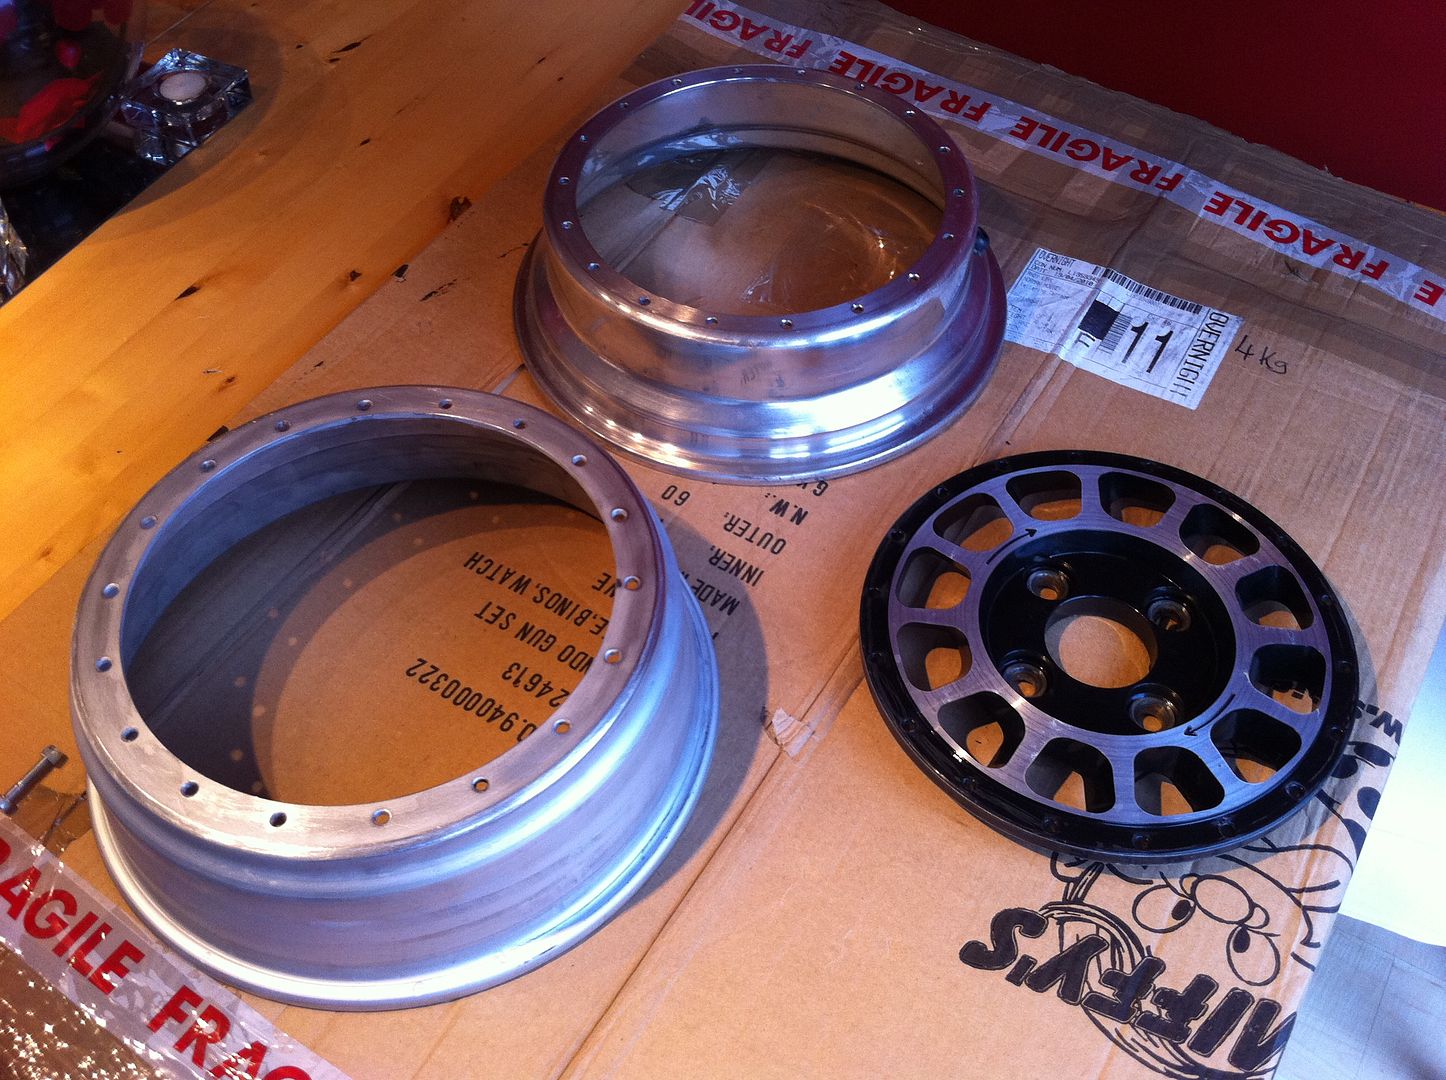
So I got the wheel apart on the weekend, bit of a barsteward trying to get all the old silicone off but I got there in the end, not much to show really but I took a snap whilst the wheel was apart jsut so people can see what they are like in their seperate pieces:
#577

Posted 25 December 2010 - 02:40 PM
Good Stuff
#578

Posted 10 January 2011 - 11:57 AM
Just gone through all 39 pages, very nice build ! I intend using some of your ideas on my Little Fiat project.
Good Stuff
t66
Thanks for the compliment.
Things are quiet with me at the moment as the roads are just too sh1tty for my liking. My next move is to get camcorder working and get out to a track for some footage, cant say how long it'll be though.
Any subtle changes to the car will be documented in here so keep coming back for updates...
#579

Posted 10 January 2011 - 01:37 PM
Dude. Hats off. Large round of applause!
#580

Posted 10 January 2011 - 02:46 PM
#581

Posted 10 January 2011 - 02:52 PM
I do hope you wiped your screen off.
#582

Posted 10 January 2011 - 03:14 PM
Seriously, thanks for compliments, glad you like and I hope to be able to bring some footage and maybe even some future mods to the build diary.
#583

Posted 23 January 2011 - 03:31 PM
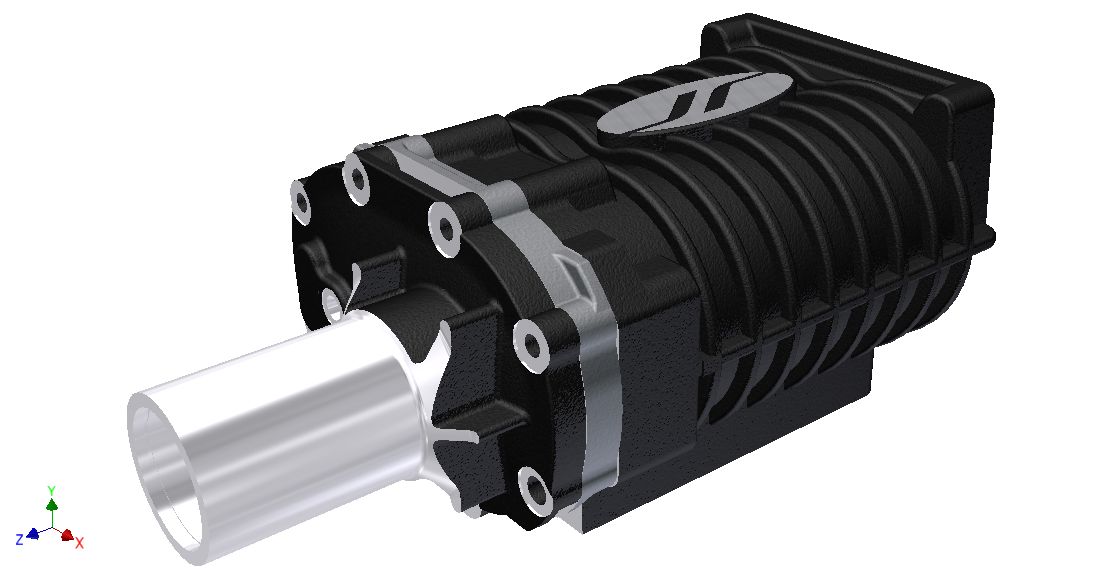
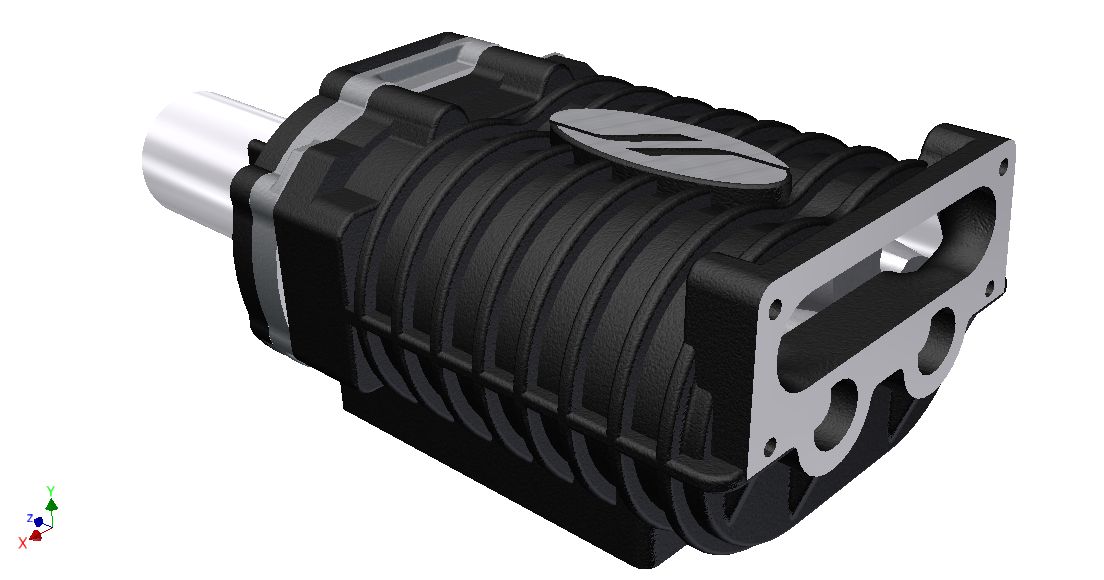
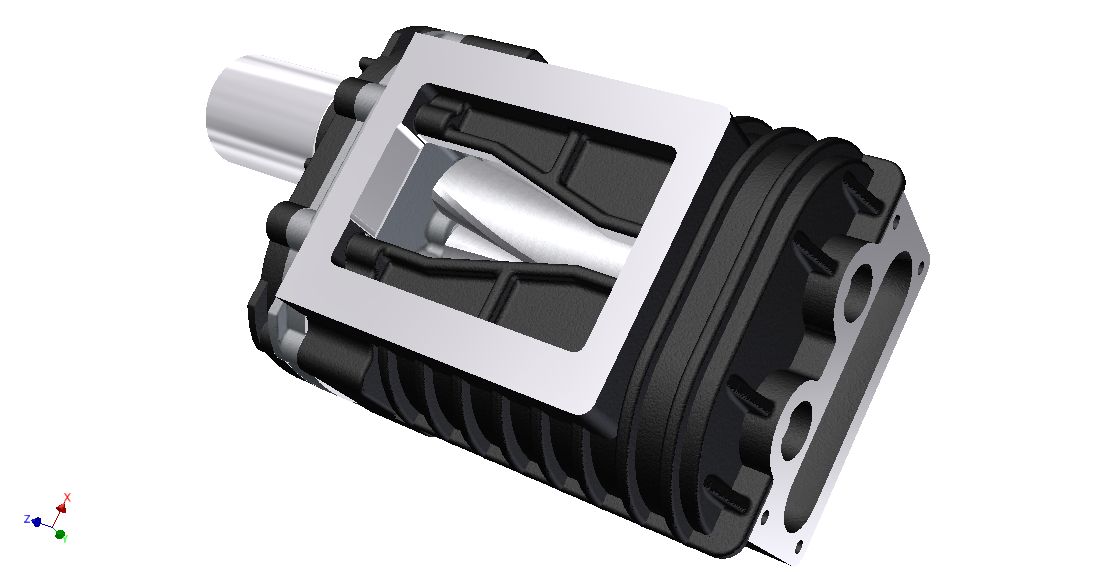
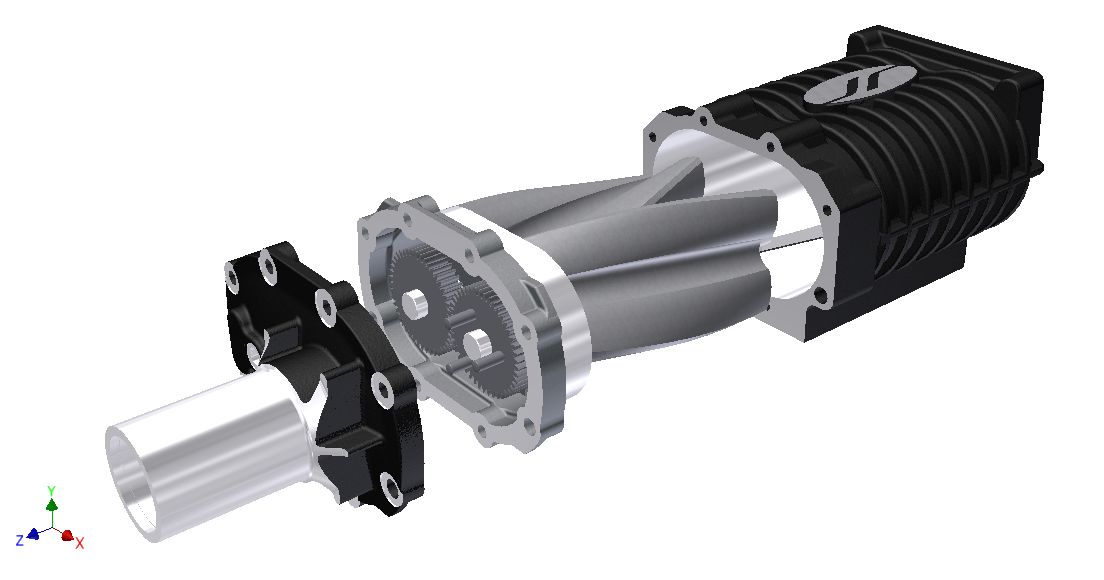
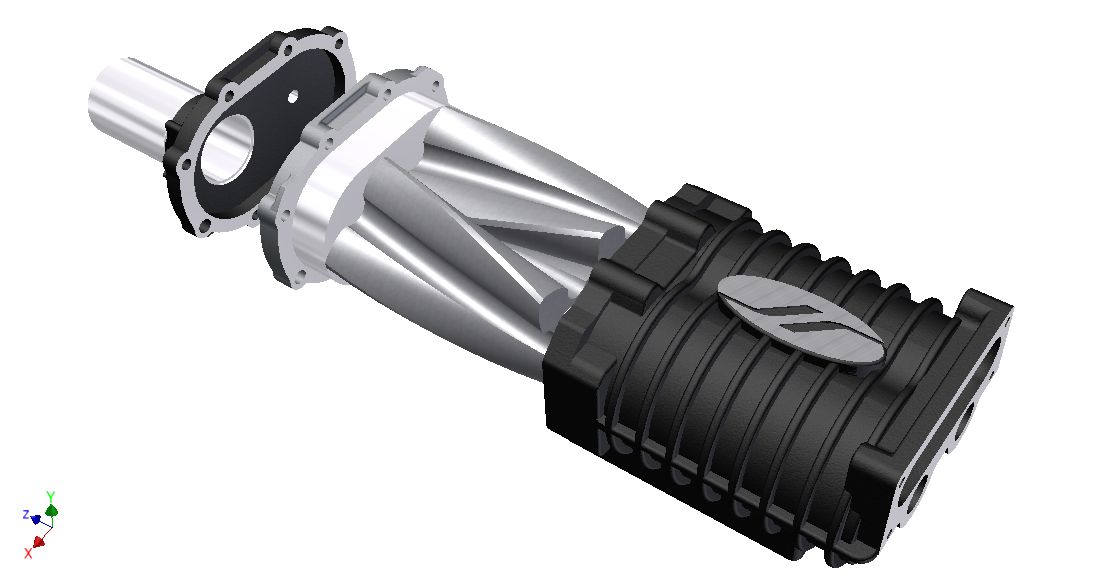
I have been working on a new manifold to go between the Throttle Body (TB) and the Supercharger (SC) over the last two weeks, I hasten to add that I am not finished but I am well on the way.
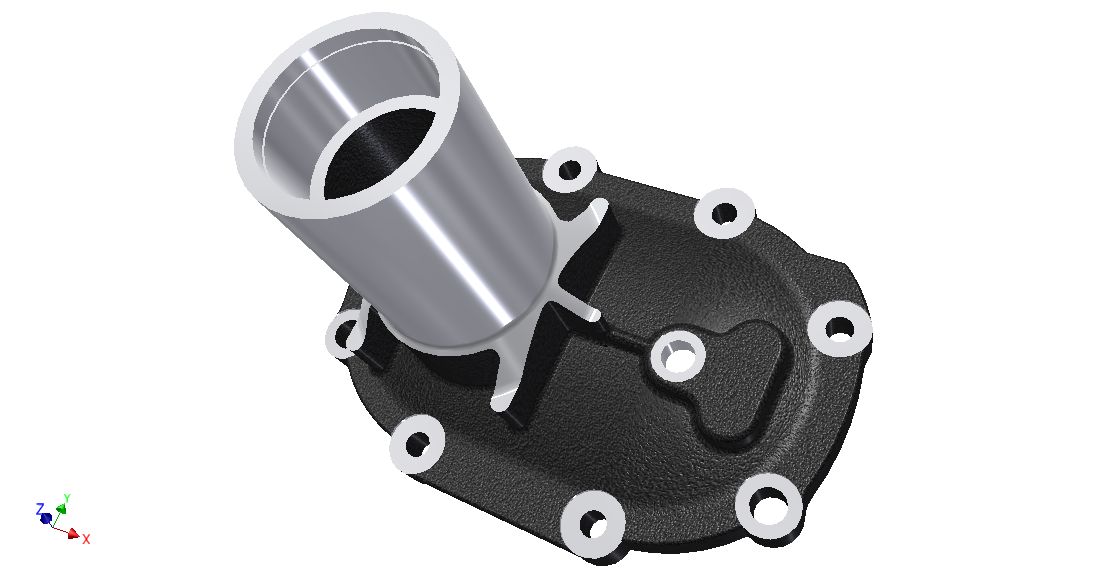
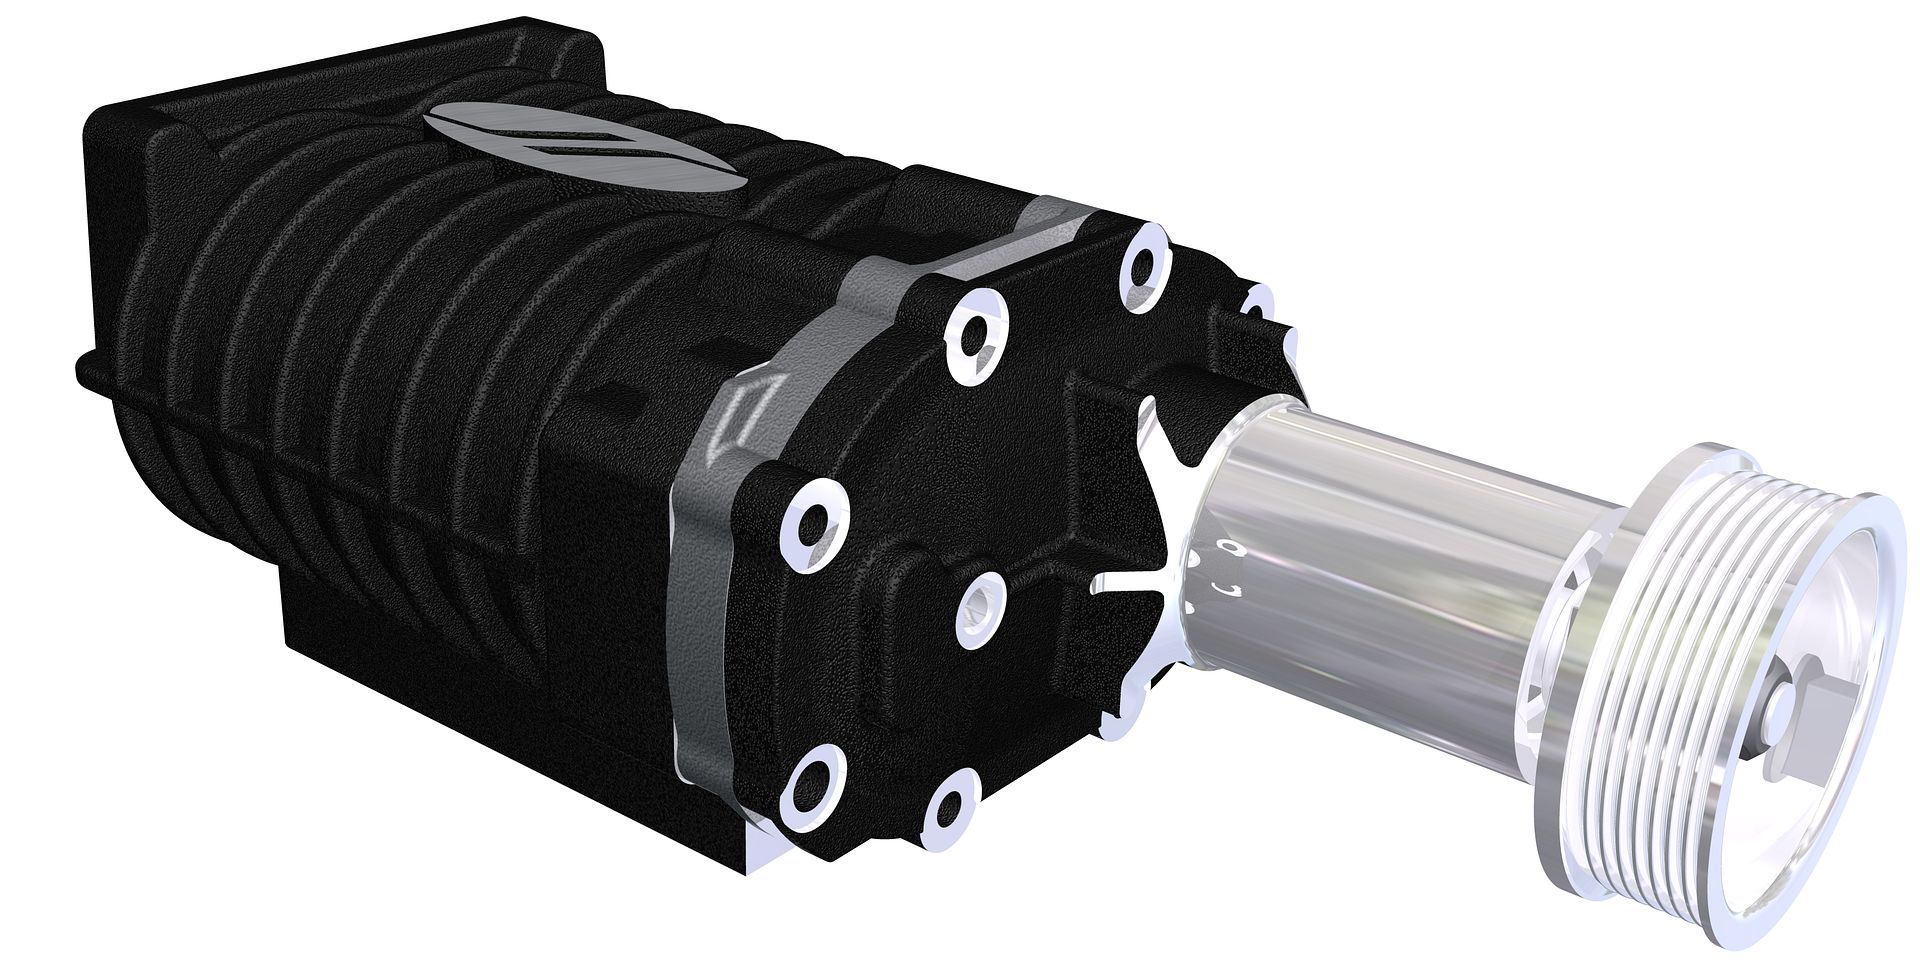
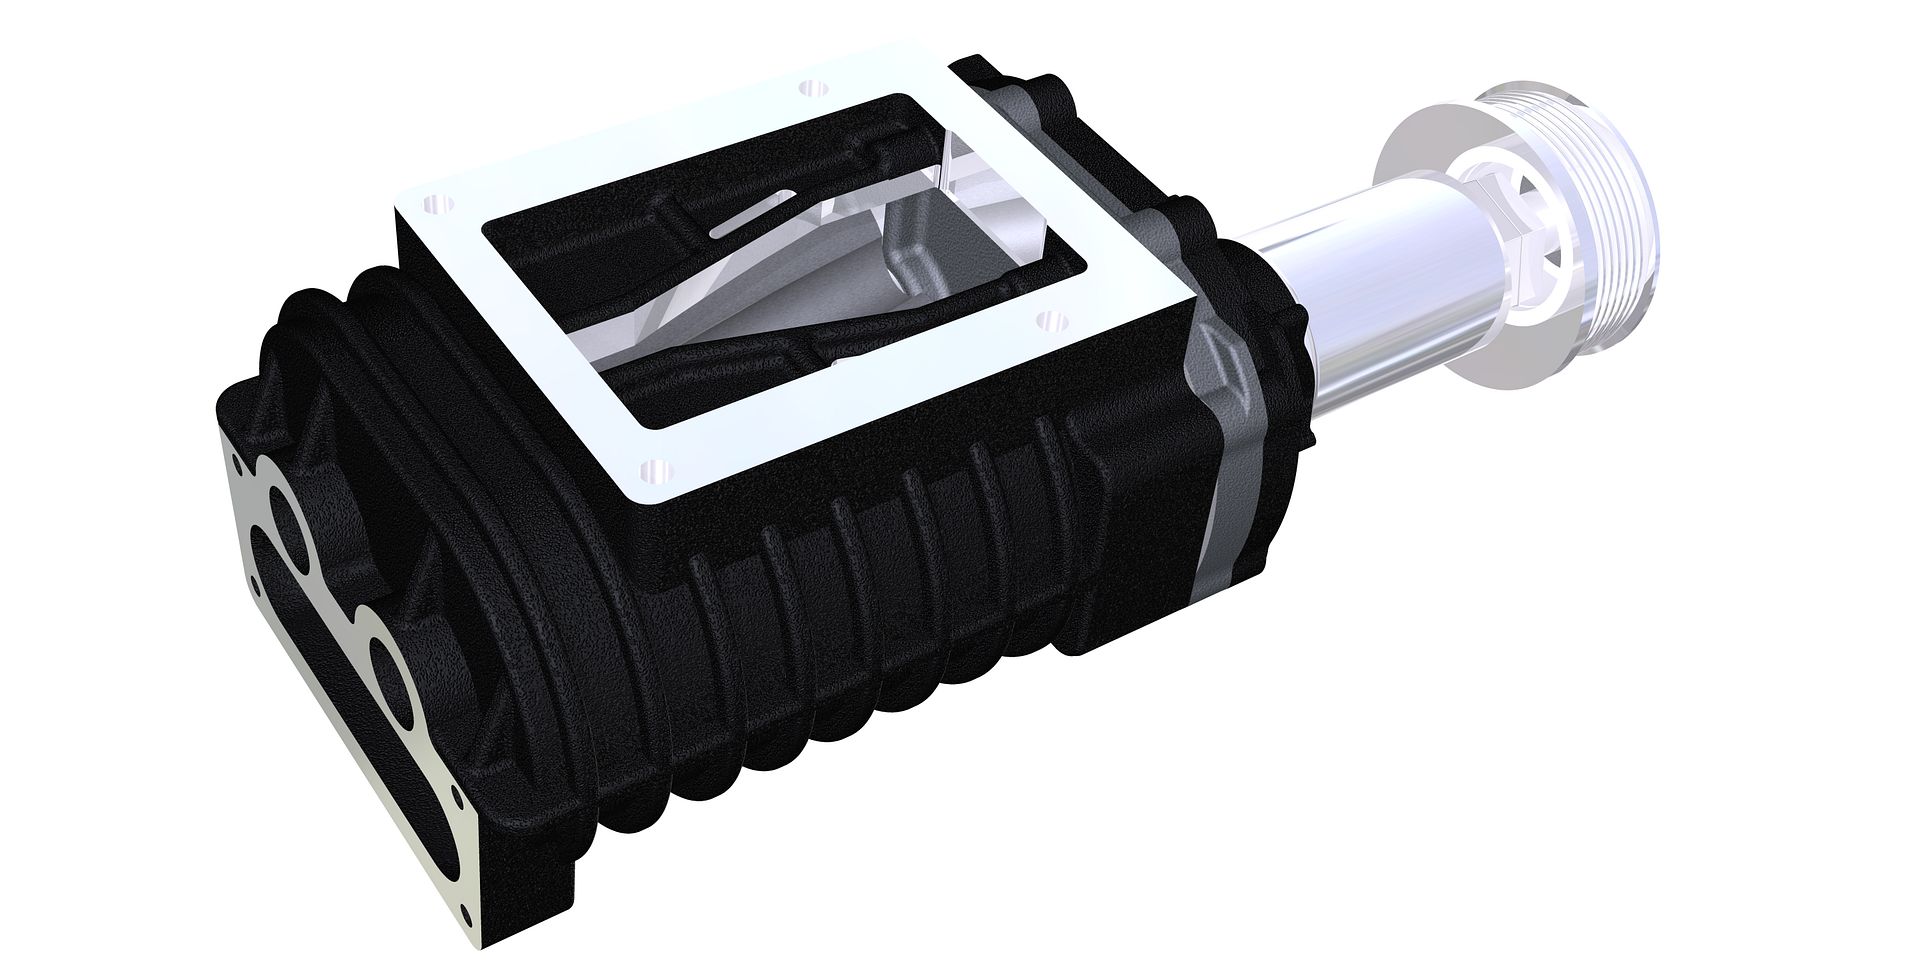
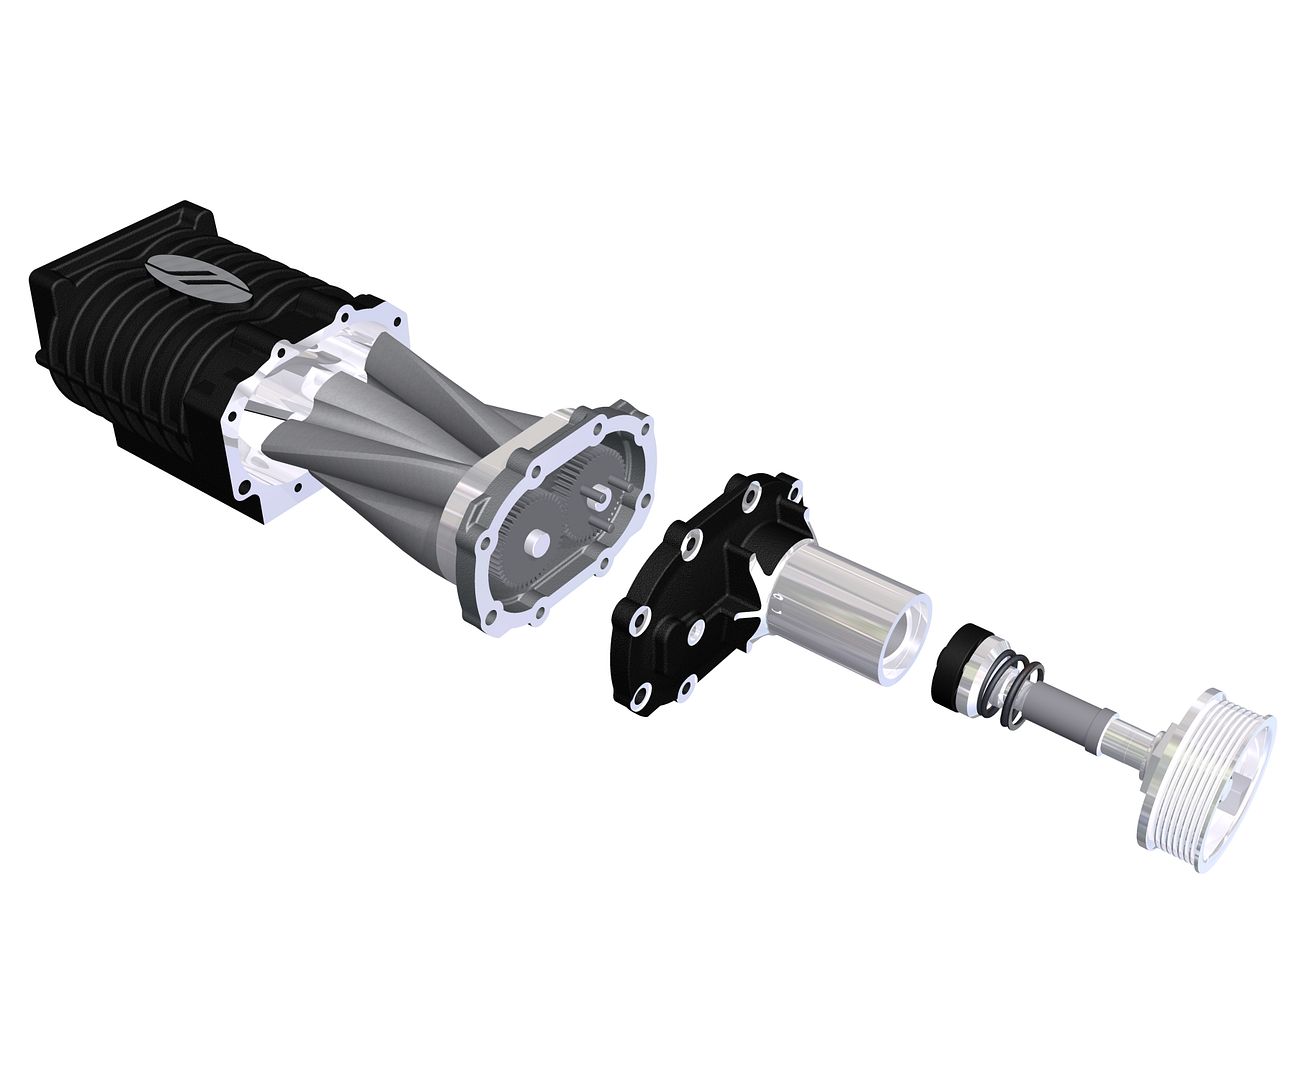
I have been doing a lot of 3D modelling of parts and thought I would show what I have been up to as its been a bit slow on my build recently.
This all stems from conversation over on another forum for people in the USA that use this JRSC setup in the Acura RSX. Over time one thing that keeps popping up over there is the restrictive TB-SC manifold, so I decided to design my own. Some pages back in the build diary I posted some renders of initial ideas I was having.
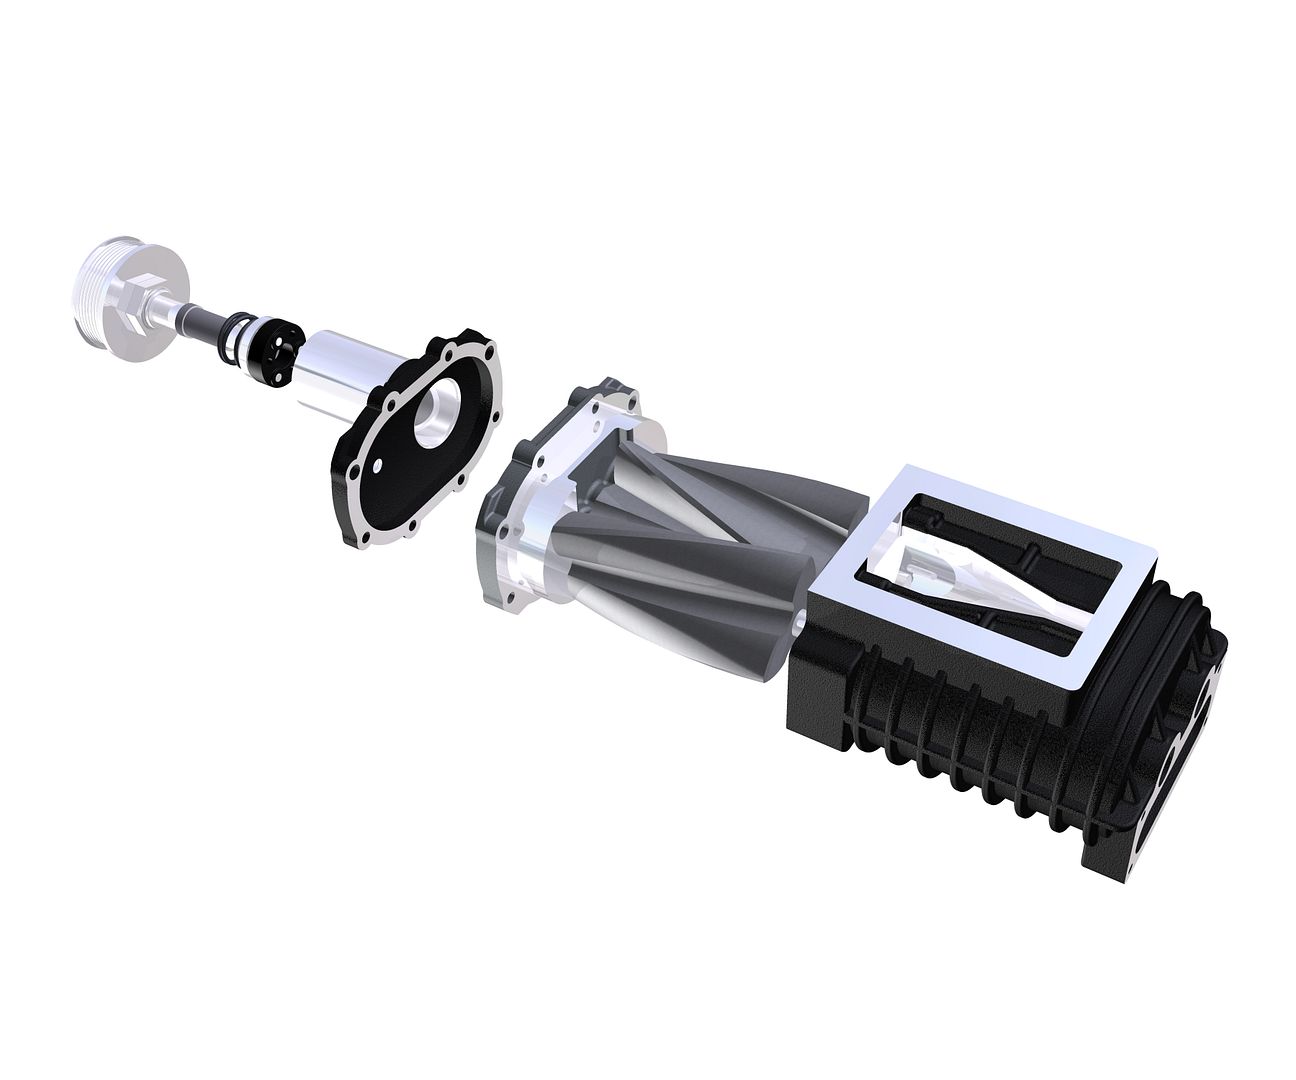
Two weeks ago I removed the SC from the car and the intake manifold (they need to come out together) as I had a noisy bearing in the SC snout that needed replacing. With the SC in bits I decided I was going to draw up the SC and intake manifold to aid with the designing of the new TB-SC manifold. The drawing of the charger I started last night and still have to draw up the input shaft and its relative bearings and other parts but you get the idea.
The drawing of the TB-SC is still abit of work in progress until I can get the intake manifold and throttle body drawn up.
Talking of TB’s, I ordered myself a nice big 72mm TB from the States the other day, the OEM TB is 65mm so its quite a big step up. My reasoning for the bigger TB is that the cross sectional area (CSA) of the inlet into the SC body is a match to the CSA of a 72mm TB with the butterfly at wide open throttle, therefore removing any restriction at that point.
Secondly I am ditching the K&N Apollo as it lost me 15BHP over an open TB when it was being Dyno’d, I am going to get a K&N X-Stream 76mm (size TBC when I receive the new TB) and make a new housing to shield the new open air filter from the heat of the engine bay, still being fed cold air from the N/S Scoop.
There will be more drawings as and when its done. So for starters theres a few renders of the original TB-SC, you can see how it steps upwards, the main problem is that as the butterfly opens in the TB it restricts the flow against the bottom edge. So as I have about 65mm of headroom under the parcel shelf I have straightened the path of the TB-SC and also lined it up centrally to the SC. The new TB-SC is designed to be machined from a block of billet rather than being cast, primarily because mine is a one off its worth getting it machined, if you were turning out hundreds then casting would the way forward.
The next set of renders is of the new TB-SC on the SC. The rest of them are just showing off my drawing work.
OLD TB-SC
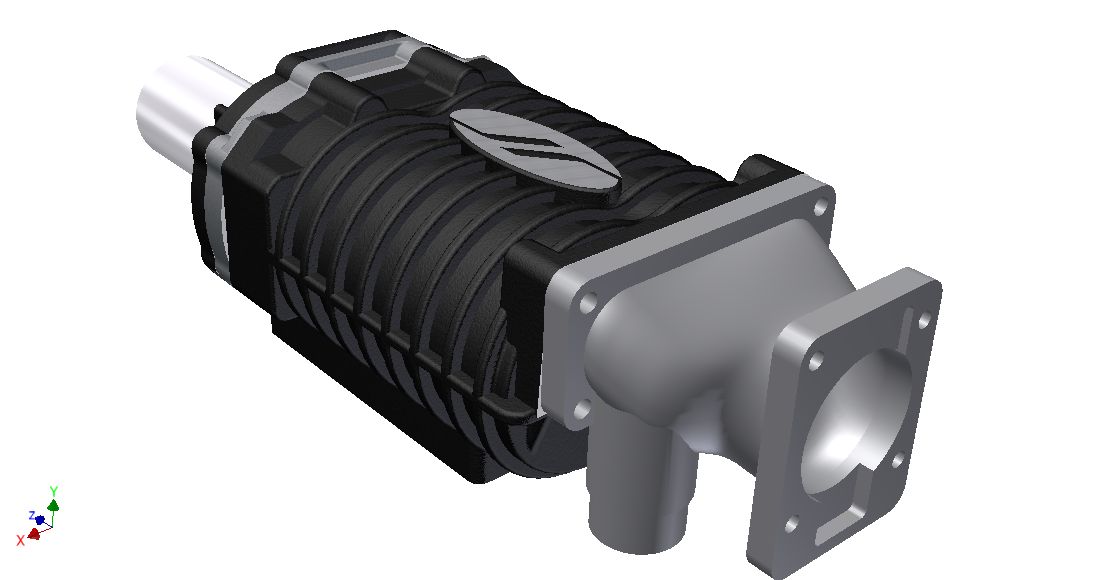
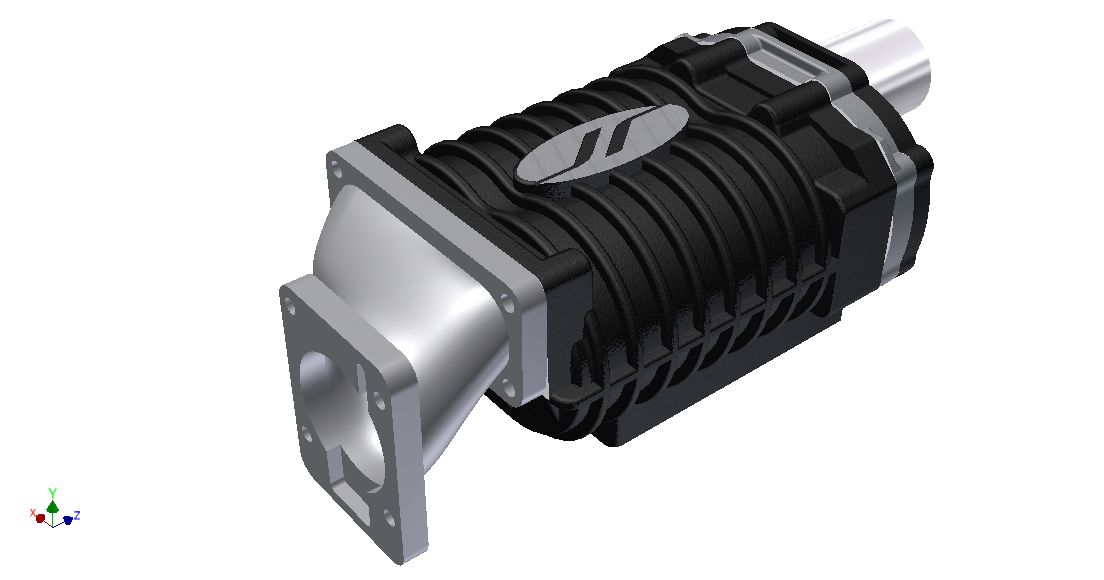
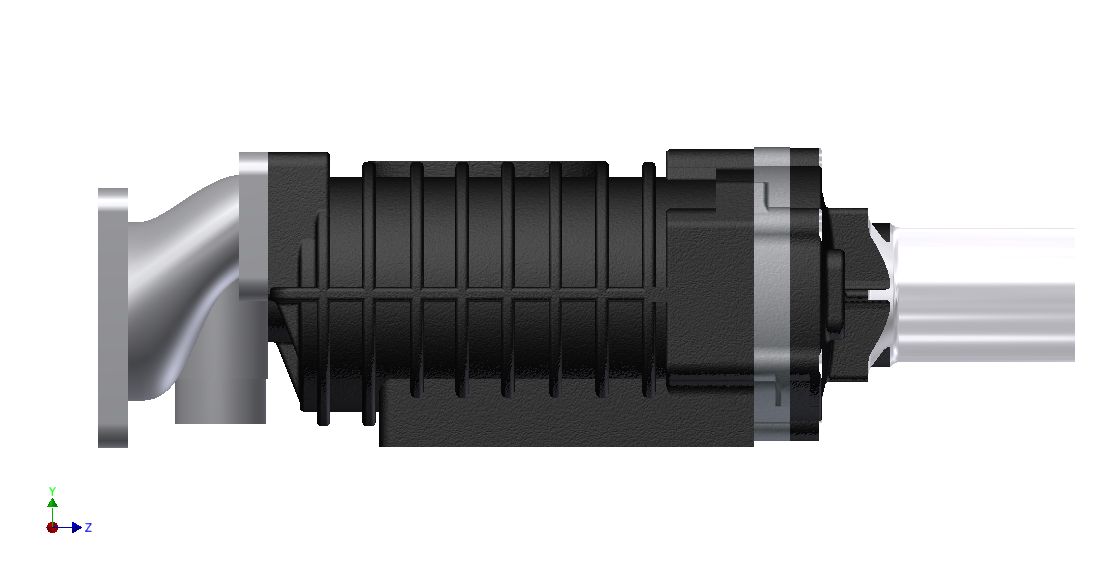
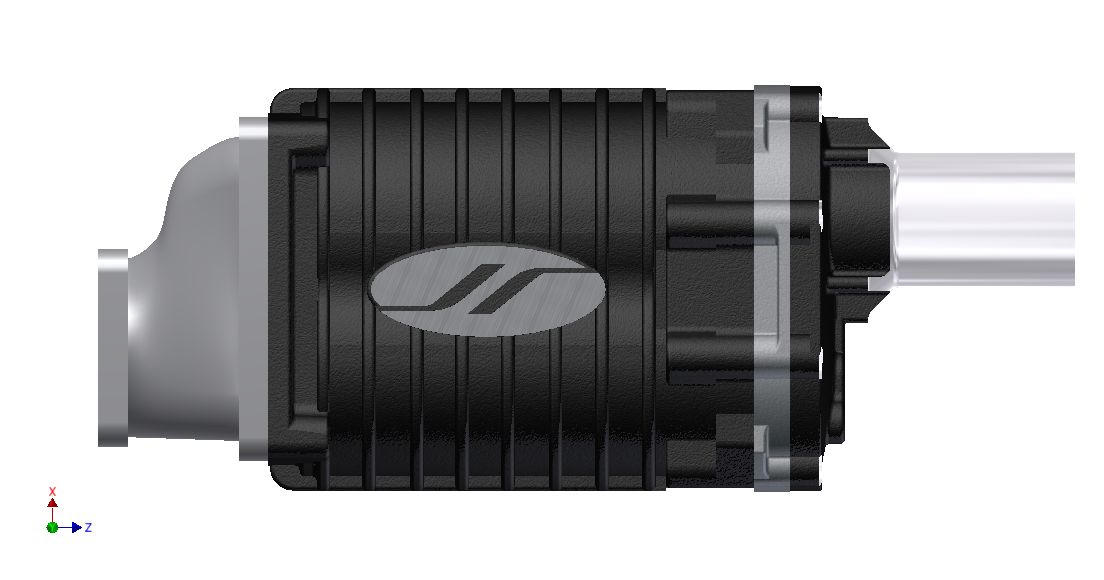
NEW TB-SC
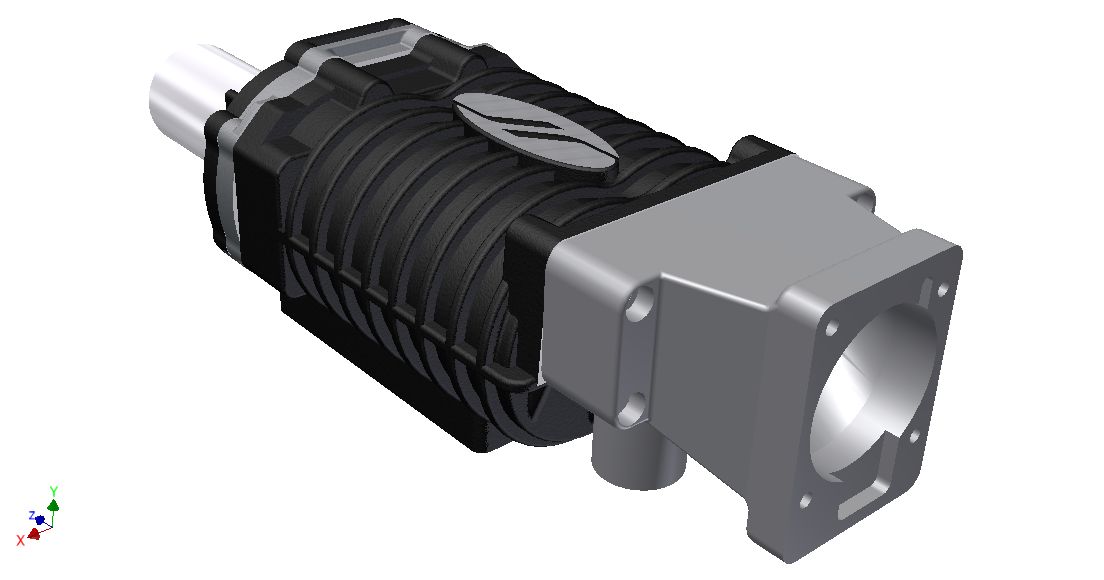
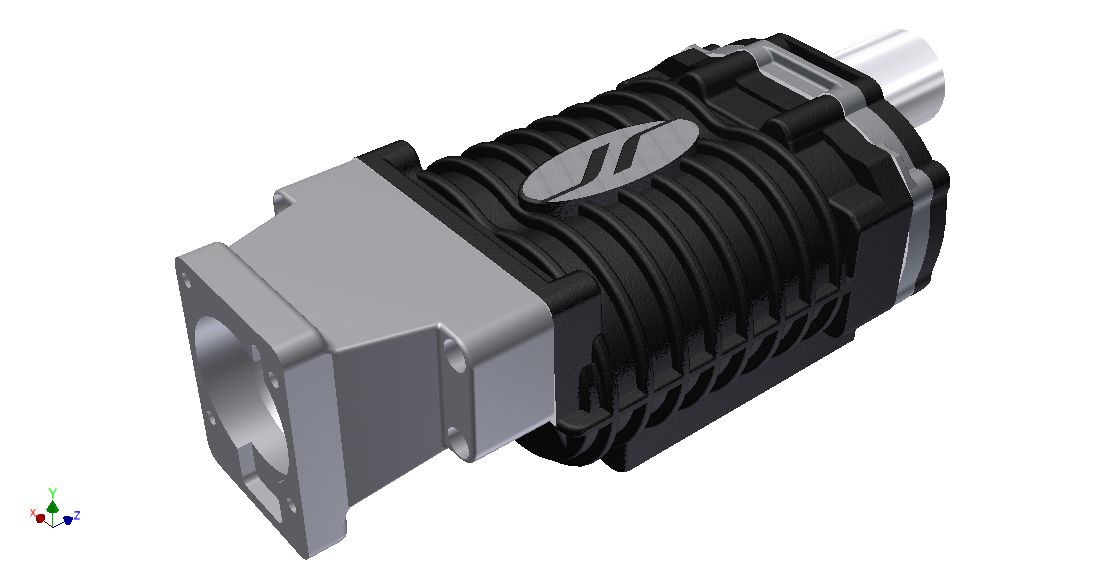
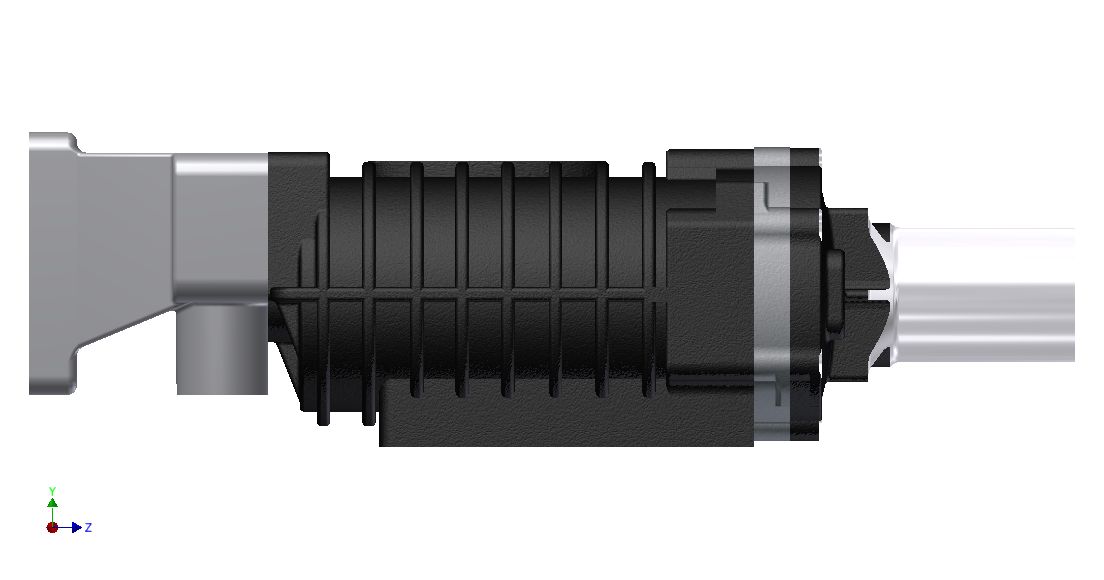
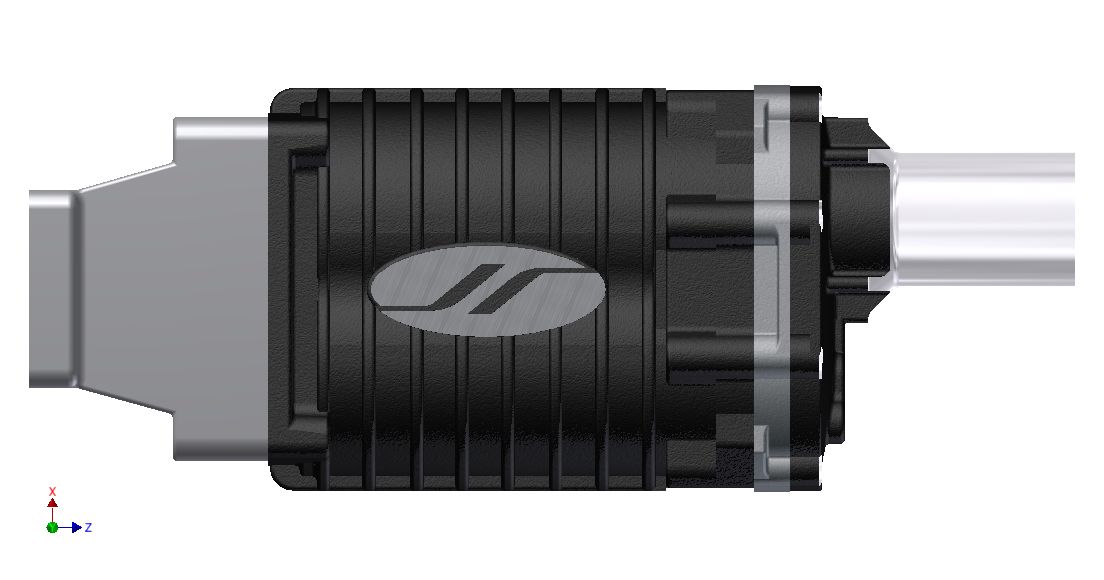
THE REST ARE DRAWINGS OF THE CHARGER UNIT ON ITS OWN:
#584

Posted 24 January 2011 - 09:51 AM
.
#585

Posted 24 January 2011 - 07:34 PM
Finished drawing the input shaft, just got bearings to do then its the charger is fully drawn, just the intake manifold, TB, injectors, fuel rail & fuel pipe left to do. I love setting myself massive goals to achieve.....not.
.
Those are some insane and time consuming 3D AutoCAD skills!!!
I’m sitting here working on my CAD station right now and I’m exhausted thinking about whether or not I could do this kinda work after hours…
Now only if you would get a few drawings from and including the N/S scoop?!?!?
=oD
Keep up the great work Brother….
Canuck
1 user(s) are reading this topic
0 members, 1 guests, 0 anonymous users


