Edited by george91, 08 June 2010 - 10:17 PM.
Supercharged K20a2 Vtec - Race Spec
#466

Posted 08 June 2010 - 10:14 PM
#467

Posted 09 June 2010 - 07:14 AM
wow, read to about page 6 then skipped page 30............my goodness, i'm going back to page 6 because i'v missed alot!!
Awesome car matey, one day I hope to have something like that, just don't tell the mrs, sssshhhh!
Thanks - All I can say is thank god my misses understands where I am coming from with stuff like this else I would have had to sell it unfinished due to me blowing the budget quite soem time ago.
once i had my tyre/suspention problem sorted the handling was amazing, springs were 400lbs but are now 500lbs because of the extra weight supercharger etc ive had differant rear tyres fitted and they tilted the engine slightly to make it sit lower, the new rear tyres are 50mm lower than the old ones massive differance! the front is running parallel toe if that helps, not great for motorways but try and catch me on a track feels great round bends. the rears were a kuhmo race compound and running avon cr500 on the front.
I am sticking with the bigger sidewalls at the minute just because I like the retro look, plus the price of Toyo's went up 50% since I brought my tires. I am going to get a set of Falken for the road and save my track tyres for the track. Fortunately the Falkens are exactly the same size as the Toyo's so I dont have to get another 4 wheel align when I change from road to track tires.
Can you remember what your setup was for front and rear? there have been a few posted on here and none are the same.
#468

Posted 09 June 2010 - 07:24 AM
Been following this one for a while but haven't checked it recently and all of a sudden its finished, looks amazing even better than i imagined it would, fantastic attention detail on everything, great job now enjoy it!
Thanks, it did come together really quickly in the end. I am now starting to take most of it back apart so that I can get some more spacers in the alternator to give the Aux Belt some more tension, as this has also 'settled'. Problem is I have to take out 2 of the rear windows, the seats, the horizontal bulkhead, the battery and the vertical bulkhead. Whilst that lot is off I'll go round every nut and bolt I can get to and make sure its all tight, if anything was going to work loose it should have by now.
#469

Posted 09 June 2010 - 08:19 AM
#470

Posted 09 June 2010 - 08:50 AM
I always find Carbon fibre to look better in the flesh aswell.
#471

Posted 09 June 2010 - 08:51 AM
#472

Posted 09 June 2010 - 09:06 AM
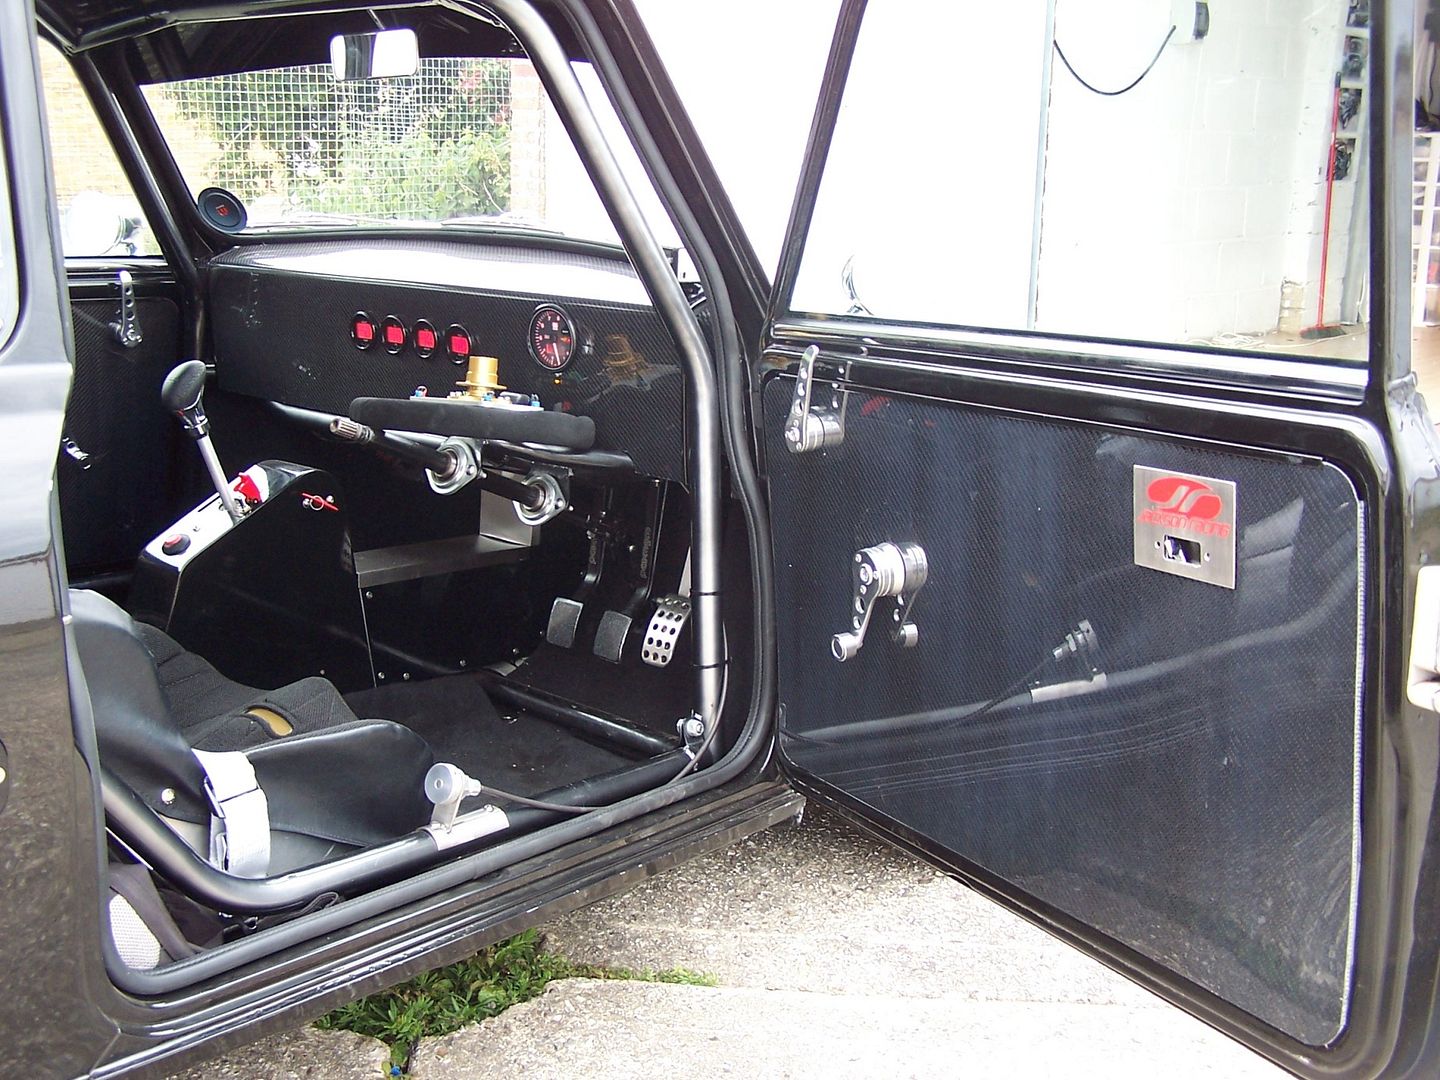
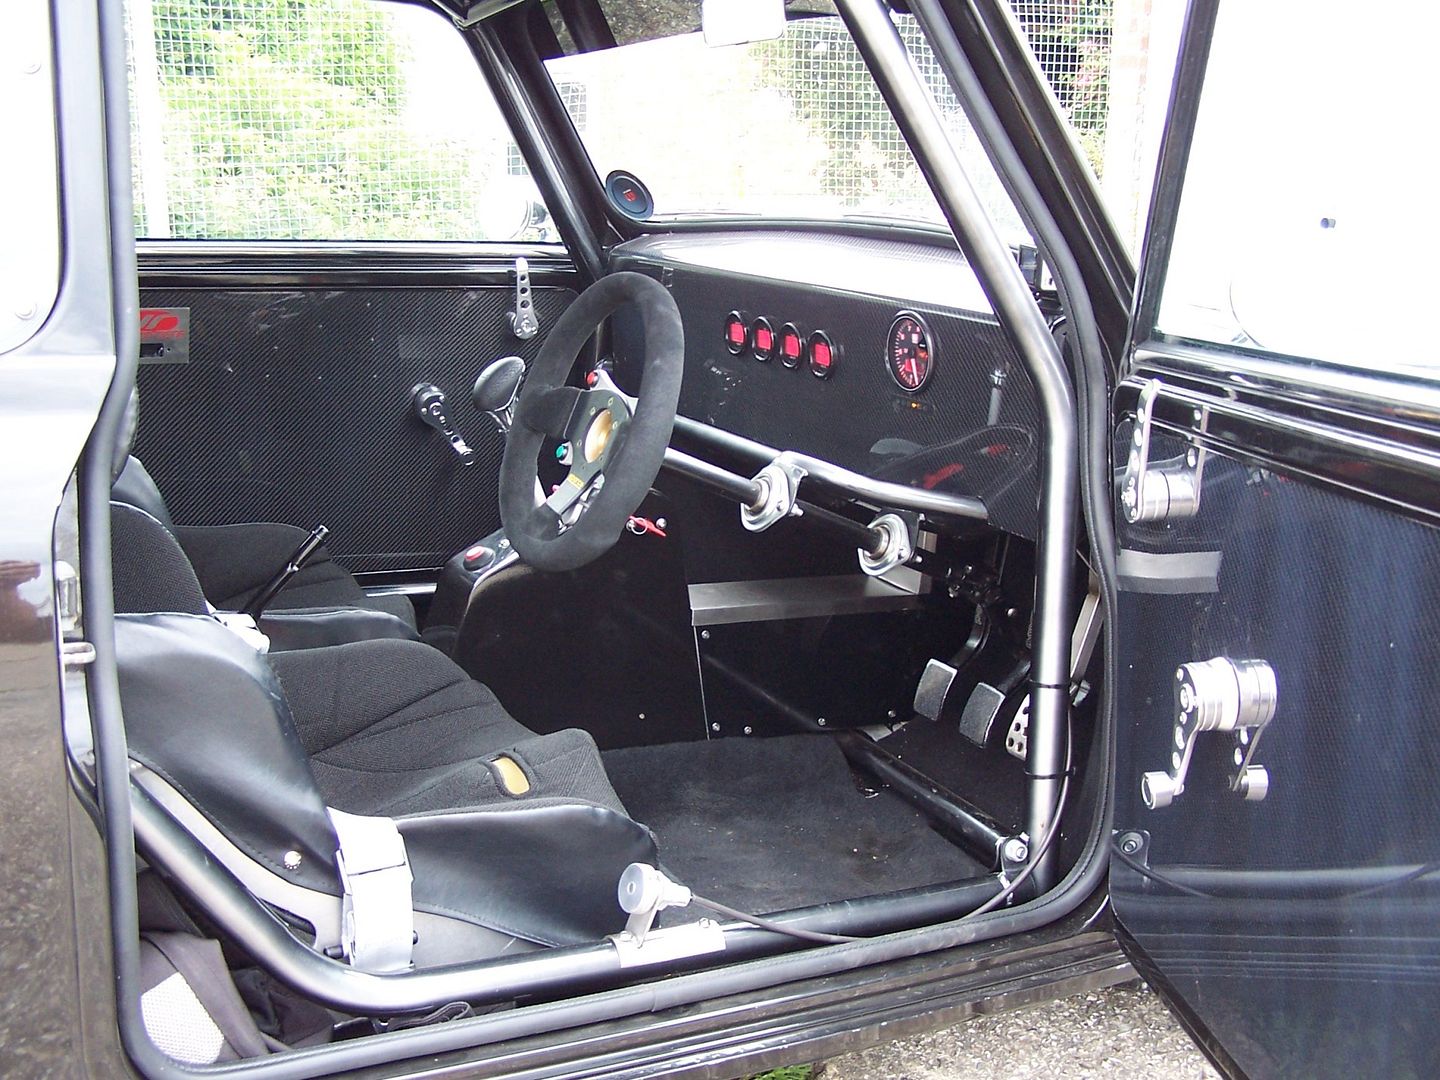
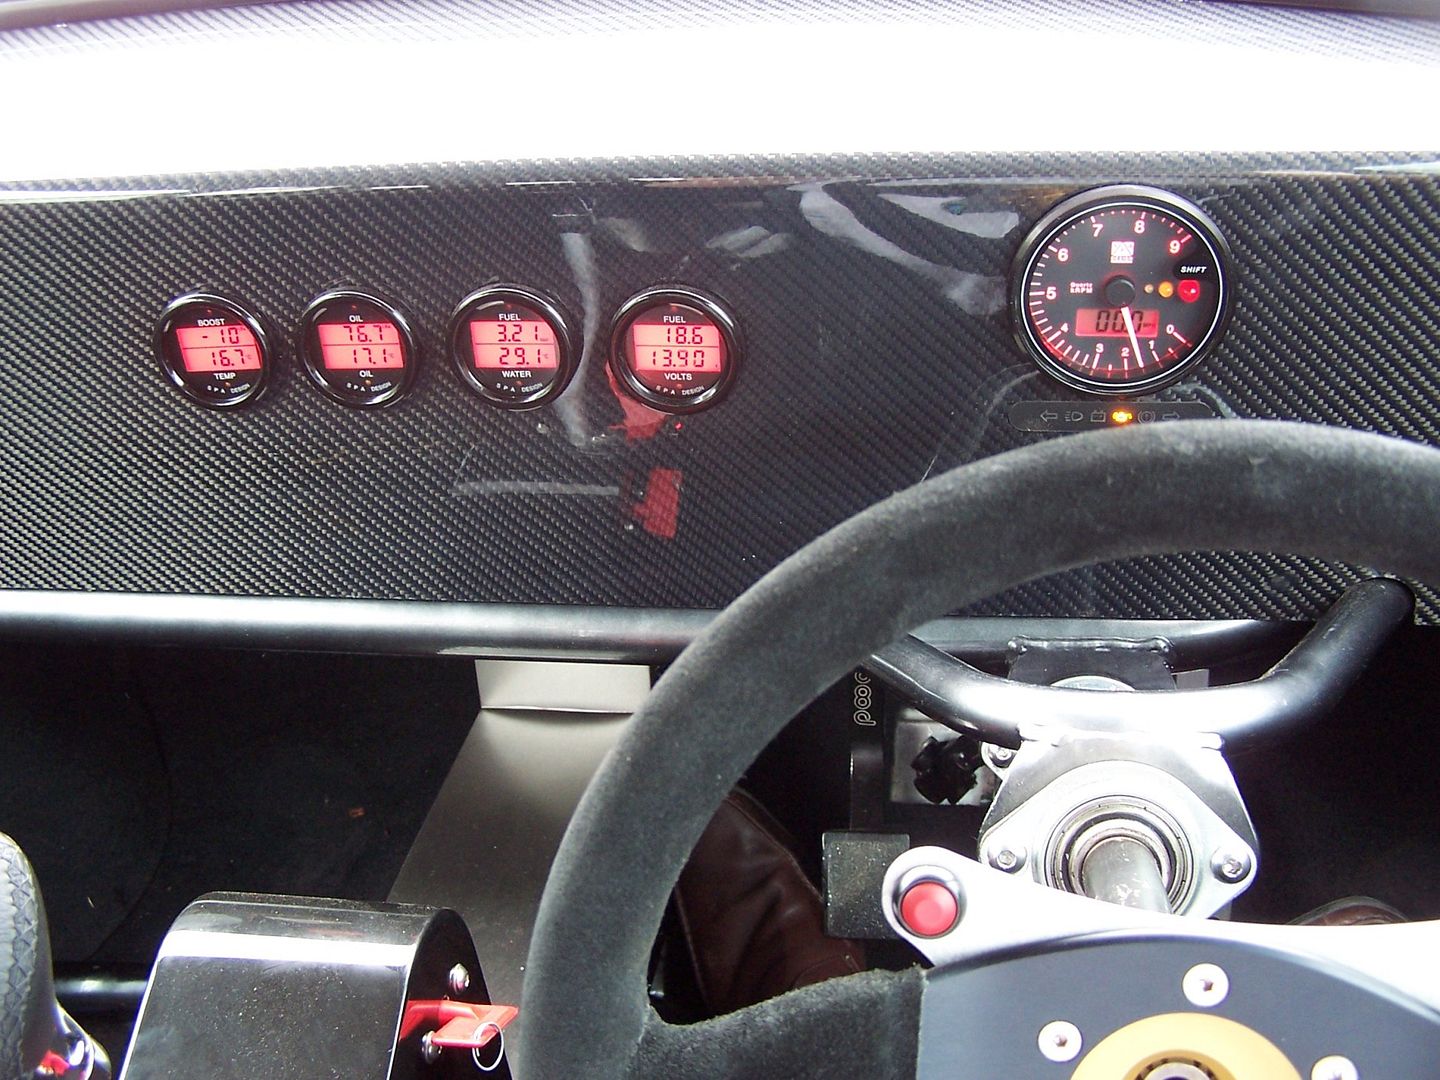
Got to be the best looking interior on a z cars mini. Clean but not too stripped out race car look. Wheres the Dash from?
I always find Carbon fibre to look better in the flesh aswell.
Thanks - it took a lot of time and effort to get it looking clean and uncluttered.
One thing to note is when you buy SPA gauges every gauge has a little red button on a 200mm flylead that is 99.9% of the time fitted very close to the gauge, I now have one little red button and a rotary switch that I choose which gauge to select when using the setup menus and that is on the centre concole along with the wipers (another rotary switch), wiper squirty (little red button knicked from a SPA gauge), lights off/side/dip, heated windscreen, heater (not really needed) and fuel pump - oh and the all important immobiliser.
Note there arent any bolts holding the dash or door cards in place
by the way - dash from Zcars
Are the steering wheel buttons wireless?
They might be...............
OK I give in, I wasnt going to say anything about them until the magaine feature came out, seeing as you asked - yes they are!!!!!
World first on a mini? I am thinking it is, unless someone can prove me wrong.
Red = Horn, momentary
Blue = Main/Dip/Flash, latching
2x Green = Indicators, latching
How'd you like them apples????
Edited by cptkirk, 09 June 2010 - 09:08 AM.
#473

Posted 09 June 2010 - 09:58 AM
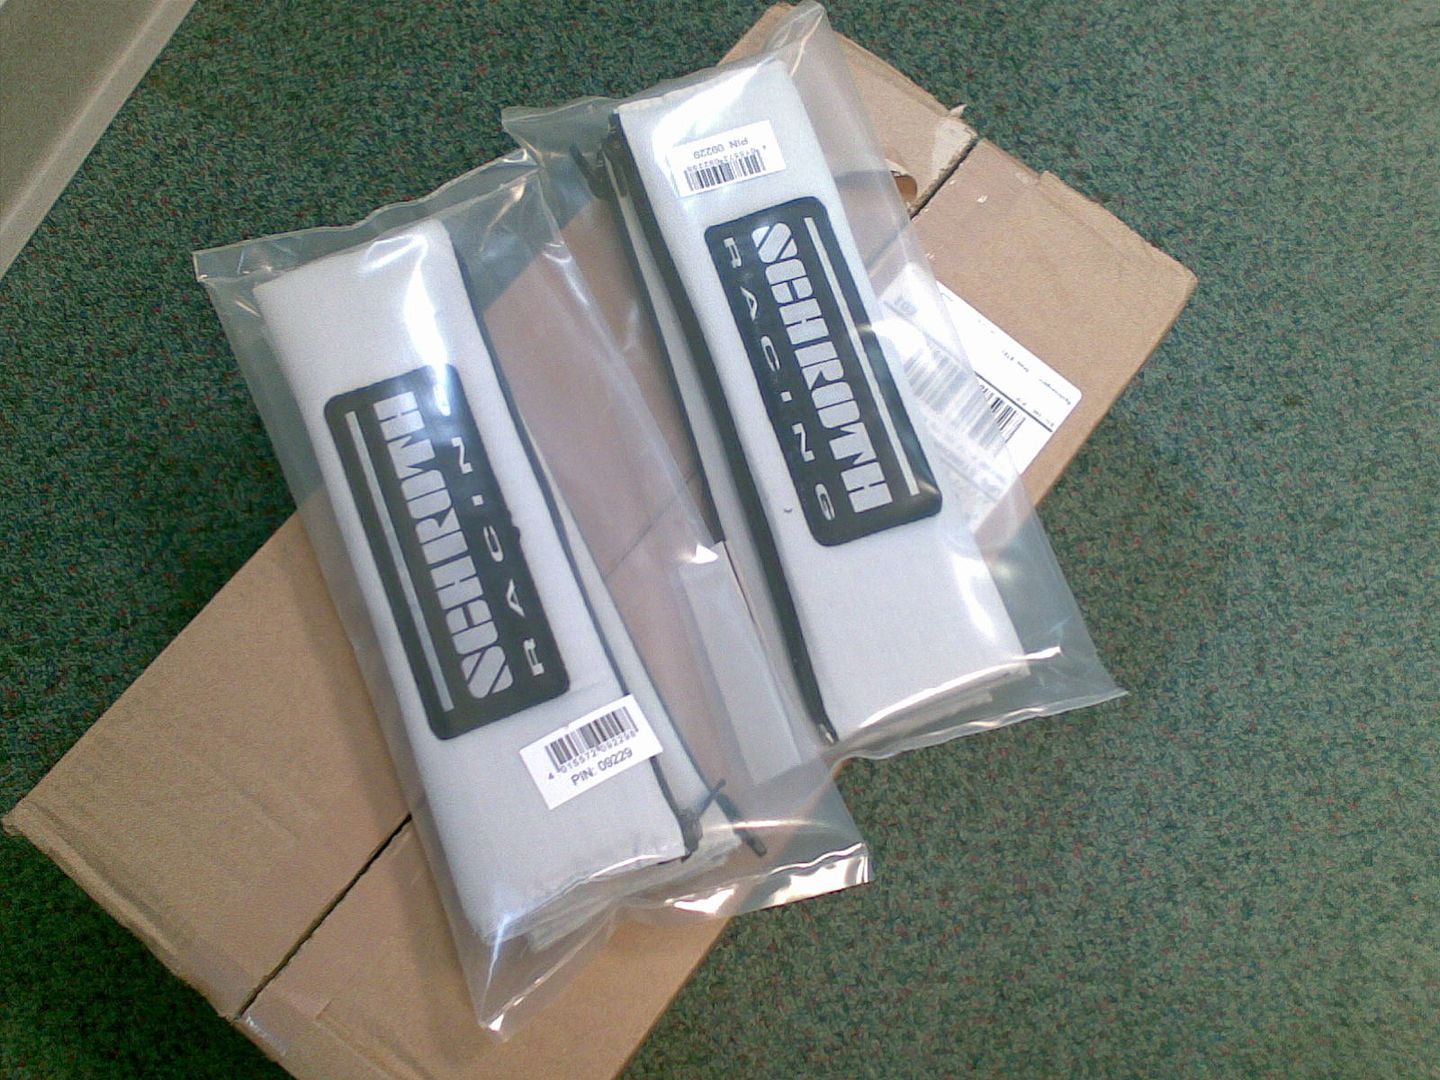
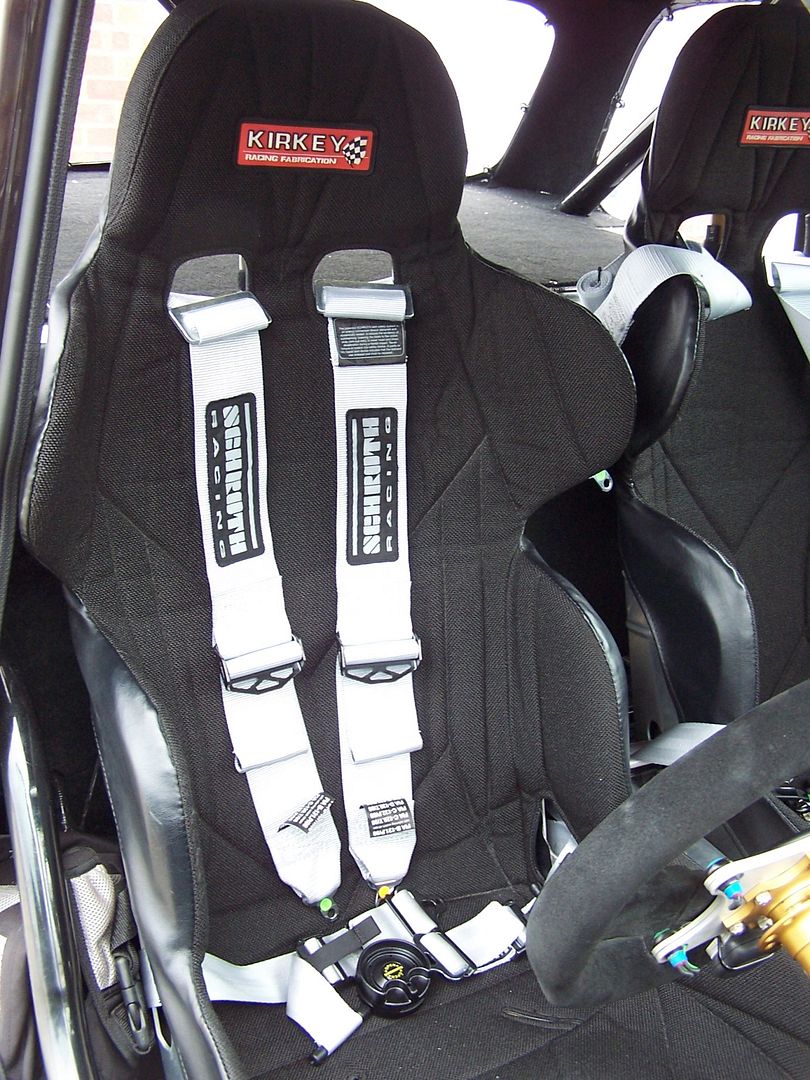
No more harness digging into the neck, giving me hickies......
Edited by cptkirk, 09 June 2010 - 10:08 AM.
#474

Posted 09 June 2010 - 10:18 AM
wow, read to about page 6 then skipped page 30............my goodness, i'm going back to page 6 because i'v missed alot!!
Got to page 12, then skipped
Keep up the good work!
#475

Posted 09 June 2010 - 12:03 PM
So here is the inspiration for the badge, followed by a close up of the badge on the boot. Another great thing about having CAD skills, drew up the lettering sent off a dxf file and got the badge back laser cut in 3mm stainless steel.
 +
+
#476

Posted 13 June 2010 - 12:34 AM
Are the steering wheel buttons wireless?
They might be...............
Did you design the wirreless system, or is it a kit?
Very cool idea, very outside the box...
#477

Posted 13 June 2010 - 06:43 PM
Attached Files
#478

Posted 13 June 2010 - 08:11 PM
What's this? -
If you ask me it looks like a brake bias adjustment knob. To adjust the brake bias between front and rear.
The Car is looking great. Hope to see it soon in the future.
#479

Posted 14 June 2010 - 10:24 AM
Are the steering wheel buttons wireless?
They might be...............
Did you design the wirreless system, or is it a kit?
Very cool idea, very outside the box...
I thought up the idea and utilised some off the shelf radio equipment, had the plates that the switches sit in laser cut and sandwiched the wires in channels between the two plates. It works really well and is such less hassle than having a curly wire to the wheel and means you can happily remove the wheel for added safety. Its also funny to be able to sound your horn when your stood upto 30ft away from the car. If I were to do it again I would like to completely enclosed the transmitter and wiring in a carbon housing. If you look back at pictures of the fuse board area you can see a plastic enclosure, this houses the reciever unit. As I am unable to touch the dash I had to bring all the switches within reach, hence the need for the centre console switches and the placement of the brake bias down by the right hand side of the drivers seat.
What's this? -
If you ask me it looks like a brake bias adjustment knob. To adjust the brake bias between front and rear.
The Car is looking great. Hope to see it soon in the future.
Thanks.
Quite right, it is a brake bias adjuster. I will try and get the car to as many shows as possible but super skint right now so wont be going to many in the near future.
#480

Posted 16 June 2010 - 03:07 PM
Are the steering wheel buttons wireless?
They might be...............
Did you design the wirreless system, or is it a kit?
Very cool idea, very outside the box...
I thought up the idea and utilised some off the shelf radio equipment, had the plates that the switches sit in laser cut and sandwiched the wires in channels between the two plates. It works really well and is such less hassle than having a curly wire to the wheel and means you can happily remove the wheel for added safety. Its also funny to be able to sound your horn when your stood upto 30ft away from the car. If I were to do it again I would like to completely enclosed the transmitter and wiring in a carbon housing. If you look back at pictures of the fuse board area you can see a plastic enclosure, this houses the reciever unit. As I am unable to touch the dash I had to bring all the switches within reach, hence the need for the centre console switches and the placement of the brake bias down by the right hand side of the drivers seat.
Kit depending, lets just hope nobody has the same idea as you... within range
1 user(s) are reading this topic
0 members, 1 guests, 0 anonymous users


