Supercharged K20a2 Vtec - Race Spec
#346
Posted 05 March 2010 - 01:16 PM
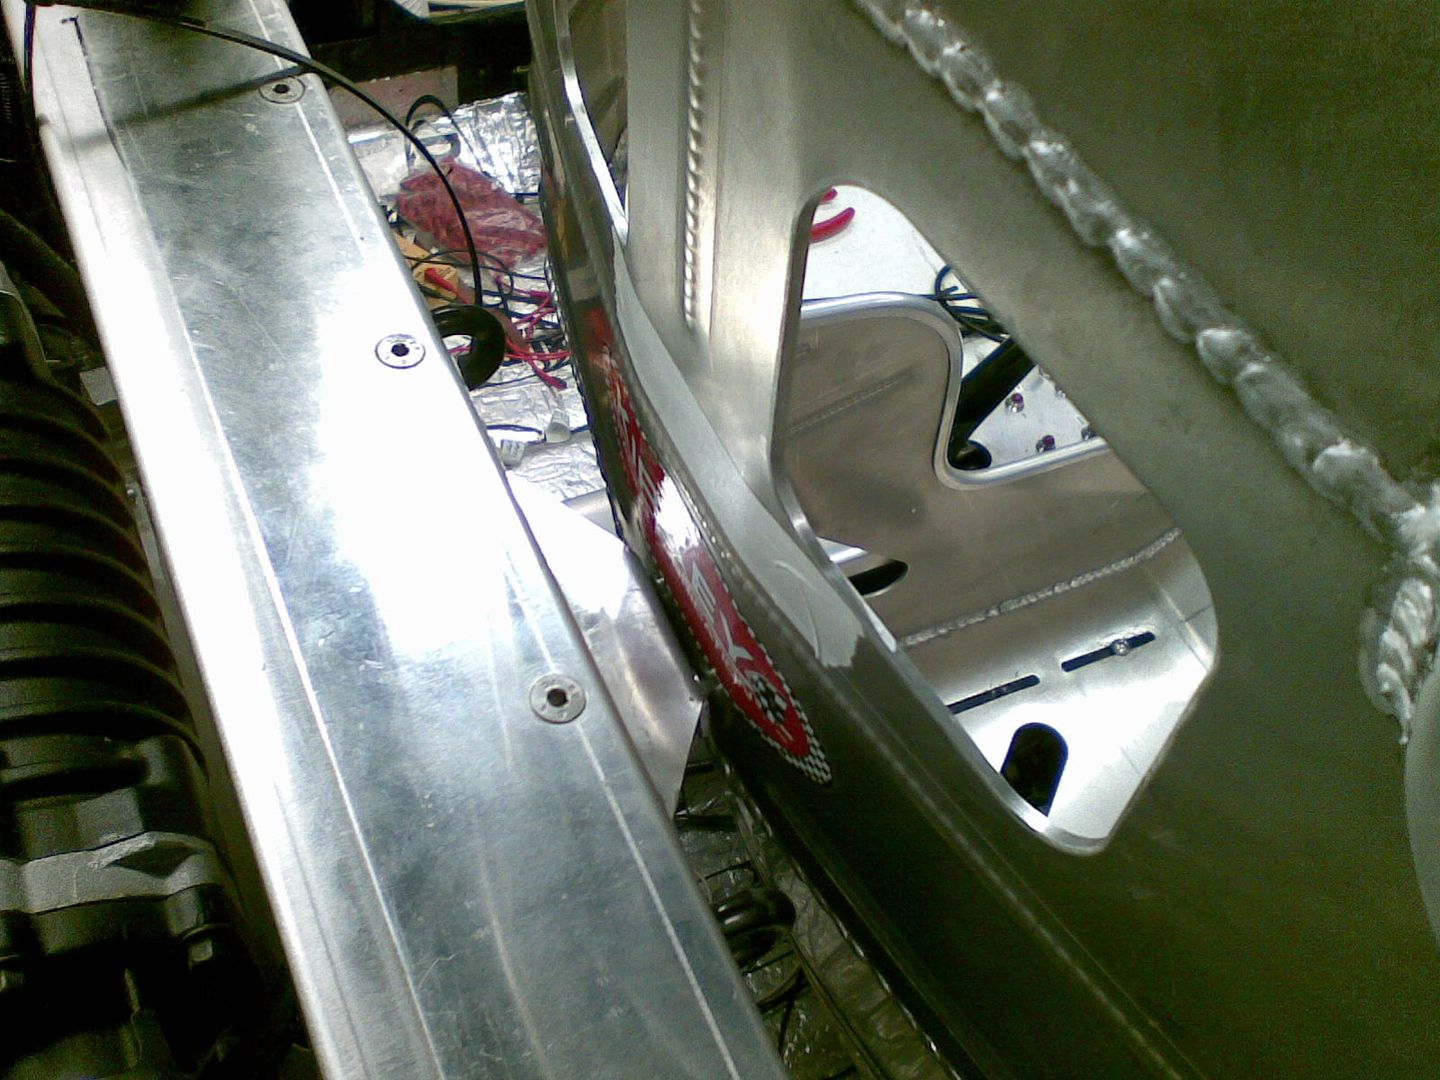
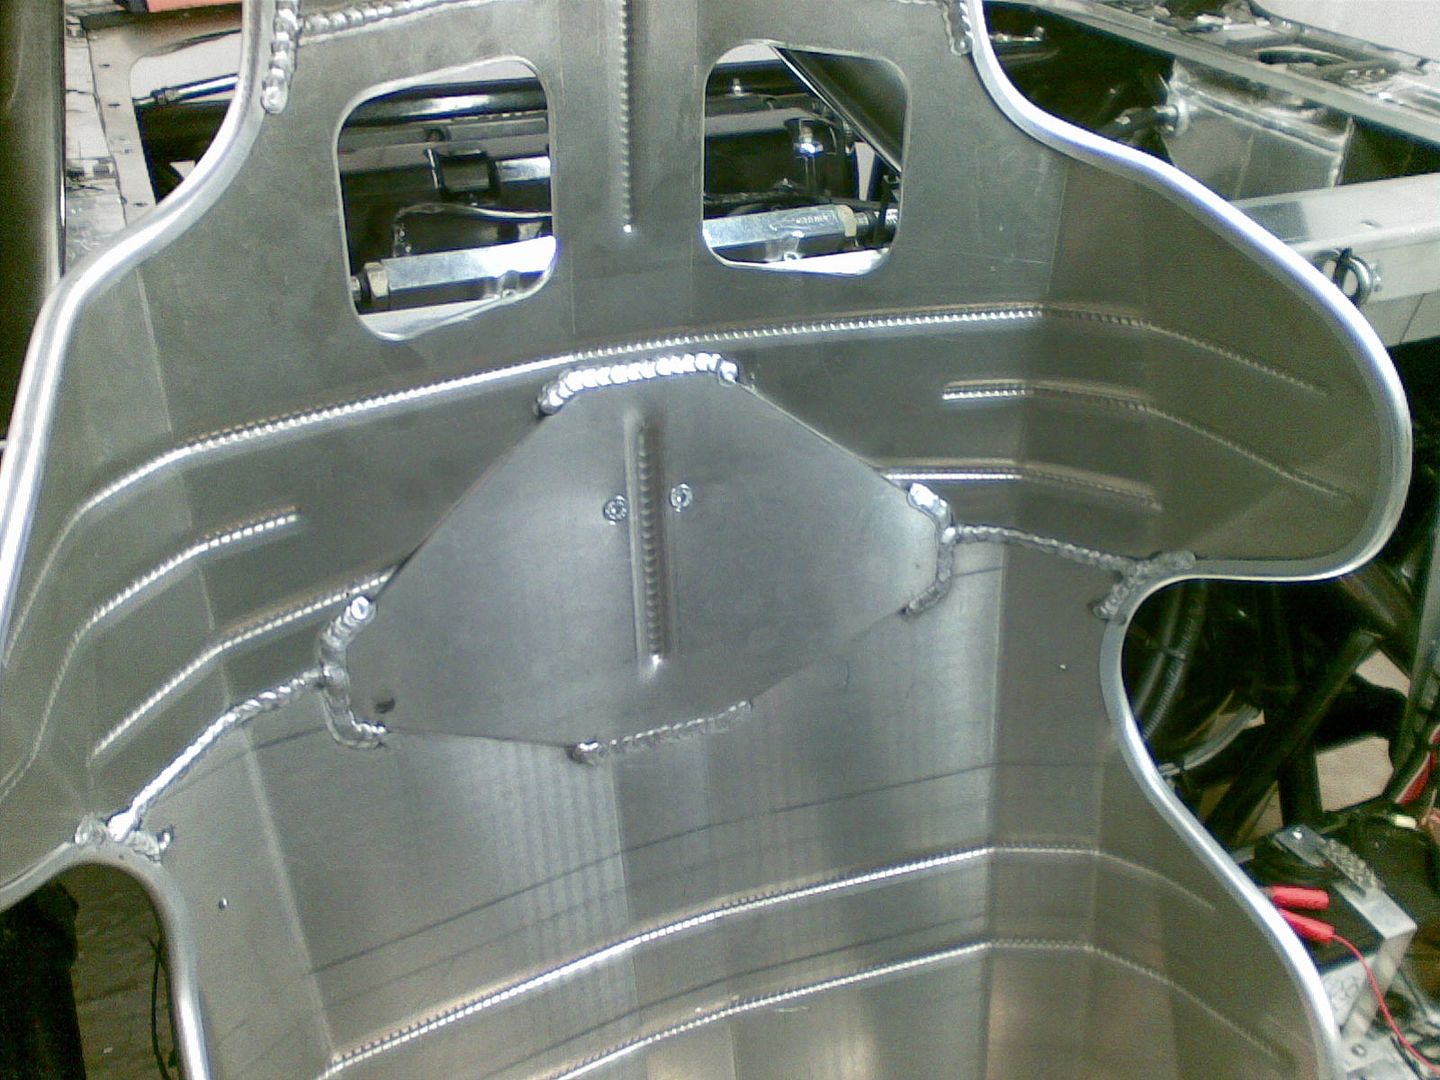
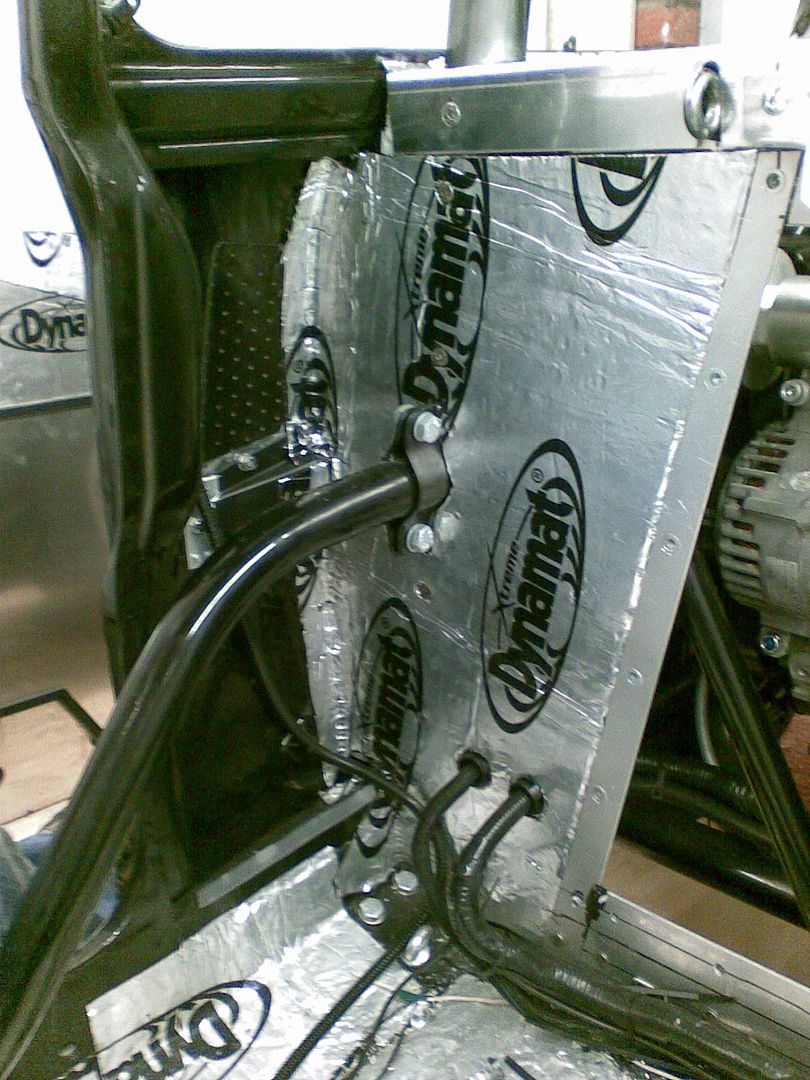
Again I will let the pictures do the talking:
#347
Posted 05 March 2010 - 01:22 PM
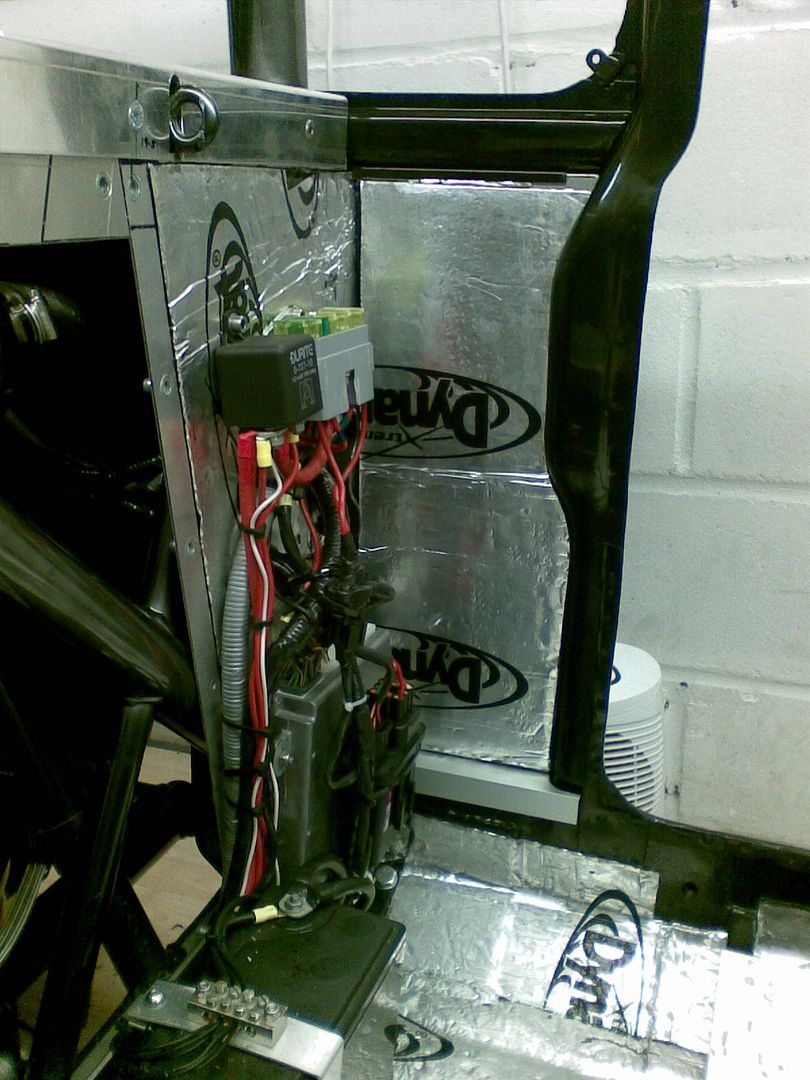
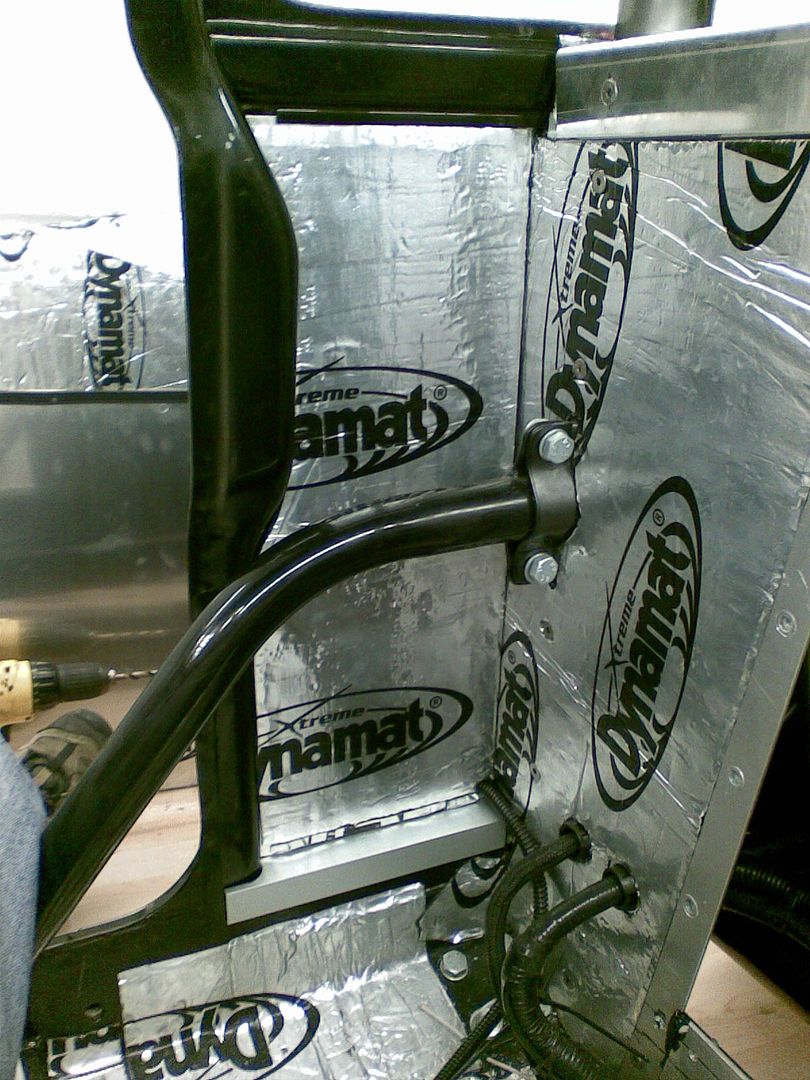
put together a set side fills, using the old hook in from the original rear cards and then my own fitting on the bottom edge, note no bolts used in the construciton of these, just dual lock (industrial velcro). Some befores, one of the O/S infill before it went in then some of the infills in place....enjoy.......if thats what gets you off??!!??.....:
Befores:
One of the infill off:
And of them in place:
Edited by cptkirk, 05 March 2010 - 02:13 PM.
#348
Posted 05 March 2010 - 02:31 PM
cheerz
#349
Posted 05 March 2010 - 03:55 PM
Good to see how much effort you put into insulation and getting the car watertight. The infill is a good option for me too, it's good to see creative tips on the forum. thnx for sharing.
cheerz
I love to share, its good to see anothers way as it can spark of an idea that could lead to something new, or on the other hand people can just copy what I have done, but knowing that it isnt an original idea..........personally - I like originality.
#350
Posted 05 March 2010 - 03:58 PM
Loving it:)
From one captain to another
#351
Posted 05 March 2010 - 04:02 PM
Nice work Captain!
Loving it:)
From one captain to another
Ah El Capitano
Its been a long time coming but its close to completion now, I cant say a date, all I know is every hour I work on it its another hour closer to completion, plus I just decided I am going to carpet the interior myself - should be interesting.......
#352
Posted 16 March 2010 - 08:59 AM
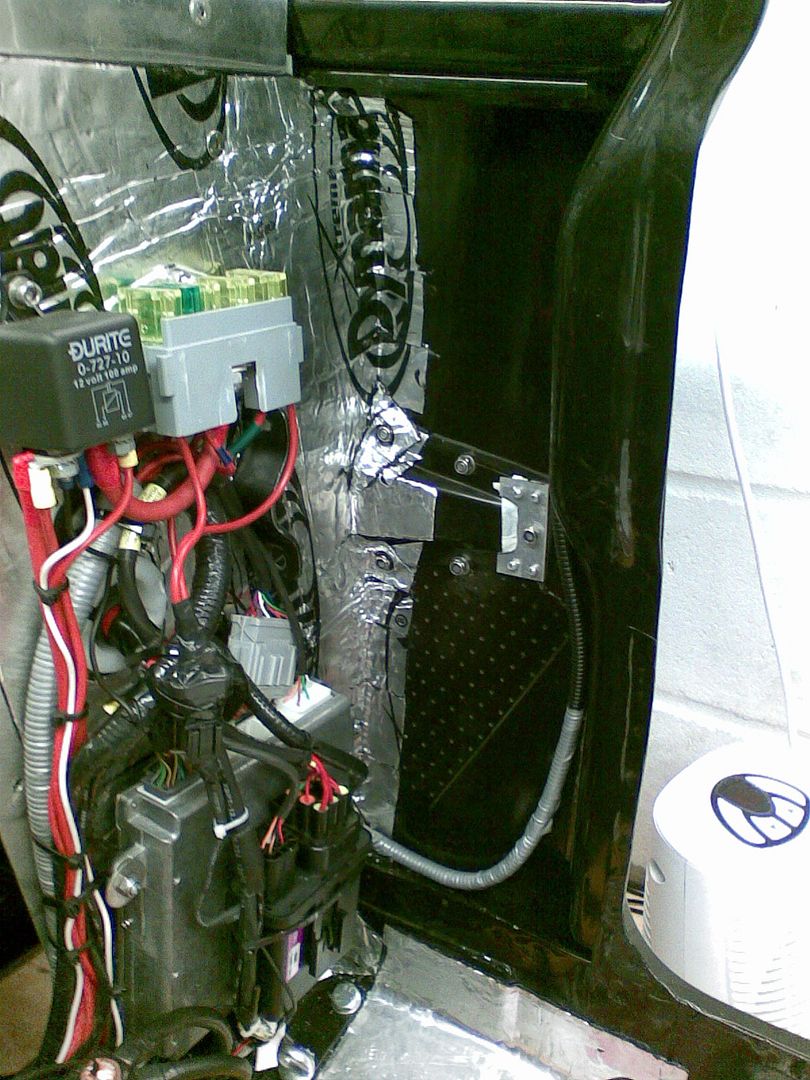
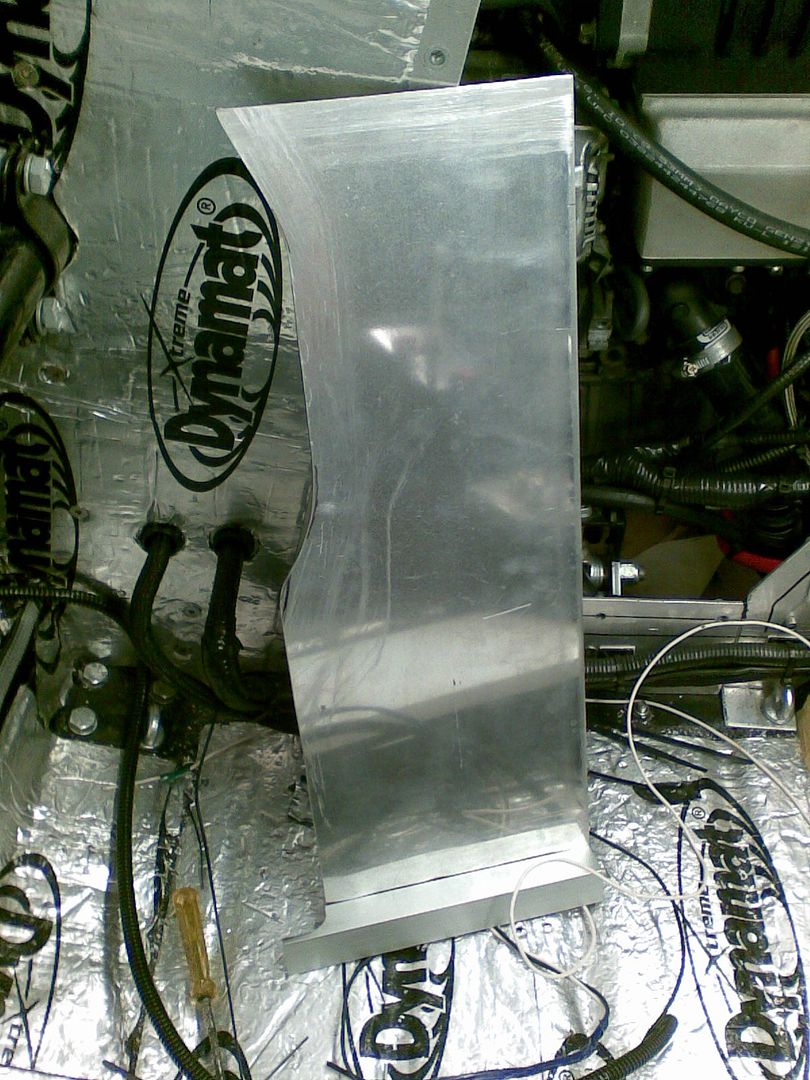
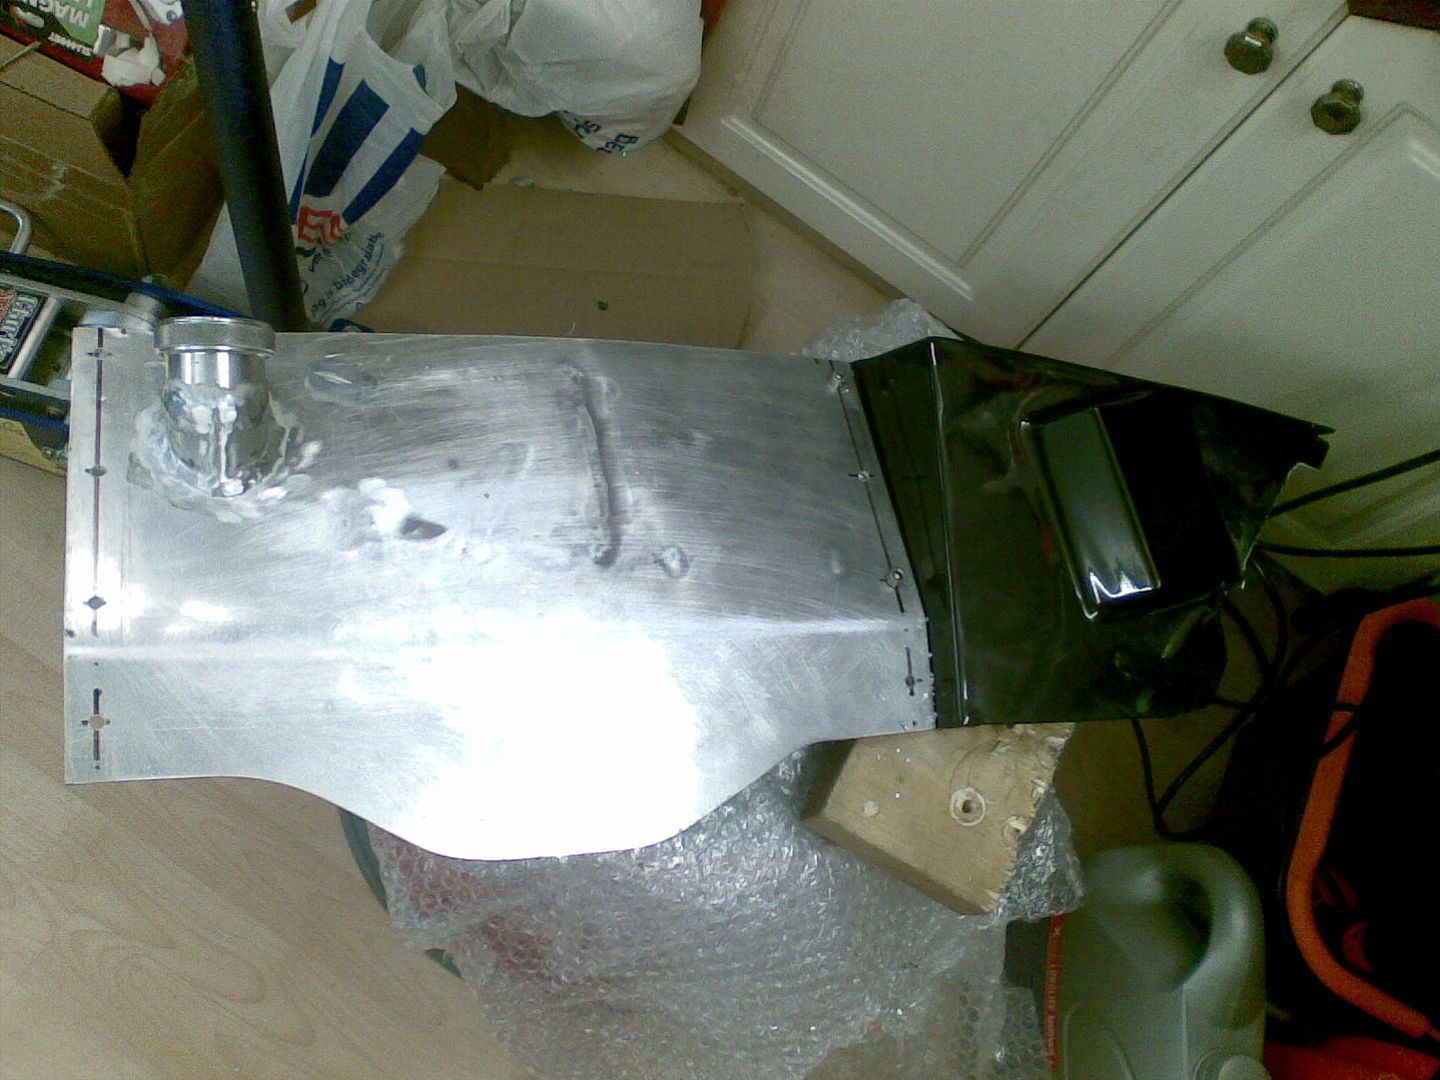
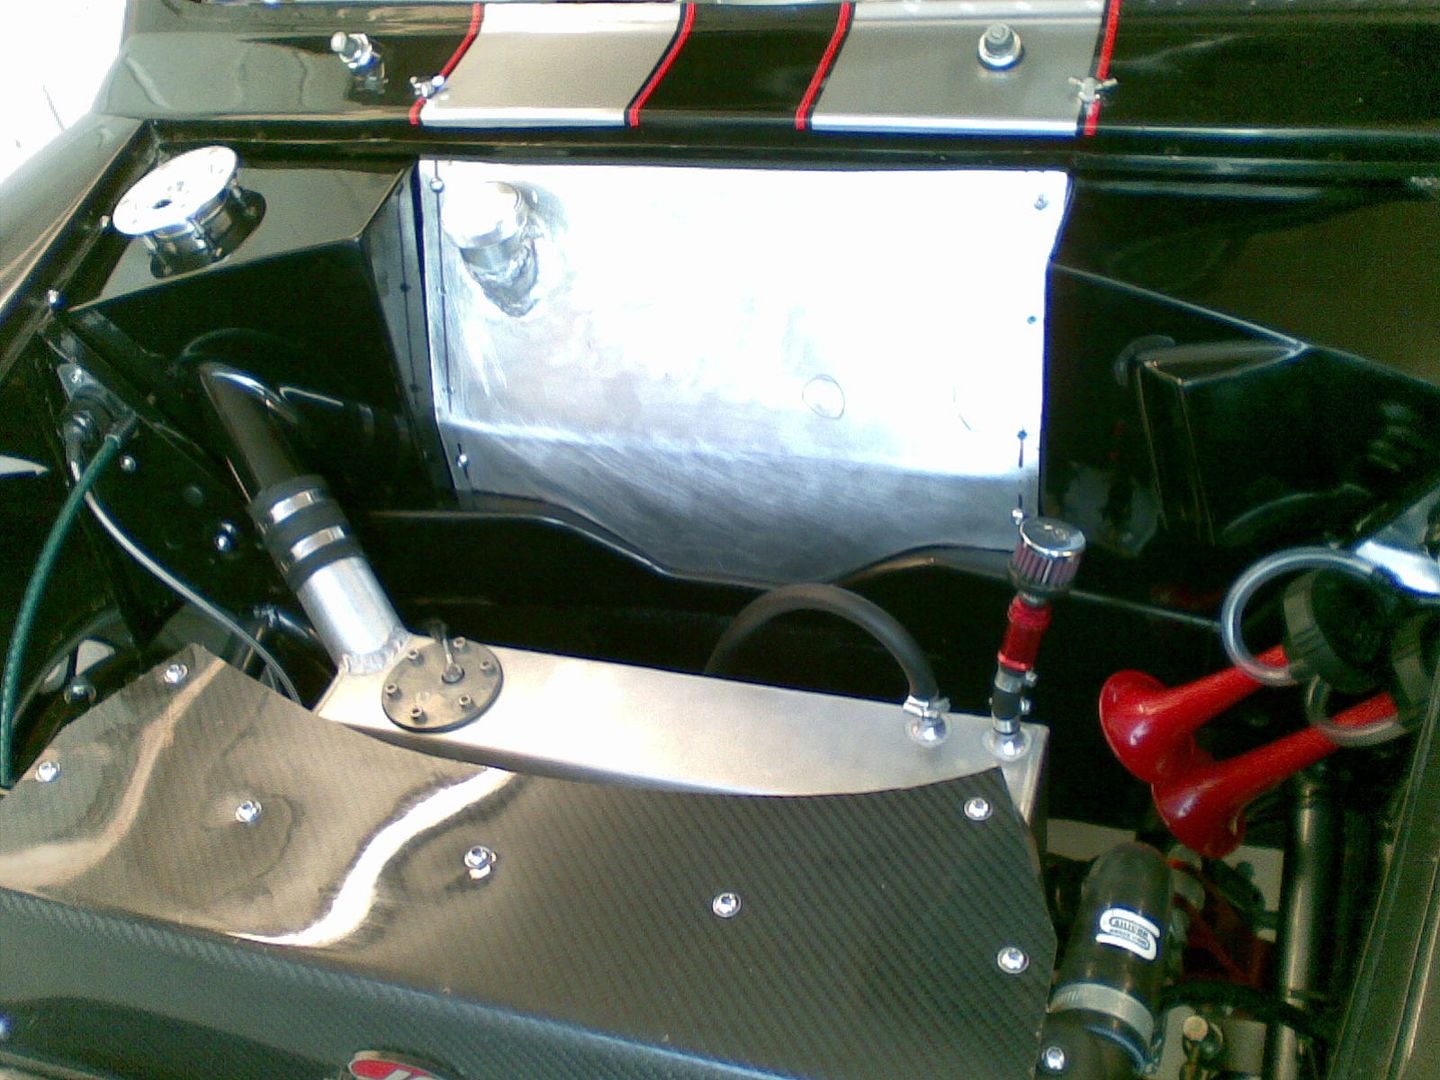
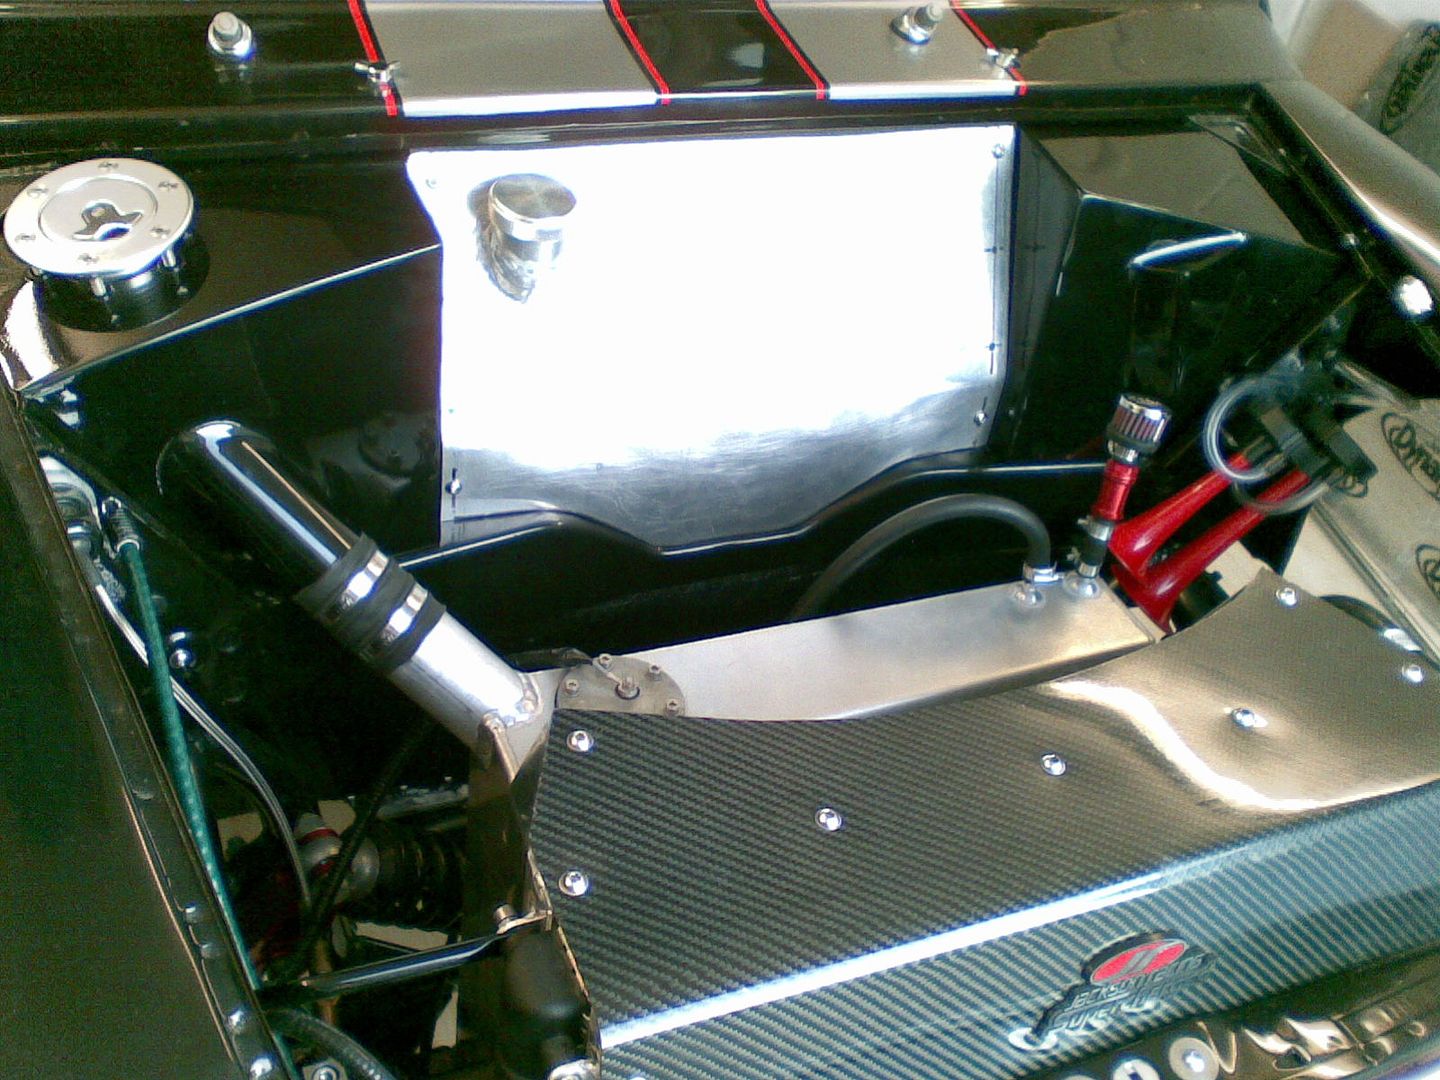
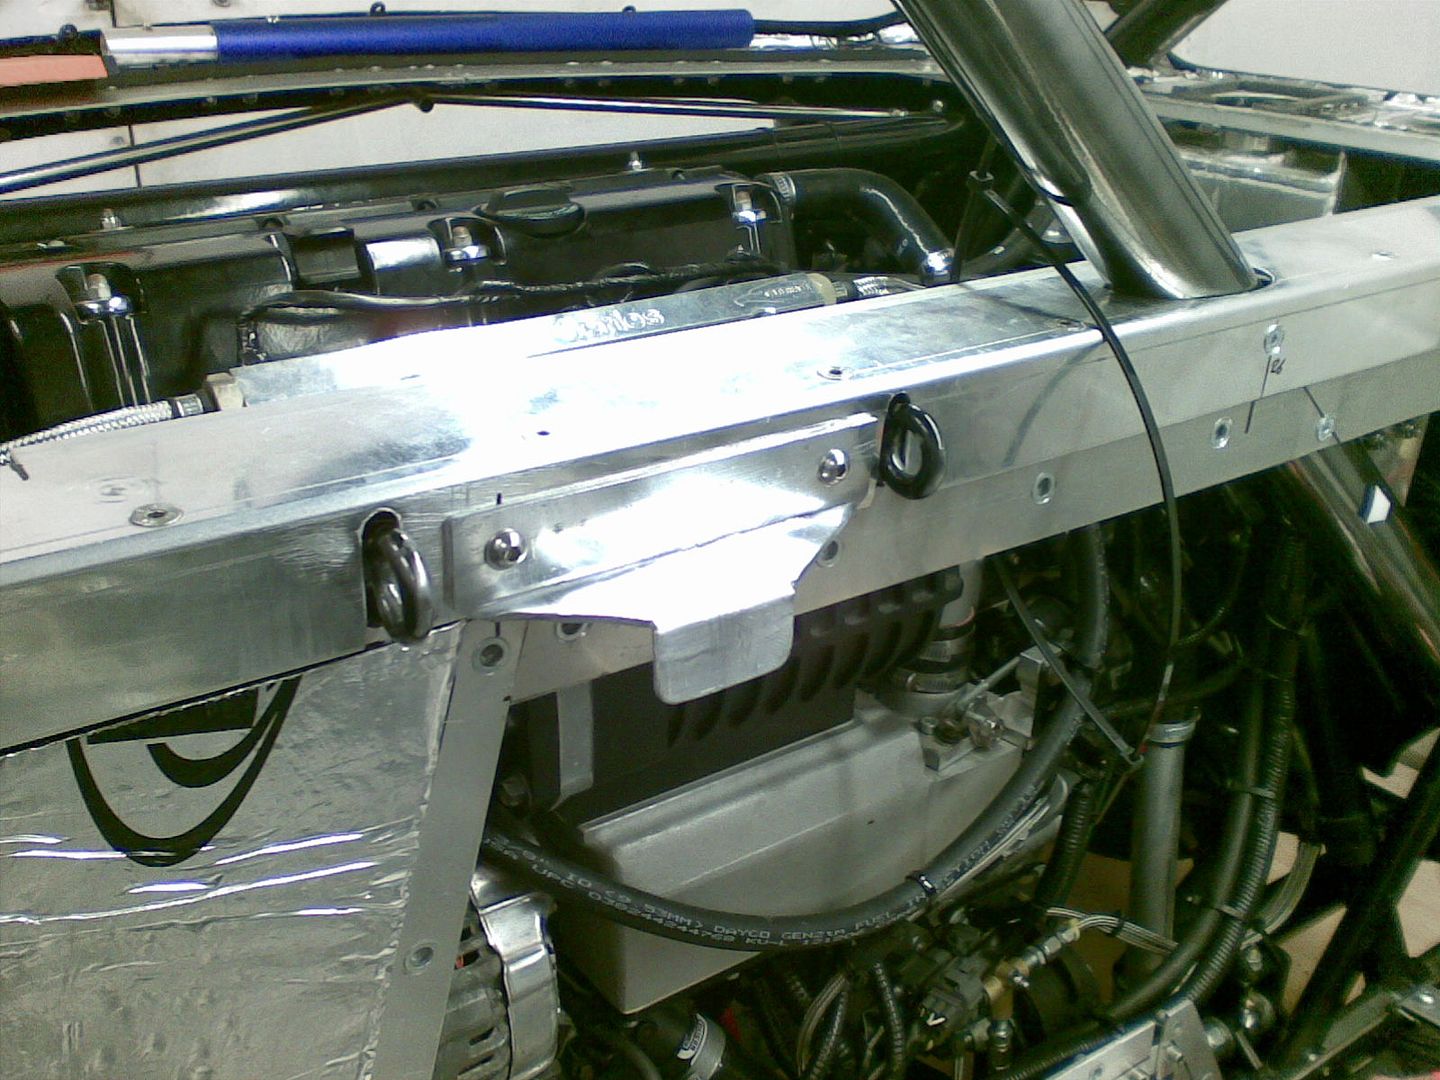
Good old Barrie welded up my centre plate/washer fluid reservoir for me (not forgetting Stevie G sorted out the outlet for me), So I got to work over the weekend on fitting the plate in place, unfortunately it meant having to remove both of the outer peices to be able to drill some of the holes, but it was worth it. So below are a few pictures of the centre plate pre spraying, I will be working on filling and smoothing the plate ready to hand over to my mate Stuart on Thursday for him to spray for me.
On a side note I got my rear perspex windows fitted on the weekend, then took them off again as I am not finished in the engine bay quite yet.
He are the photos, first one of the centre plate and side piece off during the drilling proccess and then two of the plate in position:
#353
Posted 16 March 2010 - 01:04 PM
Top quality cant wait to see it. Are you wrapping things up yet? Its hard to tell with you =)
#354
Posted 16 March 2010 - 01:30 PM
House cleaning = not my dept, thank god.
When I started the build I had no idea I was going to end up being so *rec of the tum* about everything, some say I have got OCD then I correct them by pointing out it should be CDO if you put the letters in alphabetical order..........ha ha.....
It went from a car to just go fast into a car that goes fast and looks good to boot into an anally obsessed proper fast car that must have all the screws turned horizontal - if you know what I mean.... OK its not that bad but you get the idea.
Really looking forward to putting in some miles in it...................
#355
Posted 16 March 2010 - 05:30 PM
Yer starting to wrap things up now, it'll be ready for the nicer weather (frickin better be I hear you say), although its spanking gorgeous outside today.
House cleaning = not my dept, thank god.
When I started the build I had no idea I was going to end up being so *rec of the tum* about everything, some say I have got OCD then I correct them by pointing out it should be CDO if you put the letters in alphabetical order..........ha ha.....
It went from a car to just go fast into a car that goes fast and looks good to boot into an anally obsessed proper fast car that must have all the screws turned horizontal - if you know what I mean.... OK its not that bad but you get the idea.
Really looking forward to putting in some miles in it...................
Yeah I understand. Which makes me even more surprised as most people become less involved to an extent as a build goes on.
People who do this kind of stuff alot always set out for the best which comes with decades of practice or being in the trade. So to change your mind for the better is a bit of a blessing from where your first thoughts were.
I can relate ive been there and i suppose mine was the same, but inevitably had to involve help from others after a time as this was all way over my head.
Can you take credit for alot of the work?! I cant, but I saw the whole things through and made sure I had a hand in everything we did and made every bit my own idea.
In my opinion as you don't see any top fast/race cars out there without the most exceptional presentation and care so your totally correct. But lets hope you never have to take your mini apart in a hurry!
#356
Posted 16 March 2010 - 08:11 PM
looking good!!
have you got your sights set on any track dates yet to unleash the beast!
#357
Posted 17 March 2010 - 09:10 AM
Yeah I understand. Which makes me even more surprised as most people become less involved to an extent as a build goes on.
People who do this kind of stuff alot always set out for the best which comes with decades of practice or being in the trade. So to change your mind for the better is a bit of a blessing from where your first thoughts were.
I can relate ive been there and i suppose mine was the same, but inevitably had to involve help from others after a time as this was all way over my head.
Can you take credit for alot of the work?! I cant, but I saw the whole things through and made sure I had a hand in everything we did and made every bit my own idea.
In my opinion as you don't see any top fast/race cars out there without the most exceptional presentation and care so your totally correct. But lets hope you never have to take your mini apart in a hurry!
I had a break from the car from November through to January and it was needed, it helped refocus the mind to what it was I was trying to acheive, so when I set about the car again I am coming at it from a slightly different angle in which I am doing all the jobs I put off and revisiting all the jobs I half assed did the first time around so the car has a much better feel to it at the moment, nothing rattles anymore, well the car now vibrates more because of the new engine mounts but you get what I mean.
Taking apart in a hurry - I guess as its not an out and out racer I shouldnt need to pull it apart in a hurry, however that was always in my mind when I was building this thing. Thats the main reason why I went for Perspex in the rear windows as this would give me the quickest acees to the engine, one of my fears was the serpentine belt giving up on me, especially with it driving the supercharger. This fear was confirmed (in a roundabout way) recently as I have been suffering with a belt that keeps stretching. Soa fter a bit of research and asking around I have managed to source a Goodyear belt for it - what a mission that was, anyhooo it arrived the other day and when I check it against my old belt it was approx 1.2mm thicker than the original FAI belt, the supercharged RSX (Integra DC5) boys over in the states have been using Goodyears for some time and no-one is reporting any problems with them (I ordered a couple just incase though).
As for the work, other than body work, tuning and ali welding I have done pretty much everything else myself, another reason why its taking so long when it is only one person doing all the work. I do get a good sense of achivement every time I stand back to look at the car and the work I have done, as I am sure you do to.
Trying to be as original as possible with mini has been alot of work, introducing new things into the mix has been fun and hard work, I am looking forward showing you lot my finest work, although I still cant tell anyone about it yet as I dont want anyone to steal my idea before I get mine finished.
blimey, aint you finished that car yet!!
looking good!!
have you got your sights set on any track dates yet to unleash the beast!
Patience..........Rome wasnt built in a day (didnt take this bloody long either).
After losing money last year on a track day I didnt attend I am not going to confirm any dates yet, I am going to get it finished within the next couple of months and once its done I will be looking for a track day. Did a couple of short launches in it the other day and it is F-ing quick, although i am having issues with my brake setup, Chris thinks I may have the wrong sized master cylinders but we wont know til I can check later.
Spent last night filling and sanding down the centre plate, my mate Stuart that does the spraying is going to fit the windscreen with me on Thursday when he picks up the plate for spraying - cant wait.
Edited by cptkirk, 17 March 2010 - 09:12 AM.
#358
Posted 17 March 2010 - 12:45 PM
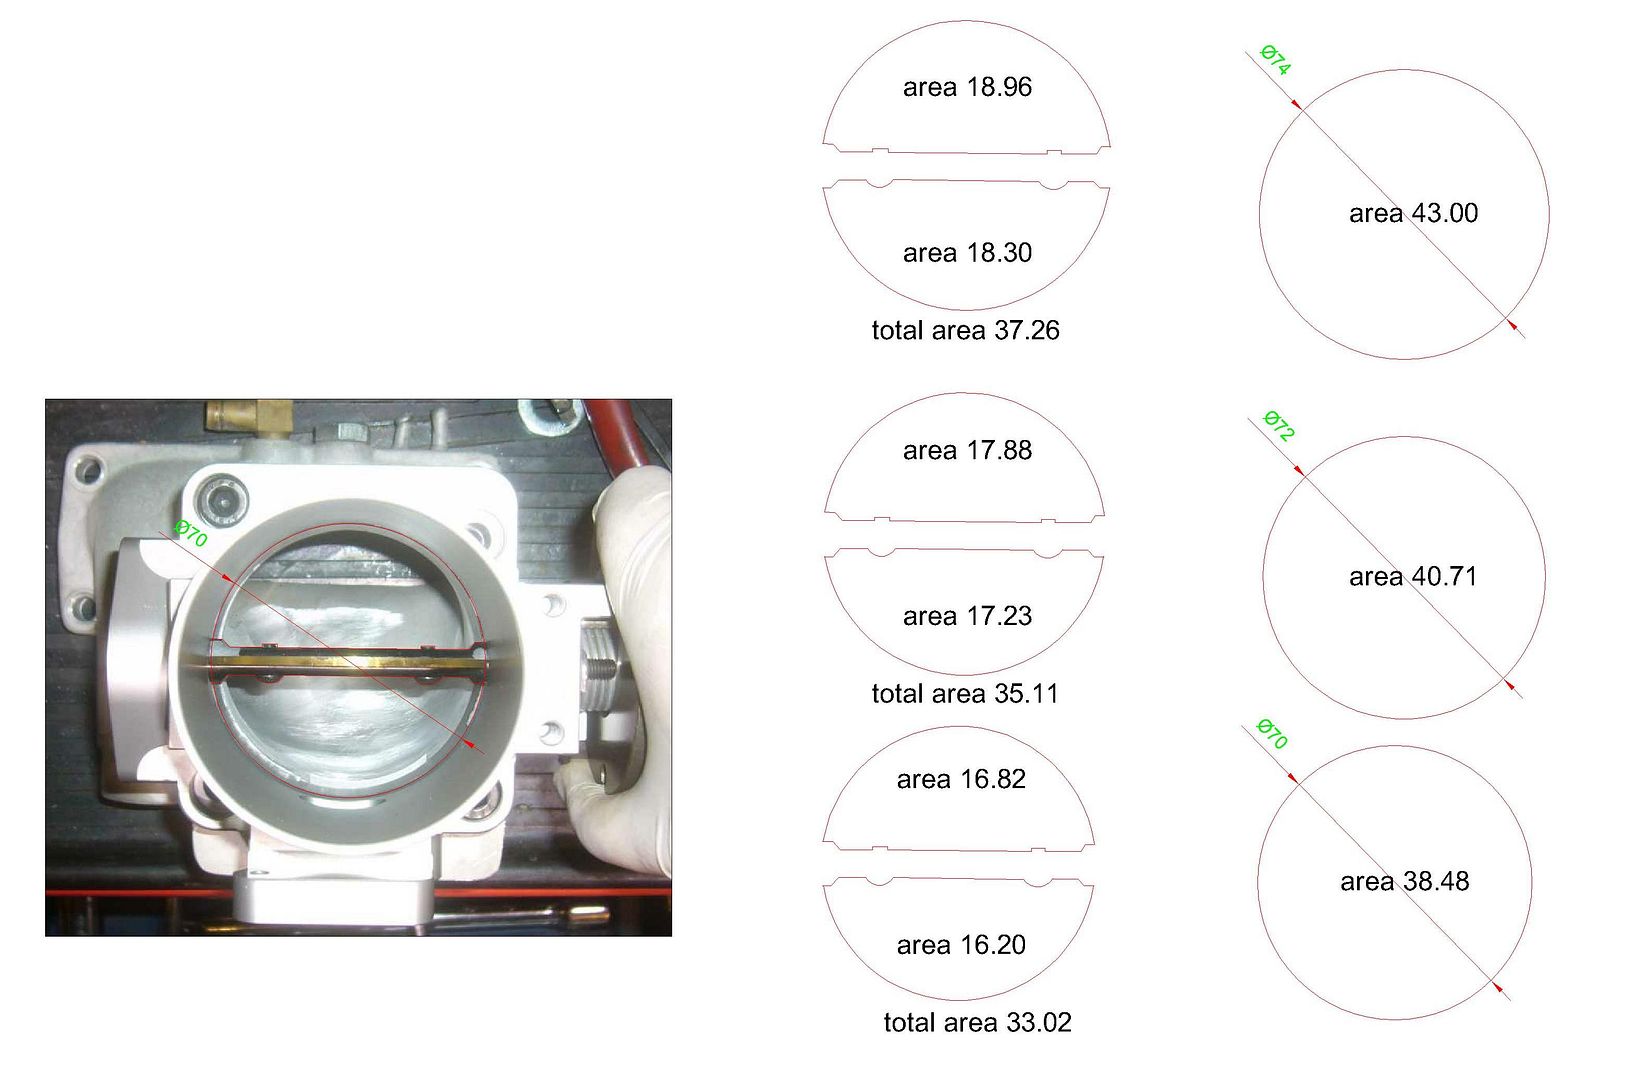
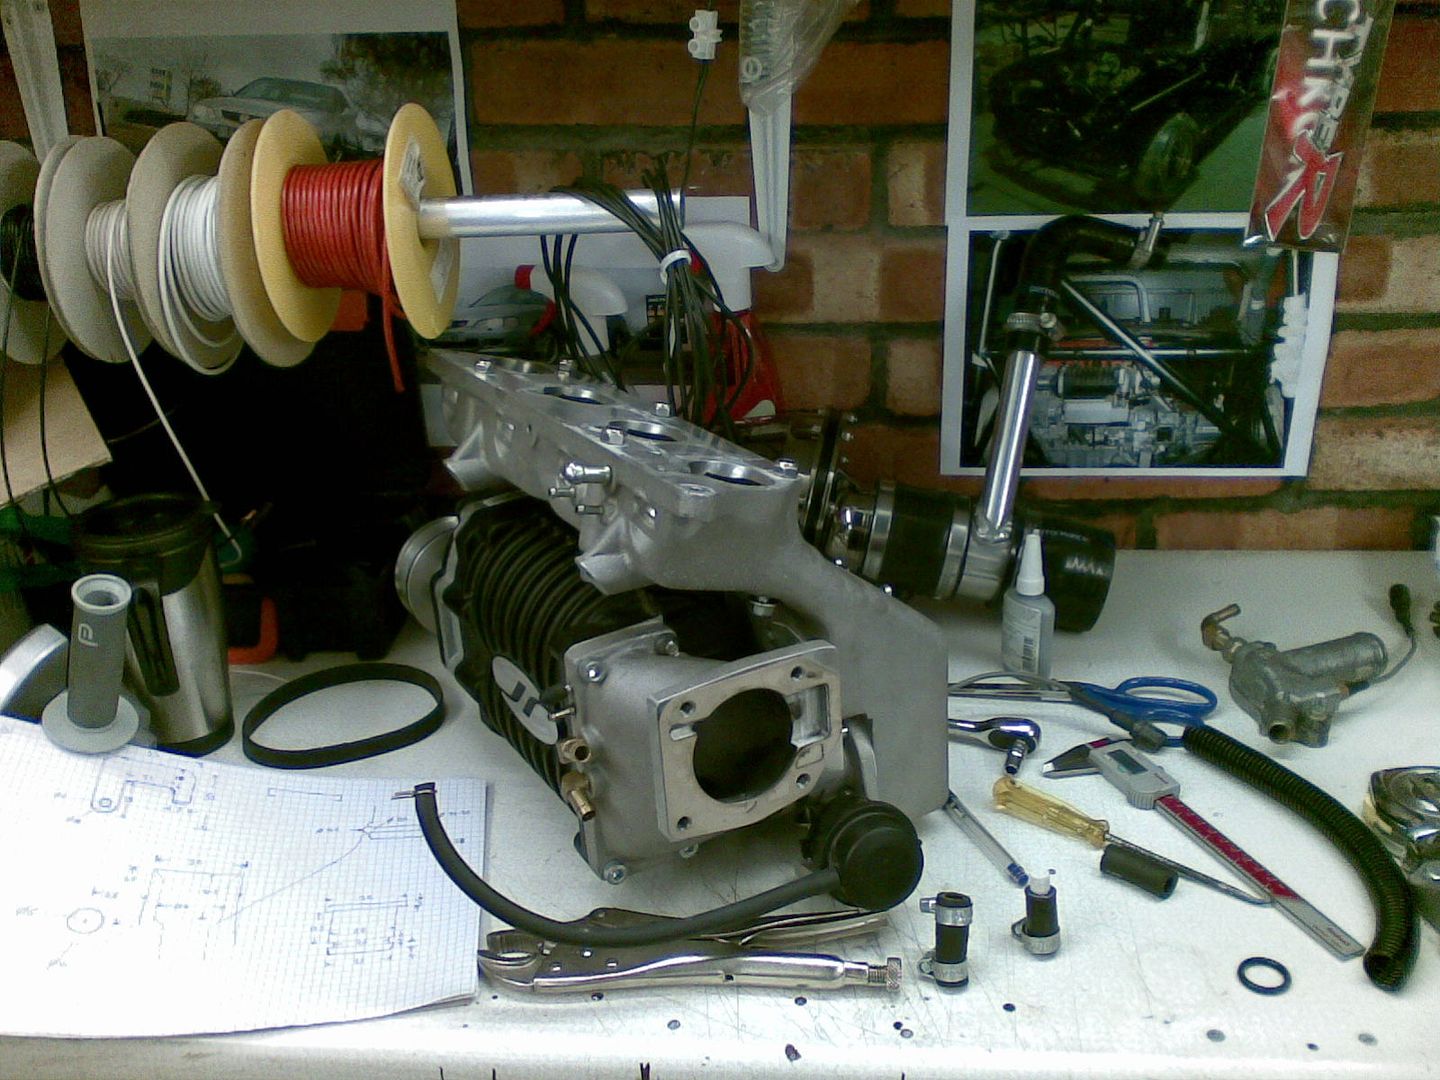
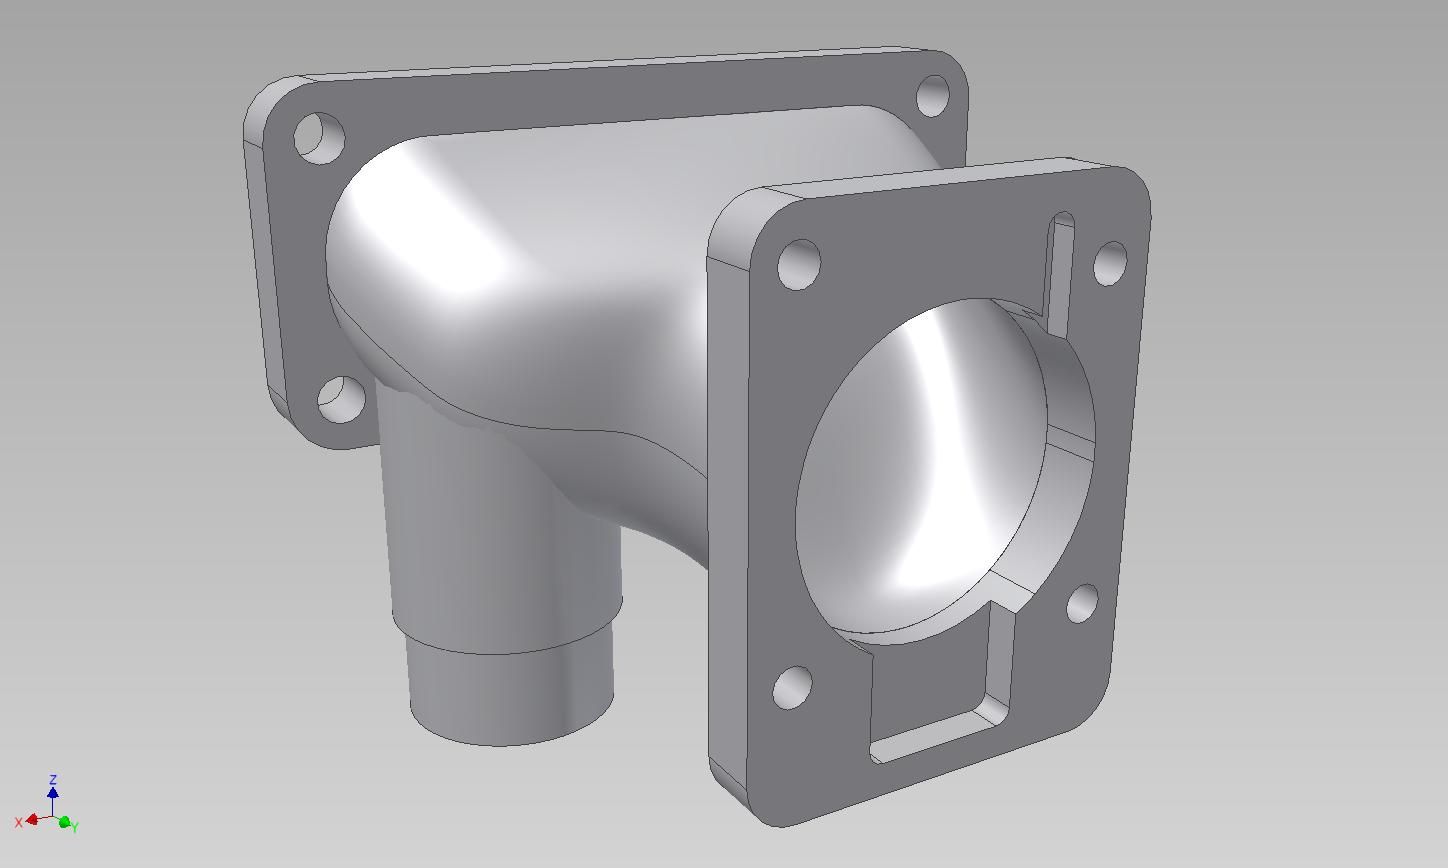
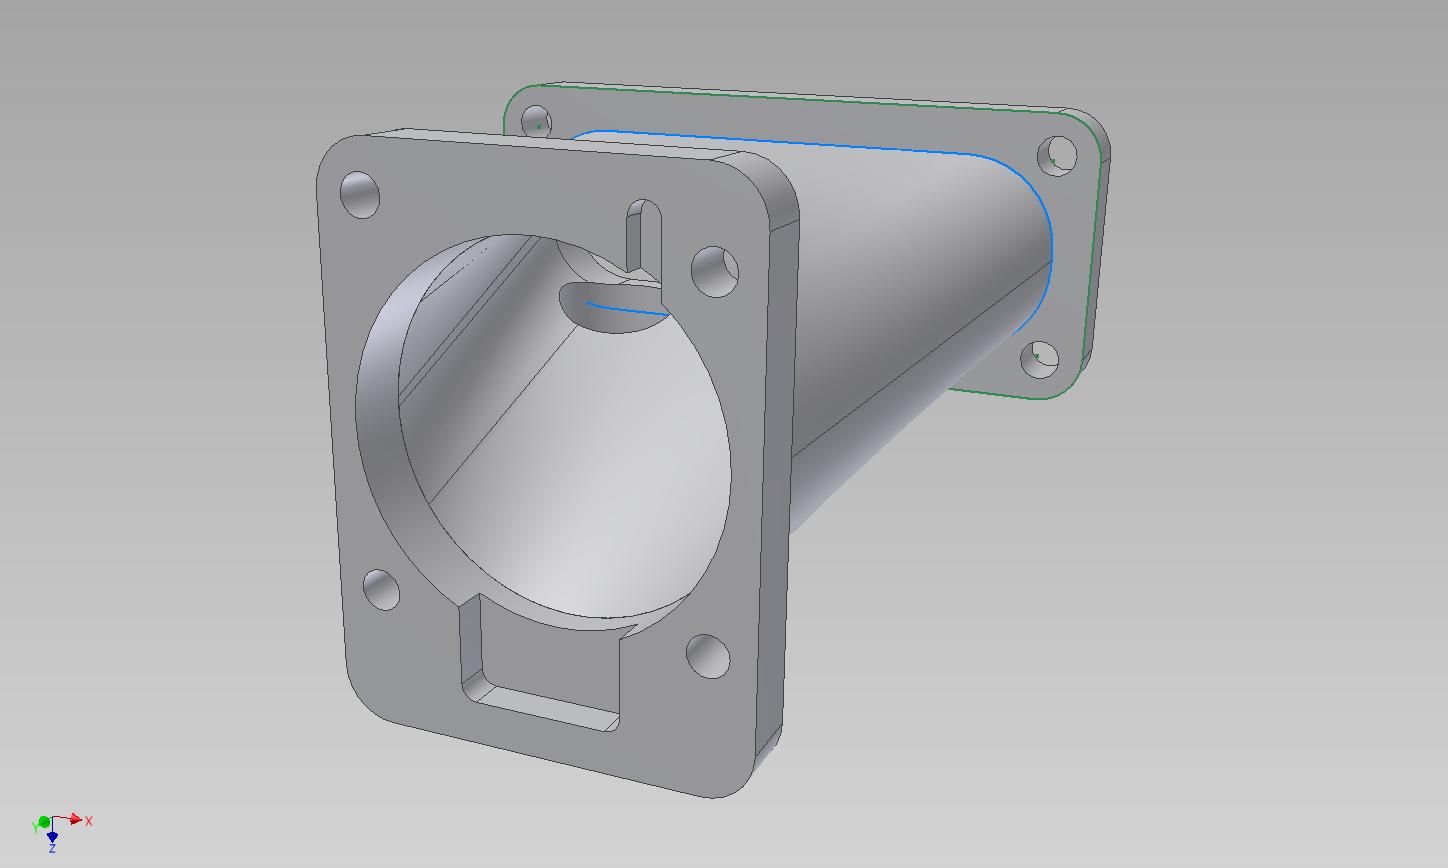
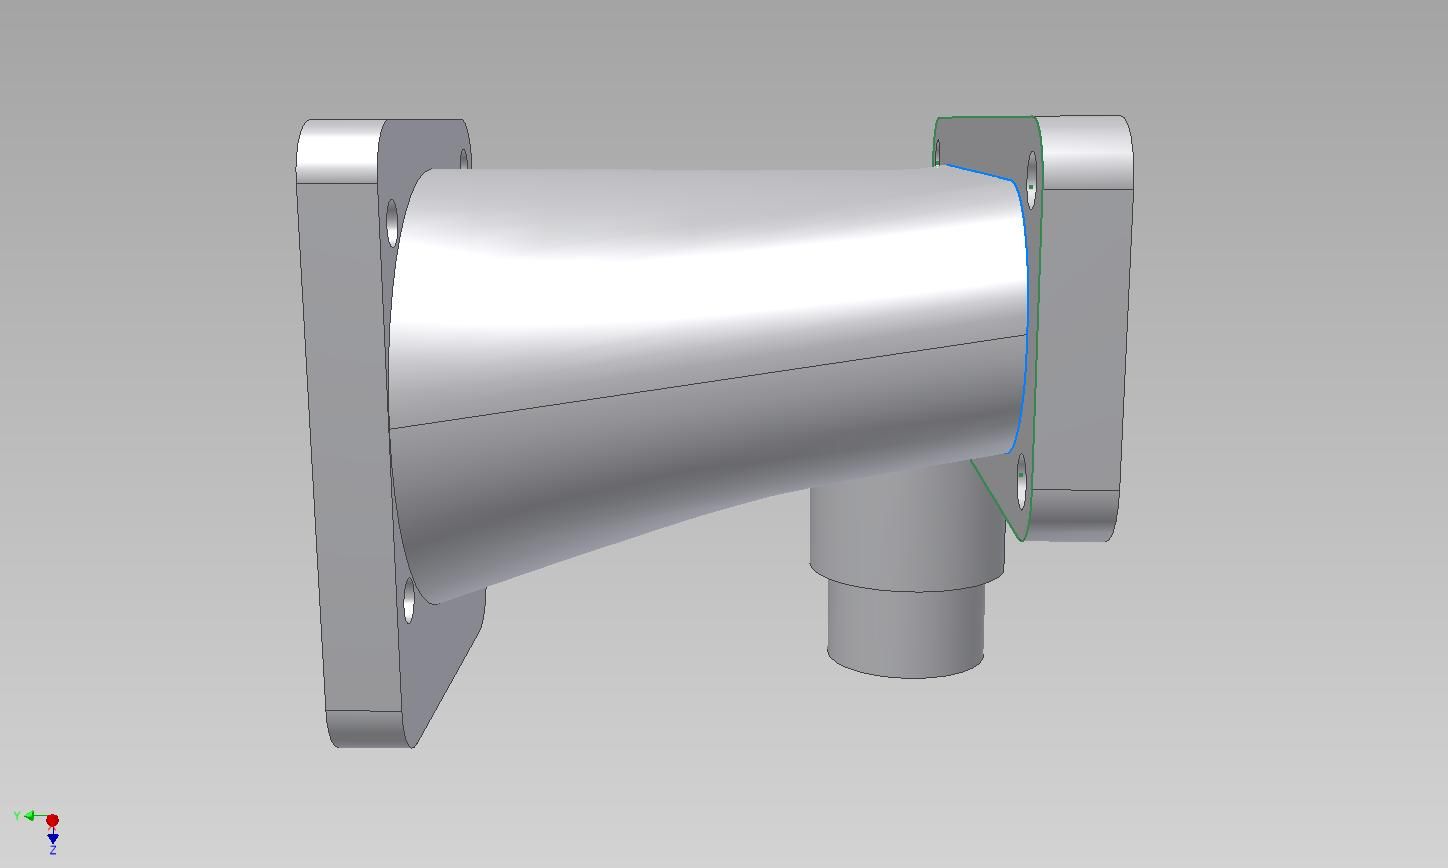
This one is a redesign of the intake between the throttle body and the S/C inlet. I was doing this for the RSX guys, these are just preliminary drawings I am going to be finalizing designs with a couple of different people, one for the Honda RSX and the other to go in a VTEC Lotus. Thing is with my Jackson Racing S/C setup there are thousands of them the same being used in various cars and there is a wealth of knowledge about them on the internet if you know where to look.
The design is born out of people looking at gains from using bigger throttle bodies, problem with the original design is the TB has a smaller cross sectional area than the inlet into the S/C, so to achieve a greater flow of air into the S/C I determined you will need to use a 74mm throttle body, see 1st picture below (note the TB in the picture is a 70mm Skunk2). Also the step up in the inlet is not the best for air flow, so I straightened out the neck and took the TB further away from the S/C. The 2nd and 3rd pictures show the original inlet, note to closeness between the flanges (S/C inlet is the oval one for those that arent sure) and the steep step up. Then the rest of the photos are of the new design with a straighter neck and made for a 74mm TB.
Horsepower gains arent going to be great from such a change but it all helps when you start making these engines work for a living.
Original inlet on S/C
The new design
#359
Posted 17 March 2010 - 11:31 PM
Also, what's the cap for in the center cover? (Clutch or brake fluid access?)
Edited by crispy, 17 March 2010 - 11:32 PM.
#360
Posted 18 March 2010 - 12:58 AM
4 user(s) are reading this topic
0 members, 4 guests, 0 anonymous users