This "How to Guide" concentrates on the fitting of the top, turret, mountings of the Mk4 Mini onwards, but will also touch on the fitting of the lower front subframe mounts as well, as this can be done at the same time..
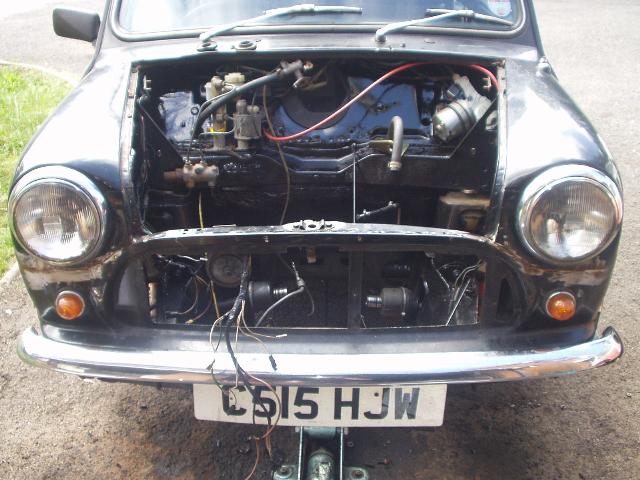
You will notice by the photographs a distinct lack of engine from the pictures. It is obviously not necessary to remove the engine, but while it was out I thought I would change mine and create the "How to Guide" and it also makes for clearer photos. So away we go....
First make sure your mini is securely mounted on axle stands, they will need to be placed under the floor pan so please provide them with a suitable packing to prevent damage, and not inhibiting the exhaust or gear change mechanism.
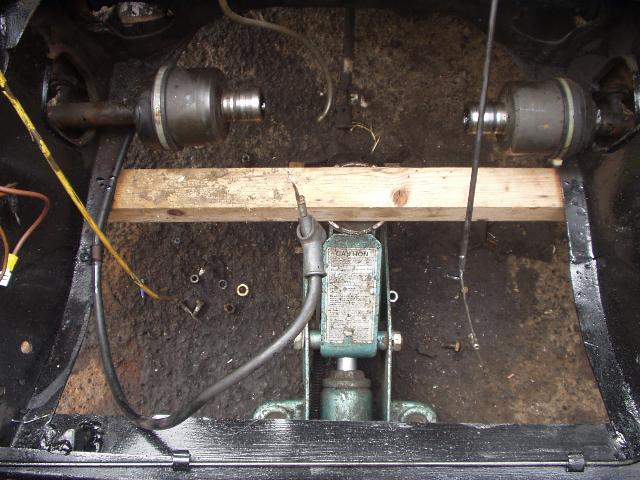
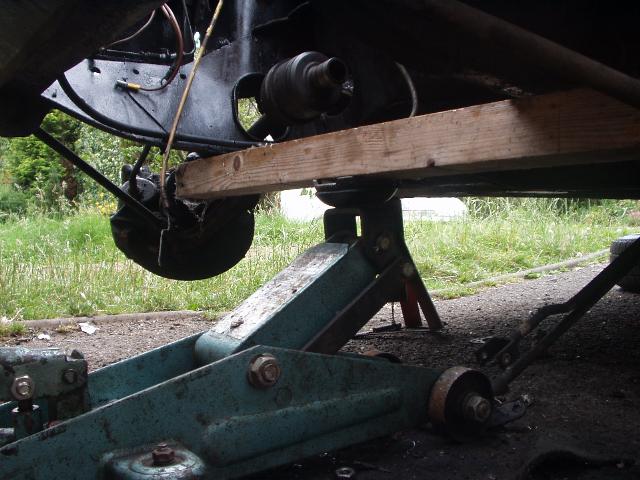
The support the front subframe (and engine) with a trolley jack and packing, not normally recommended, but support from under the gearbox is sufficient.
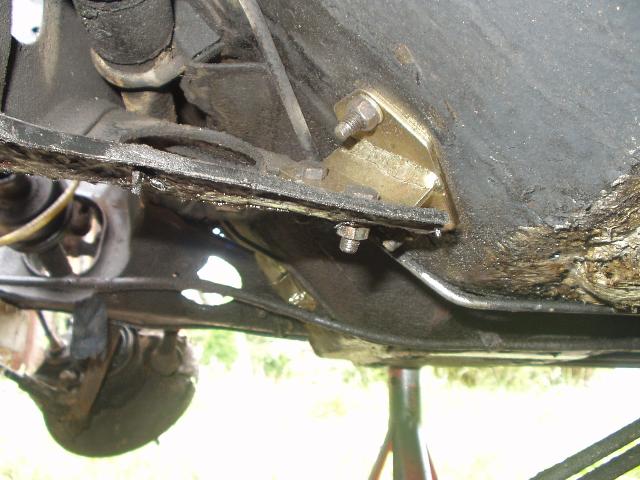
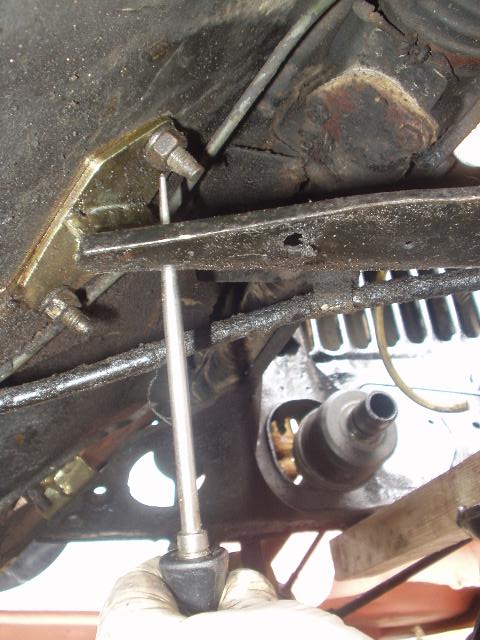
Now, undo and remove the bolts which are attaching the lower subframe mounts to the subframe. 1/2" spanner and Socket will be required.
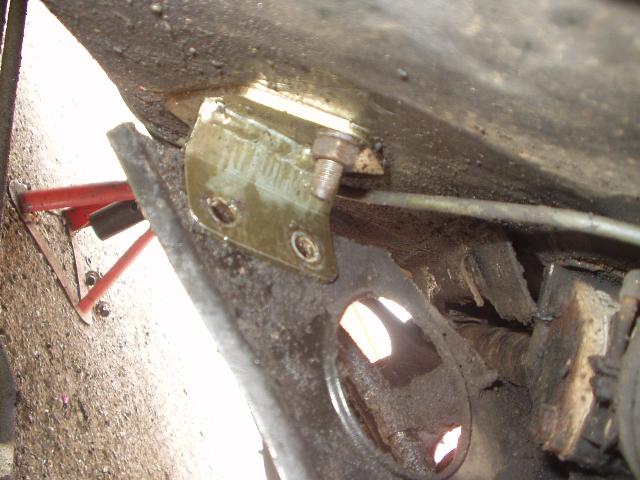
At this point, if you are also replacing the lower subframe mountings undo the two remaining nuts attaching them to the floor pan and from within the car (under the carpet) retract the captive bolts, and then the mount from under the car. The new mount can them be bolted into place.
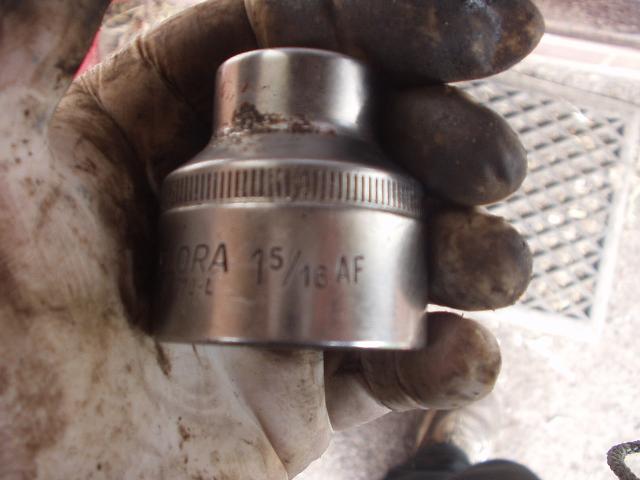
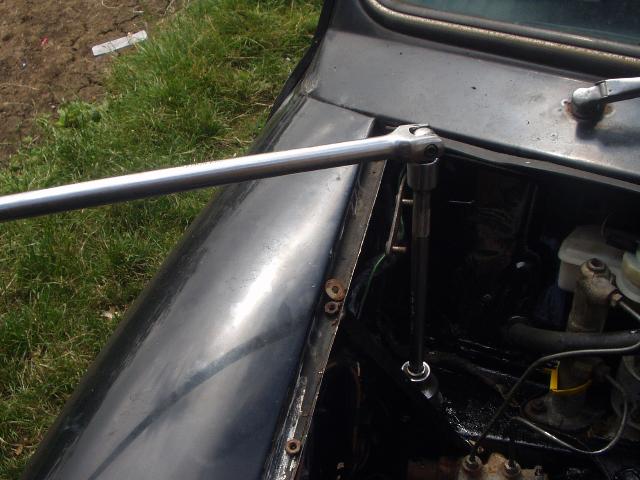
Continuing on with the turret mounts, the two bolts now need to be loosened from above, for this you will need a 1.5/16" socket....
...an extension bar and breaker.
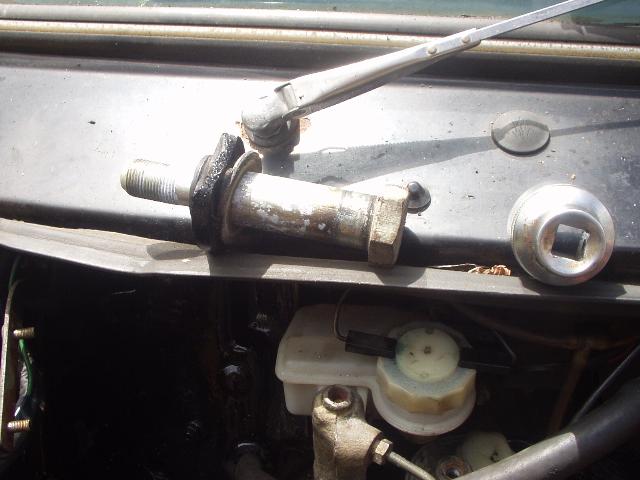
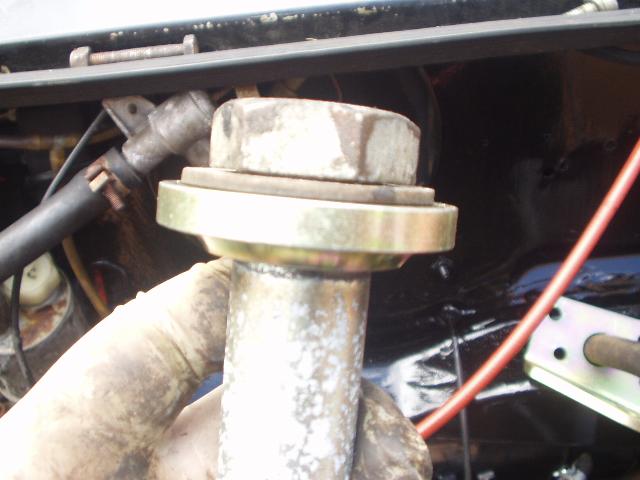
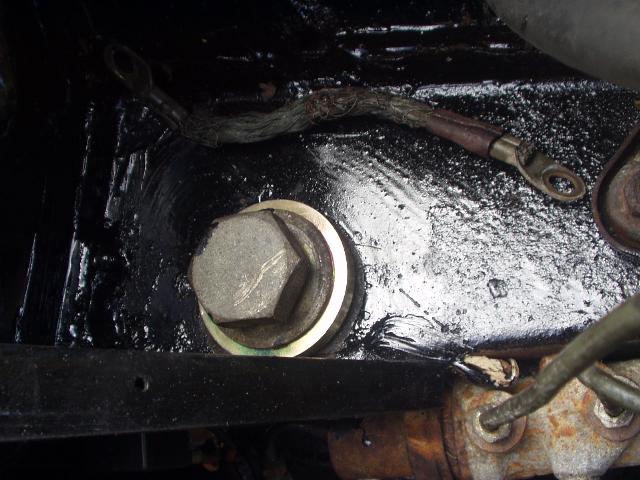
and undo the bolt, with the washer and upper mount intact.
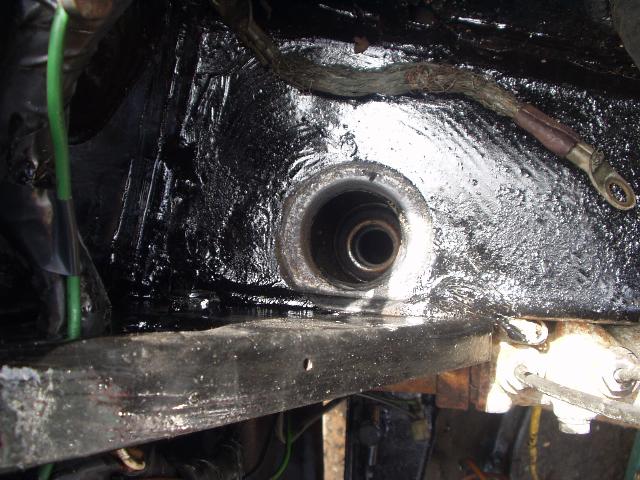
do the same for the other side. and also check the mounting area for rust or damage.
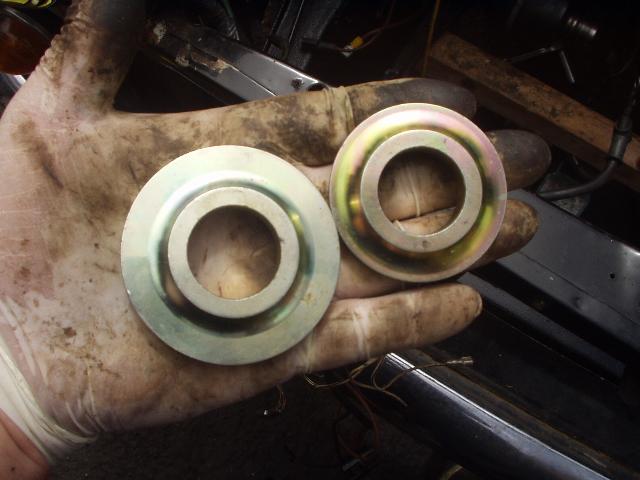
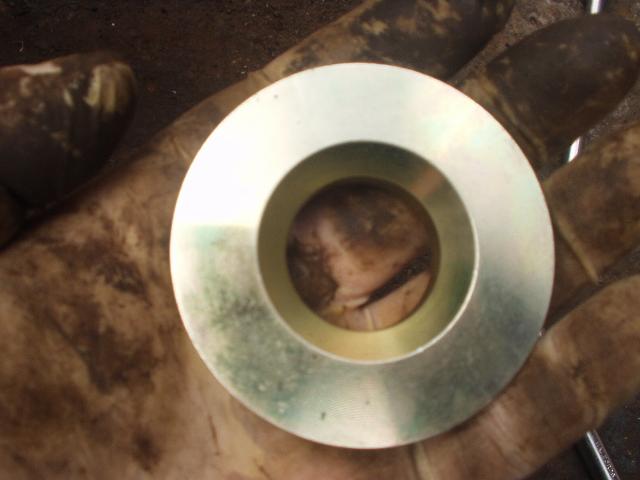
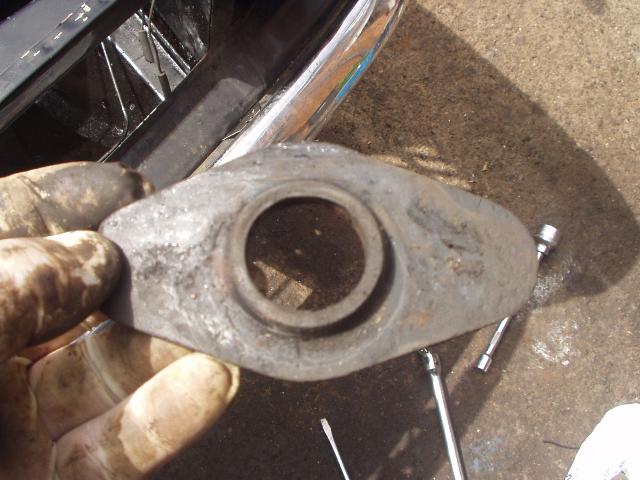
Turret, mounts come in pairs, a large one and a small one, the larger on is the lower of the two and on the reverse has a rebate which is designed to fit over the weld on the top of the subframe.
Using the hydraulic jack lower the subframe about an inch, the weight of the engine will help, but I needed to help it down with a pry bar.
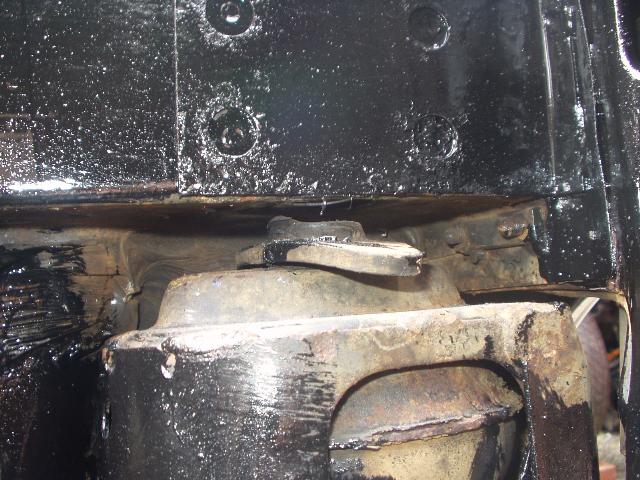
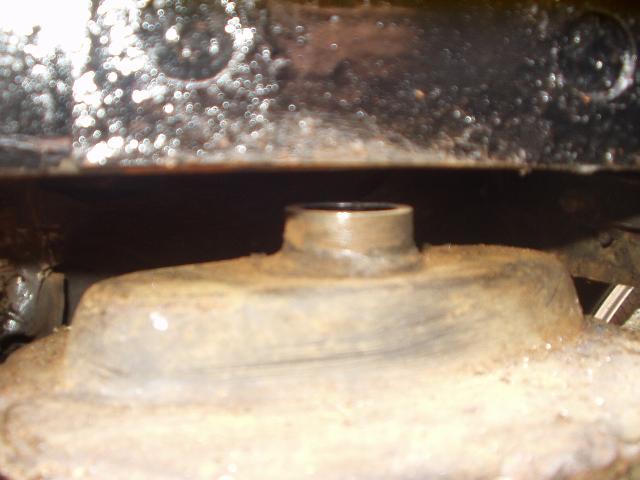
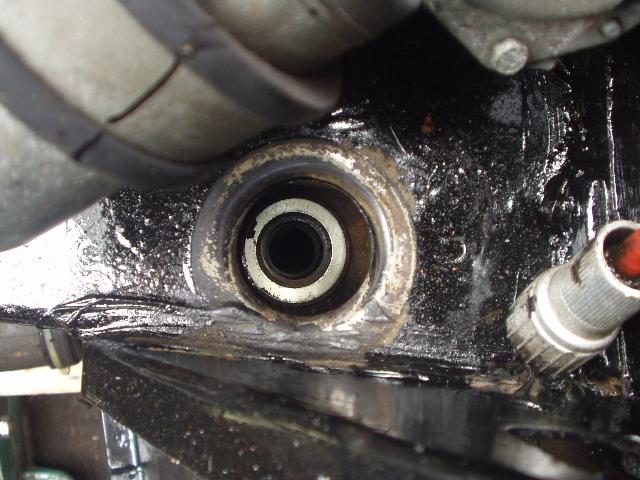
This provides just sufficient access to remove the old mounting and insert the new.
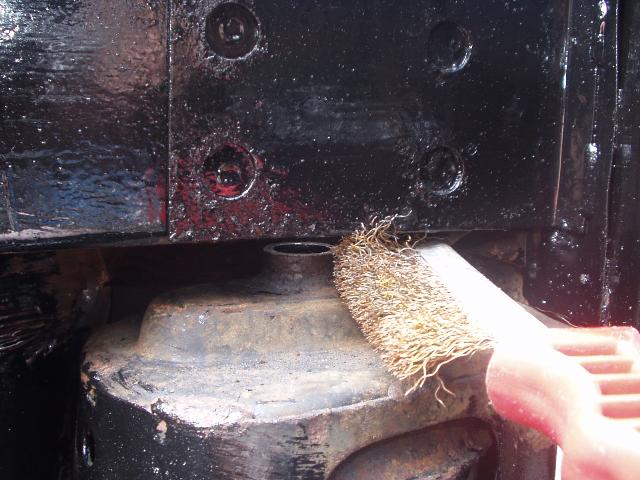
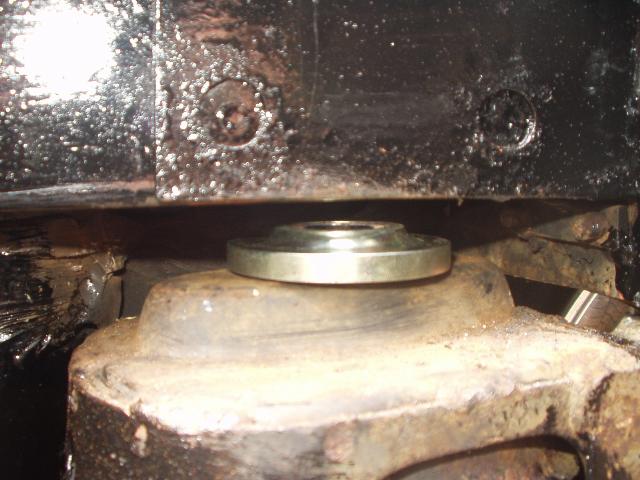
Unlike rubber, the solid mounts are machined to fit and a very close fit at that, so it may be necessary to prepare the top of the subframe, and here using a thin wire brush just cleans the area enough to allow the new subframe mount drop on nicely. If it's a little tight, a tap through the hole with a drift will help it on, but don’t force it.
and with the other side done, also check the bottom of the mounting point is also clean and clear.
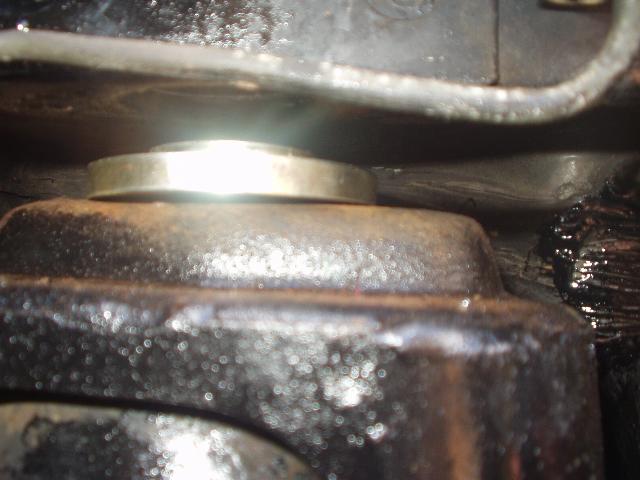
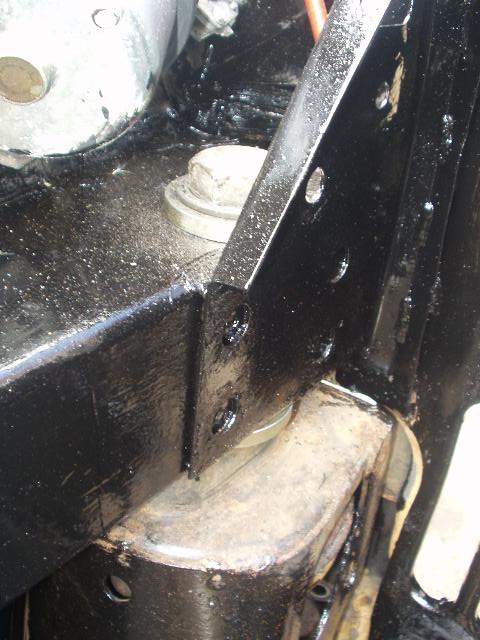
Now carefully jack the subframe back up, watching so that the mount locates itself correctly into the mounting point from above.
and the side.
Edited by Guess-Works.com, 24 August 2013 - 08:56 AM.


