
Project Erm
#286

Posted 08 October 2010 - 05:00 PM
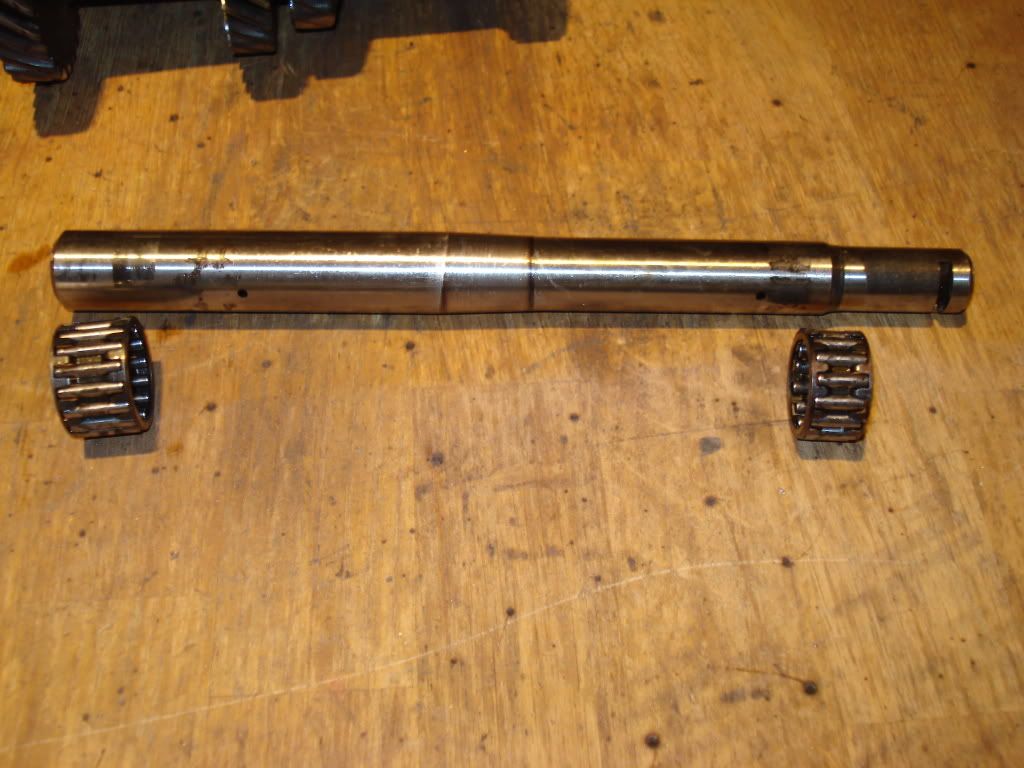
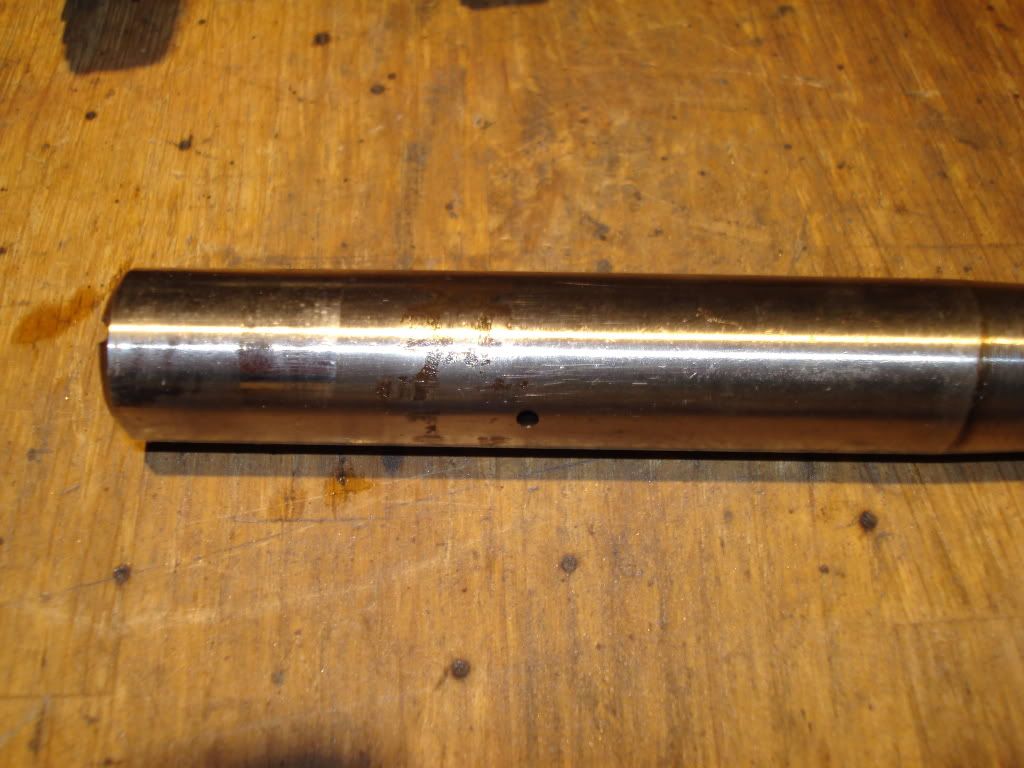
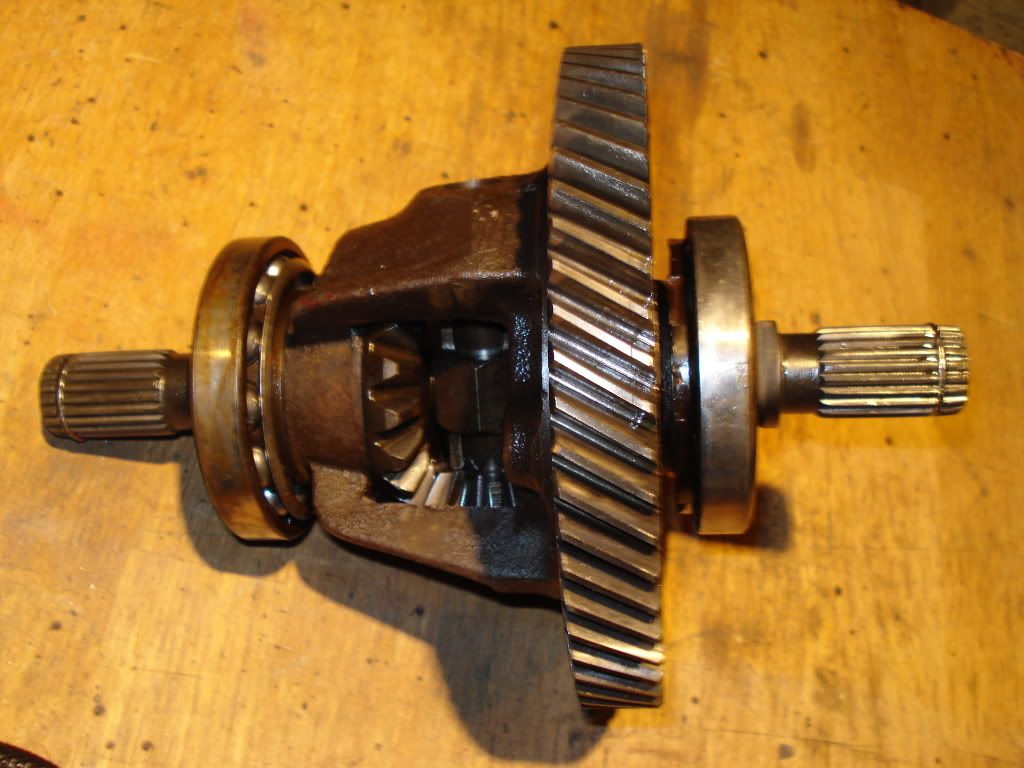
Fully stripped it to bare bones and found all sorts of nasties. One main shaft bearing totally shot Bugger, layshaft kaput due to bearings being shot. And the laygear are knackered as well due to the bearing damage, all caused by not changing the oil regularly. Oh also forgot about a knackered bearing on the differential as well.
Baulk rings are worn as well plus the input shaft lug was loose so the potential for very poor gear changes were high.
The main gears are good so apart from changing the bearings not a problem so its time for a full rebuild kit plus Laygears and so on plus welding the lug on the selector shaft.
We will rebuild it next month, i have another gearbox that we will strip as well to see if there is any goodies in there that we can utilize. Oh and make a centre oil pick up pipe.
Meanwhile its back to the bodywork and welding, oh the joys.
#287

Posted 08 October 2010 - 06:48 PM
#288

Posted 08 October 2010 - 06:51 PM
Doing a really good job here guys, keep it up
Thankyou
#289

Posted 09 October 2010 - 02:27 PM
Knackered layshaft and bearings
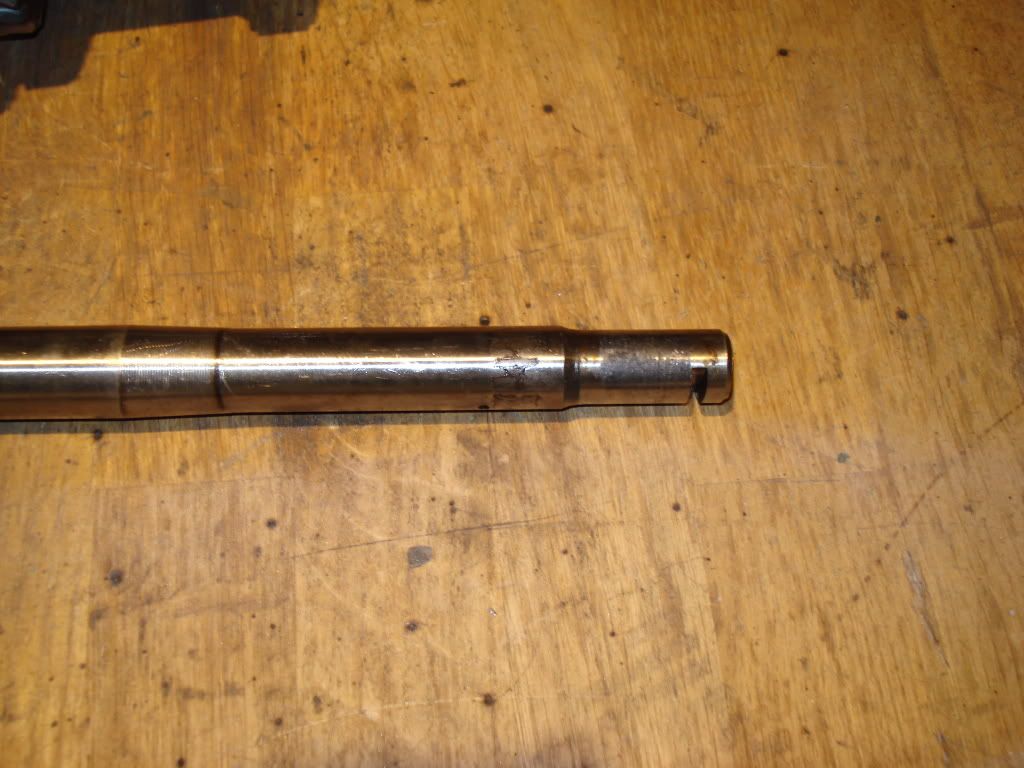
close up of wear
Differential with knackered large bearing
Empty casing
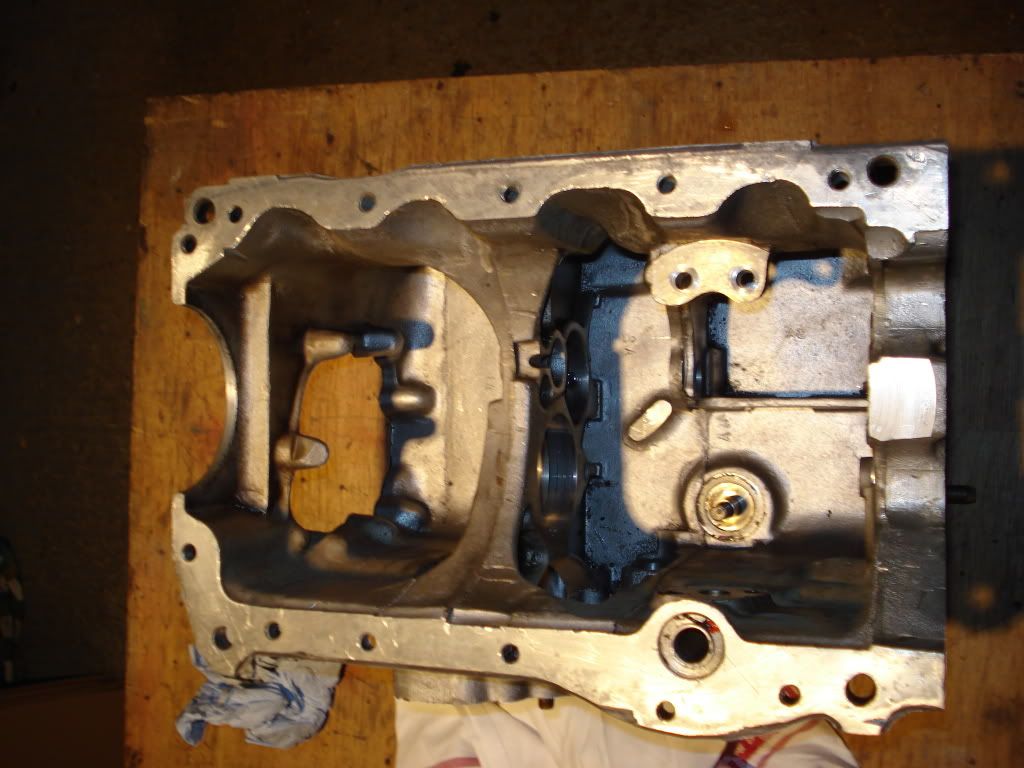
Had another look at the main gearset and found a chip out of the fourth gear cog. Bugger!! But on the bright side my mate has just offered Scott a complete gearset including laygears and shaft plus some other bits for a case of wife beater and a bottle of red. Happy days as they are all in excellent condition plus a brand spanking new set of straight cut drop gears for not a lot of monies. Oh and Mr Dodd has given some very good info on the best set up for Erm and his running gear.
Due to bathroom woes no work done on Erm but he will get a jolly good work out tommorow.
#290

Posted 11 October 2010 - 06:58 PM
Inside the door frame primed and painted
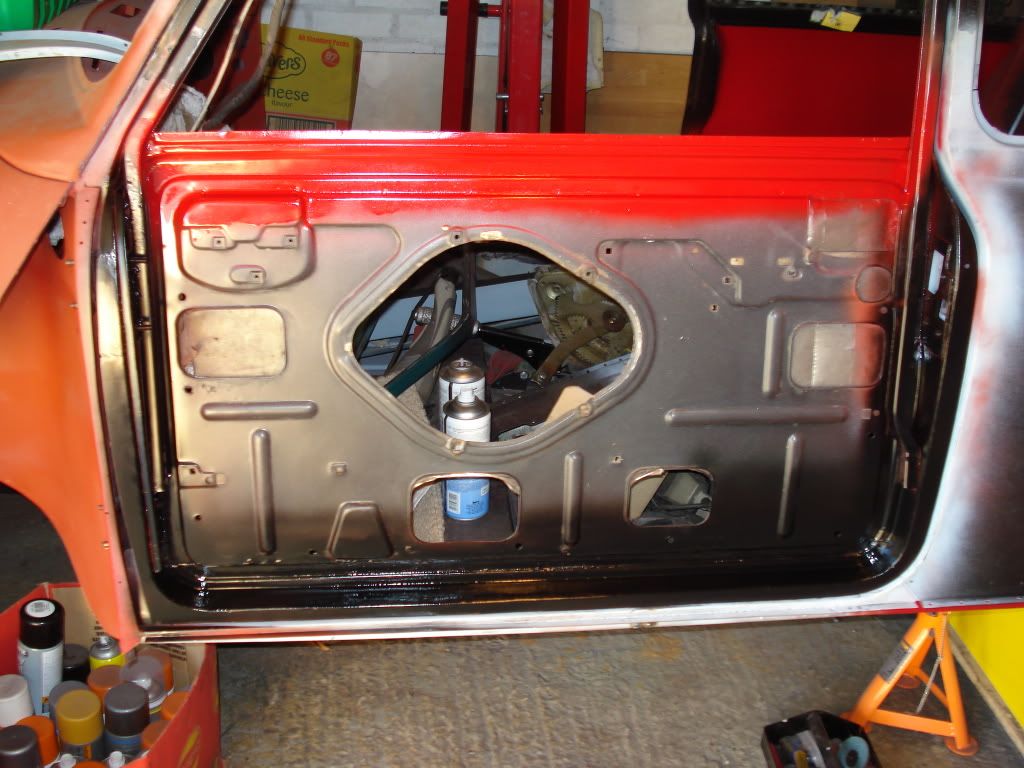
Then on with the skin
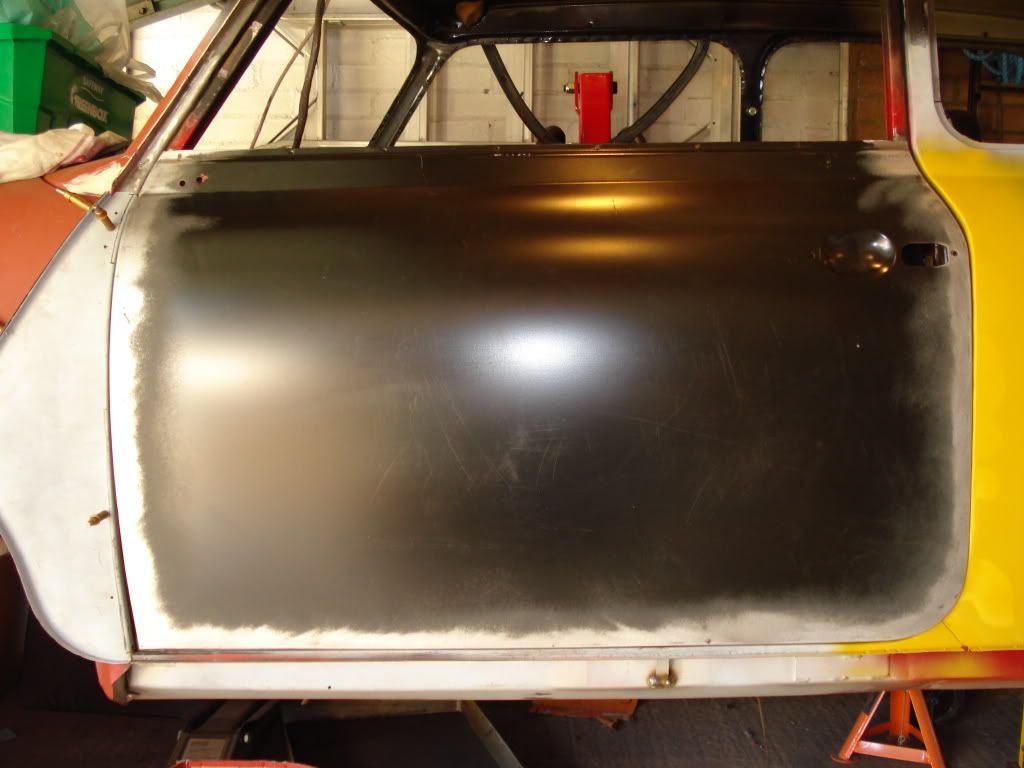
Then onto the gaps
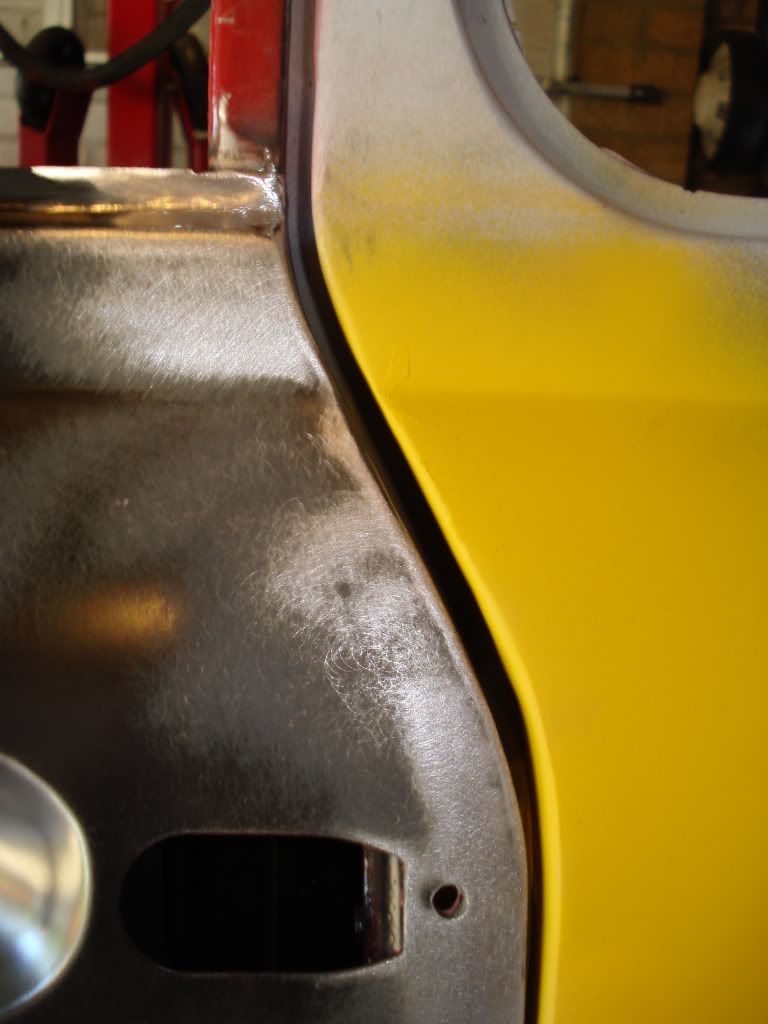
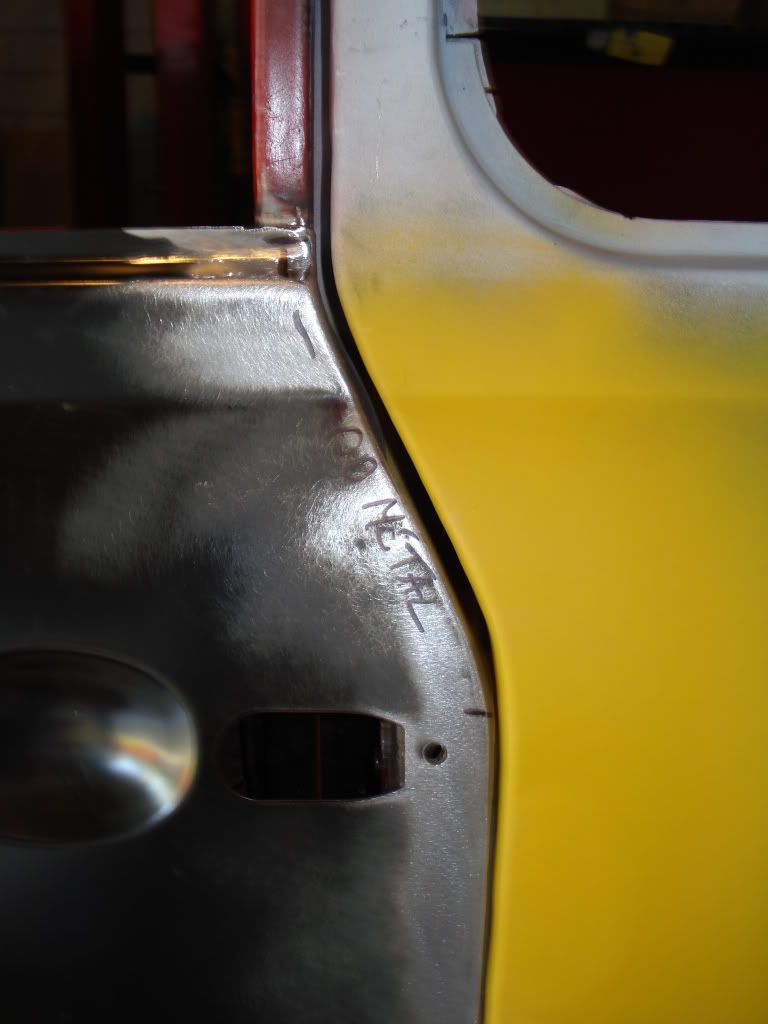
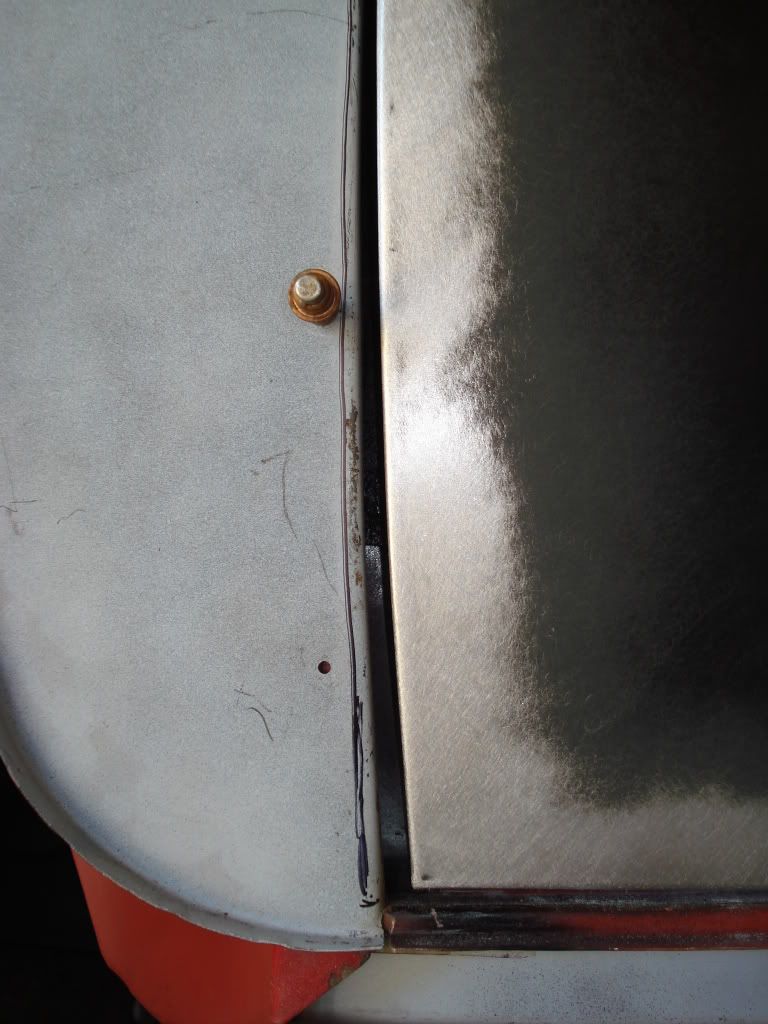
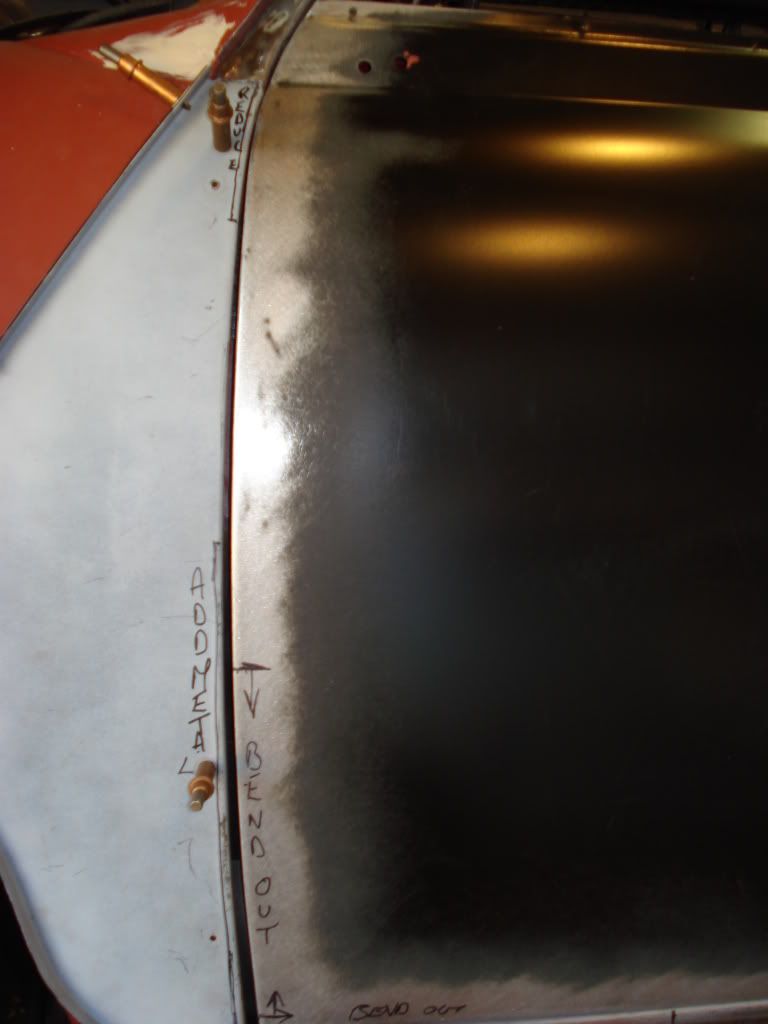
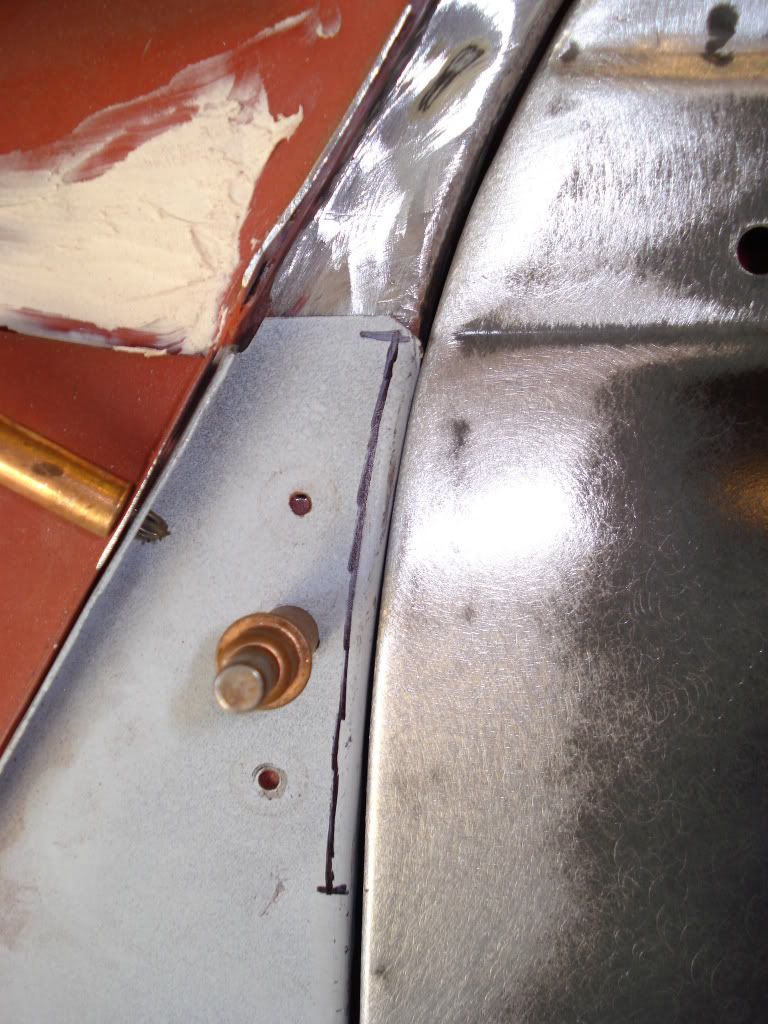
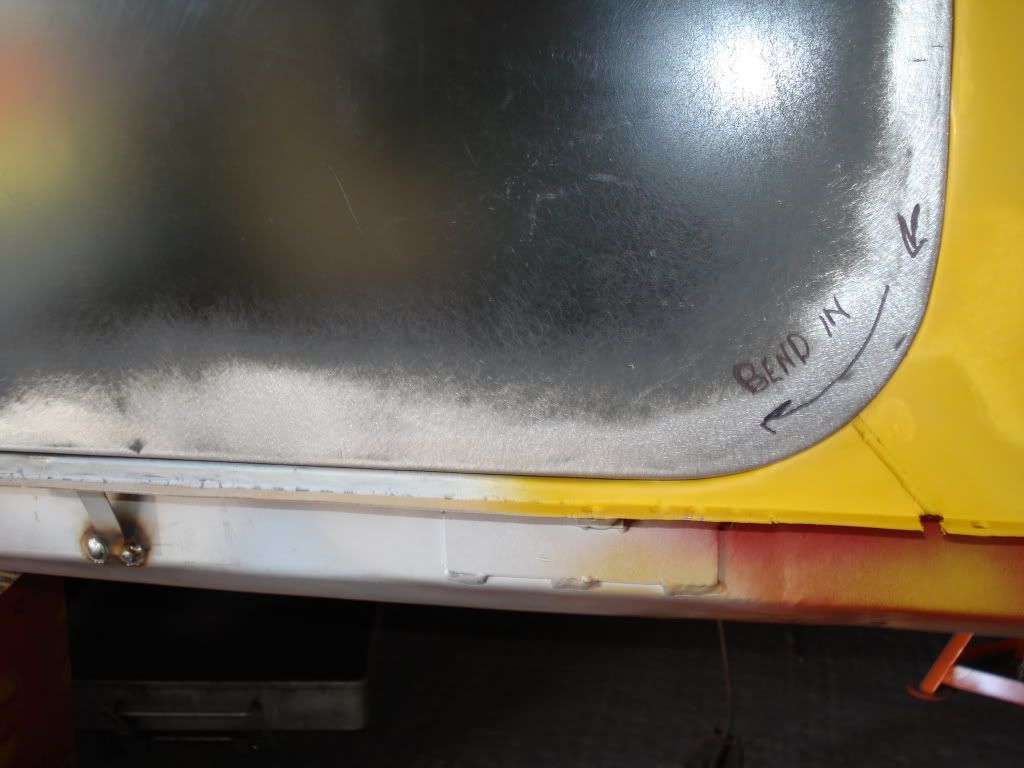
and then some gap filling
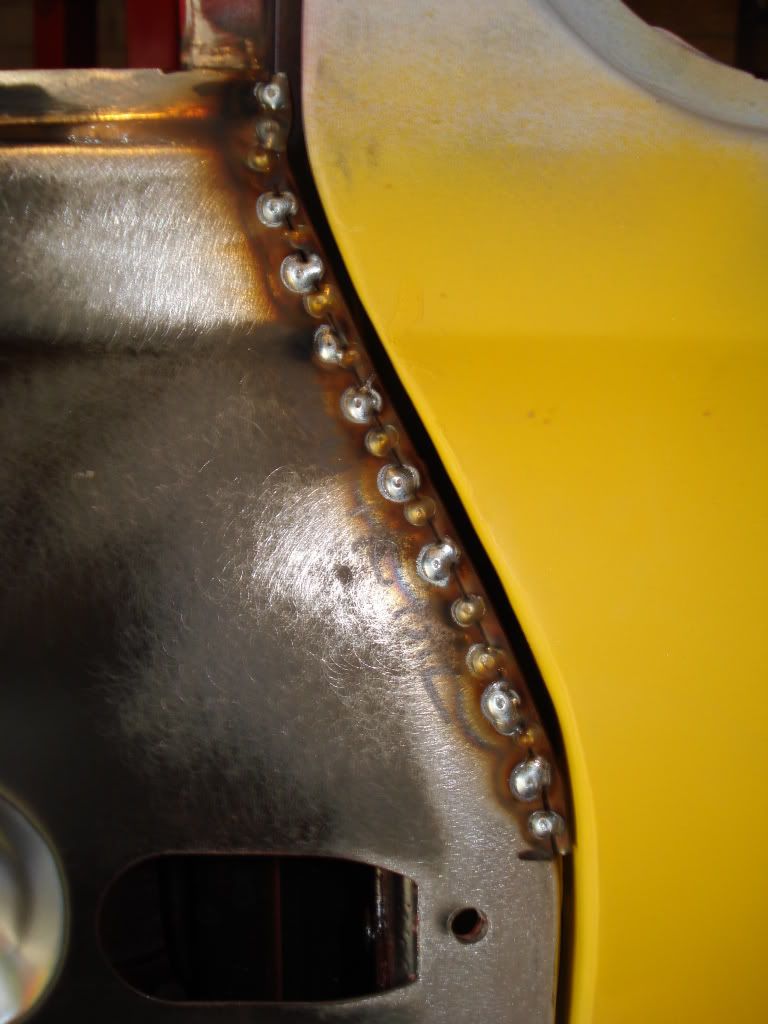
A lot more to do to get it just right but it will be worth it.
#291

Posted 11 October 2010 - 07:39 PM
#292

Posted 11 October 2010 - 08:01 PM
So do you just use a super thin disc on a dremel or something and take a slot out?
Nope i use some welding filler rods of various thickness, the one i'm using at the moment is 3.4mm thick. I will add another one and grind it down to get the gap right.
The same for the A panel gap as well everything else will be panel beaten as required
#293

Posted 11 October 2010 - 08:58 PM
nice work going on to
Bam.
#294

Posted 12 October 2010 - 04:46 PM
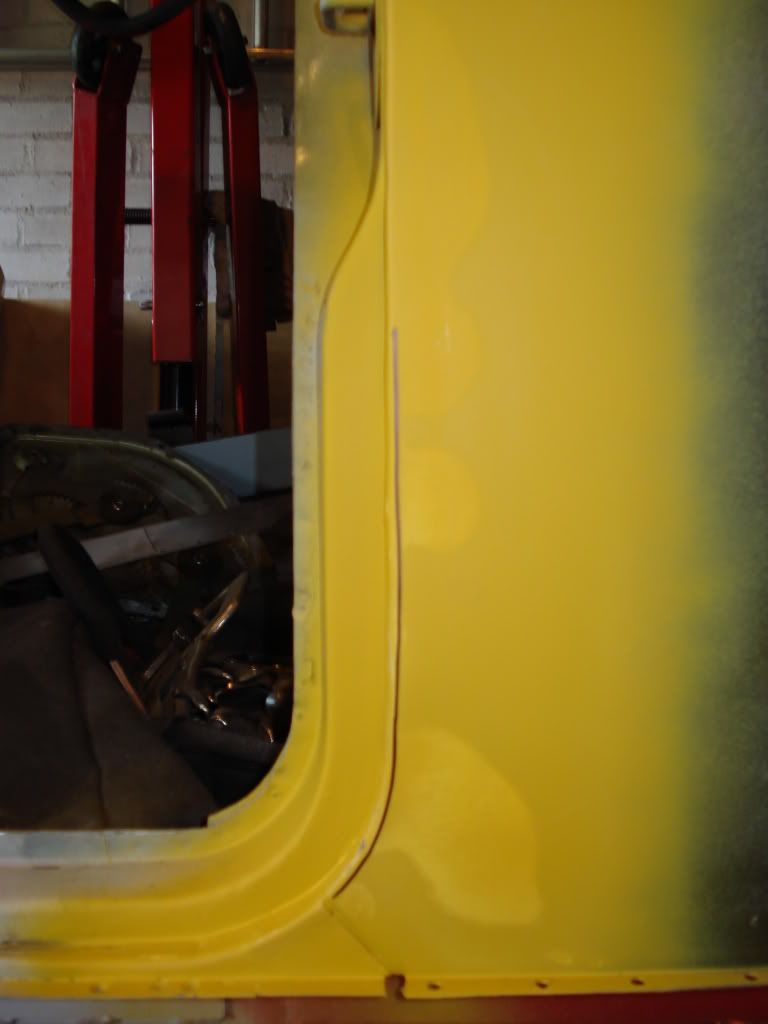
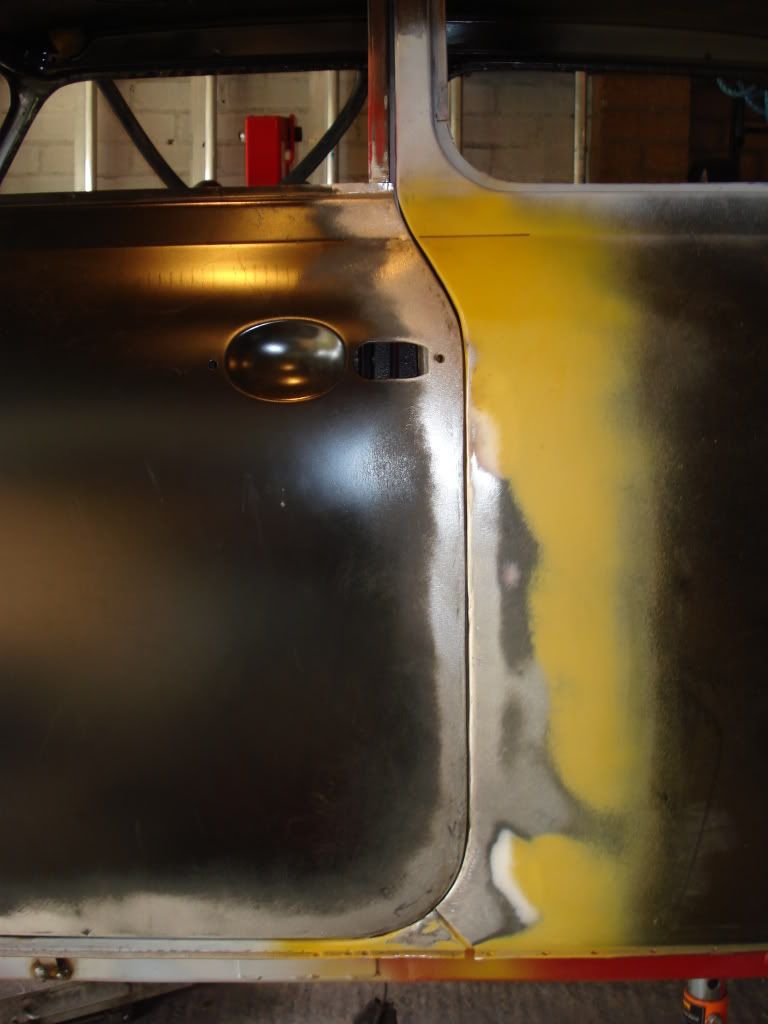
Cut, closed up and spot welded.
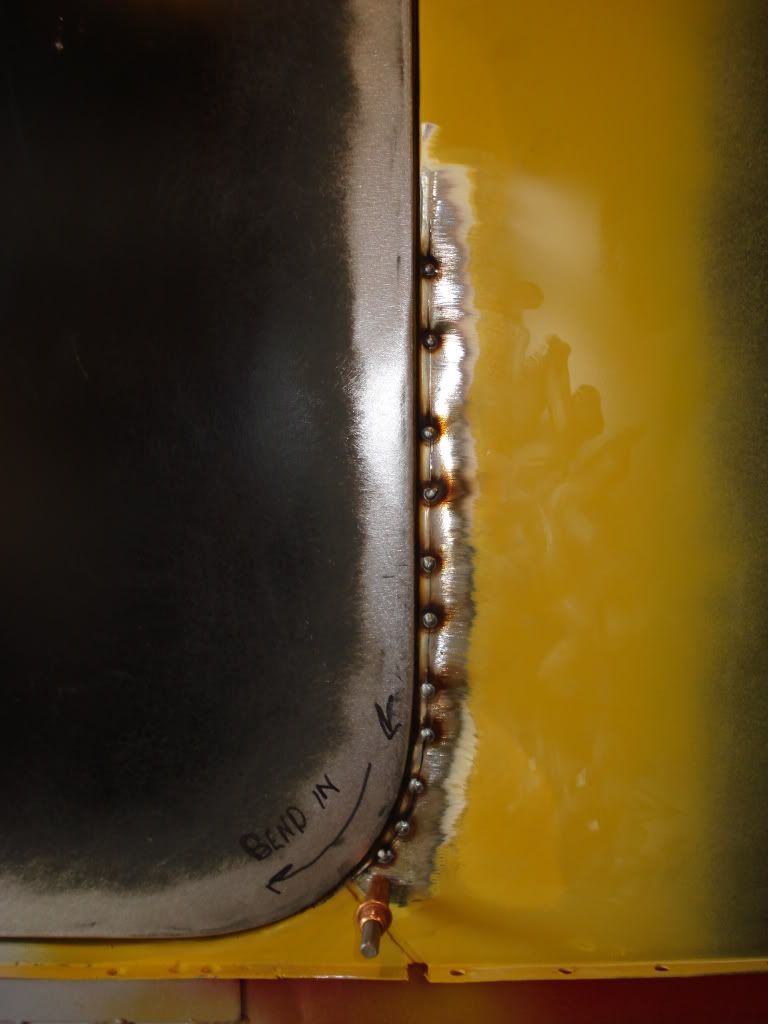
Finished result, just needs some final filling ready for paint.
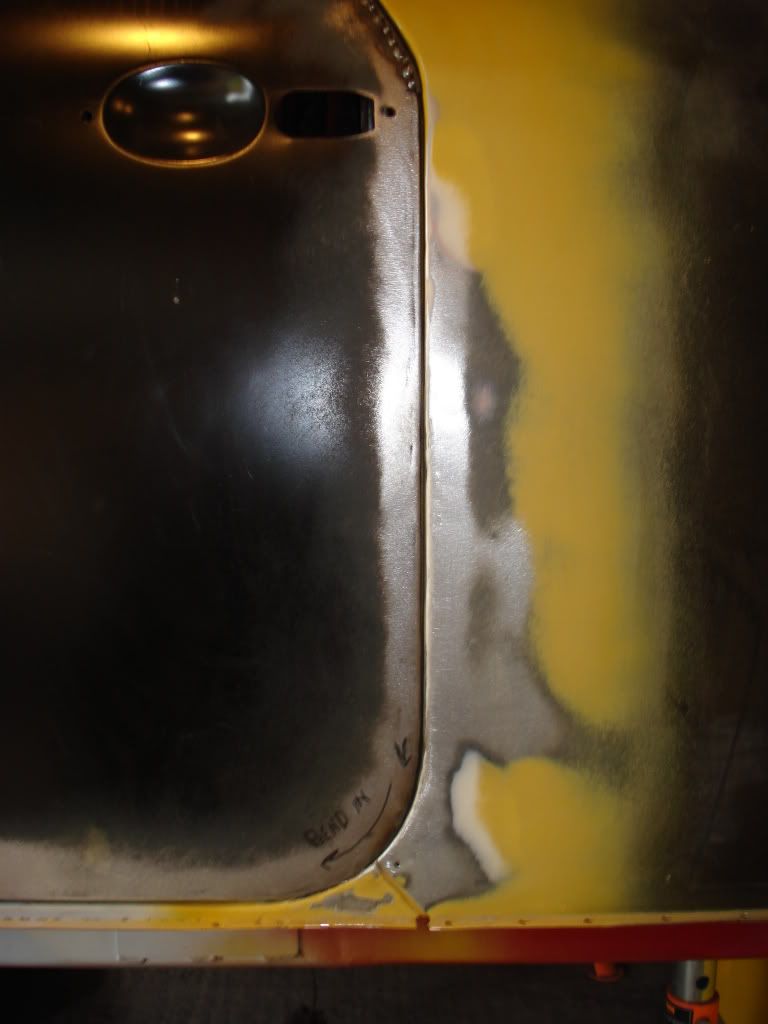
Completed the top corner
and overall finish
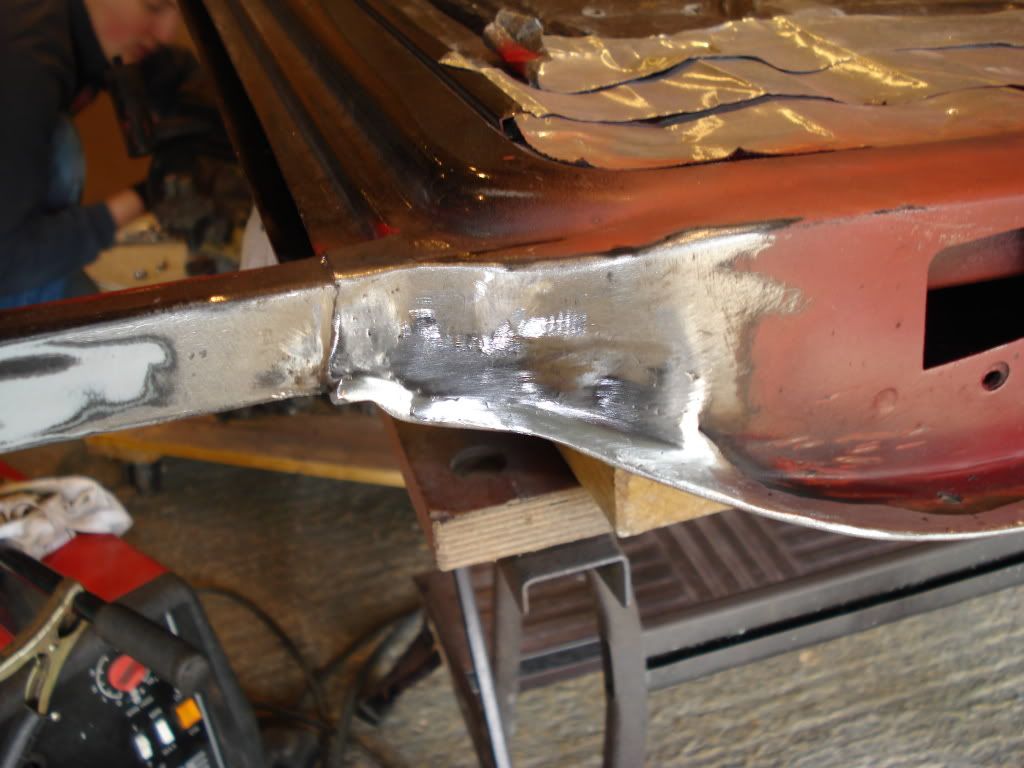
Then it was onto the front, yesterday the front lower corner bowed in slightly so after some light abuse with a panel beating hammer and block it ended up like this,
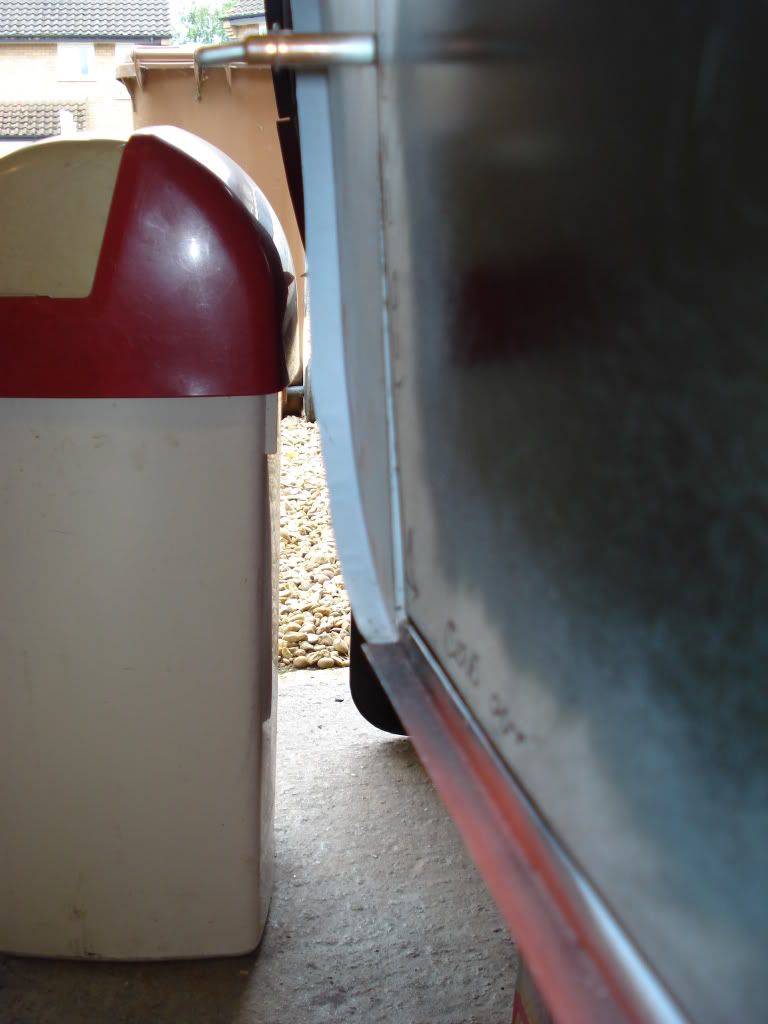
The A panel isn't quite right as its not folded round yet but it was later and the profile is good.
Now for the front gap. filler strip tacked in place and extra weld on the lower filler piece
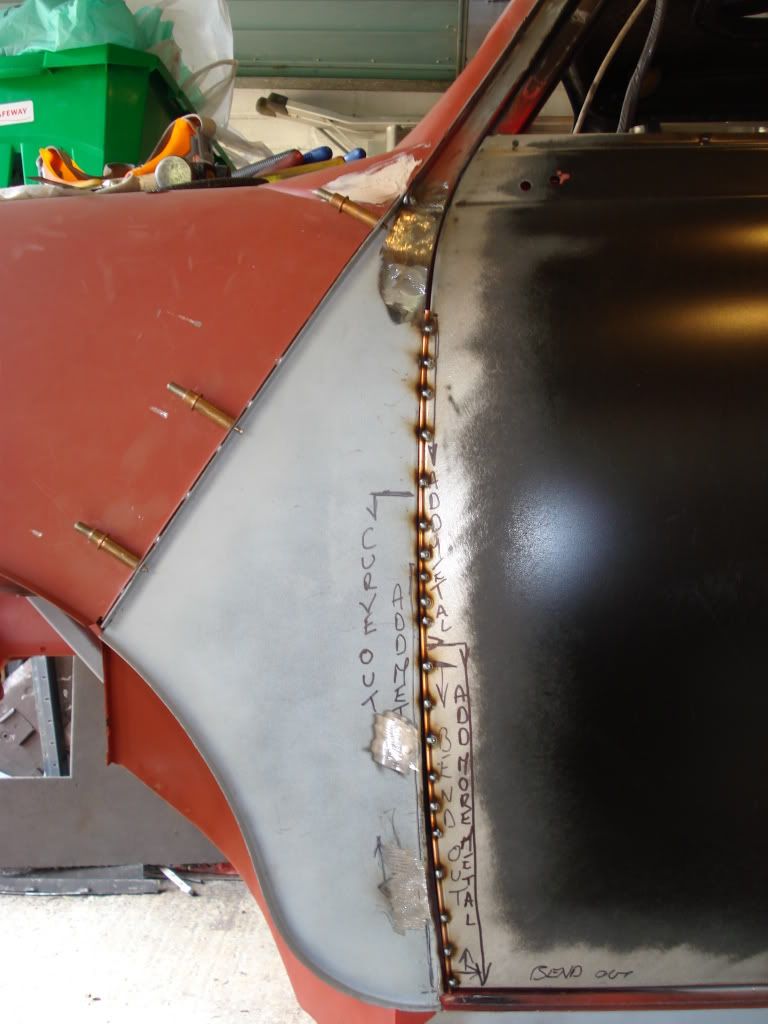
Inside of the door filled with weld (lots of small tacks)
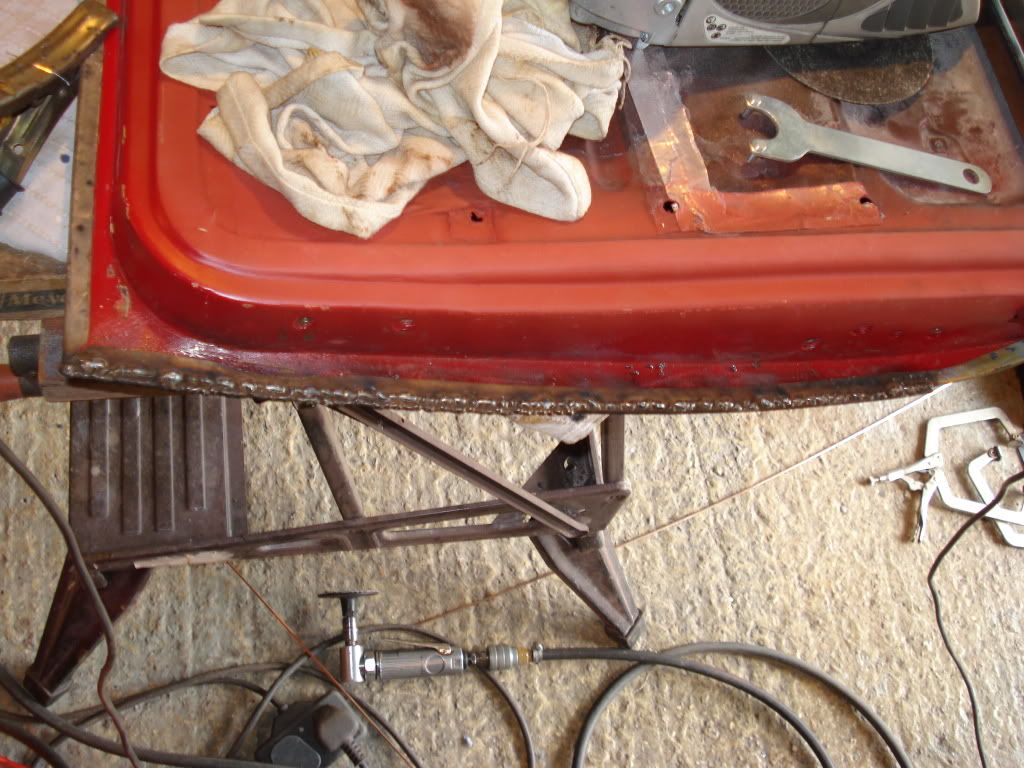
and ground down and polished up
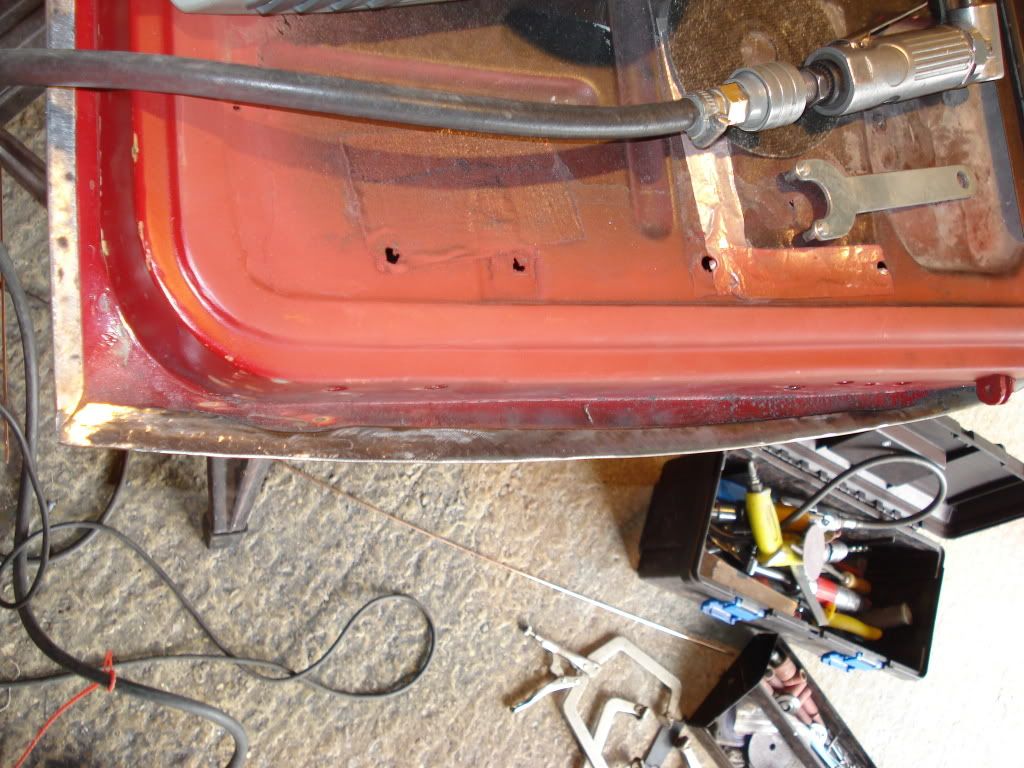
More door antics to follow tomorrow
#295

Posted 12 October 2010 - 05:39 PM
#296

Posted 12 October 2010 - 06:14 PM
#297

Posted 12 October 2010 - 06:44 PM
Does that not mean you end up with a lip on the front of the rear quarter? Not complaining looks mint, just interested!
No not at all, what i have done is effectively shortened the rear quarter by just over 1.5mm in that area by cutting a slot in it then compressing it so the edges touch again.
Also some very light hammer work with a panel beating hammer (i mean light as well) I have also used this process in several other areas to either shorten panels or slim them down.
It then looks like the original panel no lips, bulges etc just needs a thin skim of filler to finish off.
#298

Posted 12 October 2010 - 06:56 PM
#299

Posted 12 October 2010 - 07:02 PM
Rob
[email protected]
#300

Posted 12 October 2010 - 07:04 PM
The final panel that will need more metal adding will be the brand new bonnet as the wing gaps are large. This is down to me unfortunately when i fitted the wings, i should have pushed them in harder to lessen the gaps but i thought i was going to damage the wings so a lesson learnt there.
4 user(s) are reading this topic
0 members, 4 guests, 0 anonymous users


