 This topic is locked
WARNING: Brakes are a safety critical part of your vehicle and shold be installed by a competent mechanic following vehicle manufactures installation procedures.
I had recently had a problem with my brakes (see: http://www.theminifo...?showtopic=9163) so I decided to replace the discs and fit new pads. 998Dave was my technical advisor and also helped with the camera work! :grin: Cheers Dave :smartass:
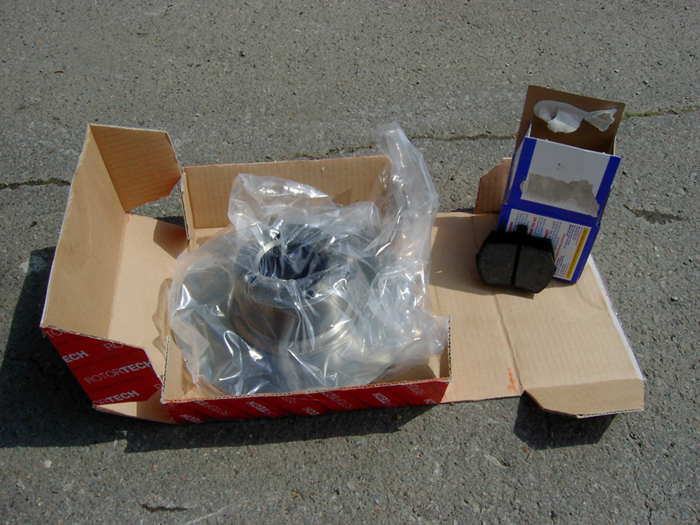
Picture: One of the new discs and (EBC black stuff pads) purchased from Mini Spares.
Step 1: The first thing to do was to loosen the wheel nuts before jacking up the car.
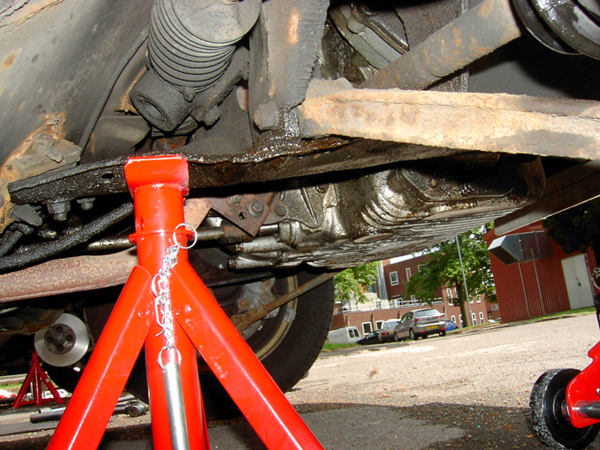
Step 2: Jack up the car and put in the axle stand. Make sure that you place the jack so that you can fit the axle stand on the subframe as well. Also ensure that the car can not roll off the axle stand, this is best achieved by placing the stand towards the rear of the front subframe as shown, also chock the rear wheels.
(WARNING: When doing work under the car ALWAYS use axle stands!):
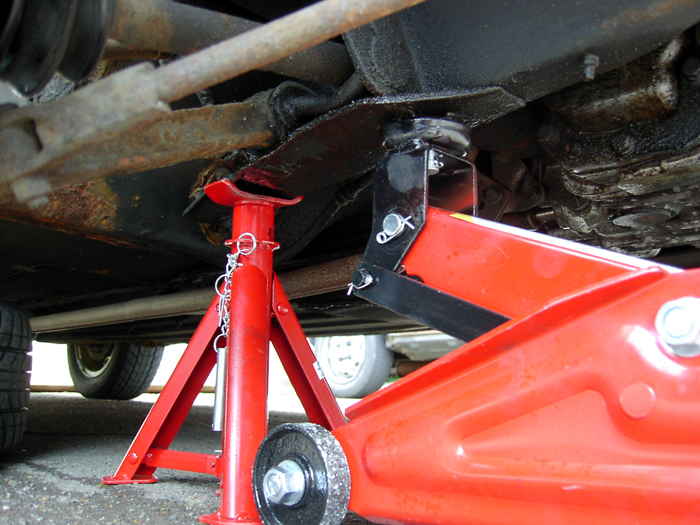
Step 3: Close up of the axle stand position:
(In the background is 998Dave's mini, incidently he was changing his discs to.
 )
)
Step 4: The wheel is then removed and the nuts were sprayed with the miracle spray - WD40.

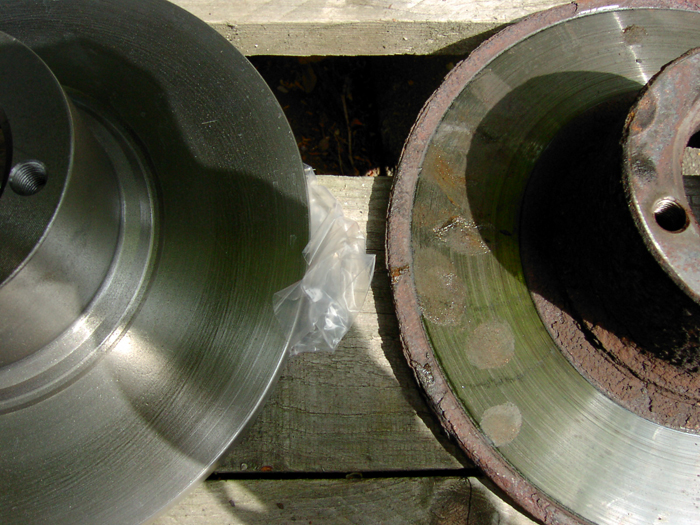
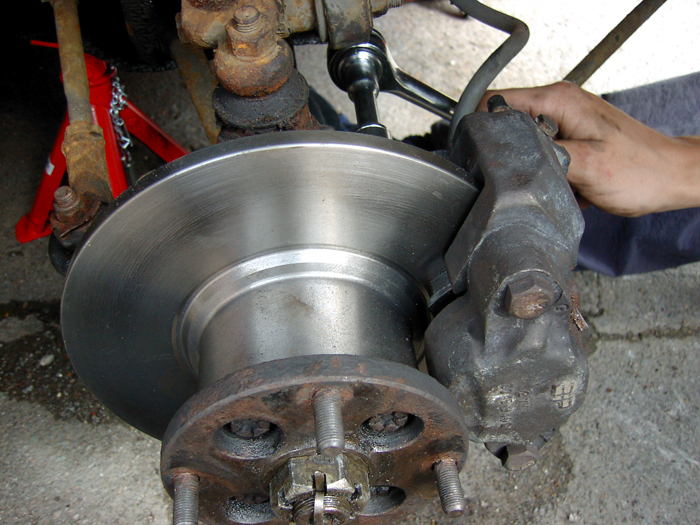
Step 5: Here is a close up of the disc, as you can see its condition is pretty poor.

Step 6: To take the brake caliper off a nice long bar was used with a 9/16th inch socket.

Step 7: 2 bolts must be undone. (The two that can be seen in this pic covered in WD40)
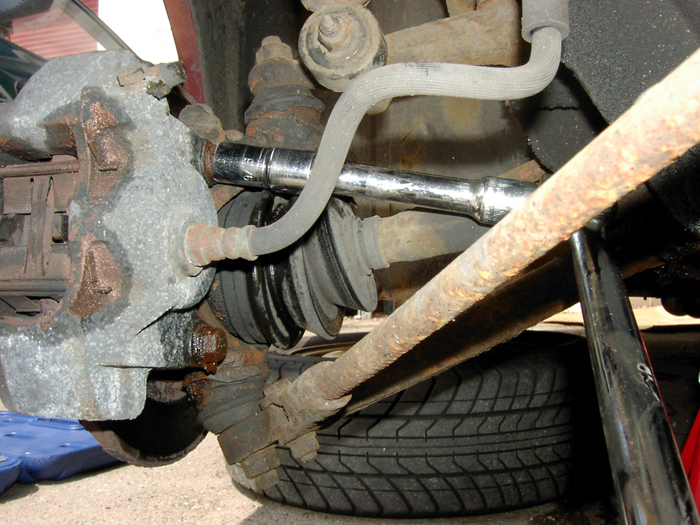
Step 8: The caliper can then be taken off the disc (and rested on a handy spare wheel as to not stretch the break pipe).

Step 9: The next few pics are for replacing the brake pads.
To remove the pads 2 split pins on the caliper. This is done by bending the pins straight with pliers and then pulling them out.

Step 10: This then allows the retaining plate to be removed...
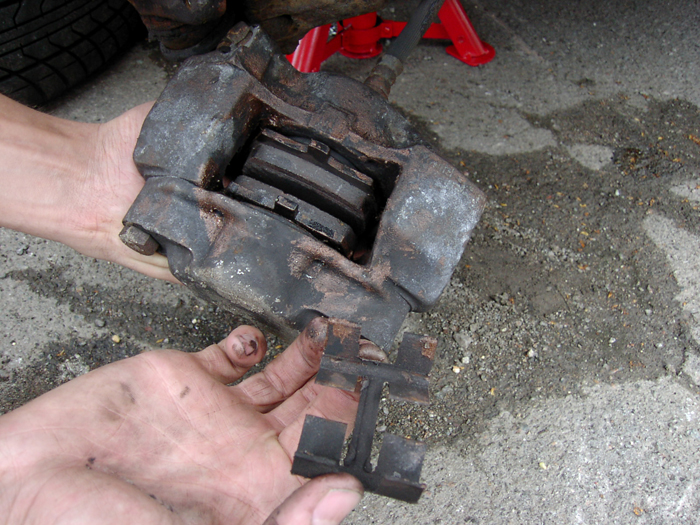
Step 11: Then the pads themselves
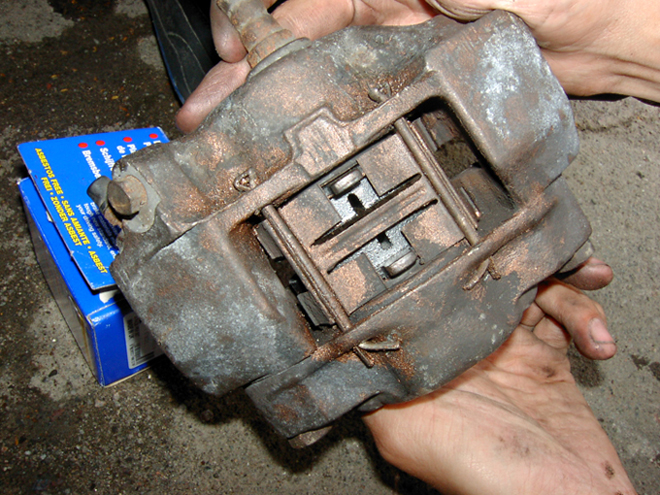
If you are changing disks, it is best to change the brake pads too. As shown in the photo, the old pads will have bedded to the shape of the old discs, and even though relatively new, the green hatched areas were providing no braking effort at all, this is evident in steps 22/23 later when looking at the disks themselves, and if used, would transfer that same wear pattern to the new disks.
The pistons must then be pushed back into the calipers, to do this the brake fluid reservoir must be opened and cloth placed around it incase the fluid overflows.

Step 12: The new pads were then slotted into the caliper, the retaining plate replaced and the split pins inserted and bent to secure them. [If changing the pads is all you desire, go to step 29).
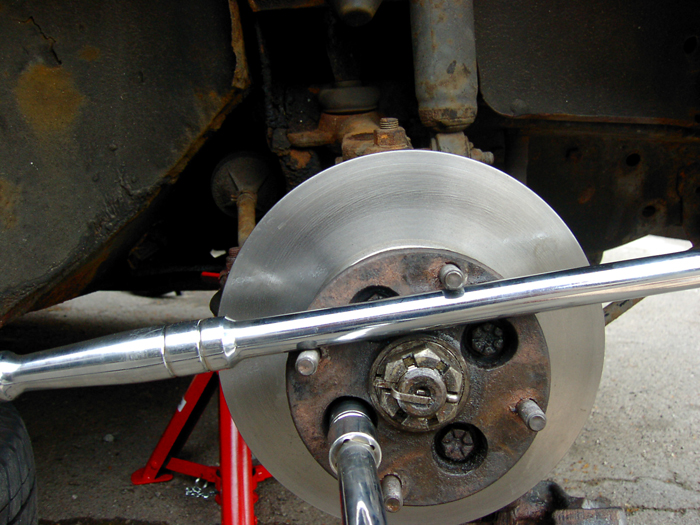
Step 13: The castle nut split pin was straightened then removed.

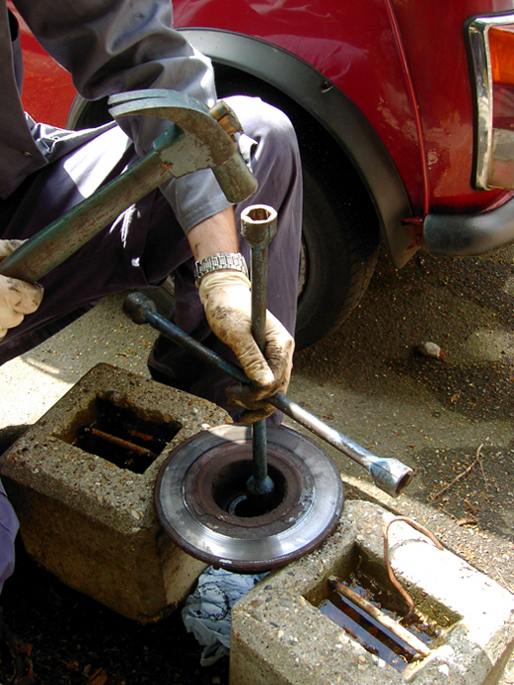
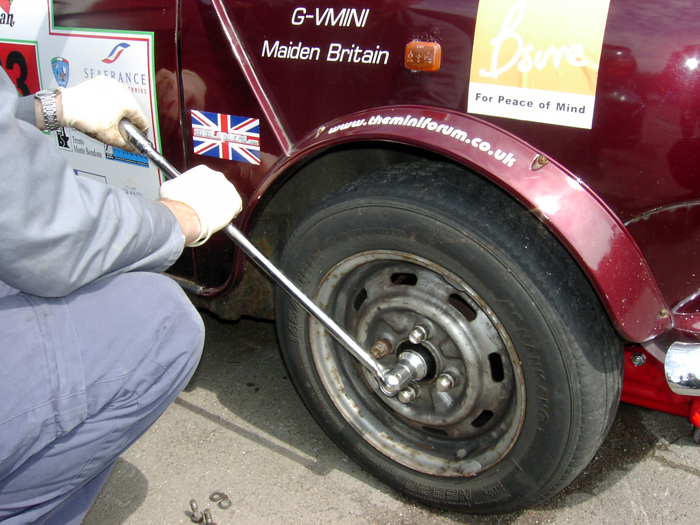
Step 14: To remove the wheel hub castle nut, the hub was braced with a wheel brace. However the nut would not budge so......

Step 15: One of daves wheels was put on, the car lowered back down. This then allowed much more force to be applied to the nut (The car was put in gear to prevent movement of the wheel - as the caliper was off the disc).
The nut was just loosened as the 4 hub nuts needed to be loosened first. The car was then jacked up as before.
Step 16: To remove the hub nuts the disc was braced again using the spider.

Step 17: The castle nut was then removed...

Step 18: and the shim type thing behind it was removed as well.

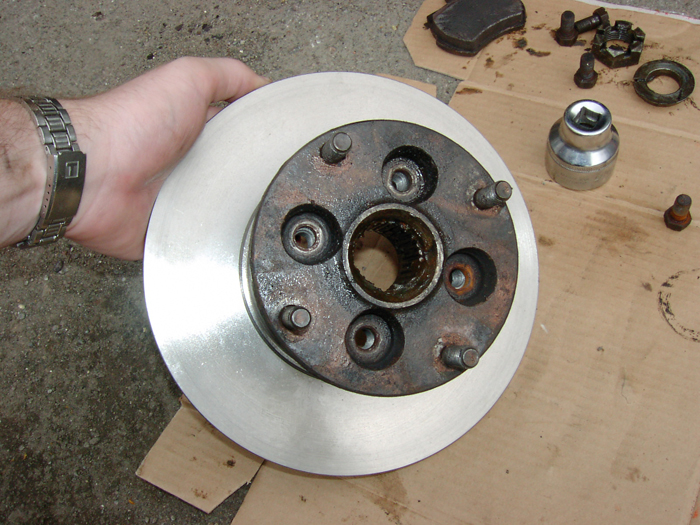
Step 19: The disc can then can then be completely removed.

Step 20: To seperate the hub from the disc, a little persuasion was required - careful persuasion goes a long way...