Relentless Incrementalism - A 1961 Austin Seven Restoration
#1
Posted 04 January 2013 - 03:32 PM
A good friend of mine owns a rather lovely Rover P4, ex-concourse winner and he offered me this brilliant bit of advice. Don't see the restoration as a huge job to be done all at once, just think little bits at a time, always forward, relentlessly. Sort of a 'relentless incrementalism'..
Wise words indeed, but can I get this lovely car which I've owned for half my life and used to drive as a daily back in the 90's back on the road where it belongs? Who knows?
Anyway, the basics:
Built in November '61, despatched the same day as a Tartan Red Austin Seven Deluxe with optional heater (!) and registered two weeks later after being sold from F.G Smiths of Goodmayes. The first owner, name unknown and so the second owner told me, had loads of trouble with the coil spring clutch and the leaky primary gear oil seals. So, second owner in his fifteen years or so of ownership instead of doing the decent thing and getting a 'deva bush' conversion done, presumably just put up with it as the car still wears it original wet flywheel set up. Things were no better when it was my daily; 19 years old and abjectly unable to perform a wheelspin..
It's got it's original 850 engine, which last ran some fifteen years ago, it has it's original floors, inner wings and front panel and a lovely collection of terribly welded bodge up patches all over it.
When I got it, it was very very tidy indeed, having been treated to a respray by the previous owner who also made a nice job of the retrim of the seat facings in what looks to be velour from an XR3. Unfortunately, they bird-poop-welded-on oversills, leaving the rear inner sill and heelboard joint dangerously weak. I only really noticed when the door used to pop open during 'vigorous' cornering! So, I took it off the road and replaced it with a very sadly missed Rover Cooper 1.3i (J242HMF - if you know anything about it, what happened to it as it got Cat B'd in 2010 :-(, where it is, or where it's remains lie, please let me know..)
Since then it's been moved around with me from house to house, in and out of lockups, vandalised, used as a shed, had things dropped on it, bits go missing and all the usual. But now it's time has come. I've made a start. Here's some pictures..
Near Side looks quite good, and isn't really that bad. Would probably sail through an MOT
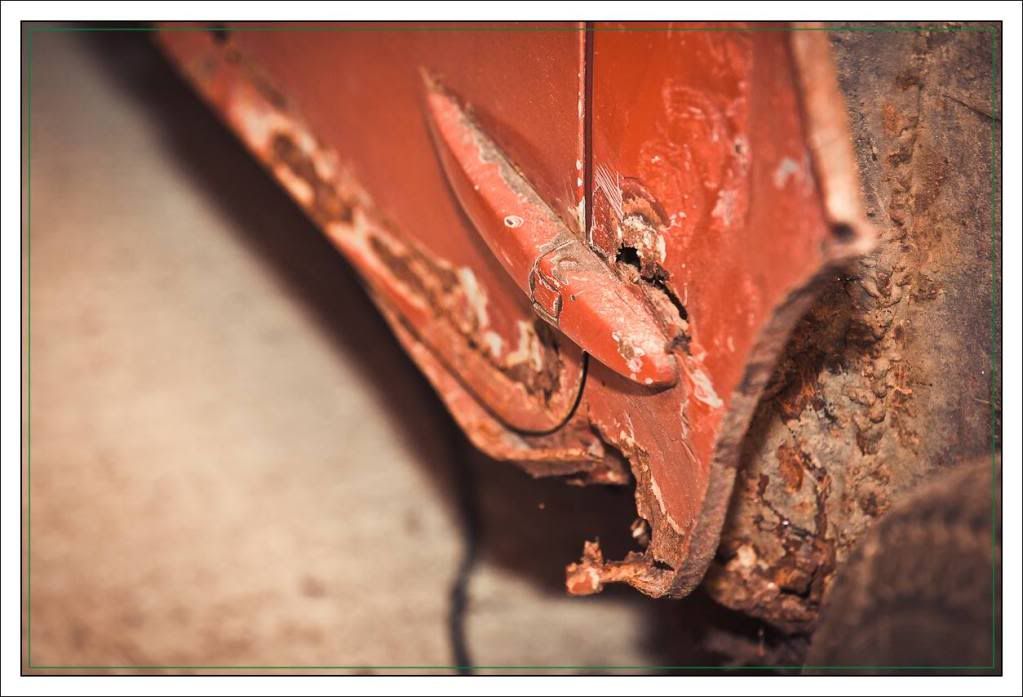
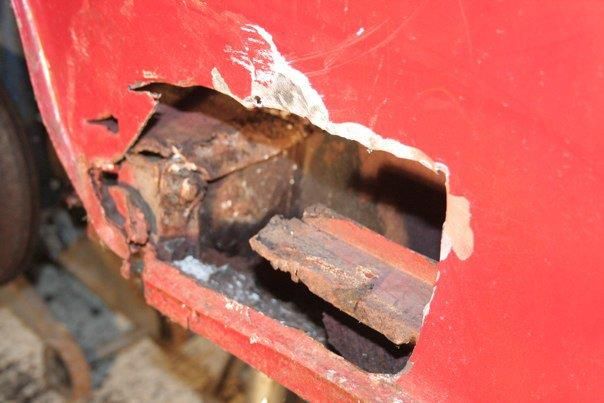
The offside isn't so clever however - the aforementioned vandal attack left the scars on the door and A panel, and the other vandal who fitted oversills has had his 'work' laid bare through the hole chopped in the rear quarter (actually, I removed an off cut from an old Castrol can here..
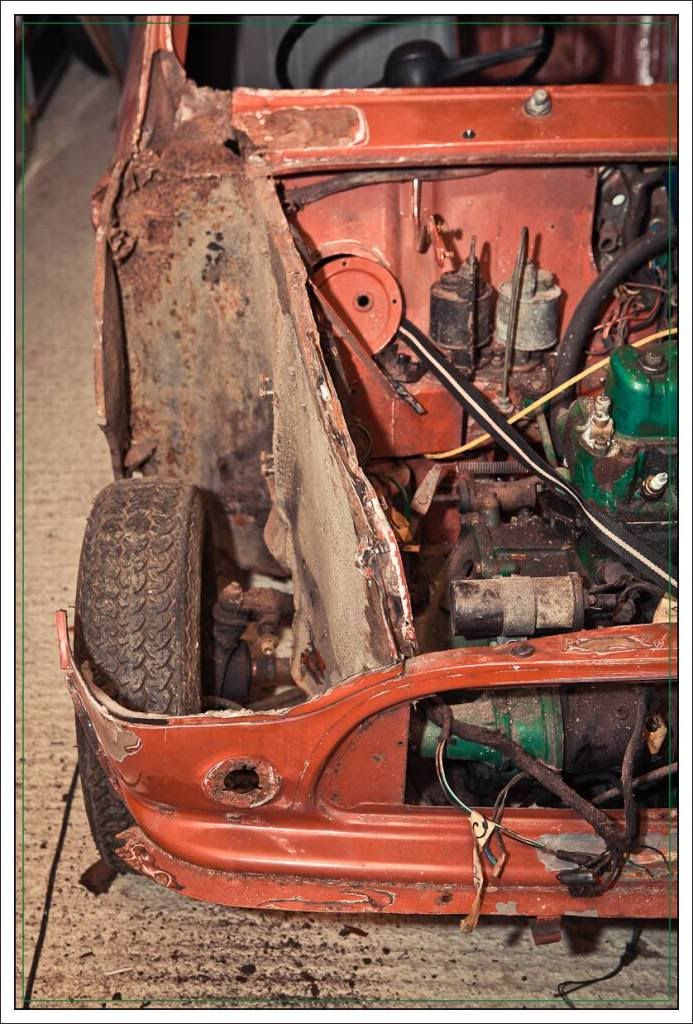
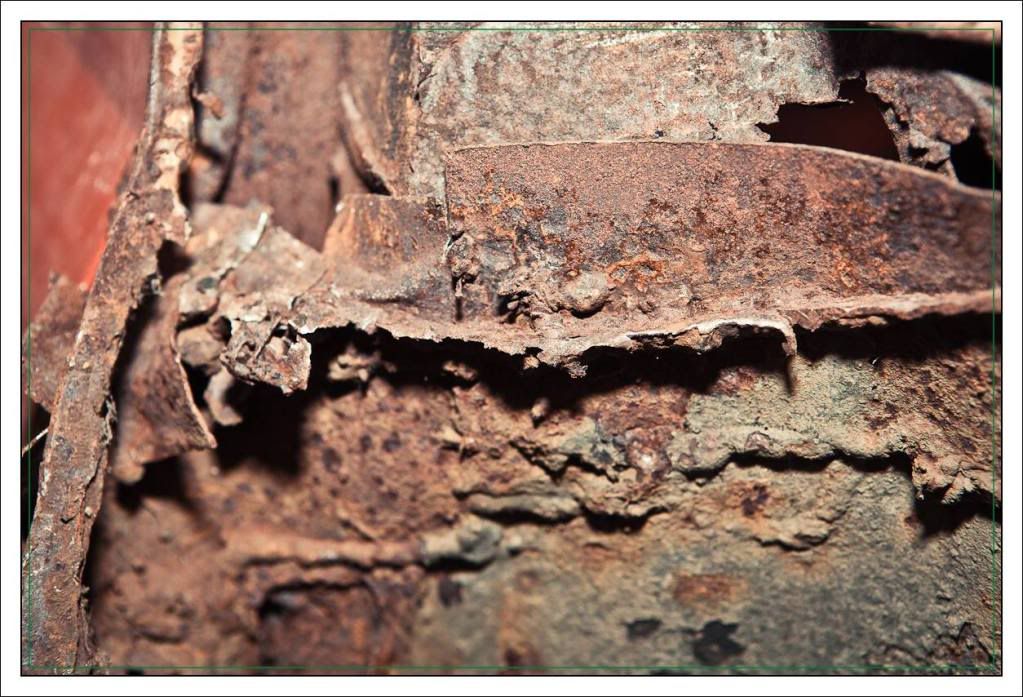
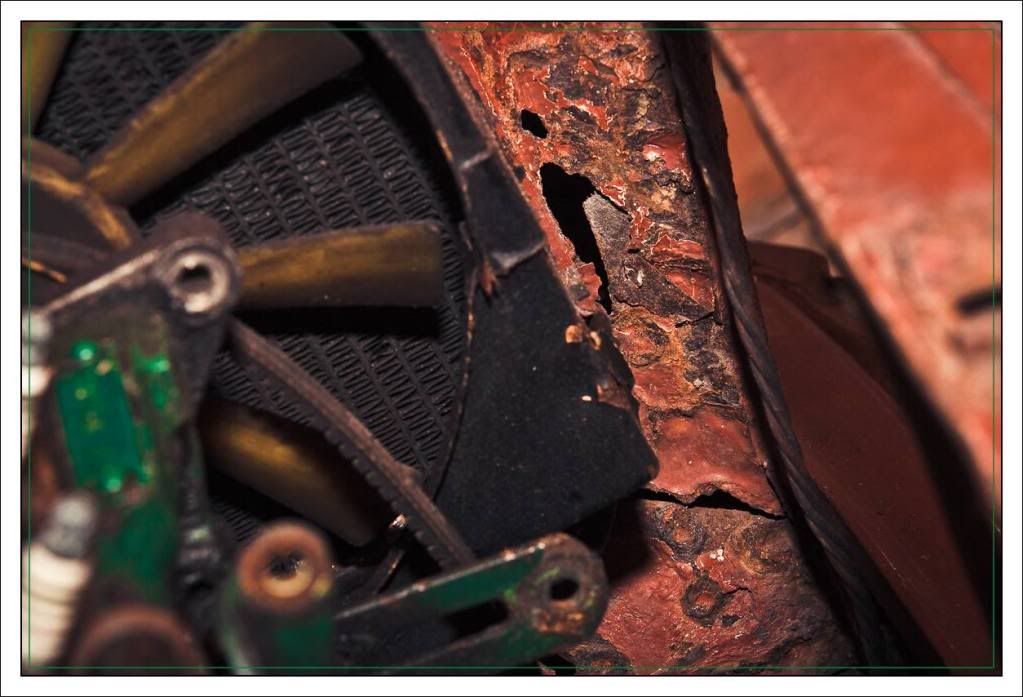
The remnants of a once proud and rather important bit of Longbridge's finest metalwork..
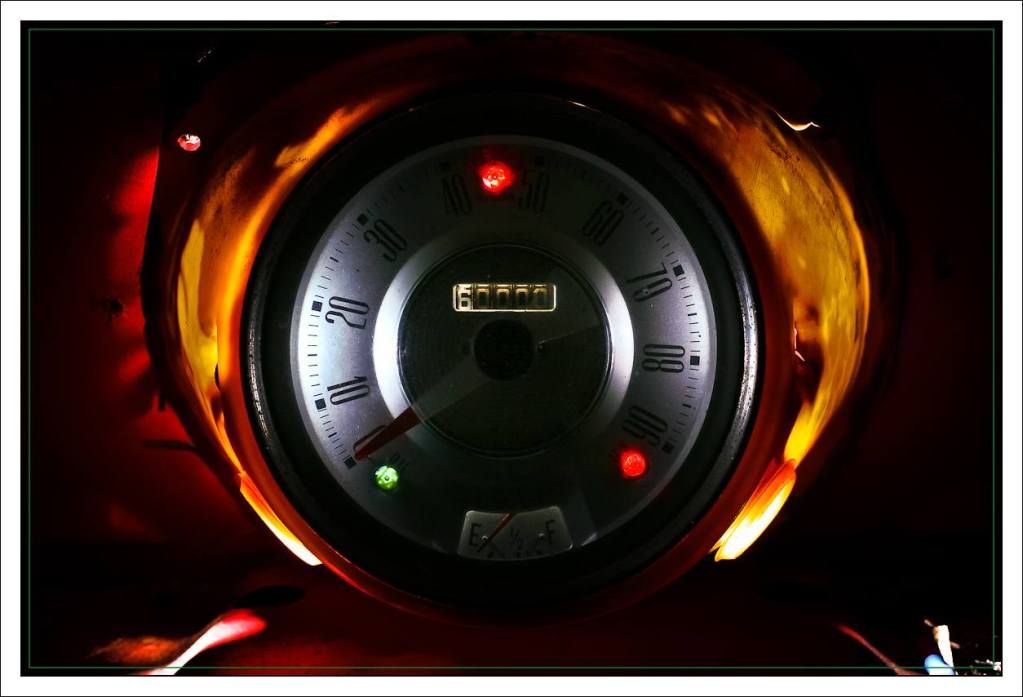
Must have had an 'L' plate on it at some time - Red to Stop and Green to Go. Lovely drain hole in the side of the footwell where an inner sill and A post once was..
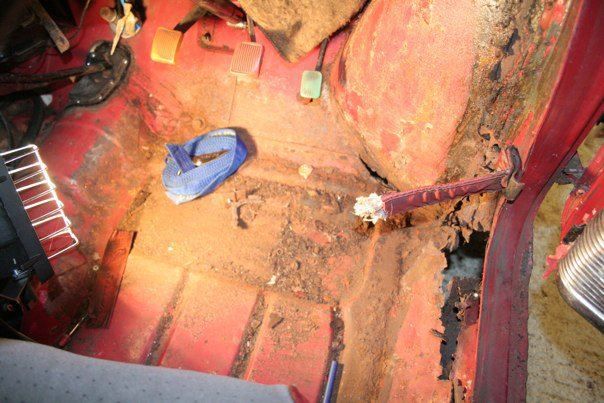
Such a shame it's not a '59; I've heard they don't have to concern themselves with MOT's anymore!
Anyway, more to follow..
#2
Posted 04 January 2013 - 04:08 PM
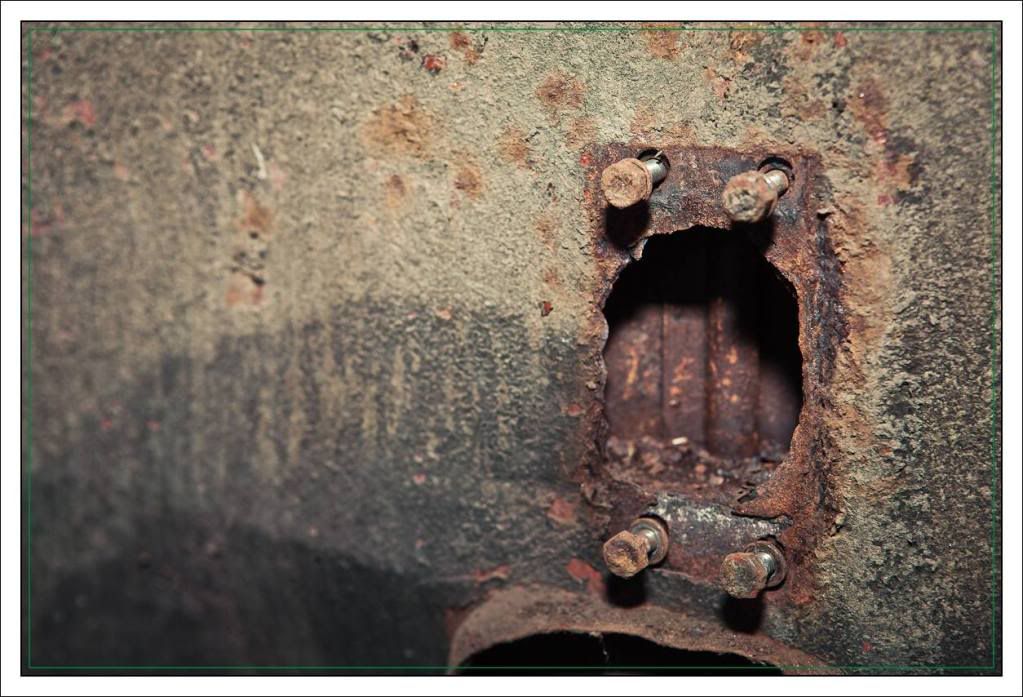
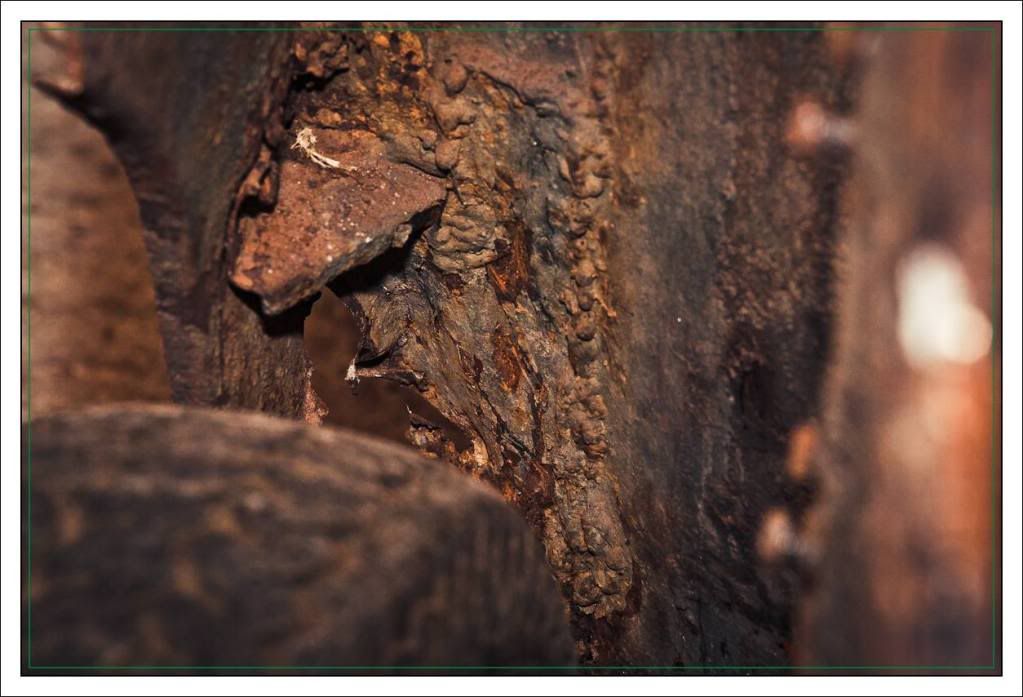
Obligatory carnage behind what remained of the shock mount. Shocking!
I'd like to save the front panel if I can, looks like it's original and with a few little dings pulled out should be good to use again. Does anyone know how to get rid of this bird-poo welding though? I can only think to attack it for a few hours with a grinder..
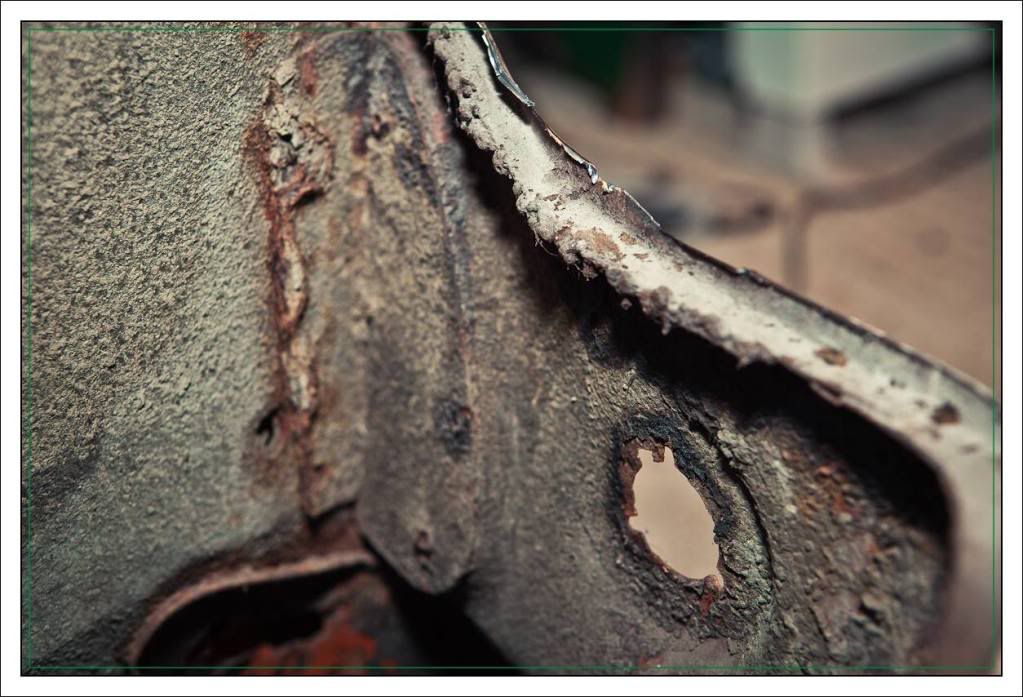
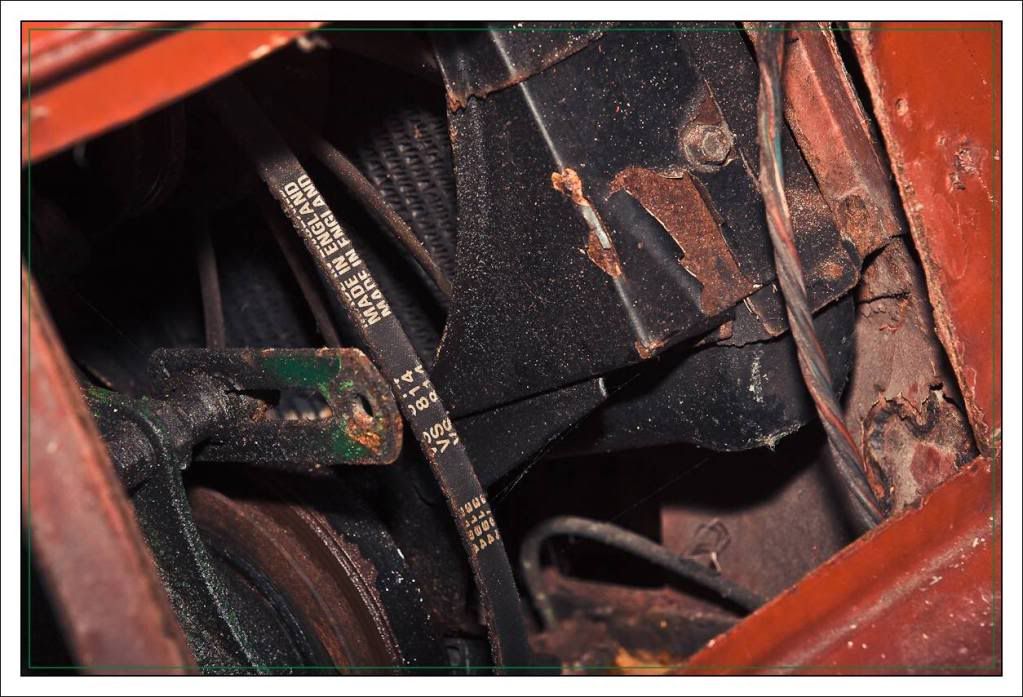
Their brave attempt at fabricating a scuttle bottom closing plate... This alone is leading me to think that hacking the lot out and replacing with a heritage inner wing might just be easiest..
Another view of the same..
While I was there I couldn't resist a bit of off camera flash to make the speedo light up!
So, question good folks of this board; how do I go about tacking removing this type of blob welding? It's all round the car in all the places I'll need to work. Any suggestions?
Gary
Edited by gs.davies, 04 January 2013 - 04:09 PM.
#3
Posted 04 January 2013 - 04:40 PM
And at last, a project with decent HD pictures! Looking forward to seeing this progress, shall be watching closely, good luck to you!
EDIT: I definitely think you should leave the paint flat, just laquer over it, chuck some 10x5 Rose Petals on and have it as a patina style Mini
Edited by minimaxie, 04 January 2013 - 04:47 PM.
#4
Posted 04 January 2013 - 04:54 PM
Erm, wow! What a project you have on your hands! That looks like a lot of rot under what looks to be a very lovely '61 such a shame the bodgers got at it
And at last, a project with decent HD pictures! Looking forward to seeing this progress, shall be watching closely, good luck to you!
EDIT: I definitely think you should leave the paint flat, just laquer over it, chuck some 10x5 Rose Petals on and have it as a patina style Mini
Thanks for the comment on the photos - hopefully as this progresses some good detailed pictures will help others.
And as for leaving it patinated, I'd LOVE to do that. Sadly, as most of the offside needs painting I don't think I'd get away with it. Totally agree on the Rosepetals though! Ultimately, I'd like to get this running some nice period mods. 997 cam, flowed head, lightened flywheel, Cooper Freeflow and a single box Cooper pipe.
Just the small matter of some rot to attend to first. Oh yeah, and learning to weld.
#5
Posted 04 January 2013 - 05:38 PM
Probably needs a new inner wing on the NS too
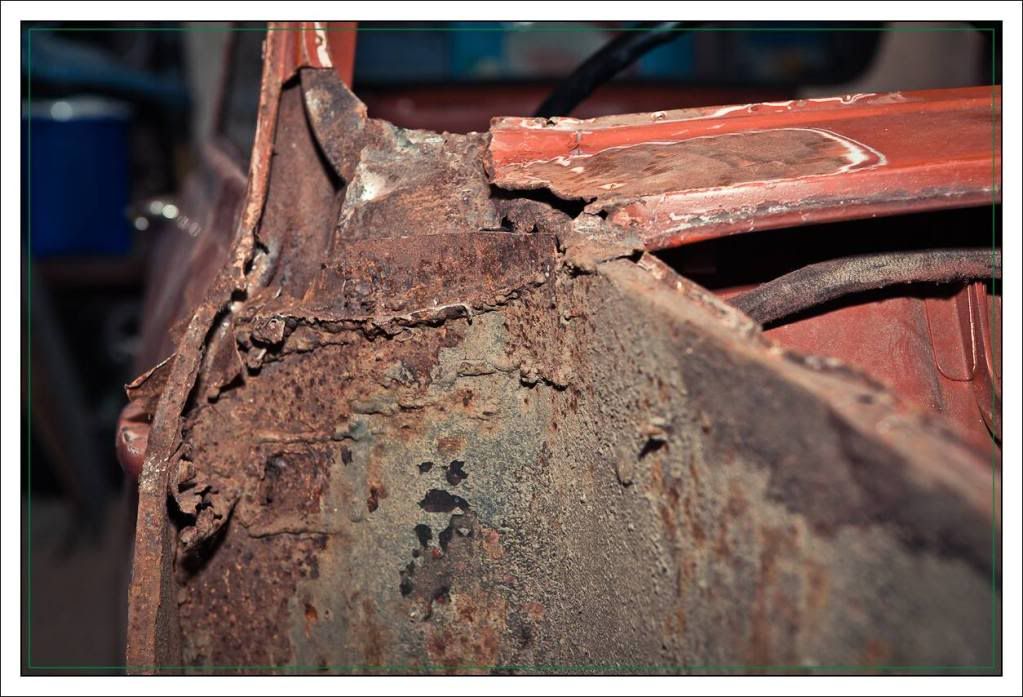
Rust, glorious rust. Inner A panel looking from the top of the wing
The outside of the A-Panel - yep, those hinges are the early brass type. Lovely panel gap don't you think?
'Well Gentlemen, it's a long walk back to England, and it's that way..'
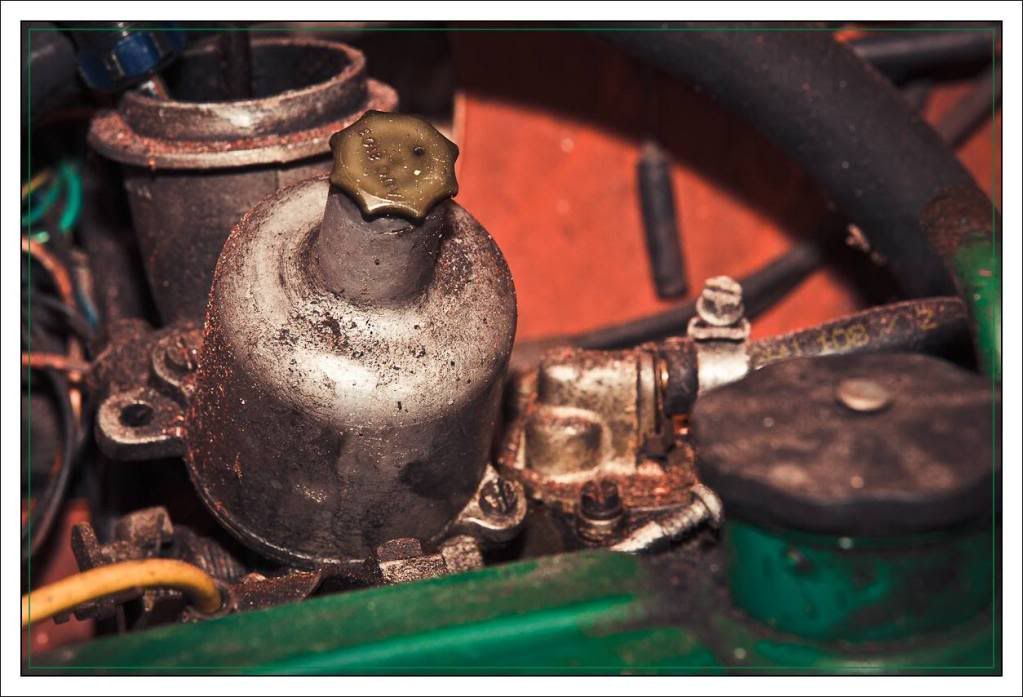
Now, where did I leave my carb cleaner?
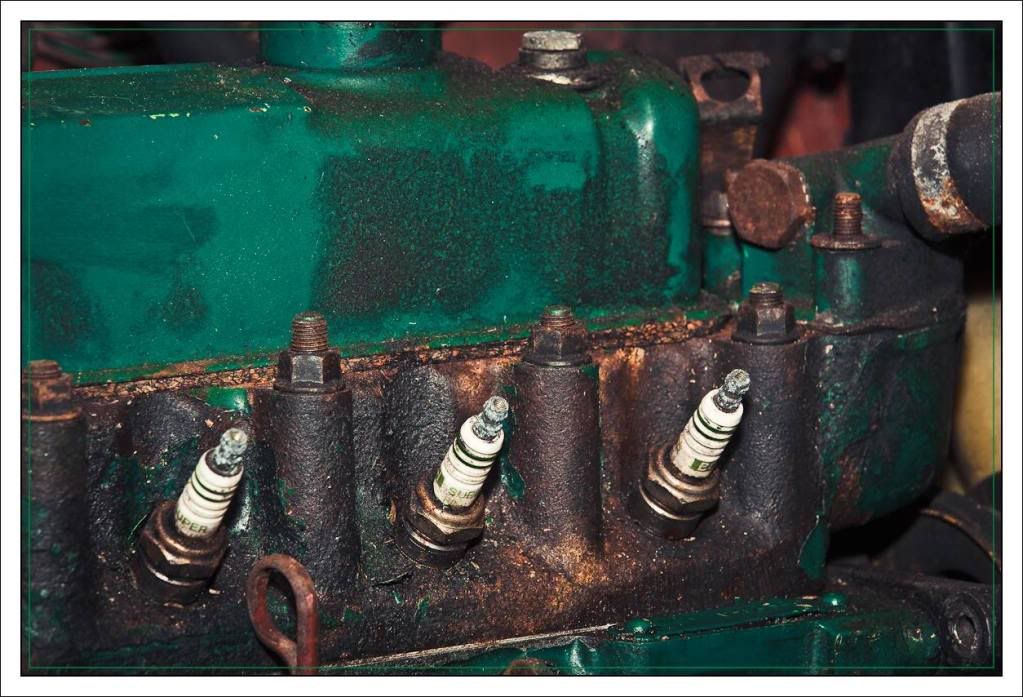
Stage -3 head
#6
Posted 04 January 2013 - 05:47 PM
YetI
#7
Posted 11 April 2013 - 04:49 PM
The garage has finally reached an acceptable temperature and accordingly I put the goggles on and cut off what remained of the a panels, managed to get the hinges released from underneath a ton of crap patch welding and I set about drilling out the inner wing to a post join. Oddly enough, the car looks a whole lot better for having some cleaner edges and some of the worst rot chopped out and I now understand how the a post is formed (and thus how it should be repaired)
Panels required;
-heritage inner wing
-inner a post stiffener
-inner a panel
-outer a panel
Bits to fabricate
-repair to top dash rail
-inner wing to front panel bracket repairs
-front panel to wing seam and local pin holes
Tomorrow will bring more of the same as well as some pictures for anyone doing the same. And maybe a trip out to get some gas, some wire and a sheet of 1mm steel for practise and the local repairs. Next week should see an order going off to Mini Machine for new metal!
The front panel's future remains in the balance - it will require some remediation work to several areas; the lip where the wing meets beneath the headlamp, the brackets that join the inner wing as well as straightening here and there. It's original though and the full skirt panels are quite expensive... I'm aiming to leave as much of the original car intact as possible and I'm only going to this extent on this side as the a panels were damaged by vandals years ago. The other side will be much less intrusively repaired..
#8
Posted 11 April 2013 - 05:18 PM
#9
Posted 11 April 2013 - 05:18 PM
#10
Posted 11 April 2013 - 05:27 PM
Will be following this. With regards to your cat b car. It will have been crushed as they have to go to licenced vehicle scrappers. Cat B cars never ( legally ) see the road again.
According to the dvla, it's not been. Yet. Still a sad end for it though. Nothing a heritage shell couldn't have sorted I'd bet.
#11
Posted 11 April 2013 - 05:35 PM
regards to the rust I would be looking at bracing the shell, and getting it on flat level ground then cutting out the inner wing from a panel to front of the car ( its one big panel) as that will mean you have a good base to start from rather than trying to patch the current panel, A spot weld drill bit or two would probably come in handy!
I love the way of looking at it as a long list of small tasks though, will defo be following this one
#12
Posted 19 March 2014 - 03:08 PM
Well, time to update on this. Sadly, not long after starting this thread I lost my job of fifteen years and have been slowly building my business up as a self employed photographer.
I've not got the time or the skills to do this job myself and there's no way I'm getting rid of the car having owned it so long. The current plan now is to entrust the job of body and paint to my good friend at Classic and Sports Cars Essex. A dyed in the wool Mini nut and general all round petrolhead, he'll soon have this looking spick and span again. Just the small matter of funding it!
It'll take some time but I'll be updating with images of the work Jason's team of fitters will be doing on the car - looking forward to getting it running for my 40th next year
#13
Posted 19 March 2014 - 03:25 PM
Looks excellent!
I was gong to advise on the bird poo welding but now i see you are having a specialist to do the work so no need!
I'm looking forward to seeing the progress on this. I'm a huge fan of the early ones!
Good luck
Ben
#14
Posted 19 March 2014 - 06:31 PM
#15
Posted 20 March 2014 - 08:01 AM
This is going to be interesting ! :)
good luck :)
- nino
1 user(s) are reading this topic
0 members, 1 guests, 0 anonymous users