My New Trailer Project
#1
Posted 25 March 2010 - 03:48 PM
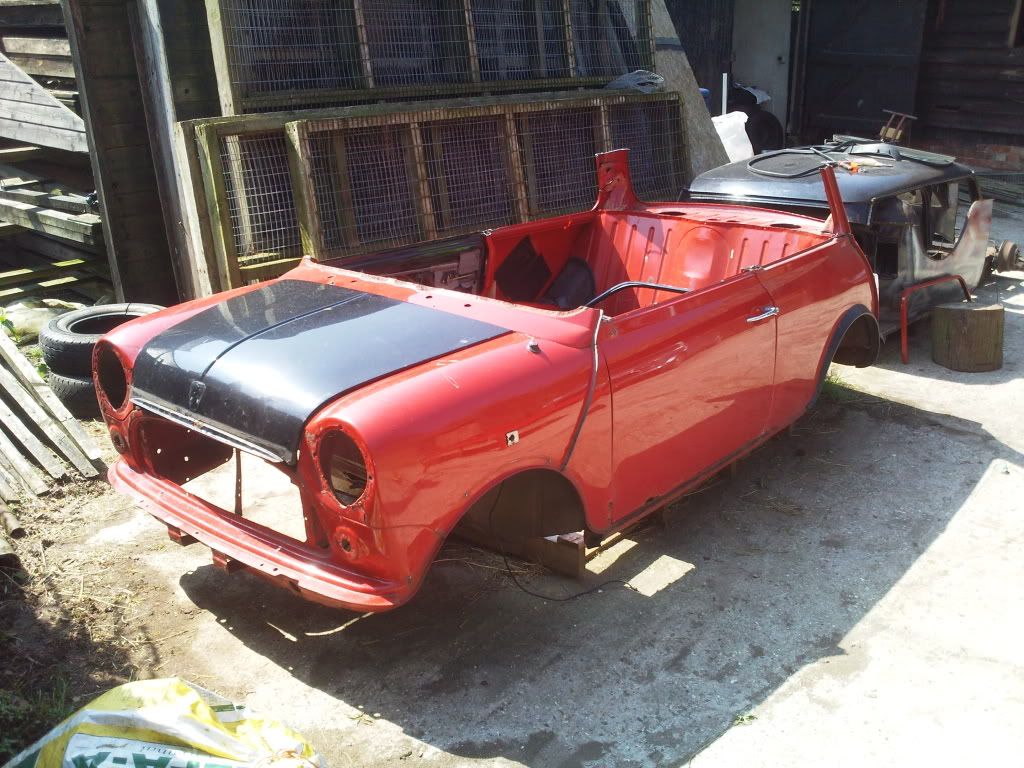
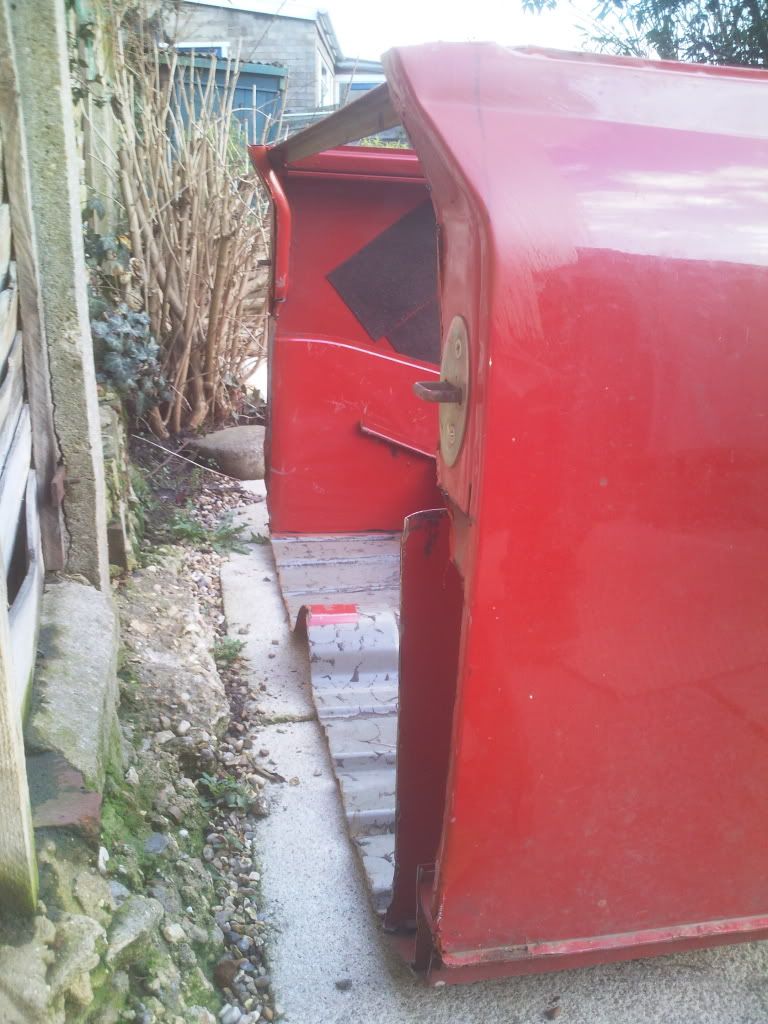
I started with this Mini Sprite, rolled by a previous owner. Gav took the front, and I have the rear end.
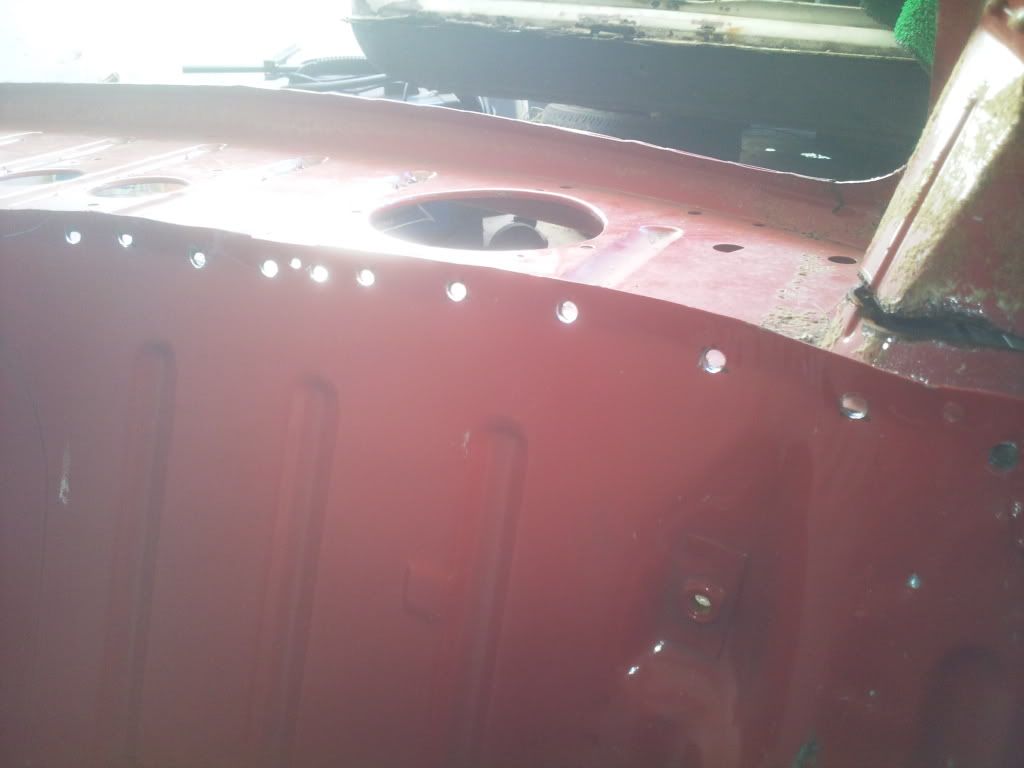
I decided to do the job neatly so drilled out all the spot welds to seperate the seat back from the rest of the car;
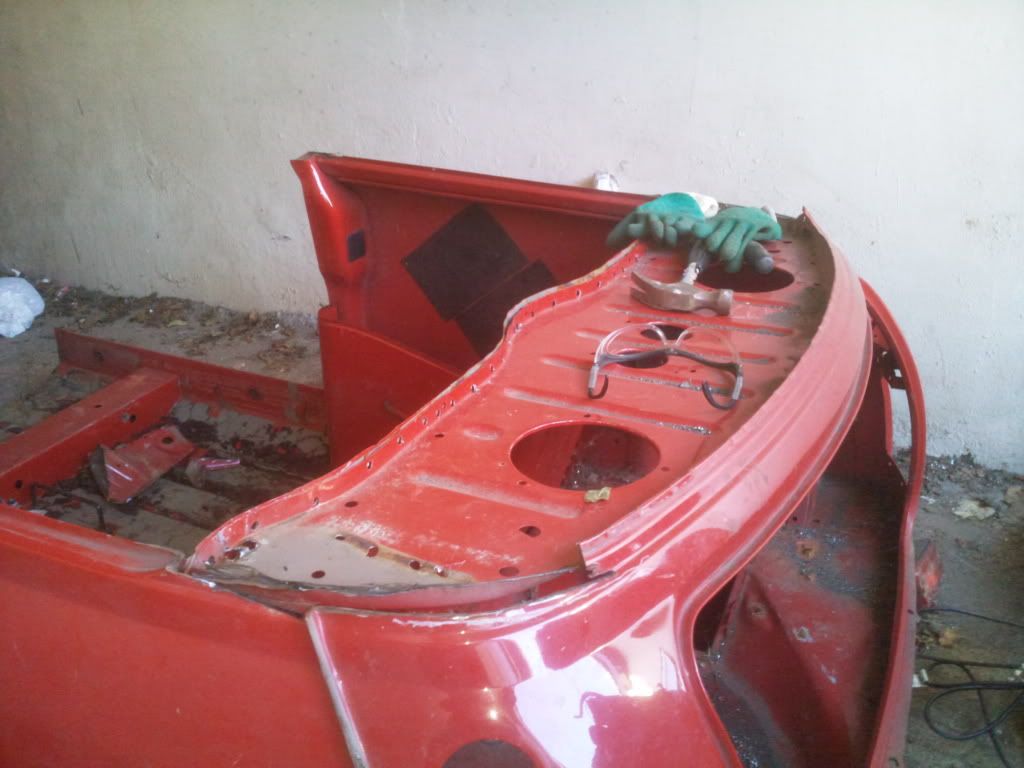
And the lifted it out, I also cut the trailer floor down to length, before moving the bit I wanted into my back garden.
#2
Posted 25 March 2010 - 03:55 PM
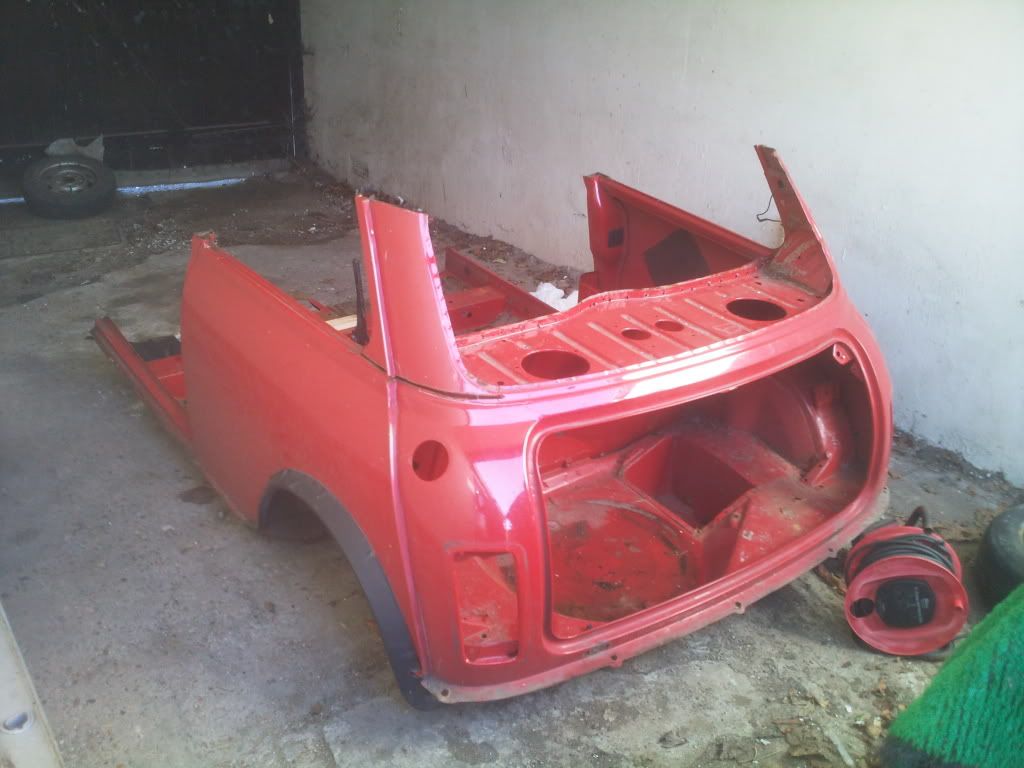
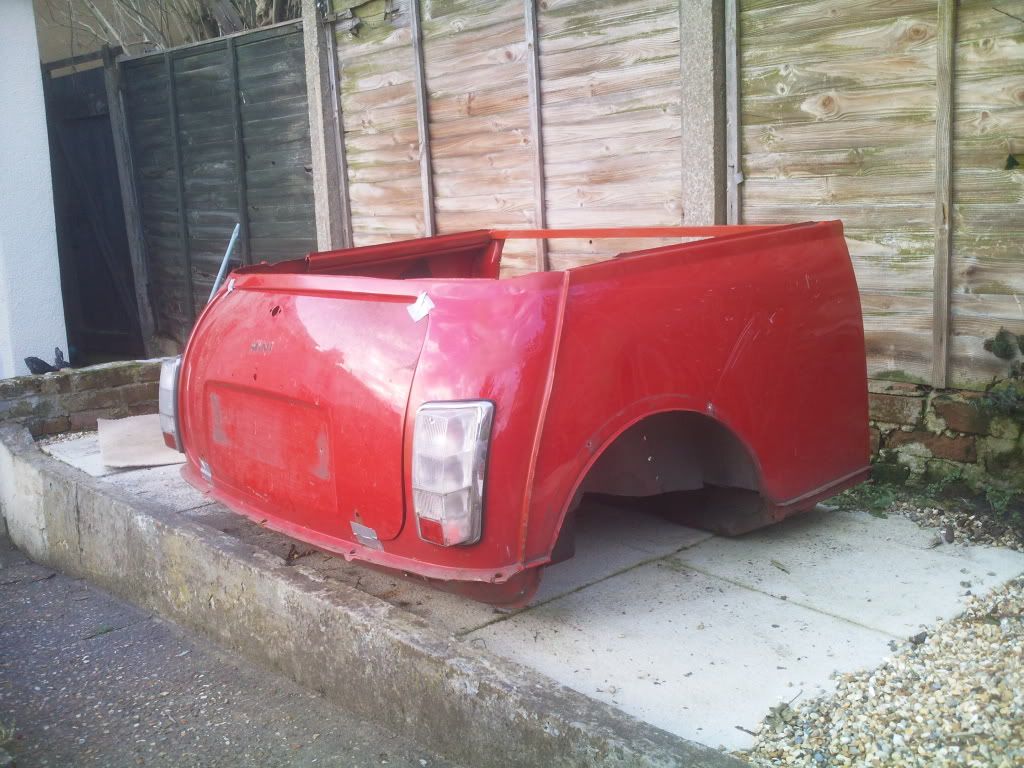
I also put the lights in and a bootlid on, to show my other half what this half mini was doing in the garden.
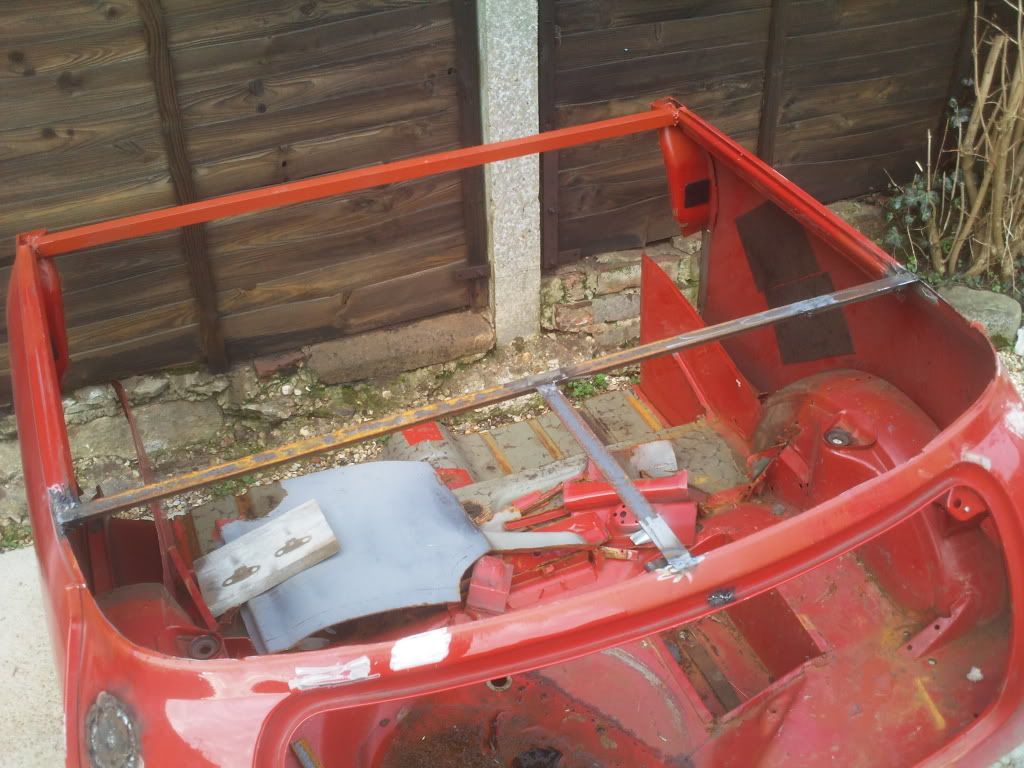
I then braced out the rear of the trailer body, for a rear deck, you can see the size of the top opening in this picture.
(You can also see the fuel filler hole blanked off in this picture).
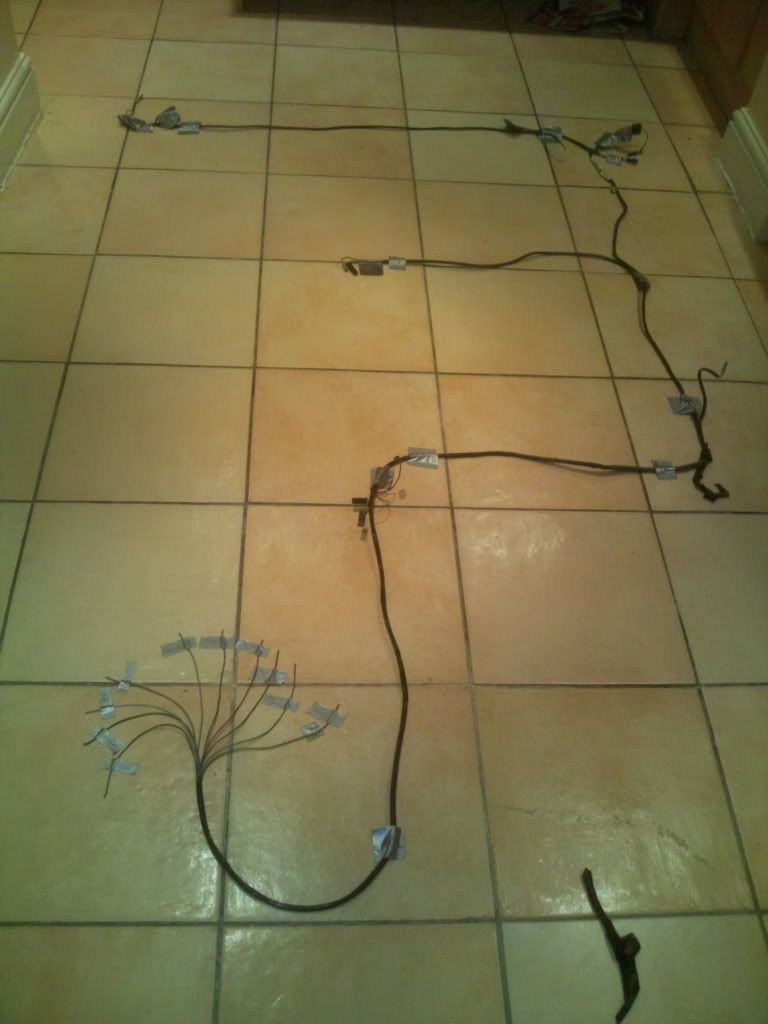
I will seperate the next few posts into body, subframe and wiring loom, as I get the bits done...
#3
Posted 25 March 2010 - 03:59 PM
wouldnt like to cut up a perfectly good mini like some do
#5
Posted 25 March 2010 - 04:06 PM
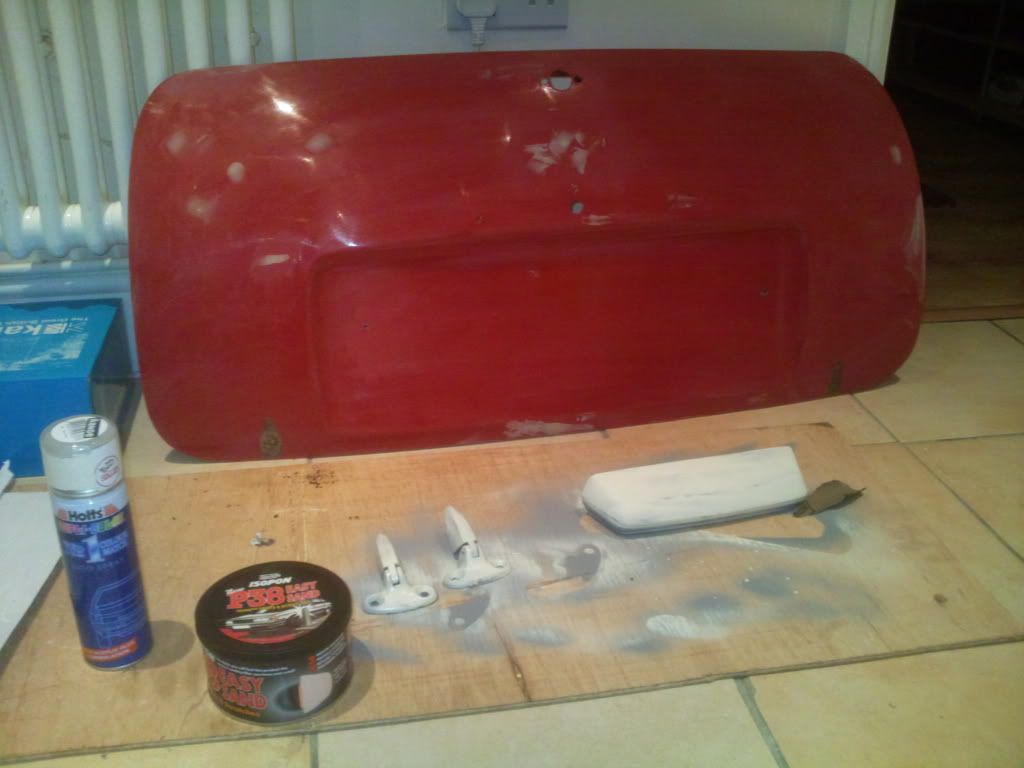
In fact I found out a local cheapo shop has BL Arum White in rattle cans, this is the same colour as my Hornet's going to be, so seemed a fair choice.
I started by cleaning up the boot lid, and put a first coat on the hinges and no. plate light;
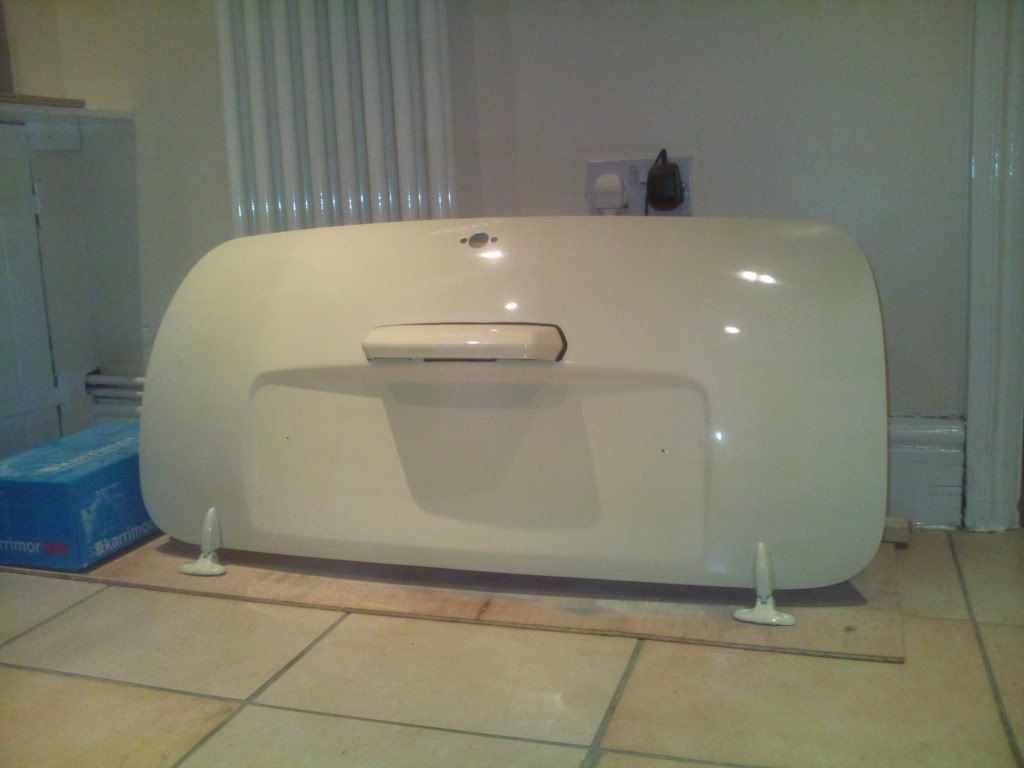
A bit of rubbing back, and a thin coat of primer, and some paint later;
#6
Posted 25 March 2010 - 04:13 PM
looks awsome, i want to do a trailer but would have to buy panels and make it
wouldnt like to cut up a perfectly good mini like some do
Me neither, this shell had been rolled, and I was going to fix up, (see my Sprite Roadster write up), unfortunately it's very not-straight, and wouldn't have been safe without some serious work, so I decided to take the rear off for a trailer, and a friend who wanted the front end has that.
#7
Posted 25 March 2010 - 04:16 PM
looks awsome, i want to do a trailer but would have to buy panels and make it
wouldnt like to cut up a perfectly good mini like some do
Me neither, this shell had been rolled, and I was going to fix up, (see my Sprite Roadster write up), unfortunately it's very not-straight, and wouldn't have been safe without some serious work, so I decided to take the rear off for a trailer, and a friend who wanted the front end has that.
sweet, did it come with id and everything then? might be worth selling part of it as a resto project. wheel nuts are always a good start to a project i find
#8
Posted 25 March 2010 - 04:19 PM
I've got a spare subframe, pictures to be added later, the subframe had two holes in it, and wasn't going onto any of my cars, (it infact came from the Sprite that's making this trailer.
I patched up the two holes for the trailer. And will set about lightening it up.
Trailer's unbraked, so I removed the handbrake guides, quadrants and levers, also the hydraulic brake lines, and pipes.
Next the drum's came off, and everything came out, some parts may be reusable, but most will end up in the scrap bin.
I had a choice to make with spacing the wheels out, but decided that making special spacers was overkill when I'm trying to keep the build cost under £100, so the drums went back on.
I also have a spare pair of 10" steel wheels, so these were cleaned up, and primed. inside and out.
Then painted white, as it turned out a lot of pointless work...
...When I was donated some chrome hubcaps, nice retro feel to the trailer going on now!
#9
Posted 25 March 2010 - 04:21 PM
sweet, did it come with id and everything then? might be worth selling part of it as a resto project. wheel nuts are always a good start to a project i find
I have the ID yes, but have sent it off with the 'scrapped' box ticked.
#10
Posted 07 April 2010 - 03:16 PM
Who knows whats wrong with photobucket, it won't let me sign in from work, I'll have to give it a go at home later...
Anyways, update from the weekend;
- Trailer chassis is now rolling, (one wheel was locking, but now unstuck).
- Draw bar has been bent, welded, and fitted.
- All painted with black hammerite.
- Tow hitch on order at Machine Mart, (£11.73), will collect this week I hope.
- Trailer body is fully braced, needs plating.
- 2m x 1m x 1.2mm sheet of steel found to make front, and deck, £20, but I'll have to collect Friday.
- Filler at the ready for the dents from the car's rolling in a ditch.
- Once welded, and filled needs painting Arum White.
- Trailer lid is next to be done.
- Roof is at the top of the garden, got to cut the pillars off.
- Chop roof in half, and trial on the trailer body.
- Take front centre of roof and cut to make widening panel for rear, (clever huh).
- Brace and edge as required.
- Paint either Arum White or Gloss Black??
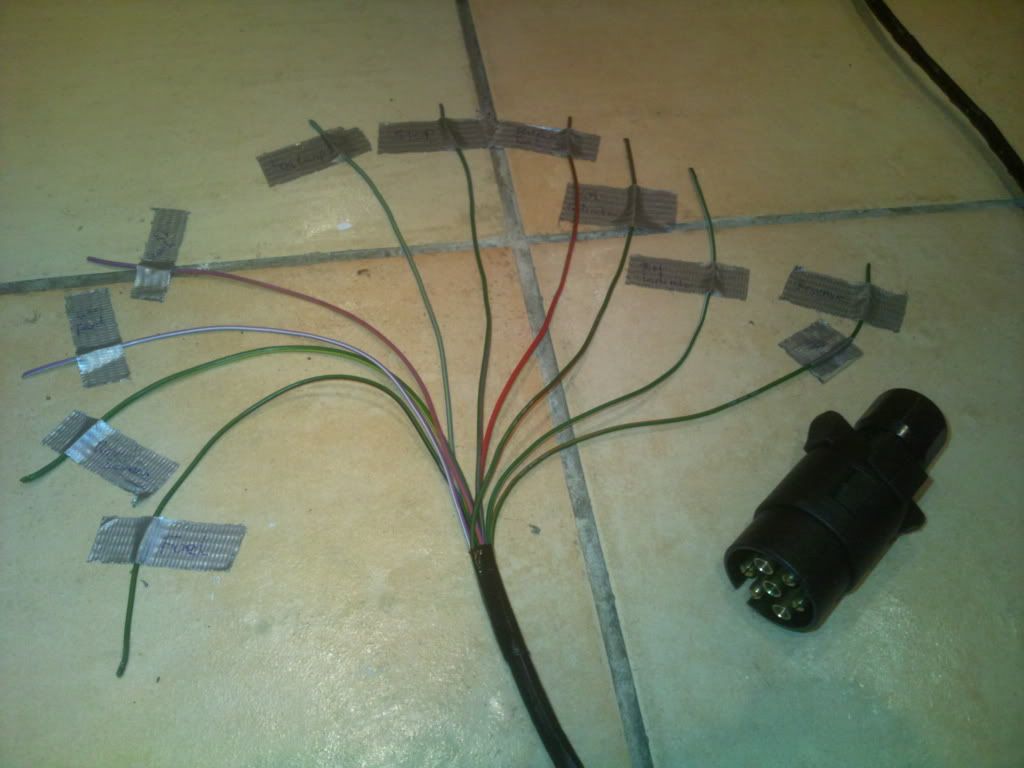
I also have the lights and loom ready to go in, bootlid ready to fit.
All looking good for the £100 budget!
Will get pictures up when I can...
Dave
#11
Posted 08 April 2010 - 02:41 PM
With the rear subframe all ready and nicely painted it was time to make the draw bar, started off like this;
(Note the nicely braced trailer box sat next to it to help work out lengths, this has to be plated on the front and top next then can be trial fitted)
First I got a nice long piece of 40x40 box section, and worked out where to put it;
Removed the handbrake wire routing bit in the middle, and put a small piece of angle iron to help locate the draw bar, note nothings welded in yet, but I did find the 40x40 slot inside the rear of the subframe quite nicely.
I worked out how long I wanted the draw bar, and cut a V in for my first bend, then bent the metal, and spot welded to check it, before welding it up;
In that photo I've already cleaned up for the second V, but with it being upside down I removed the draw bar to cut and tack it in place, before refitting, checking, and welding up;
I've also cut the draw bar to length by this point, but a quick side view of the draw bar bends;
I've also welded the draw bar on, and put the hub caps on, but not got the photo onto the computer yet, maybe later...
#12
Posted 08 April 2010 - 02:44 PM
To be plated on the front, and on the rear 'deck' that you can see braced. The rest of the top will be open for stowage, (covered by the trailer lid to be made from the roof).
I can't pick up the sheet metal until next week, so lets hope the weather holds, and I can get on with the lid this weekend!
Dave
#13
Posted 08 April 2010 - 02:49 PM
#14
Posted 09 April 2010 - 12:19 PM
Last night I measured and marked up the roof, spending a lot of time thinking about what to cut when as I want to be sure not to cut anything off that I may want.
Photo's will be up next week.
#15
Posted 09 April 2010 - 12:27 PM
1 user(s) are reading this topic
0 members, 1 guests, 0 anonymous users